
The Forgotten Relics quest sits at the heart of Windrose's main story, and it's the one most players hit a wall on. You're dealing with a toxic biome that can kill you instantly, four tablet locations spread across hostile ruins, and a boss fight that punishes anyone who charges in swinging. This guide covers every step, the Tainted Forest tricks that actually work, and how to bring down the High Priestess without losing your mind.
What is the Forgotten Relics quest in Windrose?
Forgotten Relics is the main mission that takes you deep into the Ancient Swamps, the third biome in Windrose. According to all three sources covering this quest, it's the most demanding area in the current early access build, developed by Kraken Express and published with Pocketpair Publishing. The goal is to track down the second Charon's Obol, a passive artifact that, once you hold two of them, boosts your health regeneration and unlocks the fourth biome.
The quest ends with a "To be continued..." prompt after the boss fight. That's not a bug. Windrose is in active early access, and the developers have confirmed the narrative conclusion will arrive in a future content patch. What you get right now is the full Ancient Swamps section, including the High Priestess boss, and the Obol itself.
Do not start this quest until you have at least Level 2 or Level 3 gear. According to xboxplay.games, the difficulty jump from the Coastal Jungle to the Ancient Swamps is the largest in the game. Underpowered weapons make every encounter here a grind.

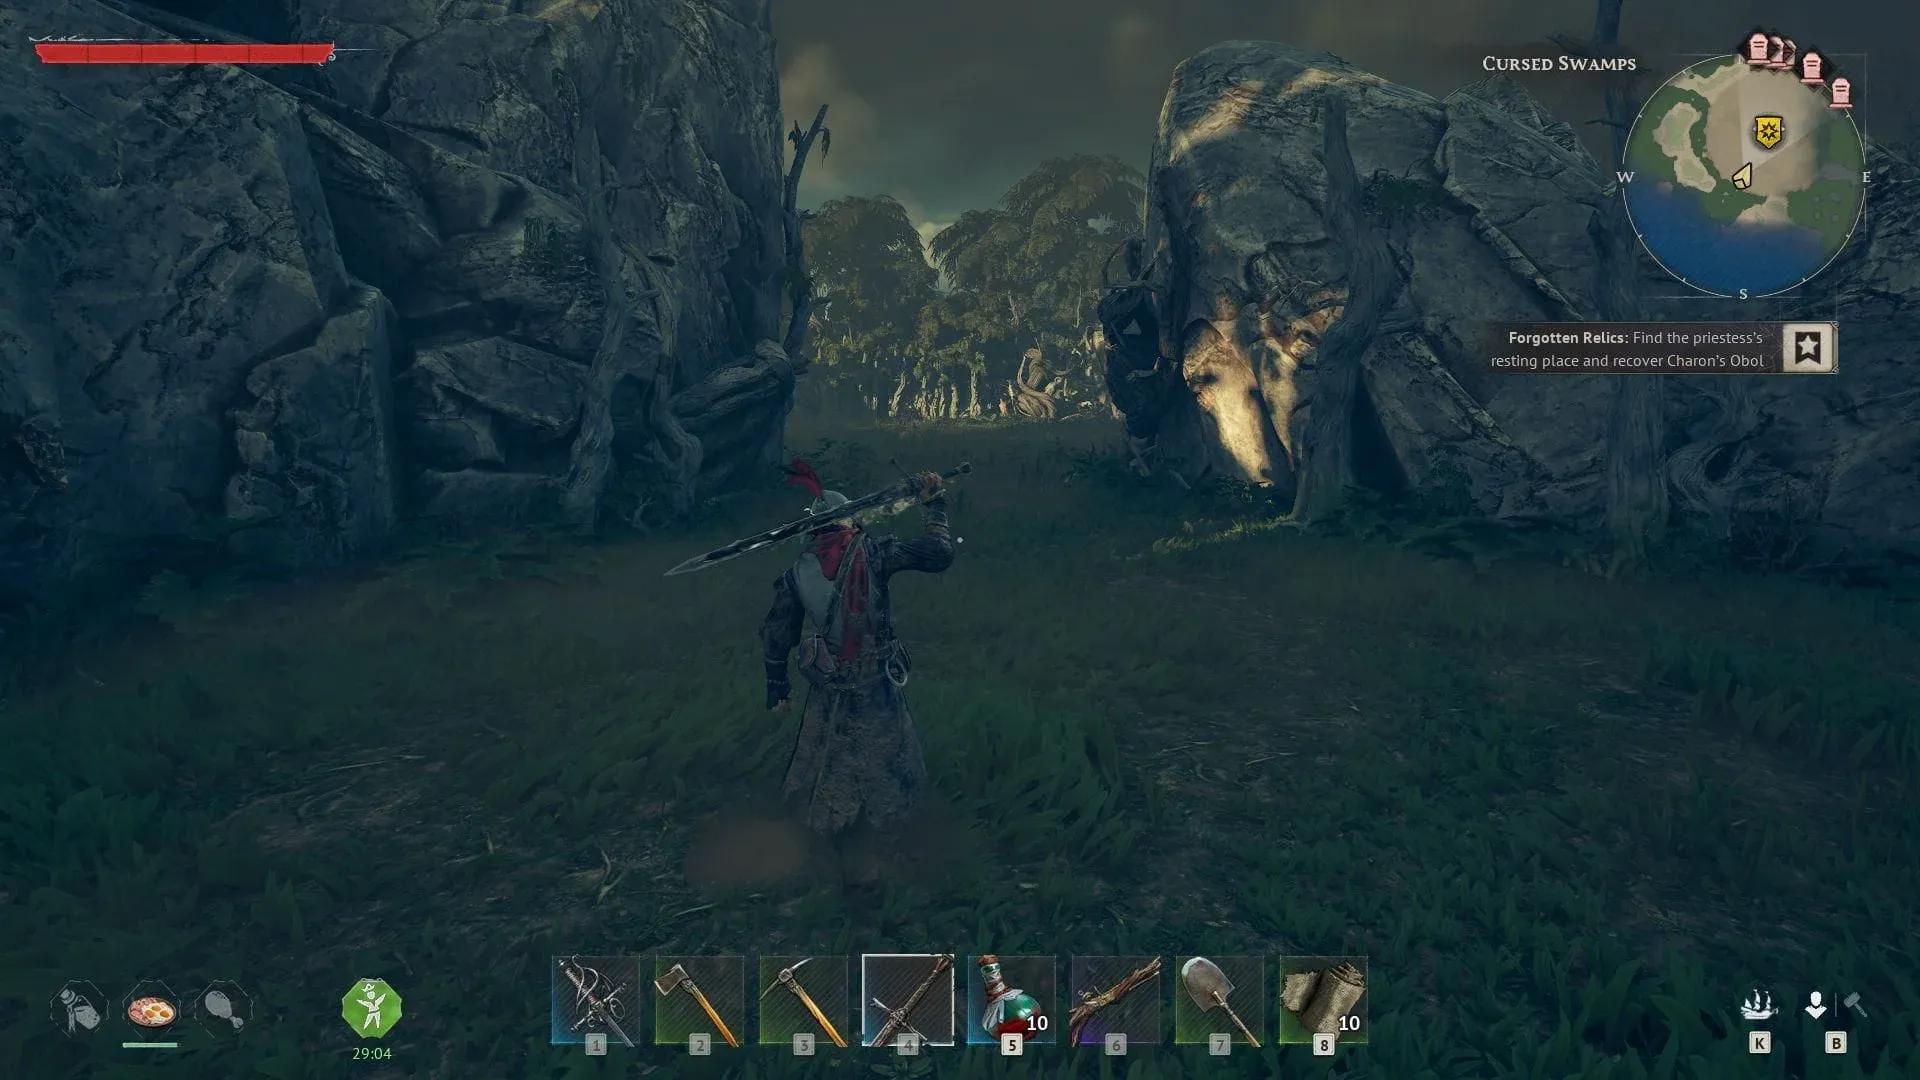
Ancient Swamps ruins entrance
How to Complete Forgotten Relics Quest
Step 1: Talk to John Doe at camp
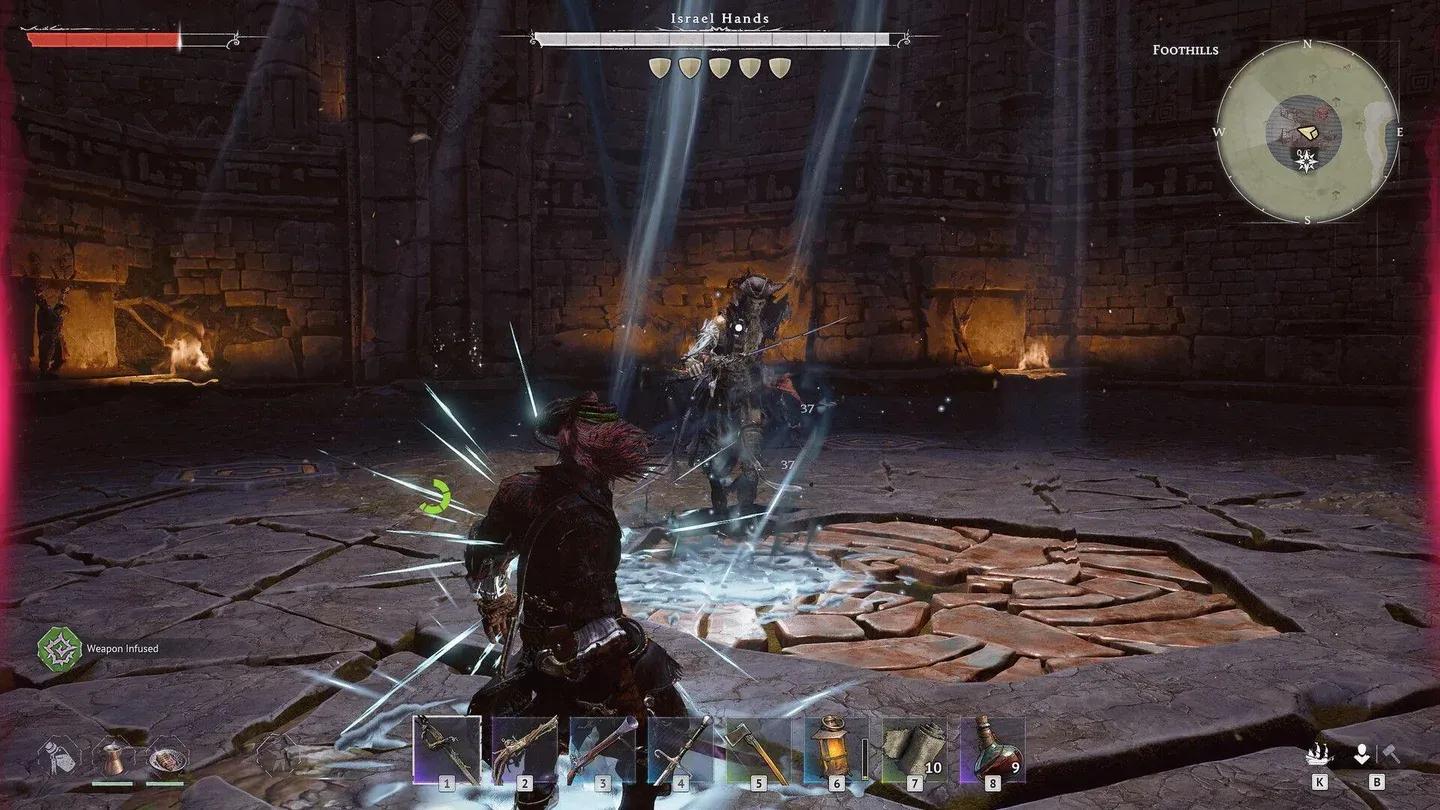
After rescuing John Doe from Israel Hands' arena, he moves into your home base as a guest. Speak with him to learn that a local priestess was holding the second Charon's Obol. John explains that the Obols are the only way to escape the curse branded on your character. This conversation triggers the quest and marks your first objective on the map.
Step 2: Find and search the priestess's chambers
Sail to the objective marker in the Ancient Swamps. You're heading to a ruined island. Plague Thralls and Plague Crocodiles guard the perimeter, so clear the outer area before pushing into the central chamber. Inside, interact with the Clay Tablet. You can't read it yet, which sends you back to John.
John translates the partial inscription: "Stab the Dagger... spill blood in the sacred grove, and hear the voice of the gods." Useful lore, but incomplete. You need more tablets.
Step 3: Collect four Senkamati tablets
This is where the quest opens up and gets dangerous. John tells you the Clay Tablet is incomplete, and you need four Senkamati tablets from separate ruins across the swamp islands. Both Destructoid and deltiasgaming.com confirm that the exact tablet locations vary between saves, so follow your quest markers rather than any fixed coordinates.
Two of the four ruins sit in standard swamp terrain, guarded by Plague Hunters lurking in tall grass. The other two are inside the Tainted Forest, which is the part that gets people killed.
Tainted meter fills fast here
How do you survive the Tainted Forest?
The Tainted Forest applies a lethal status effect tracked by a purple meter above your guard break symbol. If it fills completely, your character dies instantly with no recovery window. Here's what works:
- Ignore every enemy inside the forest. Sprint directly to the tablet location, grab it, and leave. Fighting in the forest burns time and lets the meter climb.
- Watch the 75% threshold. According to xboxplay.games, the meter resets significantly faster than it builds, but only once you're outside the dark purple-tinted tree line. Any beach area works for resetting it.
- Craft Taint Resistance armor before entering if you're struggling. This slows the meter's growth and can nearly double your safe window inside the forest.
Step 4: Return to John and examine three murals
Bring all four Senkamati tablets back to John. He deciphers them and finds two recipe collections and information pointing toward a specific location. You'll need to wait roughly one in-game day for his translation to complete. Once done, John marks a nearby island where three murals need to be examined. Visit each one to unlock the location of the ritual site.
Step 5: Search and inspect the ritual site
The Ritual Site sits inside another stretch of Ancient Ruins. Plague-infected enemies guard the approach. Push through to the central Altar, examine it, and you'll receive the Enchanted Ritual Dagger. This is a Key Item, not a weapon. You cannot equip it in your weapon slot. Its only function is triggering the boss encounter at the Cursed Plant.
Step 6: Defeat the High Priestess and claim Charon's Obol
Navigate to the priestess's resting place. The arena is a large circular area filled with rotten trees and plague effects. Interact with the Cursed Plant at the center to use the Enchanted Ritual Dagger, which summons the High Priestess.
How do you beat the High Priestess in Windrose?
According to deltiasgaming.com, the High Priestess is a large frog-shaped boss with two main attack types: wide AoE slams with her hands and a tongue strike for extra damage. She's the third main boss in the game and slower than the fights you've had before, but her attacks have massive range.
The most effective approach: stay behind her consistently and deal chip damage rather than going for big windows. Deltiasgaming.com also notes that the spheres on her back can be destroyed to stun her briefly. Use those stun windows for your highest-damage attacks.
If you're struggling with her close-range AoE, switch to a high-tier bow or musket. The xboxplay.games guide confirms that ranged weapons let you stay outside her effective attack radius while still dealing consistent damage.
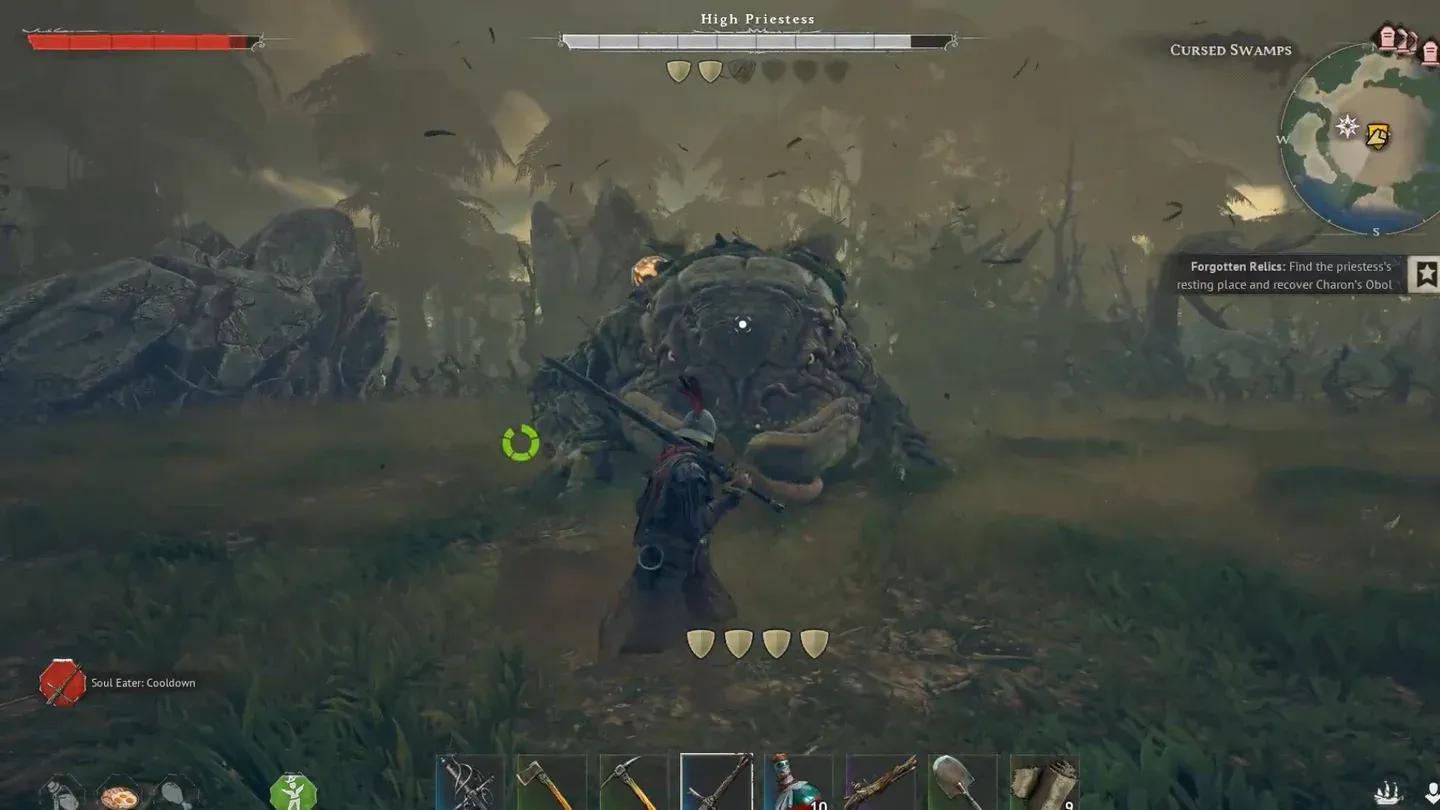
High Priestess boss fight
Once she falls, loot her remains to collect the second Charon's Obol. The quest then closes with the "To be continued..." prompt, which reflects the current state of the early access build.
For more Windrose walkthroughs and tips on surviving the archipelago's toughest encounters, browse more guides at GAMES.GG.