Search games, articles, guides...CtrlK
Sign InGet Started
Struggling to navigate Pharlooms twisting paths? This guide shows you exactly where to find the map seller, buy essential tools, and farm currency to reveal every hidden corner early on.

Written by Mostafa Salem
Head of Gaming Research
See more GAMES.GG guides on Google
Add us as a preferred source and our guides show up first in your results.
Hollow Knight Silksong How to Beat Fastest in Pharloom Racing Challenge
Complete Sprintmaster Swifts three challenging races to earn valuable rewards including a Mask Shard in Hollow Knight Silksong.
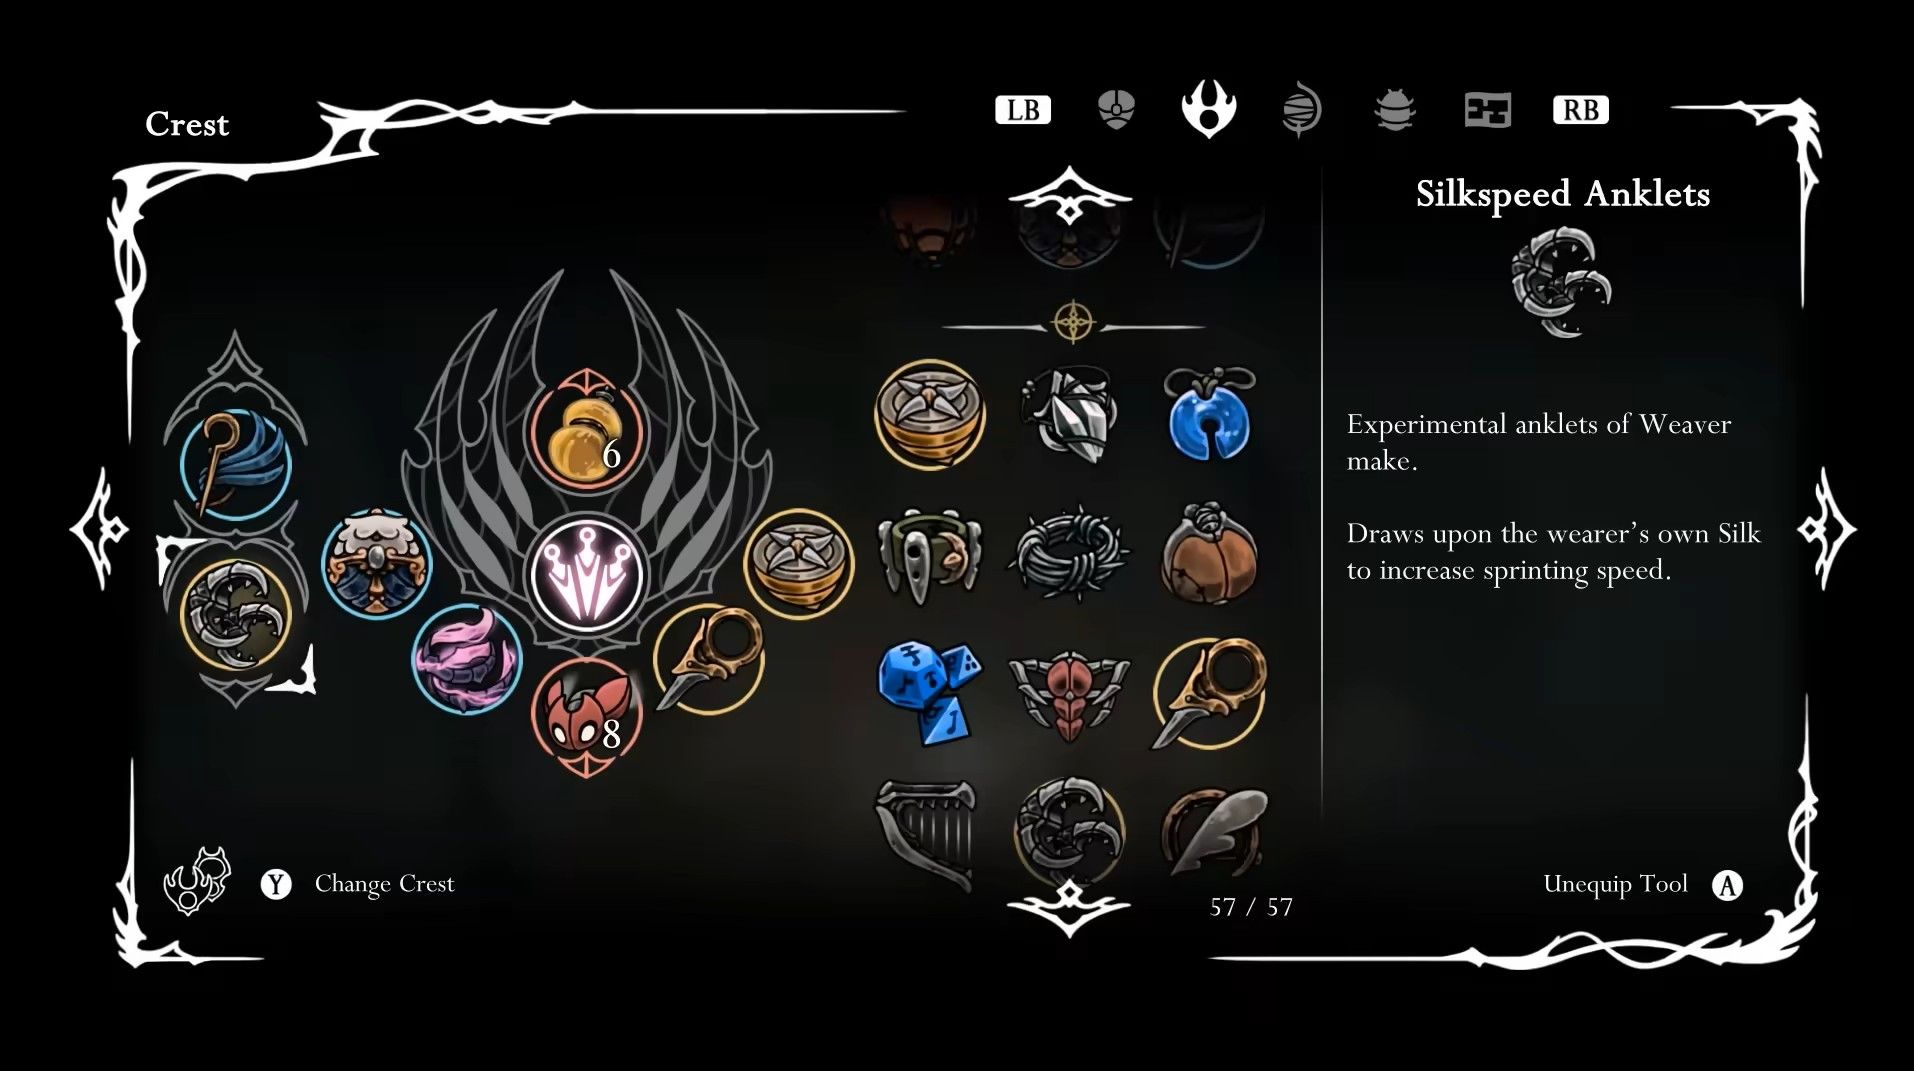
Hollow Knight: Silksong Complete Crest Collection Guide
Master every Crest in Silksong with our complete location guide, unlock requirements, and optimal build strategies for each combat style.

Hollow Knight: Silksong Guide: Unlock All NPC Quests and Rewards
Dive into every NPC questline in Hollow Knight: Silksong, from gathering rare items to epic hunts, and snag those game-changing rewards to boost your adventure.
Navigating Pharloom in Hollow Knight: Silksong without a map feels like wandering blind through a kingdom designed to confuse you. As Hornet, you start mapless, relying on linear corridors until you can chart your own course. The solution? Track down the cartographer, stock up on mapping tools, and farm enough currency to afford them. Once you've got your bearings, those twisting passages and hidden benches become landmarks instead of dead ends. Here's how to go from lost explorer to master navigator.
You won't meet Shakra, Pharloom's wandering cartographer, until after you've cleared the first boss in Moss Grotto and passed through Bone Bottom. Push into The Marrow—the second major zone—and climb through a large chamber filled with lava hazards. Veer left at the top, then scale a vertical shaft where platforms collapse beneath you as you jump.
Continue left until you hear singing. Look for bug corpses and copper rings scattered on the ground—that's your signal. Shakra sets up shop here, selling maps and upgrades in exchange for Rosary Beads, the currency dropped by humanoid enemies throughout Pharloom.
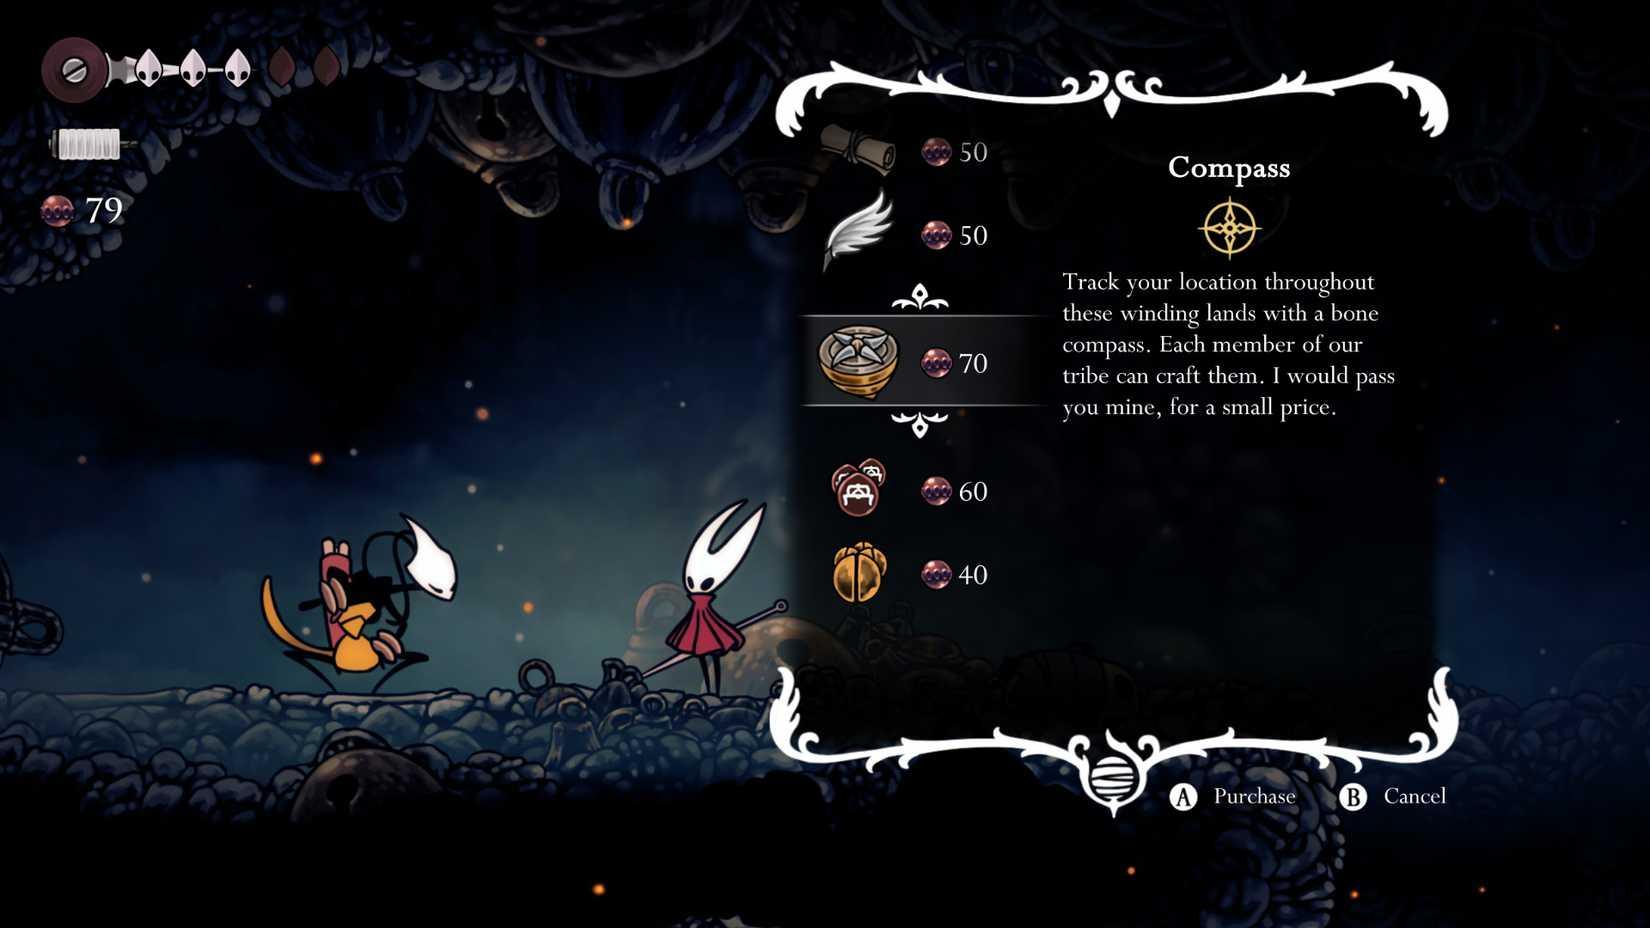
How to Unlock the Map in Silksong
After purchasing a map, hold LB or L1 to view it while exploring, or examine it at any bench for a detailed look. Maps you haven't bought yet show up completely blank, so prioritize new regions as you reach them.
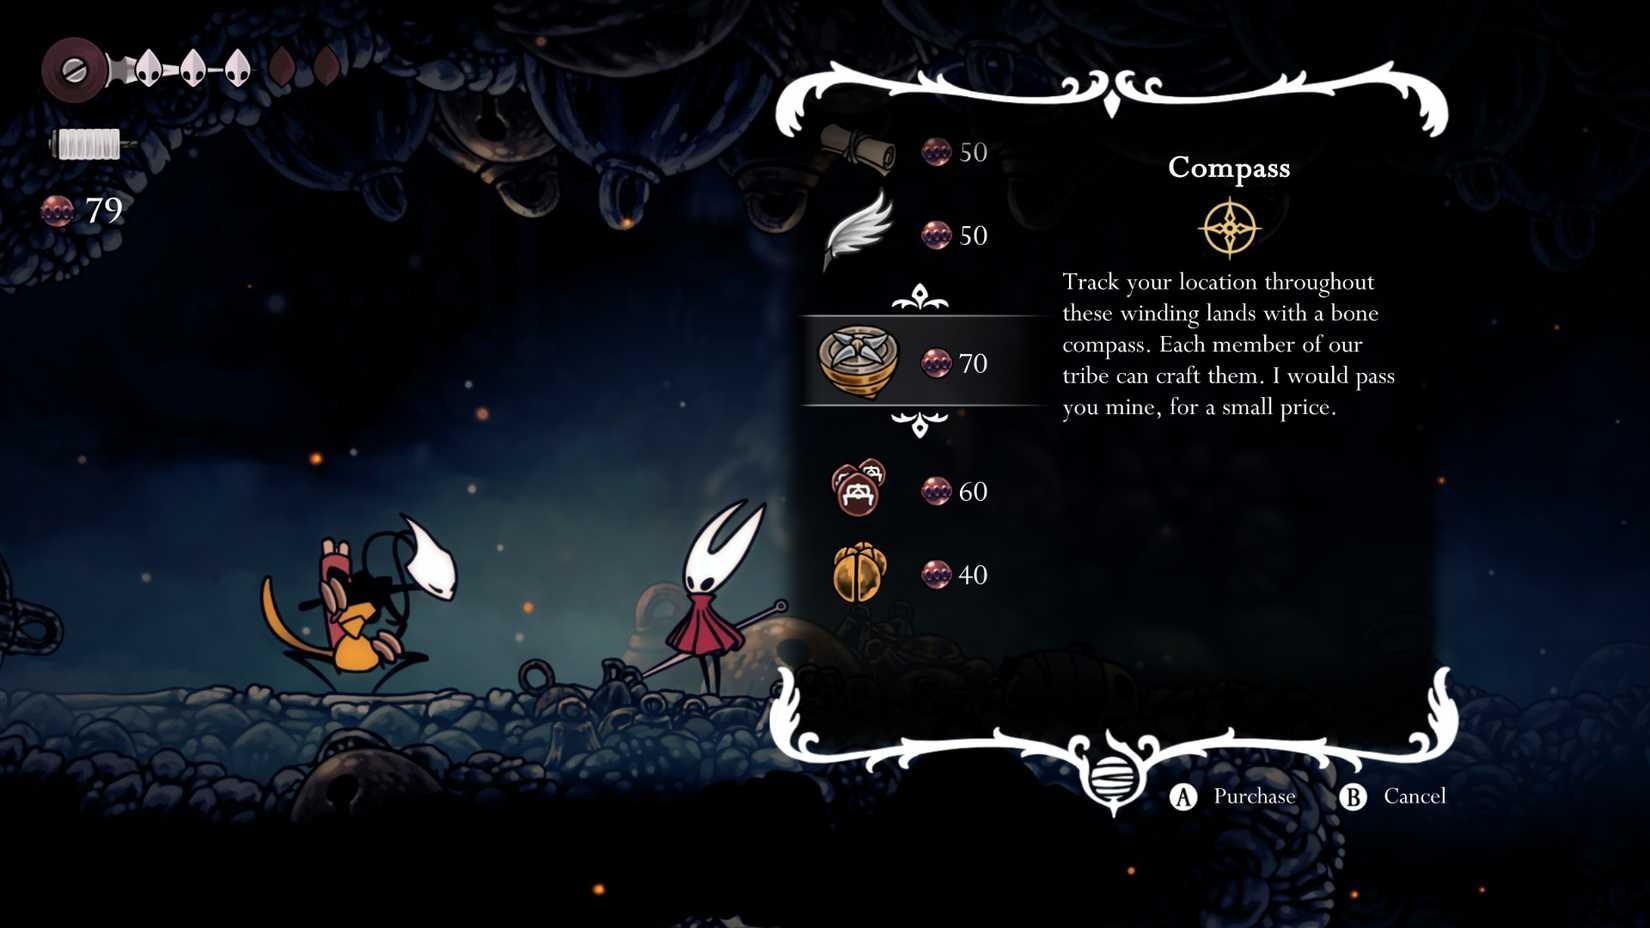
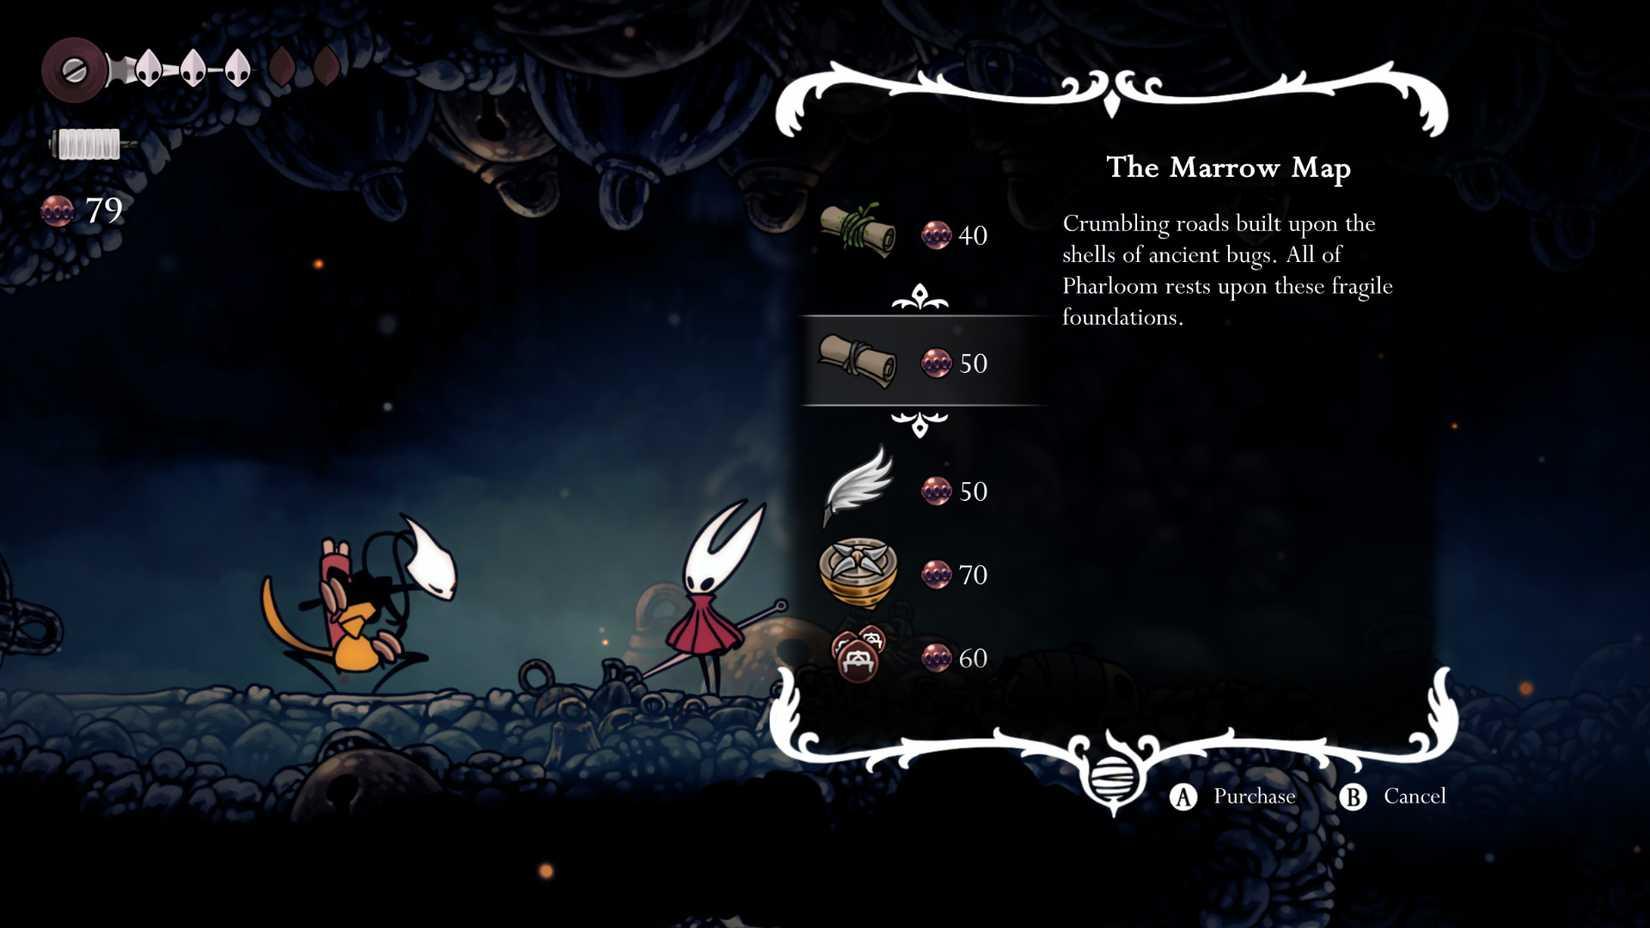
Shakra's inventory grows as you progress, but her early offerings transform your map from a static sketch into something actually useful. Here's what she stocks in the opening hours, with prices listed in Rosary Beads:
| Item | Price | What It Does |
|---|---|---|
| Mosslands Map | 40 | Shows the full layout of Moss Grotto, making backtracking less painful. |
| The Marrow Map | 50 | Charts The Marrow's paths, including those lava-filled vertical sections. |
| Quill | 50 | Auto-fills explored areas on purchased maps whenever you rest at a bench. |
| Compass | 70 | Displays your current position on the map in real time—equip it through your Crest at benches. |
| Bench Pins | 60 | Marks every bench and rest point on your maps automatically. |
| Shell Marker | 40 | Provides 9 custom pins you can place manually at benches to mark secrets or objectives. |
Grab the Quill immediately after your first map purchase. Without it, your map only shows the initial outline—you'll miss all those side passages and shortcuts you've actually walked through. As you reach new areas like Deep Docks or Greymoor, check back with Shakra for additional regional maps.
How to Unlock the Map in Silksong
You won't have enough beads when you first meet Shakra, but gathering them is straightforward. These red or silver beads come from two sources: environmental pickups and humanoid enemies. Beast-type foes drop Shell Shards instead, so ignore them for bead farming.
Scan ceilings, statues, and suspicious mounds for beads you can strike loose. The real volume comes from two-legged pilgrims and aggressive humanoid bugs scattered across Pharloom. They drop beads consistently and respawn after resting at benches.
For a quick farming route, head left from Shakra's location in The Marrow. This loops back toward Moss Grotto through a room packed with frenzied pilgrims. Clear the room for 10-20 beads, rest at the nearby bench to reset the enemies, then repeat. If you leave The Marrow without buying anything, Shakra relocates to Bone Bottom for easier access later.
Check our How to Farm Rosary Beads guide for additional routes and strategies.
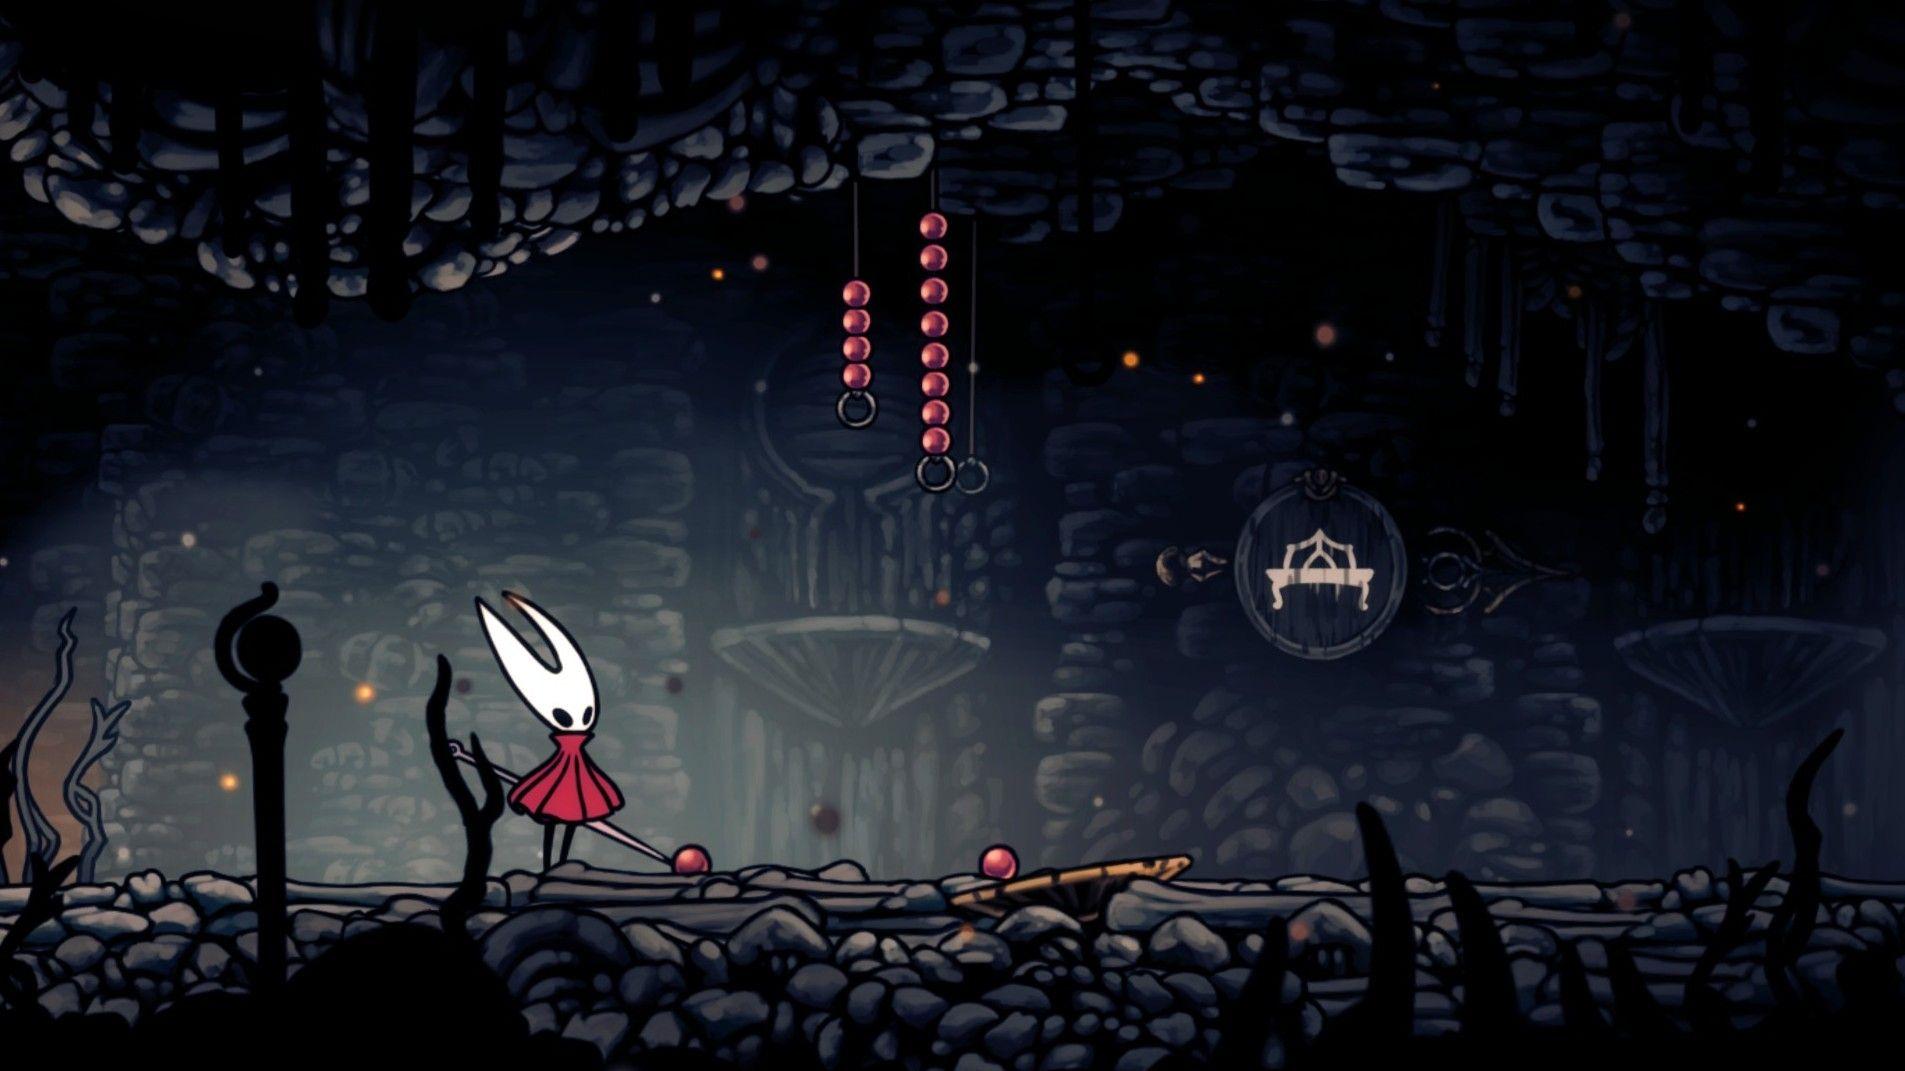
How to get Rosaries in Silksong
Once your map is filling in automatically, layer on additional strategies. Equip the Compass through your Crest for live position tracking—crucial in maze-heavy zones like Hunter's March. Use Shell Markers to flag tough enemies, unfinished objectives, or suspicious walls you want to revisit later.
What catches most players off guard: maps only update when you rest at benches. Plan your exploration routes around rest points, and after unlocking movement abilities like the dash in later areas, circle back to previously mapped zones to fill in gaps you couldn't reach before.
How to Unlock the Map in Silksong
With these tools and a steady bead income, Pharloom's sprawling corridors become manageable. Rest often, mark what matters, and watch your map transform from a blank slate into a complete guide to the kingdom.