

Hollowbody is a tech-noir survival horror game that wears its Silent Hill influences proudly, and it earns every comparison. Playing as Mica, you navigate decayed tower blocks, flooded sewers, and abandoned train stations while solving puzzles that actually require you to pay attention. The game is not long, but it is dense with locked doors, cryptic clues, and enemies that appear without warning. This walkthrough covers every area from start to finish, with full solutions to every puzzle and the location of every key item you need to progress.
The prologue: what happens on the beach?
The prologue is entirely linear and sets up the story. Follow Charlie down the hill and engage with the conversation. When you reach the beach, you need to find a man called Mark. Head back up the path you came from, pass the tent, and look for a second route down to the beach ahead. Keep moving parallel to the sea until you reach a cave in the rocks. Pass through it and keep going until you hit a large hole, which triggers a cutscene and hands control to Mica.
Mica's torch in the tower block
The tower block: key items and how to get through
This is the longest and most puzzle-heavy section of the game. Take your time here.
Getting started in the tower block
- Head down the street and find the trailer at the bottom. Inside is a Repair Spray. Pick it up, open your menu, go to items, and use it.
- Open your COTAC radio from your inventory near the trailer to collect signal 1.
- Follow the main road until you reach a wrecked mech collapsed onto a building. Across from it is a path leading through a playground to the block of flats.
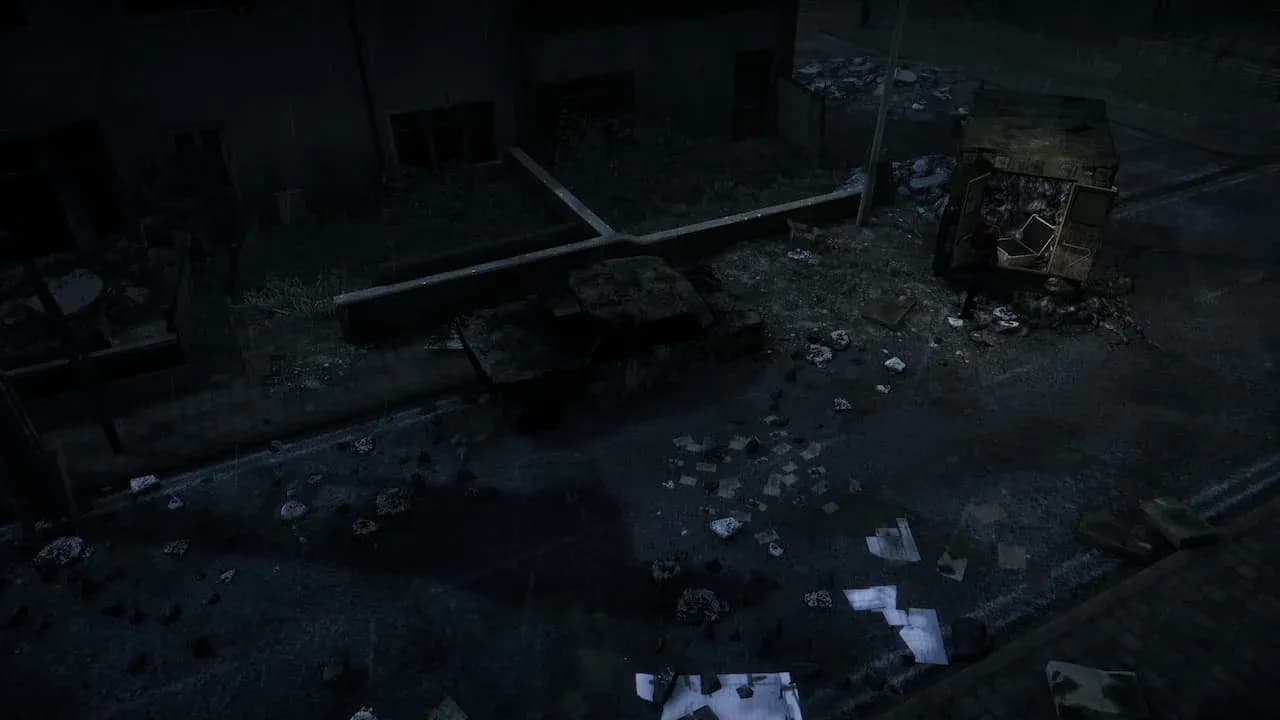
- Look for an illuminated open window with a dumpster beneath it. Move the dumpster and climb through.
Navigating the floors
Once inside, pick up the house register from the shelves. Note the locked Staff Only box on the wall near the door. You will return here later with the right tool.
Head upstairs to floor 2. Check door 2.14 and note the body through the floor hole, then leave. Find the unmarked door down the corridor for a newspaper article, revolver ammo on the balcony, and a keycard to 2.3 on a body inside. Use your COTAC in door 2.10 for signal 2, then use the keycard to enter door 2.3.
Drop through the floor hole, answer the ringing phone (you can save here), and collect a child's drawing from the bedroom and a hammer from a family portrait. In the bathroom, pull the radiator off the wall, then use the hammer on the plasterboard behind it to make a crawl-through hole.
On the other side, grab the portable battery from the body at the end of the corridor. Stomp the ammo crates (press Triangle/Y with a weapon equipped), then collect the club sticking out of a door. Equip it from your menu.

Helen's bedroom safe puzzle
How do you open the safe in Helen's bedroom?
After defeating the enemy in the apartment, you will find a locked safe on the wall next to a graduation picture. Three clues are scattered around the apartment:
- The letter in the kitchen states she was born in 2025.
- A photo by the bed shows her 30th birthday with a 3-year-old child.
- The graduation photo on the wall shows her heavily pregnant.
She turned 30 in 2055. Subtract 3 (the child's age) and you get 2052. That is the safe code. Open it to get the old key.
Use the old key on the gate at the end of the corridor. Head back to the ground floor and use the hammer on the Staff Only box to collect the ground floor gate key, card writer, and a note. Use the battery on the gate in the corridor to melt the expanding foam, then open it with the gate key.
In your inventory, combine the 2.3 room key with the card writer to create a Master Key that opens any door in the building.
How do you power the elevator in Hollowbody?
Find the note near the elevator on the upper floor. It shows a switch pattern where O means down and X means up:
Before setting the switches, use the chopsticks (found in the kitchen of the apartment you set fire to) on the meter to replace the missing switch. Set the switches to match the pattern above, then press the square button next to them. The elevator will power on.
To get the chopsticks: in the apartment with the guitar on the wall, go into the kitchen. The chopsticks are on the counter. Also grab the bottle of alcohol from the bathroom's makeshift distillery. Use the alcohol on the pile of trash in the corridor, then use your lighter to start a fire. The sprinkler system activates, and the door ahead opens.
In the bedroom of this area, go through the large hole in the wall. Use your hammer on the cheap padlock on the locker inside to find the electricity meter.
The rooftop choice and endings
After riding the elevator to the top, exit to the roof. You will find a man standing on a ledge. The dialogue choices here determine your ending on the first playthrough.
- Choosing to answer the radio during the conversation locks you into the Reunion ending.
- Successfully talking the man down without answering the radio locks you into the Riven ending.
After the scene, check the note by the tent for the code 8053. Ride the elevator back down and use this code on the keypad by the double doors.
The park and houses: what items do you need?
Once outside, head down the road, take a left then a right, and pass through the red gate. Look for an opening on your right to find a quiver of arrows. Continue through the second red gateway and squeeze through the partly open door shutter.
Answer the phone box on your left (and save). Find a healing spray on a bench near the self-help sign. Take the path to the right of the phone box. At the crossroads, go left to find the wooden bow on a body at the fountain. Combine the wooden bow with the quiver of arrows to create the bow and arrows.
Back at the fork, take the path leading up. At the next fork, take the right path to find a body on a gate with a heart-shaped lock on its chest. Take the wallet from the floor and inspect it to find a digilock house key for house 21.
Use your COTAC radio near the strange mass in the park for signal 4, then leave the park and find house 21 on the right side of the street.
Inside house 21 and the camcorder puzzle
- Use the digilock key to enter. Interact with the TV monitor and prepare for a boss fight.
- After the fight, take the camcorder from the desk TV.
- Upstairs: use COTAC for signal 5 in the first room, then find the tripod in the next room. Set up the camcorder on the tripod and interact with it.
- Cross the street to the house the camcorder was pointing at. The door is open.
Inside the second house, collect ammo from the living room and a newspaper article from the sofa. Go upstairs. Grab the makeshift axe from the body on the wall and the coathanger from the wardrobe. In the next room, pick up the yo-yo from the desk. Combine the yo-yo and coathanger to make a makeshift hook.
Back downstairs, use the makeshift hook on the bathtub to drain the water and retrieve the heart-shaped key. Return to the park gate and use the key to open it. Cross the graveyard and head into the church.
How do you solve the candle puzzle in the church?
Inside the church, there is a table with 10 candles near the entrance. Each candle has a name beneath it. Head outside to the graveyard and note which 5 graves are illuminated. The names on the lit graves are the ones you need to light inside.
Once you light the correct 5 candles with your lighter, a hidden compartment opens. Head down into the crypt, grab the Repair Spray from one of the tombs, and crawl through the hole in the wall to reach the sewer.
The sewer: how do you find all four hearts?
The sewer is maze-like but follows a consistent structure. Follow the blood on the floor to a gate covered in intestines, then backtrack and take the left path up. Work through the tunnels systematically: each branch contains one heart on a desk or in a chamber. There are four hearts total spread across four separate tunnels.
Once you have all four, find the room with the strange altar with hands and place all four hearts in them. The path forward will open. Follow the new route to a ladder, examine the body at the bottom for ammo, then climb up.
Sewer altar with four hearts
The streets and train station: final stretch
Navigating the streets
Answer the phone box near the ambulance and save. Use your COTAC in the nearby alley for signal 6. Climb through the window at the alley's end, investigate the flashing fuse box, grab the scissors from the toaster, then flip the switch again. A fire starts, so exit immediately.
Follow the road to the Star shop on your right. Inside, grab the pack of fuses from the top right corner and go through the No Entry door. Use the fuses on the fuse box to raise the shutter. Grab the newspaper article before you go through. Outside, find a discarded letter by the dumpster.
Continue until you find a barricade with a hand scanner. Backtrack slightly to find a body against a building. Use the scissors on it to get the severed hand. Return to the scanner and use the hand to unlock the door. Follow the road to the train station, go through the No Public Access sign, and head down the stairs.
Inside the train station
Answer the ringing phone and save. Head right down the glowing red corridor and down the stairs. Use COTAC for signal 8 at the bottom. In the large room ahead, grab the confidentiality letter from the restroom and the plastic explosive from the corpse against the far wall.
Squeezing through the gate near the platform, jump down to the tracks at the end and go through the door in the tunnel. Inside, use your fuse pack on the fuse box to repair the faulty fuse. Head all the way back to the phone room and go left down the other corridor. Use the plastic explosive on the brick wall to bring it down.
Down the stairs, enter the right-side restroom and open the cubicle with the corpse inside. Turn it over to collect gold coins from its eyes. Use the coins at the ticket machine to get a train ticket. Use the ticket on the machine near the barrier and pass through.
How do you defeat the final monster in Hollowbody?
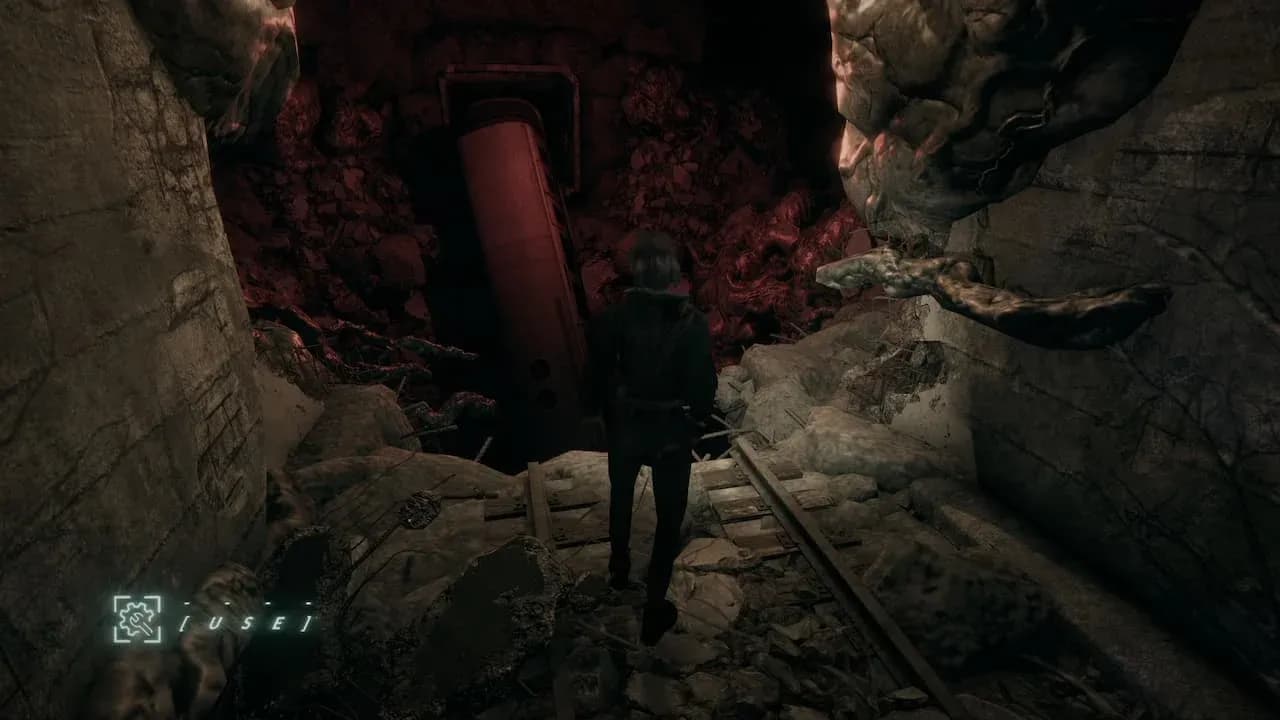
Jump down to the tracks and move left until you find a large hole. Climb down, follow the wires on the ground, cross the strange bridge, and take the detonator from the body on the wall.
Now run. Something large will chase you back through the tunnel. Each time you pass a set of explosive canisters, press Triangle/Y to trigger your detonator and blow them up as the monster passes. You need to detonate 4 sets of canisters to kill it.
After the monster is dead, crawl through the hole beneath where you found the detonator. Watch the cutscene and answer the final call. That is Hollowbody completed.
For more guides covering every area of the game, check out the full Hollow Knight guides collection on GAMES.GG. If you enjoy atmospheric adventure games with heavy puzzle elements, Hollowbody sits near the top of the genre. You can also find more on the Hollow Knight game page, and browse the full Hollow Knight strategy guide library for deeper dives into similar titles.