

Stop wasting hours on walls you could finish in minutes
Painting and tiling are the two tasks that eat the most time in House Flipper Remastered Collection, and most players never figure out why they feel so slow. The answer is almost never the tool itself. It is the skill tree order, the way materials get placed around the room, and a handful of movement habits that either compound into massive time savings or compound into frustration. This guide breaks down every layer of the system, from your very first email job through the late-game renovations that cover hundreds of square meters.
What are the biggest mistakes new players make with painting?
The single most common trap is treating the early game as a throwaway tutorial. House Flipper Remastered Collection is deliberately sluggish at the start to make skill upgrades feel rewarding, but players who spend those first hours doing random low-yield tasks delay access to the upgrades that actually matter. Every action generates experience toward specific skill trees, and not all actions are weighted the same. If you want to unlock painting efficiency fast, you need to be deliberate about which jobs you accept.
The second mistake is inventory mismanagement. Carrying a paint bucket across a room reduces your movement speed noticeably. Players who place buckets against a wall, paint a small section, then physically carry the bucket to the next wall are compounding that penalty dozens of times per job. The time lost to those trips adds up faster than almost any other inefficiency in the game.
Center your materials, save your legs
The third mistake is buying small paint buckets to save money. A large paint bucket covers approximately 40 wall panels. Small buckets cover far less, and the time spent ordering, spawning, and opening multiple small buckets costs more than the price difference saves. Treat your time as the actual currency.
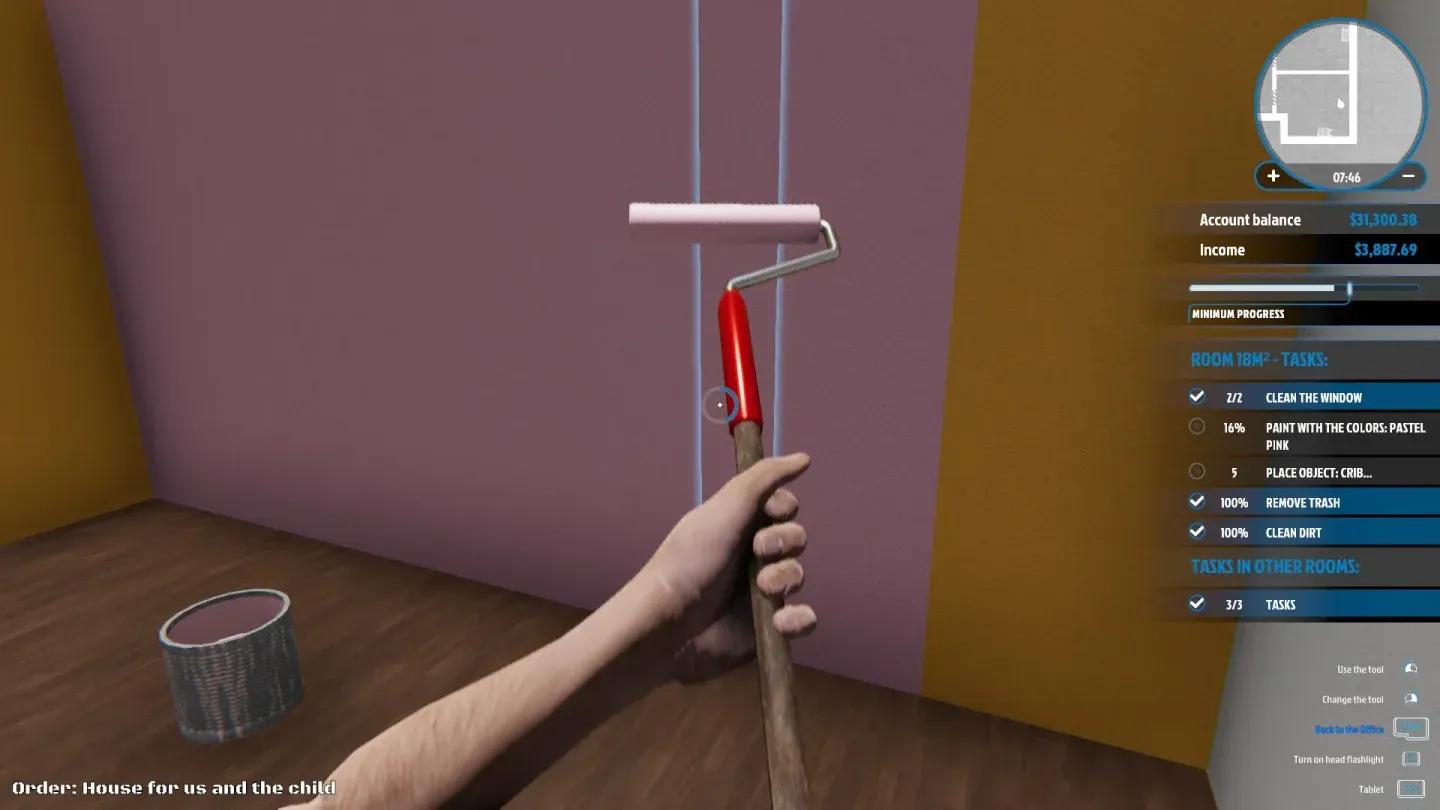
How the painting and tiling mechanics actually work
The game treats each wall as a grid of vertical rectangular hitboxes rather than one solid surface. Your paint roller checks against its current area of effect and your unlocked skill multipliers when it applies paint. The default roller covers exactly one vertical panel. The default trowel places one tile at a time. Both have animations tied to a fixed frame timer, not to the completion of the action itself.
This is where movement technique matters. Positioning your character at a 45-degree angle to the wall instead of flush against it reduces the distance the camera needs to travel when snapping to the next panel. Holding the primary action button while strafing sideways with A or D queues the next painting action the moment the previous animation frame ends, eliminating the micro-pause that happens when you click each panel individually.
Tiling works differently because it is a two-step process: adhesive application followed by tile placement. The game requires you to hold the button until a circular progress bar fills. The action registers at exactly 95% completion, which means you can move your cursor to the next grid square just before the circle closes and the game will start the next application cycle without breaking your combo. Across a large kitchen or foyer, that 5% shaved off every single tile translates to significant time savings.
Which skill tree perks should you prioritize?
The Painting tree and the Handyman tree are the two you need to build immediately. Everything else is secondary until these are maxed.
Within the Painting tree, Paint More is the highest-priority node. At Tier 1 it lets you paint 2 panels simultaneously, Tier 2 unlocks 3, and Tier 3 unlocks 4. The catch is that painting more panels consumes paint exponentially faster, so Good Equipment must be upgraded alongside it. Good Equipment at Tier 3 means your roller holds 4 times more paint before needing a refill. Upgrading Paint More without Good Equipment means you spend more time at the bucket than actually painting, which negates the speed gain entirely. Fast Painting rounds out the trio by increasing animation speed directly.
In the Handyman tree, Tile Multiple is the equivalent of Paint More. At maximum level you can place up to 10 tiles in a single action. Fast Tiling at Tier 3 increases trowel animation speed by 75%, which stacks well with the multi-tile placement.
What is the fastest room layout for painting?
The "Concentric Circle" method beats the standard perimeter approach every time. Most players enter a room and start painting from the door, working around the walls in order. This forces constant bucket relocation. Instead, calculate the rough center of the room, drop two large paint buckets side by side at that point, and work outward in a circular radius. With maxed roller reach, you can cover roughly 70% of a standard room's walls without ever moving your buckets.
For tiling large surfaces, camera angle is the variable most players ignore. Looking straight at a wall limits your field of view and makes it hard to target a 10-tile block near the floor and ceiling in the same sweep. Back up approximately 3 in-game meters from the wall, crouch, and aim your cursor at the center of the 10-tile grid you want to fill. This lets you highlight the maximum coverage area instantly and sweep across the room in large chunks.
How do you avoid wasting materials and killing your profit?
Speed without cost control produces poor margins. The game does not display exact room square footage, which leads to what you might call the half-bucket problem: buying a large bucket for a tiny bathroom, using 10% of it, and selling the remainder at a loss.
A standard interior wall panel is roughly 2.5 meters high and 0.5 meters wide. A large paint bucket covers approximately 40 panels. Before opening the tablet to buy paint, do a quick visual count of corners and windows. Windows subtract from the total paintable area. A room with 30 panels needs one large bucket. A room with 50 panels needs one large and one small. Two large buckets are only justified when the room is visibly massive.
Tiles are even less forgiving. Unlike paint, tiles cannot be stretched or partially used to cover gaps. Running out with three panels left means buying a full new stack, using three tiles, and selling the rest at a loss. The practical solution is to skip tiling surfaces that will be hidden behind kitchen cabinets or large wardrobes. The buyer AI calculates aesthetic value from visible surfaces only, so bare wall behind a floor-to-ceiling cabinet costs nothing in the final sale price and saves both tile stock and trowel time.
How do the first jobs teach painting and tiling?
The early job chain in House Flipper Remastered Collection is not just a tutorial. It is the fastest legitimate way to grind Painting and Handyman experience because each job is designed around specific tool repetition.
Art in Every Corner is the first job where painting becomes the main objective. It introduces the paint roller, the color-matching requirement, and electrical outlet repair in the same session. The outlet work matters because blocked outlets force furniture moves, which teaches the habit of reading the room before buying materials. The recommended order for this job is to read the task list first, buy the exact paint color specified, move any furniture blocking outlets or wall sections, repair the outlets, then paint the required walls.
The Princess on the Way scales that up into a multi-room job covering cleaning, window work, painting, and nursery furniture placement. It is the first job where similar-looking items can fail the objective if the exact item name from the task list does not match. That precision carries directly into later renovation work where wrong fixtures waste both money and time.
What about high walls and multi-story renovations?
Vaulted ceilings, stairwells, and two-story exteriors introduce a separate set of bottlenecks. The biggest one is leaving materials on the ground floor and climbing up and down a ladder for every refill. That single habit destroys completion times on any tall renovation.
The fix is to carry your large paint bucket or bulk tile pallet onto the scaffolding platform with you before starting work. Placing the bucket directly on the scaffolding keeps you at height and lets you apply the Concentric Circle method vertically across upper wall sections without touching the floor. Choosing the right elevation tool for the room architecture matters just as much.
Keep building your renovation skills
Painting and tiling efficiency in House Flipper Remastered Collection comes down to three things working together: the right skill tree order, smart material placement, and consistent movement habits. Max Paint More and Tile Multiple first, balance them with Good Equipment and Fast Tiling, stage your materials at the center of the room or at height on scaffolding, and use the 45-degree wall approach with lateral strafing to eliminate animation pauses. The early job chain, especially Art in Every Corner and The Princess on the Way, gives you the fastest legitimate path to grinding those perks without burning hours on low-yield tasks.
For more strategies covering every system in the game, the full House Flipper Remastered strategy guides collection has you covered. If you are looking for other shooter games or simulation titles to add to your rotation, browse the genre pages for more recommendations. And if you want the full picture on what House Flipper Remastered Collection offers before committing more hours, check out the THE HOUSE OF THE DEAD 2: Remake page for context on what else is worth your time right now.