
Invincible VS plays nothing like most fighters on the market right now. The 3v3 tag system, a combo meter that punishes greed, and characters capable of zero-to-death strings against unprepared opponents make this one of the steepest learning curves in recent memory. Getting a handle on the fundamentals early is the difference between climbing ranked and getting looped forever. Here's what you need to know.
Combo meter fills fast
How do combos work in Invincible VS?
The foundation of every fight is understanding which buttons cancel into which. According to the IGN starter guide, the rule is straightforward: you can cancel any button into another of equal or greater strength. Lights cancel into lights, mediums, and heavies. Mediums cancel into mediums and heavies. Heavies only cancel into other heavies. Special moves and supers can be cancelled into from anything.
A standard bread-and-butter string for most characters runs: crouching light, light, medium, heavy, down heavy (which launches), then hold up to follow the opponent into the air for a second string. Down heavy in the air generally sends them back to the ground, though some characters have unique divekicks that skip the ground bounce, so you'll need to adjust your ender depending on who you're playing.
Longer combos are not automatically better. The combo meter limits how many hits you can land before the next hit drops the string entirely. Keep an eye on it.
Two mechanics reduce the combo meter mid-string. The first is a boosted dash, which lets you squeeze in extra hits after a down heavy launcher sequence. The second, and far more significant, is the active tag.
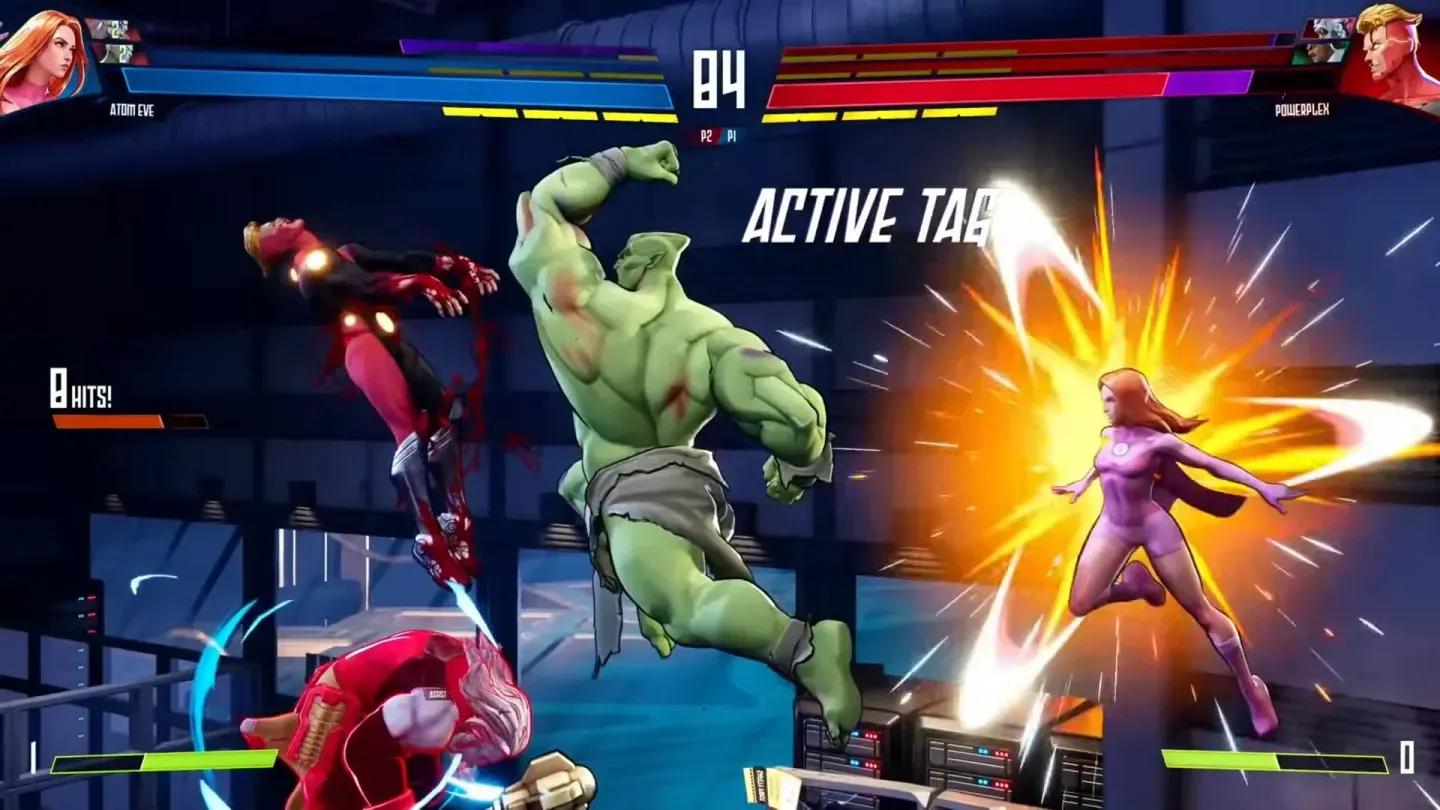
What is an Active Tag and why does it matter?
An active tag is performed by holding an assist button while mid-combo. Doing so swaps in a teammate and dramatically drops the combo meter, letting you continue the string with fresh momentum. Per the IGN guide, active tags are the primary method for extending combos beyond what a single character can do alone, and they're the only way to continue a combo after landing a super.
That makes them powerful. It also makes them readable.
Active tags are easier to react to than most players expect. Train yourself to watch for the swap animation, especially after supers, and you'll intercept them consistently.
Active tag swap mid-combo
How do Counter Tags work?
Counter tags are your response to active tags. Input medium and heavy simultaneously (medium and assist 1 on simplified controls) right before the incoming tagged character's hit connects. A successful counter tag shuts down the combo entirely.
The mind game runs deeper than just reacting, though. According to the IGN guide, the offensive player has two ways to beat a counter tag:
- Delay the active tag by pressing heavy before the tag lands, shifting the timing to throw off your counter.
- Feint the active tag entirely, leaving you completely open if you committed to a counter tag.
If you feint and your opponent counter tags anyway, they're left vulnerable, their assists go on a 3-second cooldown, and you get a fresh combo meter. If you feint and they hold off, you're the one exposed. There's no objectively correct answer. Mix up your timing, study your opponent's habits, and accept that you'll get baited occasionally.
One additional note from the source: a delayed counter tag carries significant recovery. If you land one, immediately cancel into a down heavy or a boosted special to keep the combo alive. Otherwise the string drops.
Should you rely on Assist Breakers?
Short answer: no, not as a default escape plan.
Assist breakers (dash plus assist simultaneously) will pull a teammate in to save your active character from a combo, but the cost is steep. Per the IGN guide, each use costs 2 bars of boost meter, forces the saving assist to take 50% of their health as recoverable red health, and puts both assists on a 10-second cooldown. That cooldown means you cannot counter tag if you get hit again during that window.
The recoverable health is also a trap. Any opponent worth their salt will use a snapback to forcibly drag that damaged assist character into the fight, stripping away all that health before it regenerates.
Never use an assist breaker at the end of a special move. That's exactly when opponents cancel into supers, and the breaker will be wasted while you still take all the penalties.
The IGN guide does note a legitimate use case: if your opponent has shown they can solo-kill a character, is sitting on 3 bars of meter, and the alternative is losing that character outright, commit to the breaker early in the combo.
How do Snapbacks punish assist breakers?
Snapbacks force the opponent to swap their active character for a specific teammate. Forward medium plus heavy brings in the middle character; back medium plus heavy brings in the top character (heavy plus assist 2 on simplified controls for both). You're at a frame advantage when the opponent snaps in, so keep your offense going unless you expect an invincible reversal.
If your opponent is burning assist breakers to protect a damaged character, snapbacks are how you drag that character back in before the health recovers. Don't ignore this tool.
Snapback input reference
What defensive tools should beginners use?
Two defensive options stand out for new players, both documented in the IGN guide.
Push blocks (back plus light and medium) cost half a bar of meter and create space against aggressive pressure. Used correctly against the right move, they can open up whiff punish opportunities.
Heroic Strikes (back plus medium and assist 1 while blocking) cost 1.5 bars of meter but shut down an opponent's offense entirely and leave you at a slight frame advantage. Expensive, but effective when you need to reclaim your turn.
For a deeper breakdown of these tag mechanics in context, the Invincible VS gameplay guide at invinciblevs.org covers the 3v3 system and defense strategies in detail.
How should you move around the screen?
Movement in Invincible VS has more options than the average fighter. There are three ways to dash: double-tap forward, press light and medium simultaneously, or use the dash macro. The IGN guide recommends building the macro habit as early as possible.
Cancelling a dash by pressing down lets you move unpredictably, bait reactions, and in some cases cross the screen faster by cutting the dash's recovery. Boosted dashes cost meter but are particularly strong for characters that can fly, opening up diagonal air approaches, surprise ground rushes, and projectile-clearing leaps.
How do assists fit into your gameplan?
Every character carries two assists. The forward assist generally extends pressure after a blockstring and can start combos if the opponent presses a button at the wrong moment. The back assist tends to be the more unique of the two, ranging from projectiles to anti-airs to combo starters in neutral.
According to the IGN guide, even characters with weaker assists can still cover unsafe moves or keep pressure going. Experiment with your team composition and figure out which assists complement your main's gaps.
For a more granular look at active tags and counter tag timing, the FRVR beginner guide for Invincible VS covers the Intermediate Tutorial mode, which goes into additional depth on these mechanics.
The IGN guide is written from a motion input perspective. If you're on simplified controls, button combinations differ. Check the in-game command list for the exact simplified equivalents.
For more fighting game guides and competitive tips across all genres, browse the full guides section at GAMES.GG.