
The Strike class in John Carpenter's Toxic Commando is the closest thing you'll find to a walking artillery unit. Built around clearing massive zombie hordes in seconds, it's the most approachable class for new players while still offering real depth for anyone willing to dig into the skill tree. Whether you're defending an objective solo or anchoring a four-player co-op squad, the right Strike build makes all the difference.
What Makes the Strike Class Worth Playing?
Out of the four classes available in Toxic Commando, the Strike sits in a unique spot. Its core design philosophy is simple: hit a crowd of enemies so hard that nothing gets through. Its abilities scale around horde-clearing efficiency, and when you pair the right main ability with the right passive skills, you can chain ability uses back-to-back with barely any downtime.
The class works best when you're in the thick of a wave, not picking off stragglers from a distance. Get in, trigger your ability, watch the energy refill, and do it again. That loop is what makes both builds below tick.
Strike skill tree left branch
The Two Best Strike Builds
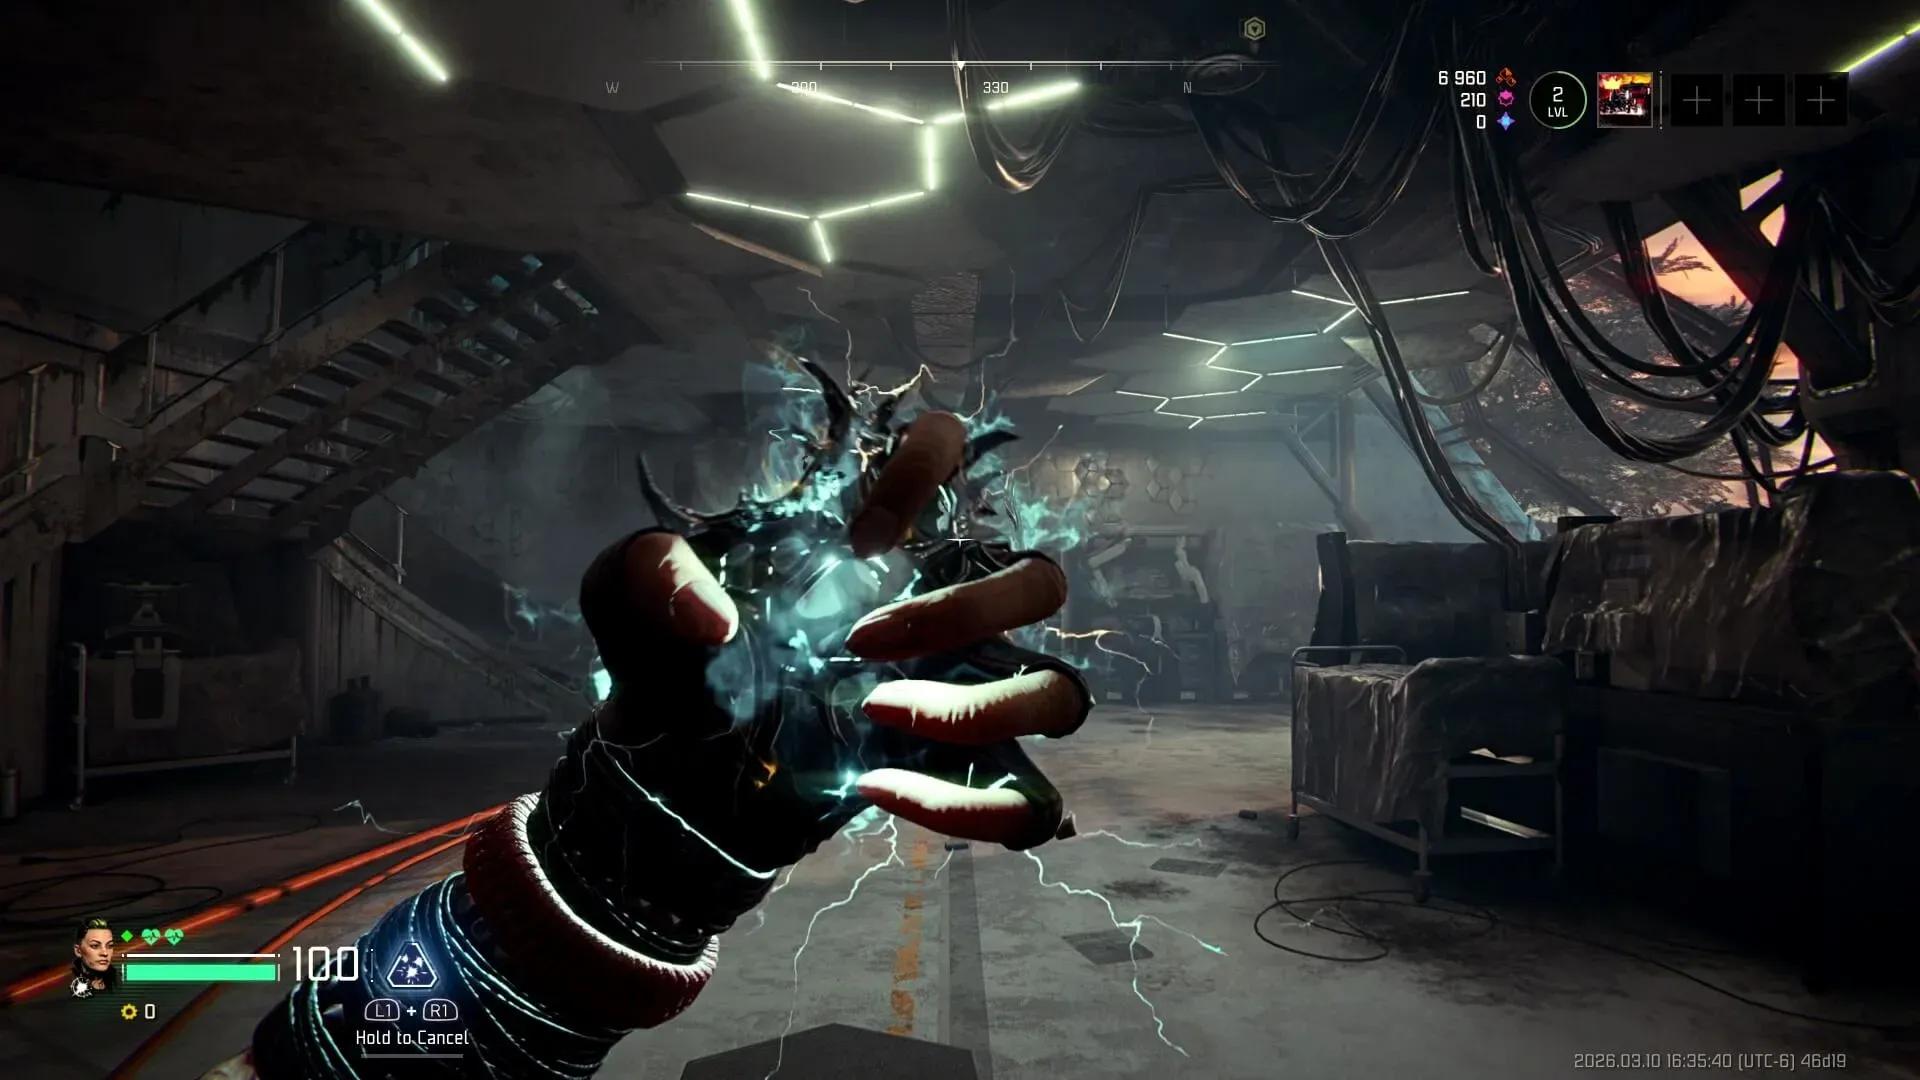
Both builds share one key ingredient: Energized. This secondary skill ties into the energy-recovery loop that defines the Strike playstyle. Beyond that, each build pulls in a different direction, one toward explosive burst damage and one toward sustained fire control.
How Does the Big Boom Build Work?
The Big Boom Build centers on Power Spike and leans heavily into the left side of the Strike skill tree. The goal is to trigger Power Spike during a dense wave, rack up kills, and let Energized refill your ability almost immediately so you can fire it off again.
Intensification IV amplifies the damage output of Power Spike, making each activation hit harder across a wider area. When you're standing in front of a chokepoint and zombies are funneling in, this combination wipes entire groups before they can close the distance.
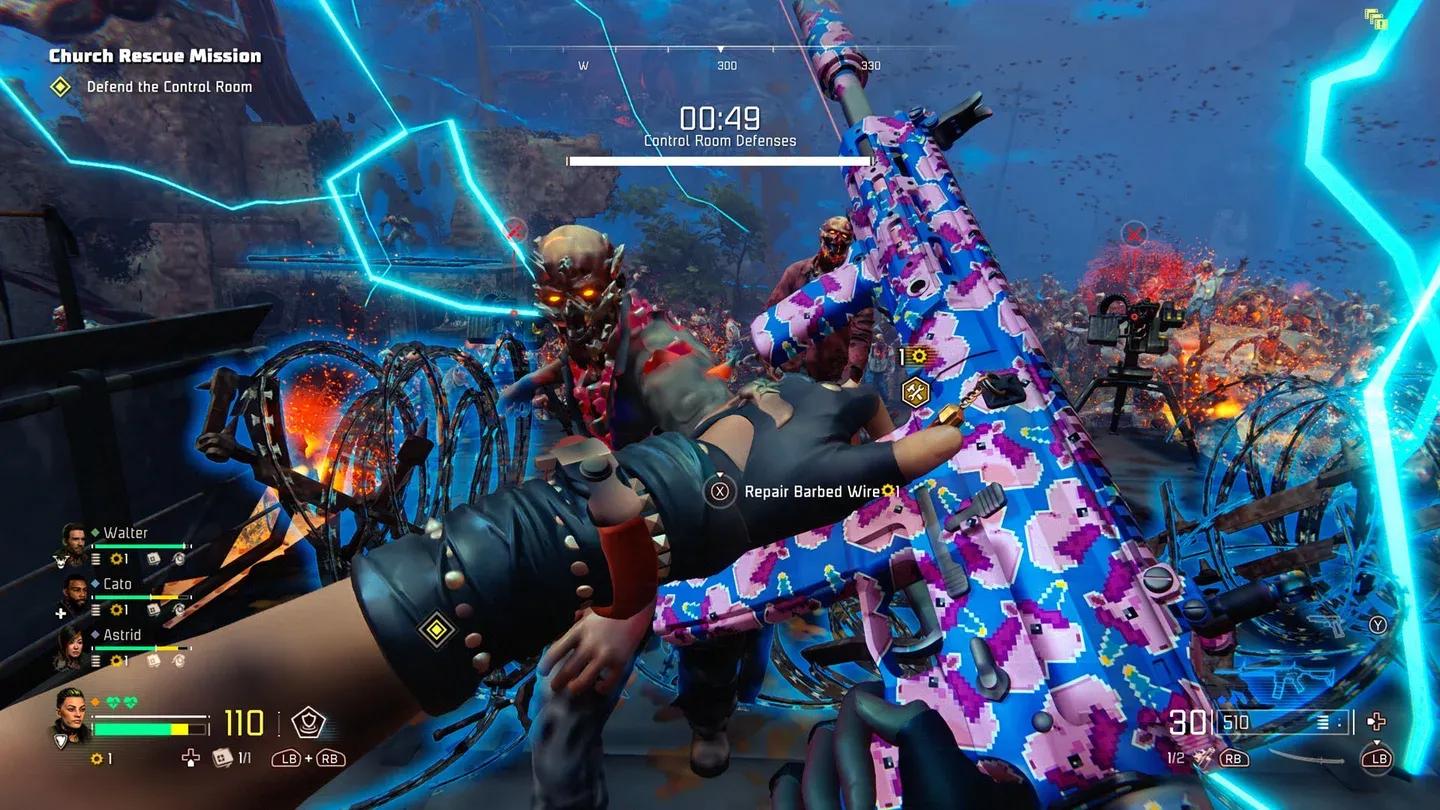
The catch is that Power Spike stuns both enemies and allies, so coordinate with your team before activating it in tight spaces. It also struggles against tougher special enemies like the Goon, where raw horde-clearing power doesn't translate as well.
Big Boom Build at a Glance:
- Exceptional at holding objectives during dense wave phases
- Kills feed directly back into your energy meter, enabling rapid re-use
- Weak against elite and special enemy types
- Stun radius affects teammates, so communication matters
Power Spike energy refill loop
How Does the Firebrand Build Work?
The Firebrand Build takes the first ability you unlock, Fireball, and transforms it into a battlefield control tool. On its own, Fireball deals solid damage in a targeted area. Pair it with Supernova, and that fire spreads across a much larger section of the map, coating the ground and forcing zombies to path through flames.
This build also requires picking up the Thermodynamic skill, which is part of why Fireball makes more sense here than any other ability option. Thermodynamic interacts specifically with fire-based damage, so the skill investment pays off in a way it simply wouldn't with Power Spike.
Another practical upside: the Firebrand Build lets you run indefinitely, which is a real advantage during longer missions where mobility matters. You also deal meaningful damage to special enemies, something the Big Boom Build can't claim.
The downsides are worth knowing before you commit. Fire spreads in ways that aren't always predictable, and it can ignite explosive barrels or box teammates into corners. If you're playing with ranged characters or anyone who relies on specific positioning, talk it over before you start coating the floor.
Firebrand Build at a Glance:
- Strong battlefield control across large areas
- Deals genuine damage to special enemy types
- Enables sustained movement with no sprint penalty
- Fire can trigger explosives and restrict teammate movement
Which Strike Build Should You Choose?
The short answer depends on what your squad needs.
If you're anchoring a defensive objective and your team needs something that clears wave after wave with minimal cooldown, the Big Boom Build is the right call. It's especially strong on maps where enemies funnel into a single lane, because Power Spike plus Intensification IV turns that lane into a dead end for any horde.
If you're playing on a larger, more open map or your squad is running into trouble with special enemies, the Firebrand Build gives you more flexibility. You control territory instead of just reacting to it, and Fireball's damage profile holds up better against the tougher zombie variants.
Tips for Getting the Most Out of Either Build
- Prioritize Energized early. Both builds rely on it, and the sooner you have it, the faster your ability loop kicks in.
- Don't neglect your weapons. Abilities are powerful, but your shooting fundamentals carry you between activations. Skill points spent on weapon handling are never wasted.
- Communicate in co-op. Both builds have friendly-fire implications. A quick callout before dropping Power Spike or coating a hallway in flames keeps your squad alive.
- Mix with other classes. The Strike pairs well with support-oriented classes that can cover its weakness against special enemies.
For players who want to dig deeper into Toxic Commando's systems, browse more guides covering other classes, mission walkthroughs, and co-op strategies.