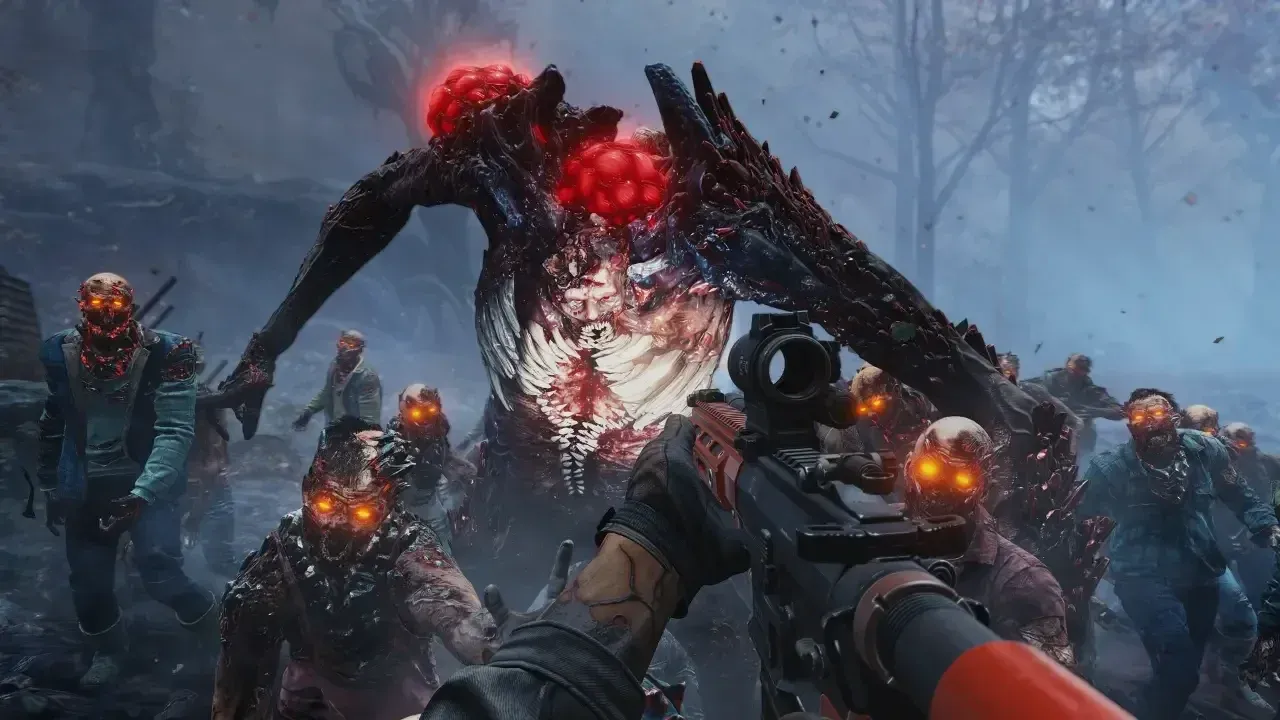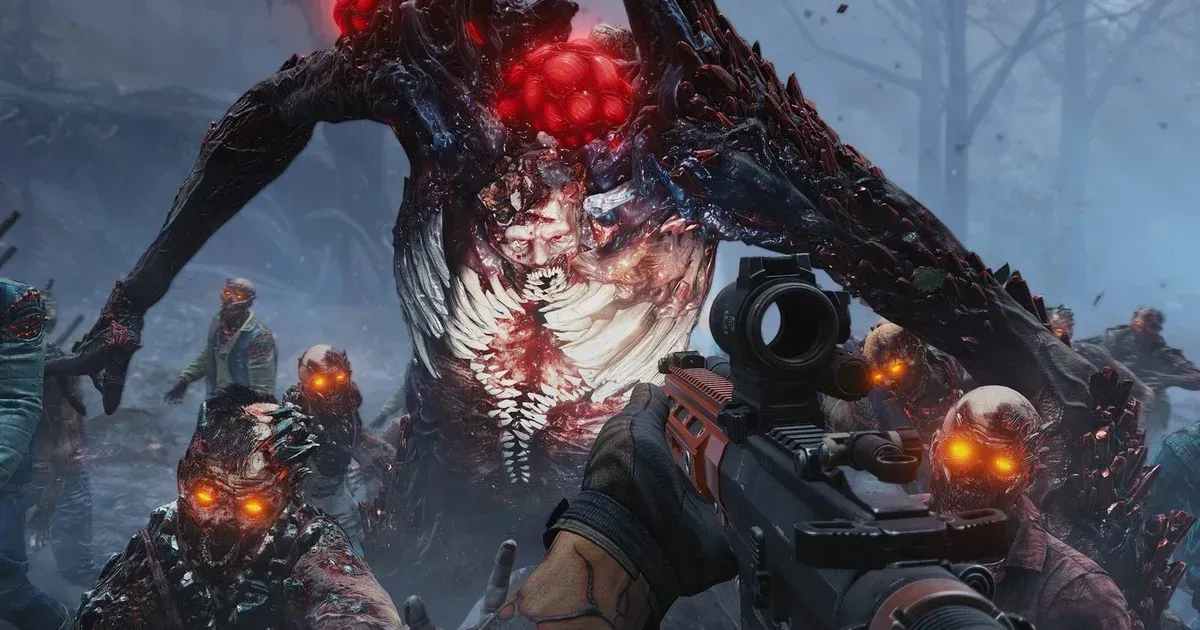

John Carpenter's Toxic Commando throws four very different classes at you right from the start, and picking the wrong one for your situation can turn a manageable mission into a complete wipeout. Whether you're running with a full squad or grinding through missions with AI bots, understanding what each class actually does (and where it struggles) is the difference between surviving the sludge and getting buried in it.
What Are the Four Classes in Toxic Commando?
John Carpenter's Toxic Commando features four distinct classes: Strike, Medic, Operator, and Defender. Each fills a specific role, but the skill trees offer enough flexibility that you can push each one beyond its default archetype. In a full four-player squad, running one of each class gives you the most balanced coverage. Solo players, however, need to think differently about which role they actually fill.
Here's a quick snapshot of each class before going deeper:
| Class | Role | Best For | Tier |
|---|---|---|---|
| Operator | Damage + Support Drone | Solo & Co-op | S |
| Defender | Tank / Area Control | Co-op Front Line | S |
| Medic | Healing Support | Co-op Groups | A |
| Strike | Explosive Damage Dealer | Beginners / Co-op | A |


Class Tier List: Which One Should You Use?
S-Tier: The Operator
The Operator is the single best class for solo play and holds its own in any co-op squad. The defining feature is a persistent battle drone that follows you through every mission and engages enemies automatically. Your active ability supercharges the drone's combat output, and because energy regenerates quickly (especially when you're eliminating infected), you'll have the drone fully powered more often than not.
At Level 5, unlock Dragonbreath to give the drone fire-based attacks. At Level 10, you can switch to a high-penetration blast that tears through dense hordes at a slower rate. Level 15 grants the Impulse upgrade, which delivers a concussive knockdown blast. That knockdown is particularly valuable during defense segments when a single charging special infected can derail your entire setup.
The most important early unlock for the Operator is Man's Best Friend. This skill allows your drone to revive incapacitated allies automatically, which is a lifesaver when playing with AI bots that won't reliably sprint across the map to pick you up.
S-Tier: The Defender
The Defender is the tank class, built around a protective dome that blocks ranged attacks and damages any infected that wander inside. It's not an impenetrable wall, but it absorbs enough incoming fire to take real pressure off your squad during defense missions.
At Level 5, the Triad ability splits the single dome into three smaller barriers, giving your team flexible positioning instead of forcing everyone under one shield. Level 10 unlocks Rupture, which doubles all damage dealt to enemies inside the barrier radius, turning your dome from a purely defensive tool into an offensive trap. Level 15 brings Aegis, anchoring the dome to the Defender's body so you become a mobile fortress.
For skill point investment, start by extending the barrier's duration. That path leads directly to Energy Armor, which grants temporary armor to allies inside the dome. After that, expand the barrier radius and invest in the Lightning Round skill line to increase the rate at which enemies take damage inside the field.
The Defender ranks S-tier because it provides consistent, reliable value in co-op regardless of what the rest of your team is running.
Defender dome barrier in action
A-Tier: The Medic
The Medic is a strong support class whose value scales directly with the quality of your teammates. In a coordinated co-op squad, a skilled Medic makes every difficult encounter feel manageable. Playing solo, though, the class loses a significant portion of its purpose since AI bots are generally capable of staying alive on their own.
The Medic's core ability is a Healing Aura, a ring that continuously regenerates HP for anyone standing inside it. It won't carry you through the heaviest assaults on its own, but the sustained healing adds up across longer engagements. At Level 5, Trauma Center lets you anchor the ring in a fixed position rather than having it follow you, which is excellent for holding a choke point. Level 10 unlocks Emergency Aid, replacing the gradual heal with an instant full heal for all nearby allies. Level 15 introduces Remote Treatment, swapping the ability entirely for healing grenades that create small healing zones on impact, perfect for reaching teammates caught in exposed positions.
For skill investment, prioritize healing rate improvements first. Deeper into the tree, you'll find upgrades that increase healing radius and extend heal duration, both of which multiply the Medic's squad-wide impact.
The one skill solo Medic players absolutely need is Self Medicate, which allows the Healing Aura to revive you automatically if you go down. Never assume a bot will reach you in time.
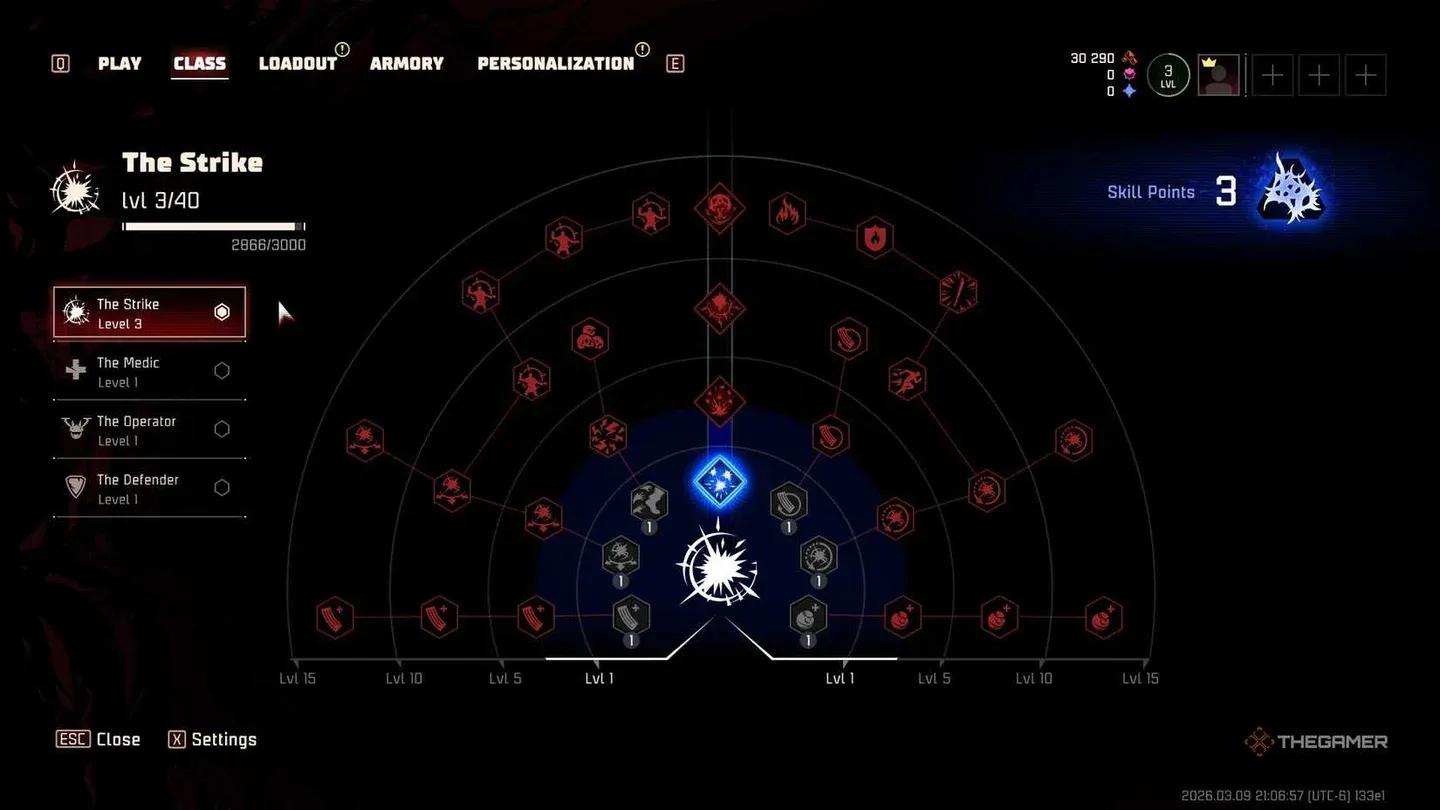
A-Tier: The Strike
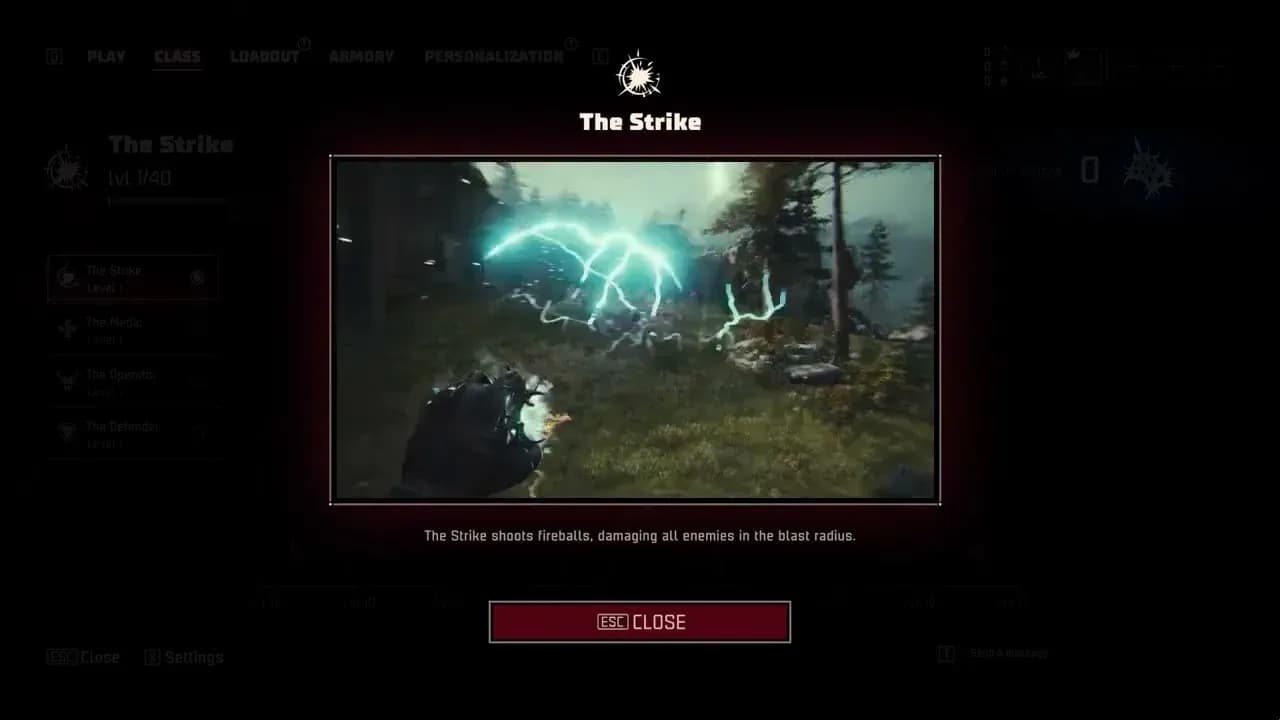
The Strike is the default starting class and the most accessible entry point into Toxic Commando. Its primary ability fires an explosive fireball that deals heavy area-of-effect damage, and you can launch multiple fireballs during a single activation, making it excellent for clearing densely packed groups of infected.
At Level 5, Shatterblast causes each fireball to fragment into smaller explosives that spread across a wider area. Level 10 unlocks Sentinel, which transforms the fireball into a plasma cutter that targets nearby enemies, a fundamentally different playstyle better suited to territory defense. Level 15 offers Power Spike, condensing everything into one massive charged explosive for maximum single-hit impact.
For skill points, extend the fireball's blast radius first. That path also boosts energy gains, letting you activate the ability more frequently. Unlocking the Combatant skill line to increase your maximum grenade count is a natural fit since it builds on the Strike's explosive identity.
The Strike ranks A-tier rather than S-tier because its damage output, while impressive, is heavily reliant on its ability. Rare weapons in the game can replicate much of that explosive firepower, and the other three classes offer more unique utility that weapons alone can't replace.
Strike fireball clearing a horde
How Do You Unlock Skills in Toxic Commando?
All class upgrades are purchased using Sludgite, the glowing orange crystals scattered across every map. Collect every piece you find. There's no reason to hoard Sludgite since the skill tree is the primary driver of your survivability, especially on harder difficulties.
Each class has major ability transformations at Levels 5, 10, and 15. These aren't minor tweaks. They fundamentally change how your ability functions, so plan your build direction before you start spending points on the surrounding stat nodes.
Here's a quick reference for the highest-priority first unlock per class:
| Class | First Skill Priority | Why It Matters |
|---|---|---|
| Strike | Blast Radius | Increases explosion size by 10%, catching more infected per fireball |
| Operator | Man's Best Friend | Drone automatically revives downed allies, critical for solo runs |
| Medic | Self Medicate | Healing Aura revives you if you go down, since bots won't reliably help |
| Defender | Expansion | Barrier radius increases by 20%, preventing AI bots from wandering outside |
What's the Best Class for Solo Play?
The Operator is the clear answer for solo runs. The battle drone gives you a second source of damage and, more importantly, a second target for enemies to focus on. When a horde of infected swarms your position, splitting their attention between you and the drone buys critical seconds to reposition or reload.
The Strike is the recommended starting point for players brand new to the game. The fireball ability requires no coordination and delivers immediate, visible results. Once you understand the mission flow and enemy behavior patterns, transitioning to the Operator will give you noticeably better results.
Avoid starting with the Medic or Defender when playing solo. The Medic's healing is largely wasted on AI bots, and the Defender's passive mitigation tools don't compensate for the offensive firepower you're giving up.
Operator drone engaging the horde
Survival Tips That Apply to Every Class
Use the Ping System Constantly
Your AI teammates are reactive, not proactive. They won't identify threats on their own, but they will respond to pings with focused fire. The moment you spot a special infected or a particularly dangerous cluster, ping it immediately. Bots will prioritize the target and can deal meaningful damage when pointed in the right direction.
Manage Spare Parts Across Your Team
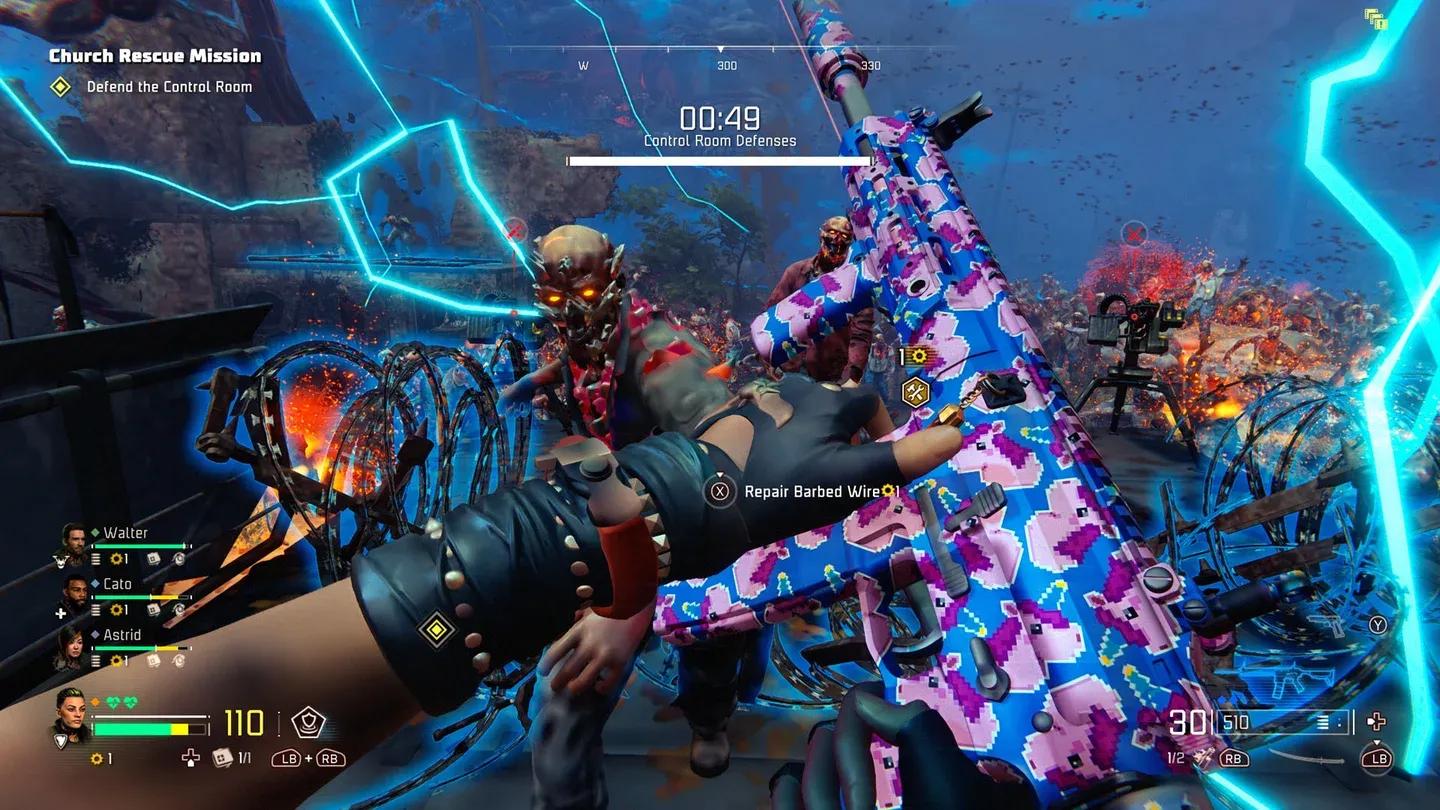
Spare Parts are the most important resource for defense segments. Every character (including bots) can carry one set. When you spot a Spare Parts crate, ping it so your bots pick it up. During defense missions, ping turret placement markers so bots spend their parts building defenses, preserving your own stash for critical moments.
Skip Sniper Rifles
Sniper rifles feel satisfying but they're genuinely counterproductive in most situations. When fifty infected crash through a gate simultaneously, a bolt-action weapon with a slow reload is a liability. High-capacity assault rifles and SMGs let you spray into crowds and thin numbers quickly without exposing yourself during long reload animations.
Secure a Vehicle Early
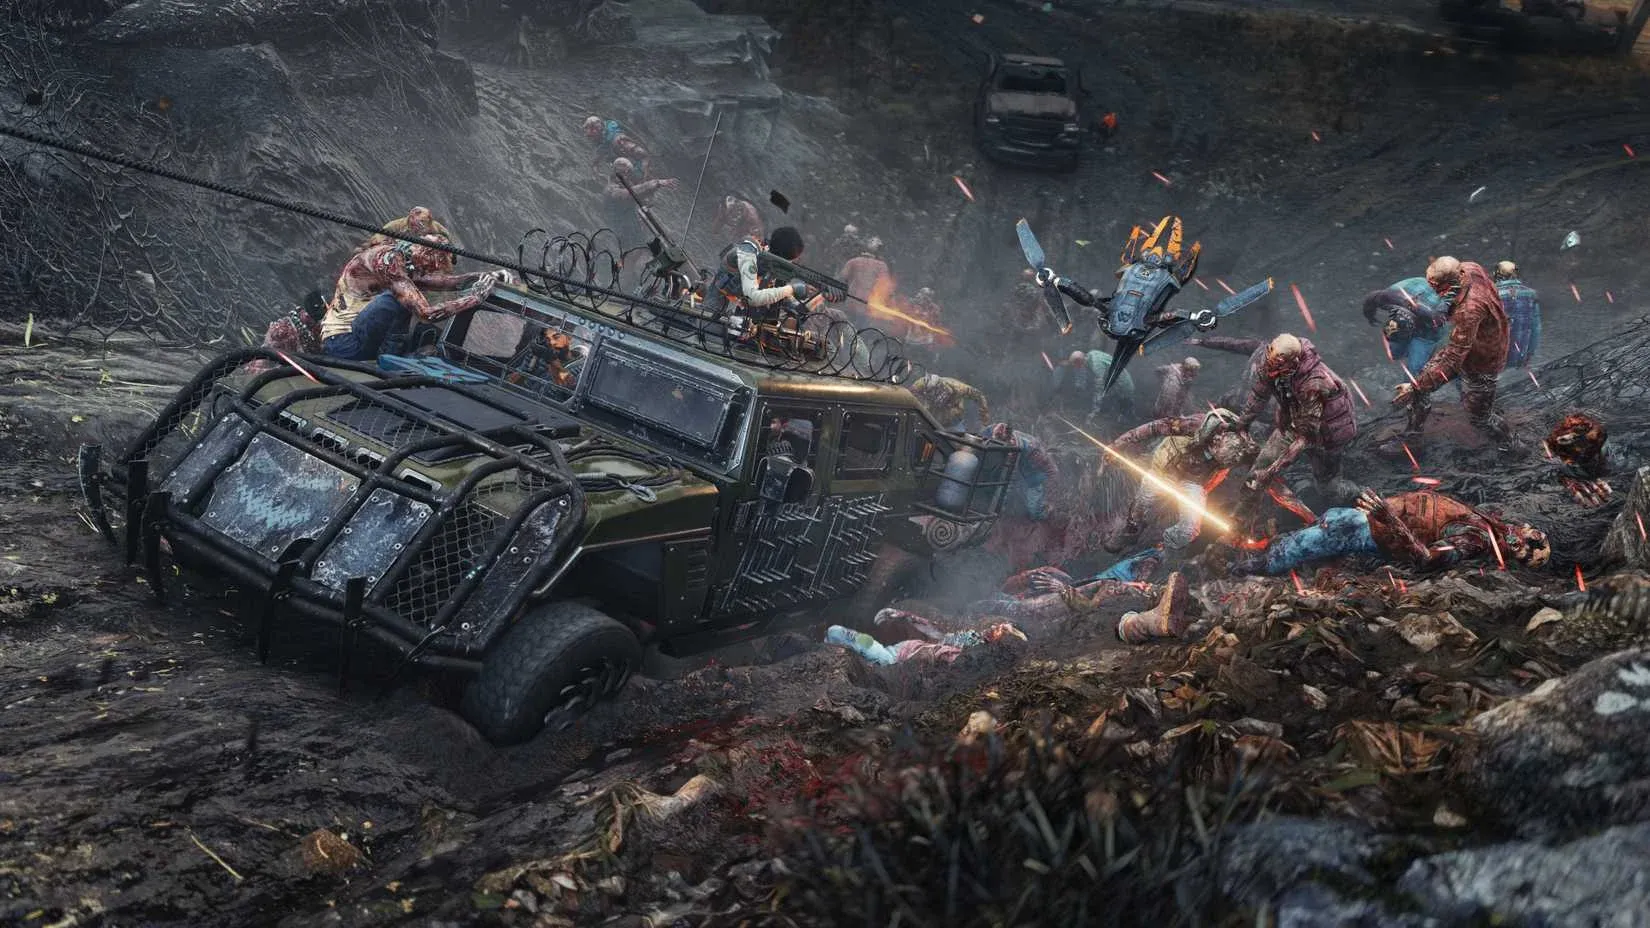
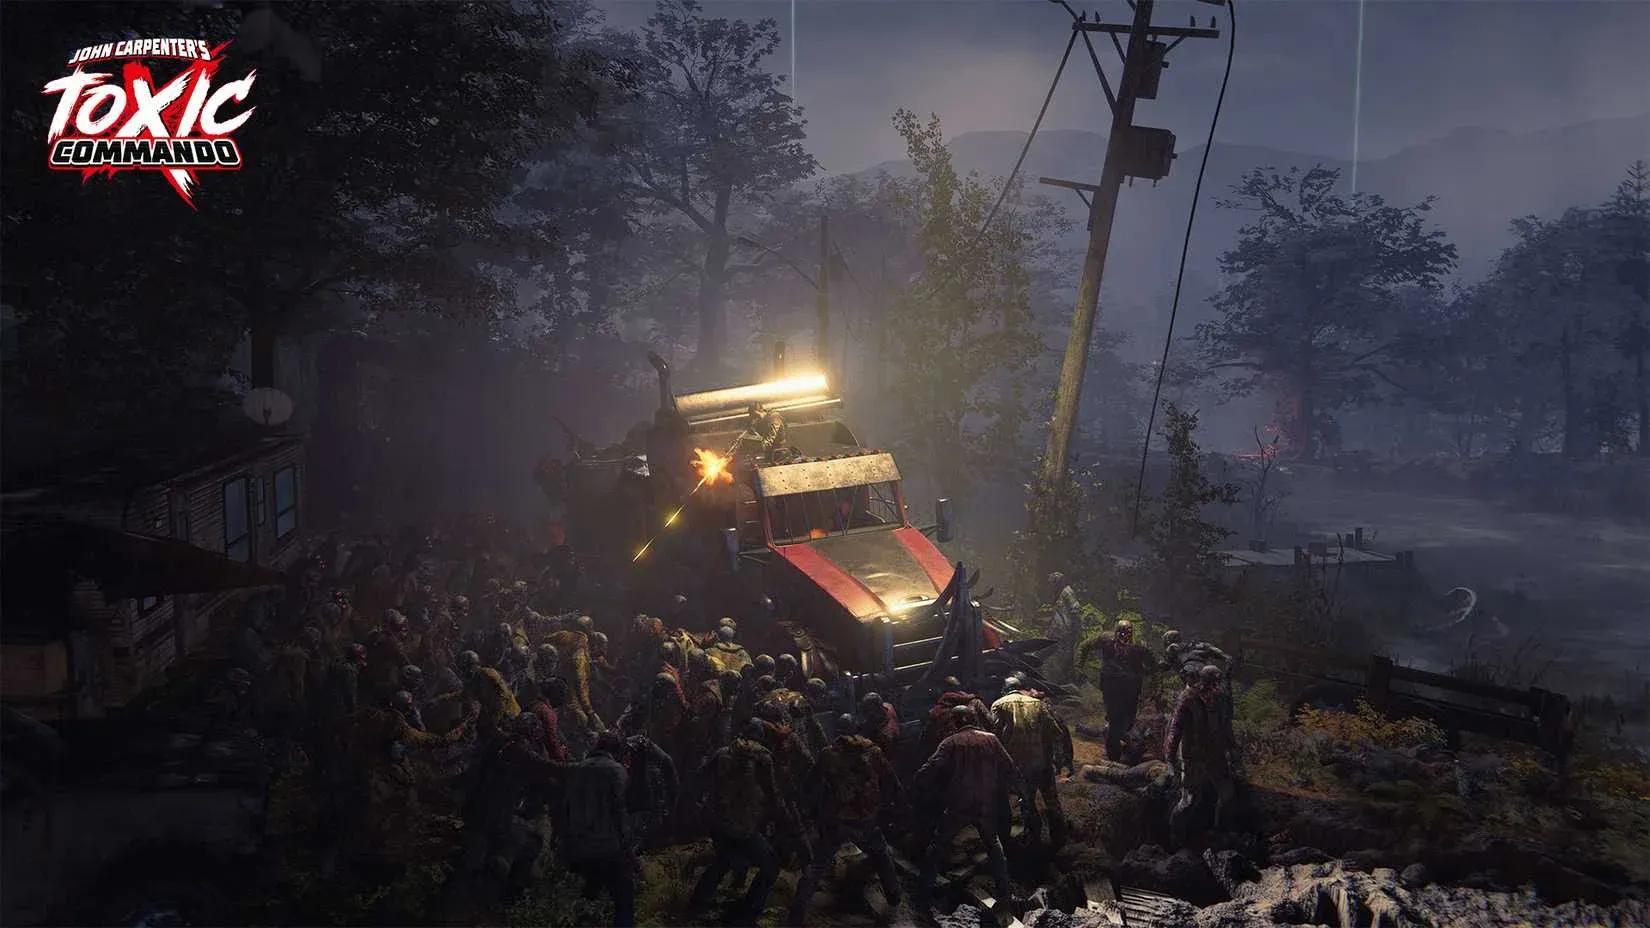
On larger maps, finding a vehicle should be your first objective after loading in. Vehicles provide complete protection from standard melee attacks while you're inside the cabin, and your AI bots will shoot from the windows while you drive. A truck with a mounted turret is even better. Just remember to scavenge for gasoline, or your mobile fortress becomes an immovable target.
Vehicle turret defense setup
How to Set Up a Private Solo Lobby
The game defaults to online matchmaking when you select a mission. To play with AI bots instead of random players, set your lobby to Private before launching. The game doesn't advertise this toggle prominently, but it's accessible from the lobby settings before mission selection. Note that even private lobbies require an active internet connection.