
The High Octane mission in John Carpenter's Toxic Commando is mission three, and it marks a significant difficulty spike. Leon needs a very specific truck, the God Killer Truck, buried inside a sludge-choked explosives factory, and your job is to fight through everything standing between you and that vehicle. Expect tendrils, hordes, a ticking clock, and a truck health meter that will punish you if you lose focus.
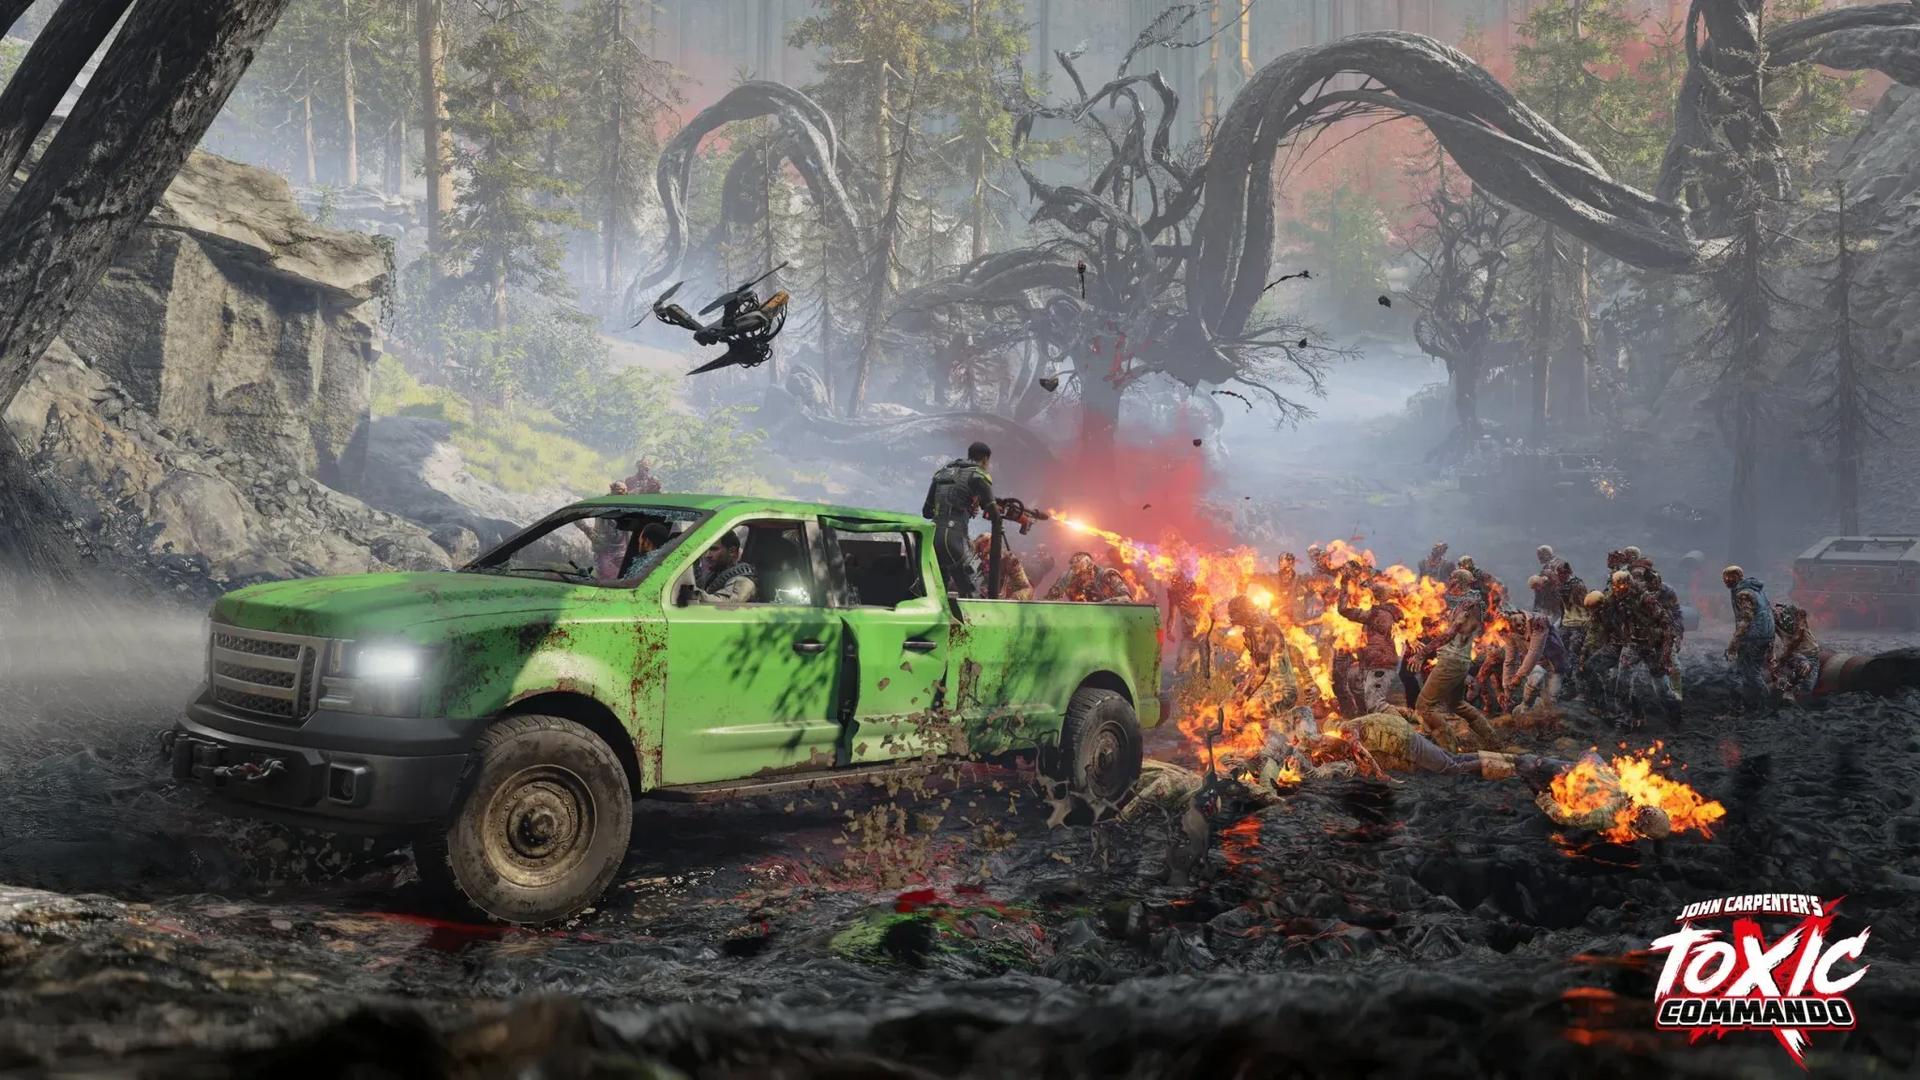
God Killer Truck at the factory
How Do You Start the High Octane Mission?
Before you can even approach the explosives factory, you need to track down a Maverick winch car. This vehicle spawns at a random location each run, so its position will not be the same twice.
Open your map and look for the car icon with a small arrow on it. That marker is the Maverick. Drive to it and claim it, because without the winch, you cannot open the door blocking the explosive charges.
Obtaining the Explosive Charges
Once you have the Maverick, follow your objective marker to the explosive charges location. When you arrive, you will find the charges trapped inside a structure, held in place by tendrils.
Here is the exact sequence to clear them:
- Shoot the tendrils binding the structure to loosen their grip.
- Use the Maverick's winch on the door to force it open.
- Locate the security console next to the locked chest and interact with it.
- Survive the zombie wave that triggers immediately after activating the console.
- Once the zombies are down, hack the console to unlock the security chest.
- Grab the explosive charges from inside the chest.
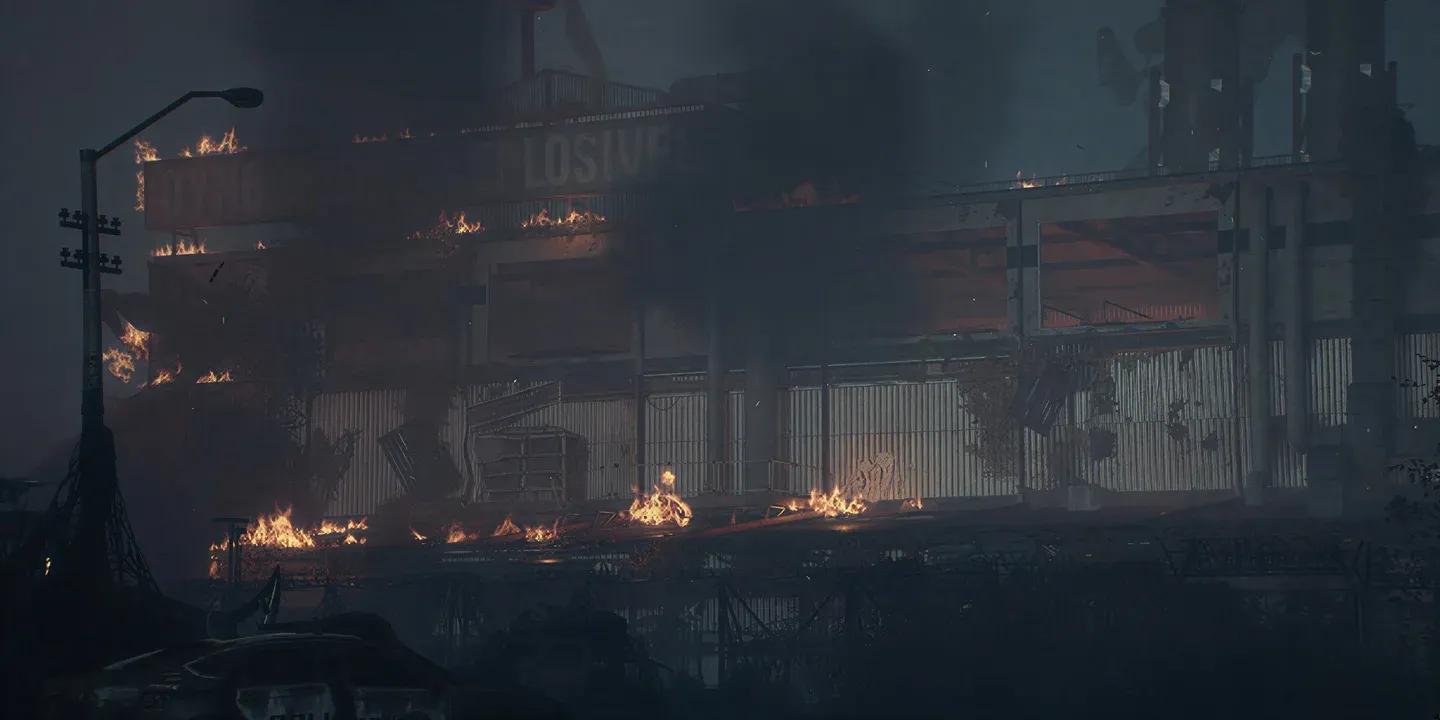
How Do You Reach the Explosives Factory?
With the charges secured, head toward the factory. You will hit a sludge barricade blocking the road before you get there. This is exactly what those explosive charges are for.
Place the charges on the designated pipe, step back to a safe distance, and interact with the detonation panel. The explosion clears the passage and opens the route forward.
Back in your vehicle, drive toward the factory. The road ahead will be lined with tendrils blocking the path. You can shoot through them directly or let a companion handle it while you drive.
What Is the God Killer Truck Defense Phase?
This is the hardest part of the mission, and preparation is everything. When you reach the factory, you will see that the God Killer Truck is wrapped in tendrils. The only way to free it is to activate the EMP explosive strapped to the vehicle.
Setting Up Before the Detonation
Before you trigger anything, take time to prepare your defenses. The EMP will free the truck but simultaneously unleash a massive zombie horde.
Here is what to do before detonating:
- Find a battery, place it inside the EMP device to arm it.
- Deploy a Mortar using your Spare Parts. Position it near the truck to cover the surrounding ground.
- Open any nearby weapon crates to pick up a heavy weapon.
- Survey the area for elevated structures you can use for high-ground positioning during the fight.

Mortar placement near the truck
Surviving the Three-Minute Defense
Once you detonate the EMP, a three-minute timer starts. The God Killer Truck has its own health meter, meaning zombies will actively attack the vehicle and not just you. Letting the truck take too much damage ends the mission in failure.
The Mortar is your best friend during this phase. A single well-placed shot can wipe out an entire cluster of zombies that would otherwise shred the truck's health in seconds. Stay on the elevated structure whenever possible to maintain sightlines on every side of the vehicle.
After the three-minute timer expires and the truck survives, the mission completes. Drive the God Killer Truck back to Leon to finish the objective.
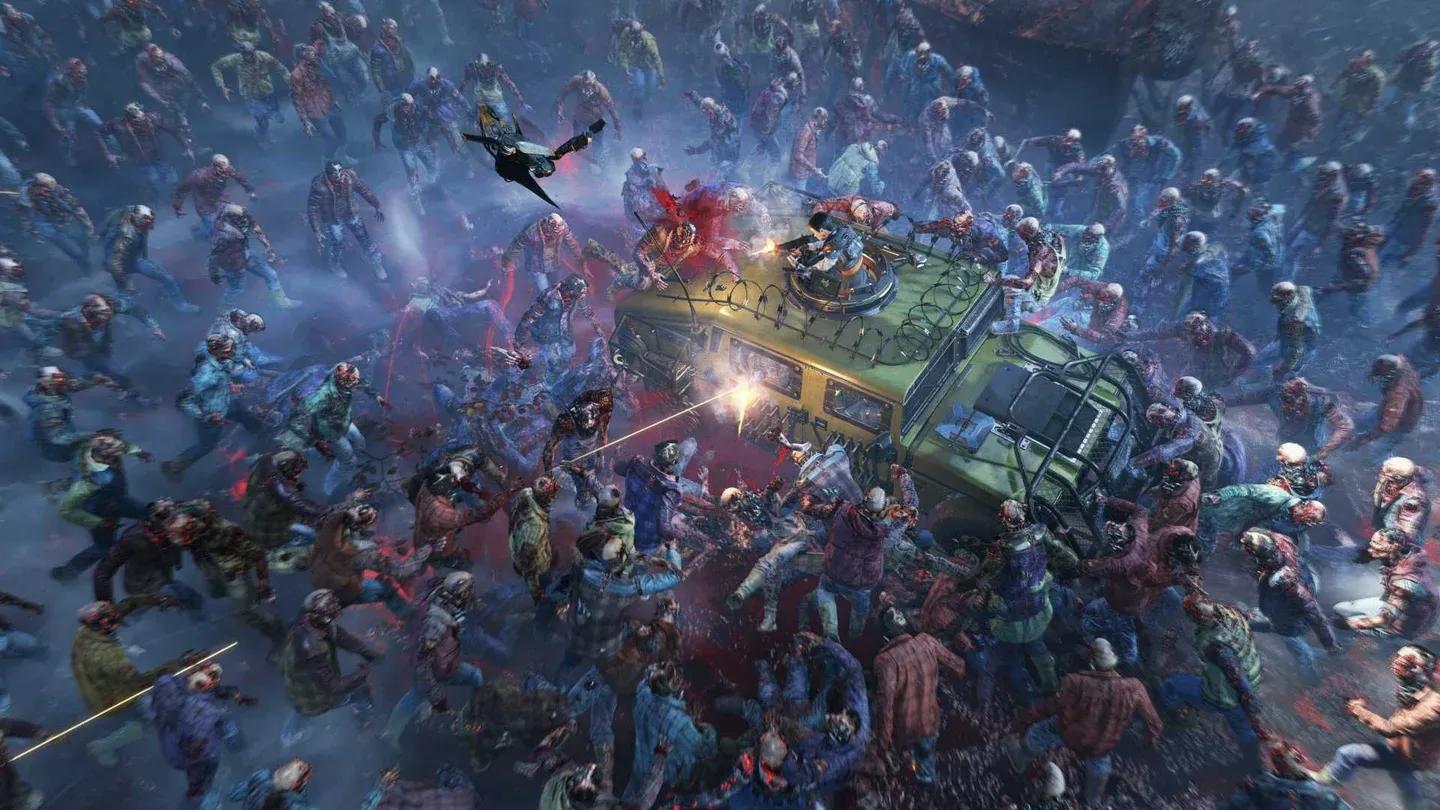
Defend the truck for three minutes
High Octane Mission Step-by-Step Summary
Complete High Octane and you move one step closer to giving Leon everything he needs. The missions that follow, including Demon Bait and Roof of Evil, build directly on what you accomplish here, so a clean run matters.