
The Drop is where John Carpenter's Toxic Commando stops pretending it's a simple delivery game and reveals its true, chaotic nature. What starts as four hired guns transporting a mystery package to an industrial site turns into a crash landing, a zombie-infested facility, and a monstrous creature that laughs off your bullets. This opening mission teaches you every core mechanic you'll rely on for the rest of the campaign, so nailing it early sets you up for everything ahead.
What Is The Drop Mission in Toxic Commando?
The Drop is the first mission of John Carpenter's Toxic Commando. It introduces the game's primary mechanics: vehicle repair, Spare Parts management, winch traversal, swarm combat, and sludge clearing. Expect the full run to take between 20 and 30 minutes depending on how efficiently your team handles the enemy waves.
Here's a quick breakdown of everything you need to accomplish before the credits roll on this mission:
The Drop mission starting point
How to Survive the Opening Crash
The mission opens with the crew rolling toward the drop site while a mysterious contractor barks orders over the radio. His one instruction: keep moving, don't stop. That plan lasts seconds.
A flaming creature slams into the vehicle and wrecks it completely at the industrial facility entrance. Two crew members spot it coming, two don't, and none of them can stop it. Once the crash plays out, you take control and the real work begins.
How Do You Repair the Vehicle in The Drop?
Your first priority after the crash is getting the car back on the road. Here's the exact sequence:
- Move toward the door on the left where you'll hear noise. It opens as you approach.
- Clear the zombies waiting inside.
- Pick up the Spare Parts found in that area. These are critical resources used throughout the entire mission.
- Use the Spare Parts to repair the vehicle.
- Head up the stairs on the right to find fuel canisters.
- Carry a canister back to the fuel tank and fill it up.
Once the vehicle is repaired and fueled, another zombie wave spawns. Clear them out, then drive toward the locked gate blocking the tunnel entrance. Use the vehicle winch to yank the barricade apart and push forward.
Getting Through the Tunnel: How Does the Winch Work?
Driving through the tunnel is straightforward until you hit a steep incline the vehicle can't climb under its own power. This is where the winch mechanic becomes essential.
Aim the winch at the pipe ahead and hold the drive button to pull the vehicle uphill. This mechanic returns in later missions, so getting comfortable with it here pays off. Keep pushing through until the tunnel opens up at the elevator entrance.

Winch climbing the tunnel slope
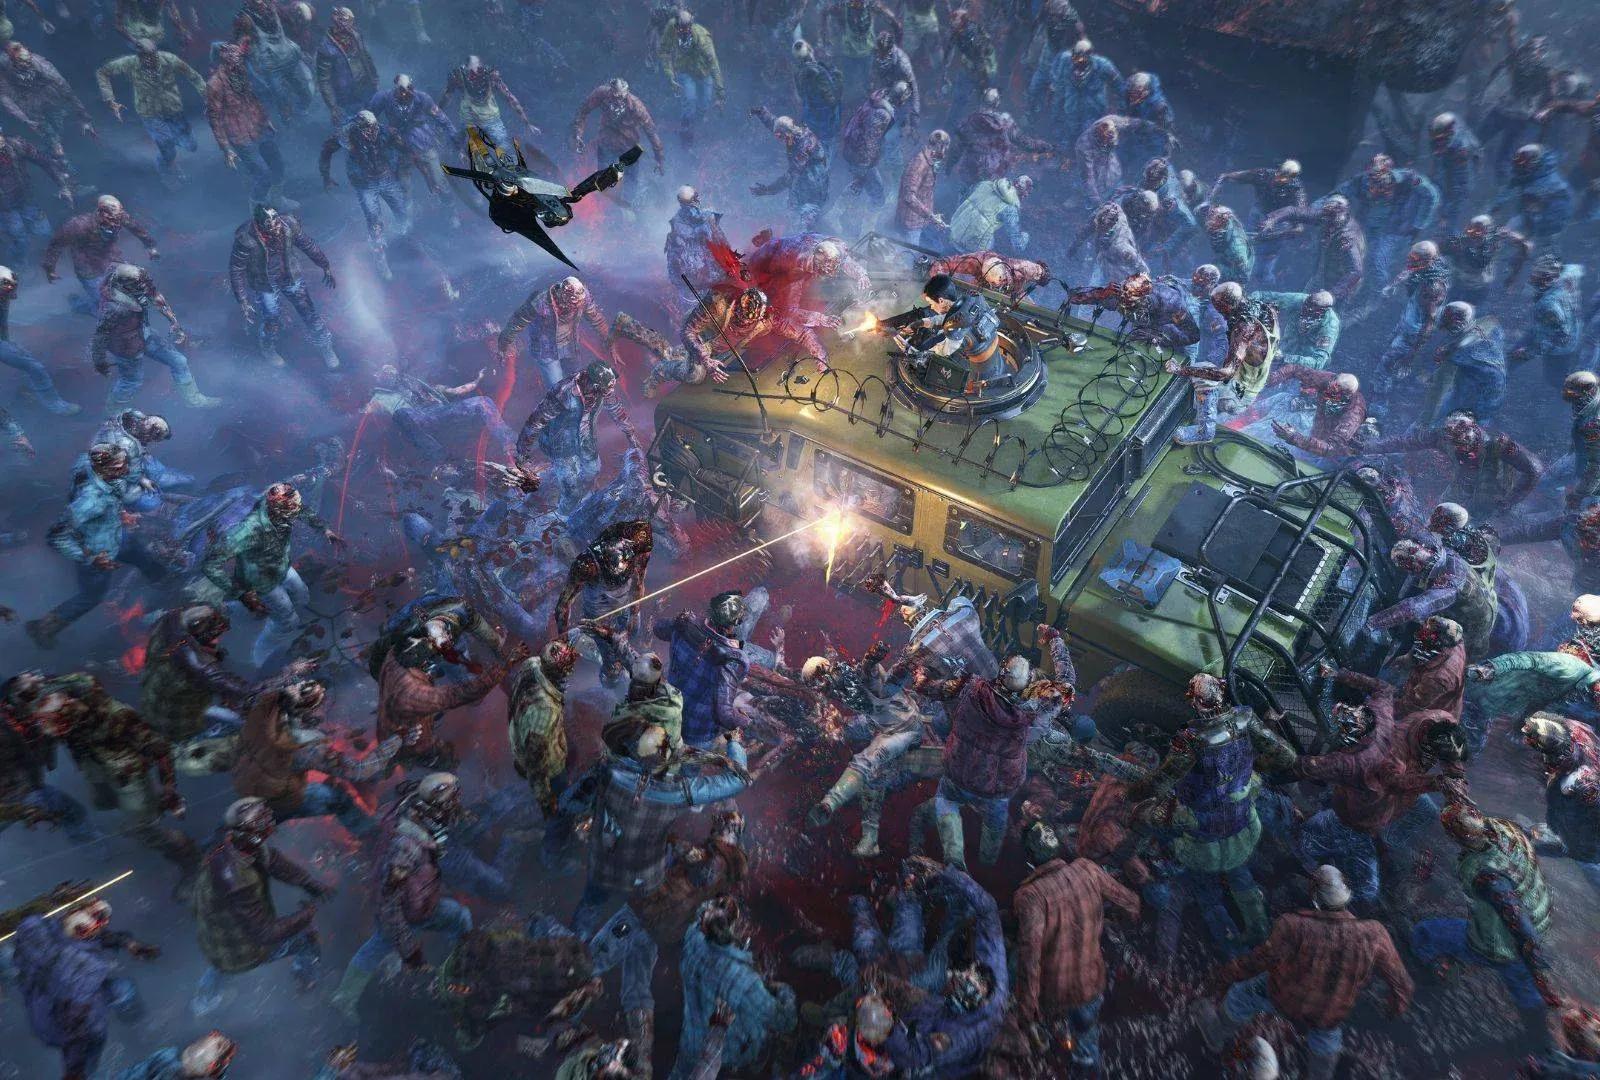
How to Survive the Elevator Horde Fight
Reaching the elevator triggers one of the mission's most intense sections. Before you call it, take time to set up your defenses:
- Use Spare Parts to activate the turret near the elevator entrance.
- Use Spare Parts to activate the trap in the area.
- Check the nearby supply crate for ammo and healing items before the wave starts.
Once you interact with the elevator panel, a one-minute survival timer begins. Zombies flood the area in large numbers. Use the vehicle's mounted turret position to deal heavy damage while conserving your personal ammo. When the vehicle turret runs dry, switch to your weapons and hold the line.
After surviving the full minute, the elevator doors open.
How Do You Clear the Sludge in The Drop?
Sludge is the environmental hazard that blocks your path in two separate stages of this mission.
Stage 1: Elevator entrance sludge The elevator interior is blocked by sludge when it first opens. Use the vehicle EMP blast ability to clear it so the elevator can begin moving.
Stage 2: Sludge on the elevator walls during the ride Midway up, sludge patches appear on the walls. They're marked by red weak spots. Shoot those red points to clear each blockage before it stops the elevator's progress. You can also use this travel time to repair any vehicle damage from the horde fight.
Rebooting the Facility Systems
At the top of the elevator, follow the objective marker on your HUD to locate the control room. Interact with the panel inside to open the garage. Then return to the elevator breaker and repair it using one Spare Part.
Here's the problem: the facility interior is completely overrun with sludge. You can't just walk out.
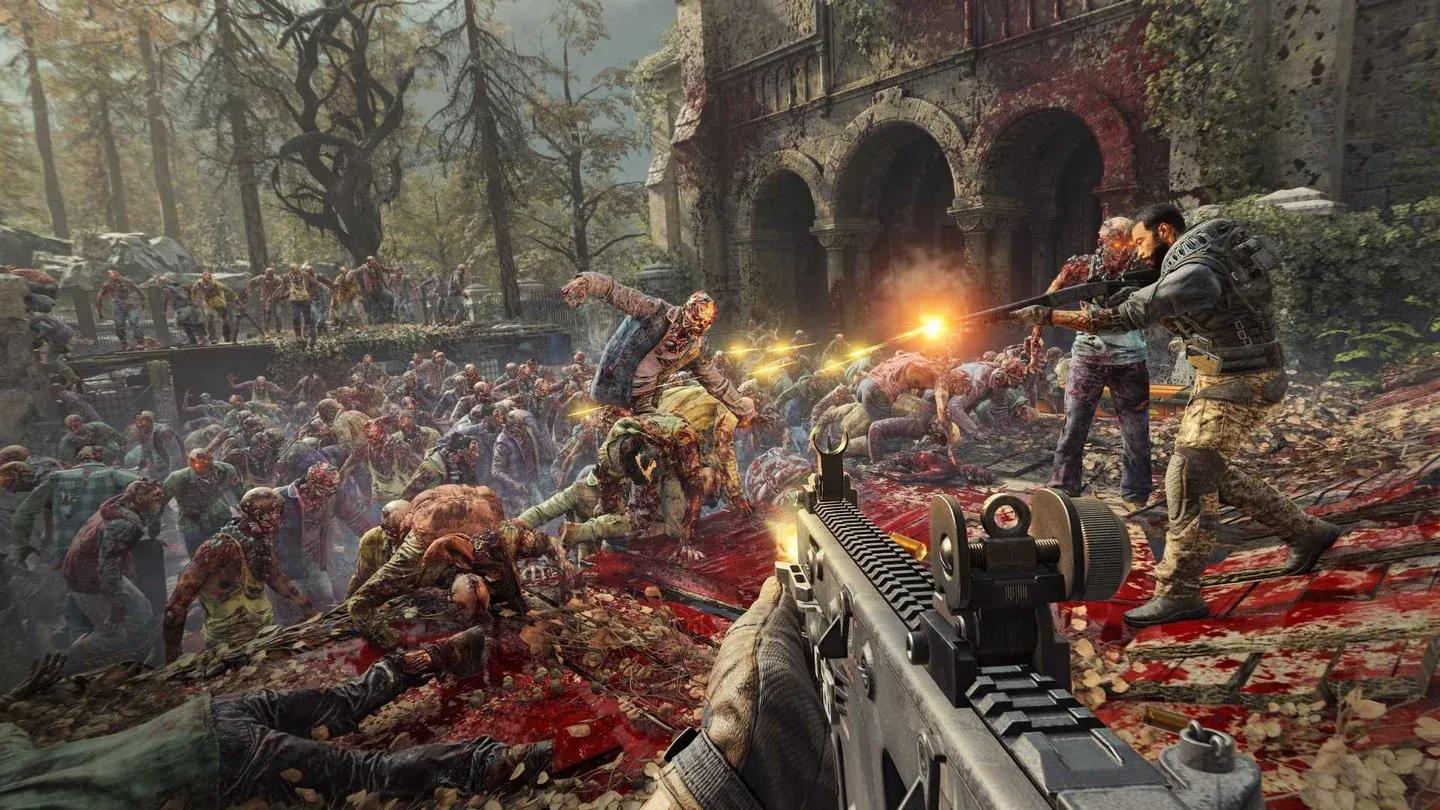
How to Destroy the Sludge Mass
This is the mission's final major combat challenge. The sequence works like this:
- Find the computer room and activate the electrical hookup.
- Set up defenses before touching the generator, because a large zombie wave is incoming.
- Activate the generator.
- Red weak spots appear across the Sludge Mass.
- Shoot every red spot while managing the zombie swarm around you.
- Once the final weak spot is destroyed, the exit path blows open.
What Happens at the End of The Drop Mission?
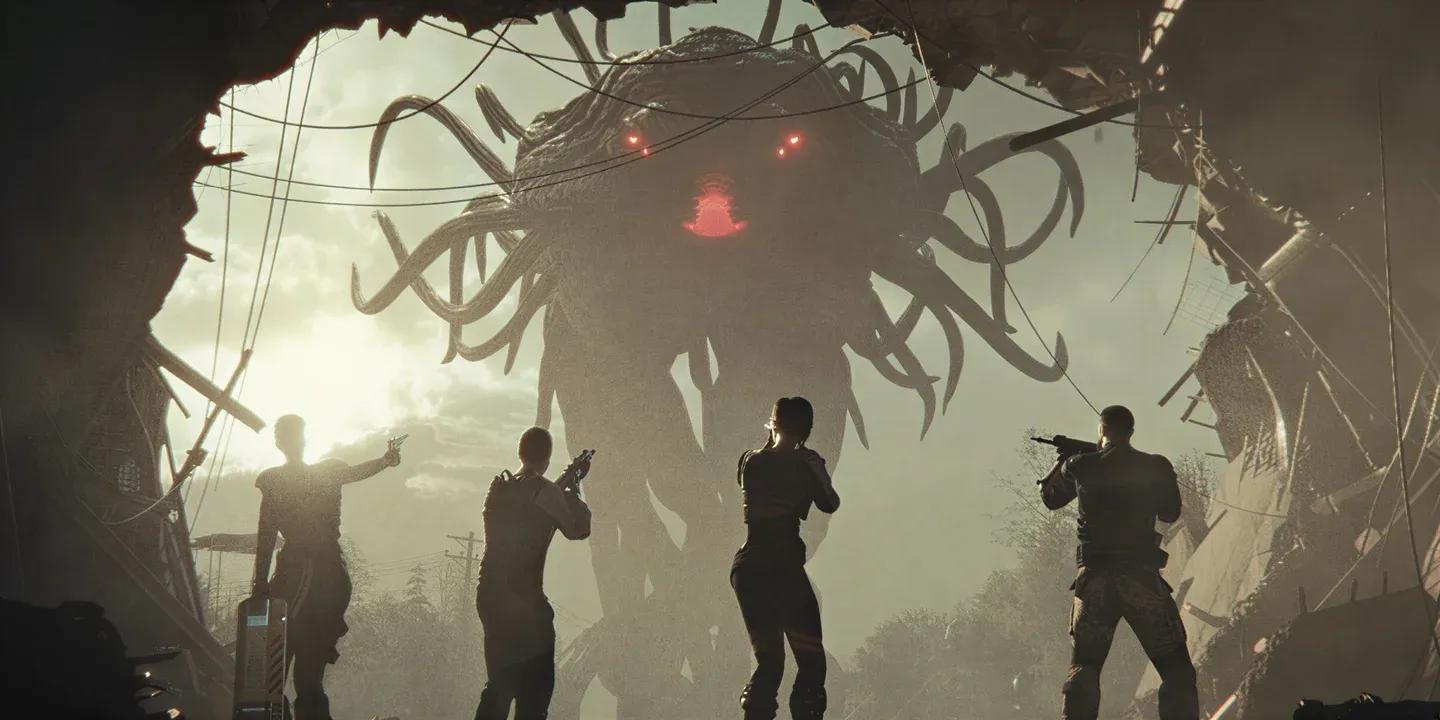
Just when escape looks certain, a massive creature appears outside the facility. It's significantly larger than anything encountered inside, and direct weapons fire has zero effect on it. The creature grabs the entire crew with its tentacles.
The only option turns out to be the package itself. The crew throws it at the monster and detonates it, triggering a massive explosion that takes the creature down. The cost: the team is now exposed to the infection spreading through the world.
That's when Leon finally steps in. He places a device on each crew member that slows the virus from reaching the brain. He then reveals the truth: the package was a specialized fuel designed to destroy the source of the outbreak. The vests are the only thing keeping the infection at bay.
The Drop ends not with a clean escape, but with the crew locked into Leon's mission to eliminate the sludge virus at its source.
Leon reveals the crew's new mission
Key Spare Parts Uses in The Drop
Spare Parts appear throughout the mission and serve multiple distinct functions. Knowing what's ahead helps you prioritize when to spend them:
Collect every set you find. Running out at the elevator section is the most common reason players struggle with the horde fight.