

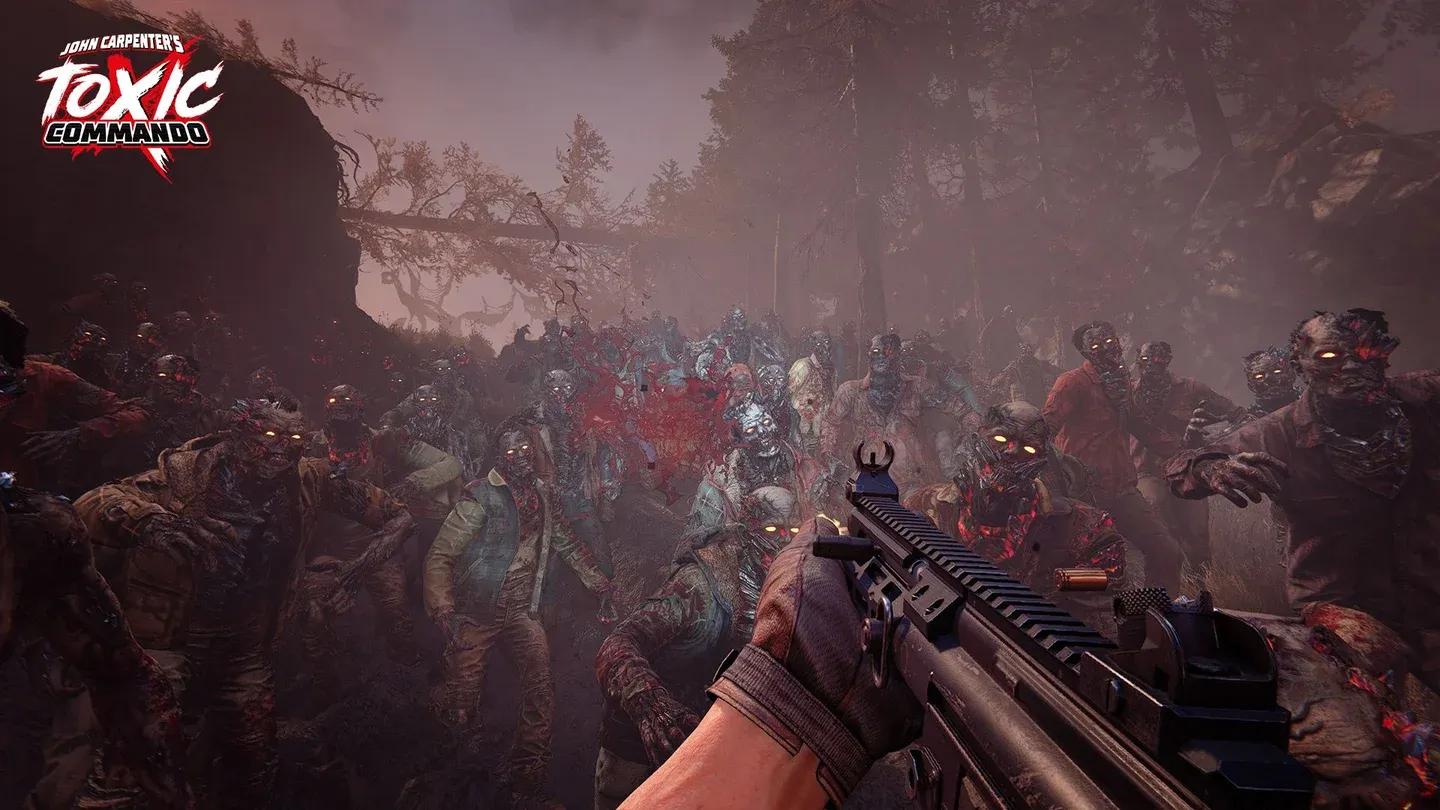
John Carpenter's Toxic Commando does not ease you into the action. From the moment you drop in, you are staring down relentless waves of sprinting undead that will overwhelm any player who brings the wrong tool for the job. With over 20 weapons to choose from, knowing which ones to prioritize can be the difference between carrying your squad and dragging them down. This guide ranks every weapon from absolute best to outright liabilities, so you can stop guessing and start clearing.
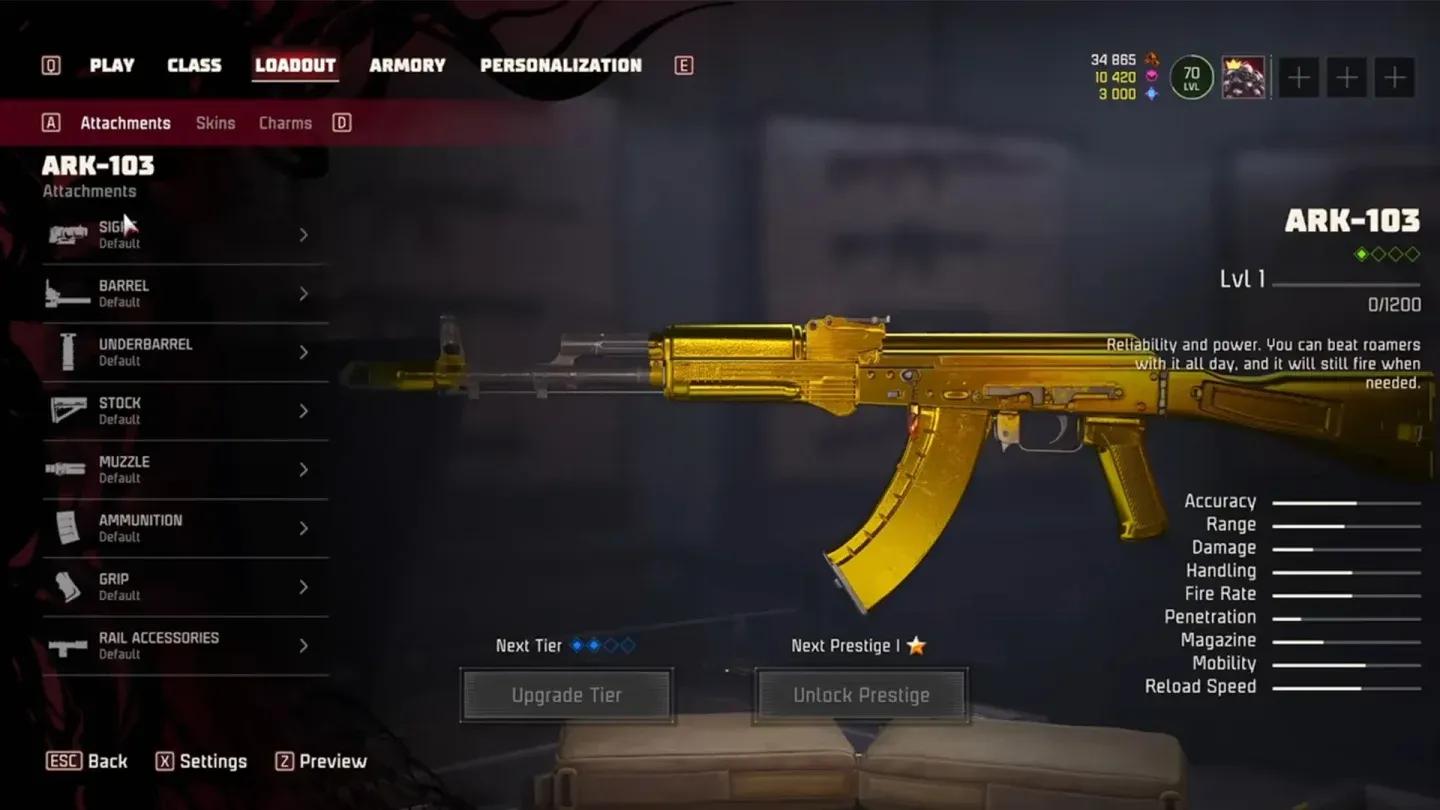
Best loadout selection screen
What Is the Full Toxic Commando Weapon Tier List?
Below is the complete ranking across four tiers, based on damage output, fire rate, magazine size, and reload speed tested across both solo and co-op encounters.
S Tier: The Weapons You Should Always Be Carrying
These five weapons represent the top of the arsenal. Each one delivers the right combination of firepower, magazine capacity, and reload efficiency to handle anything Toxic Commando throws at you.

Taiga 12 dominating chokepoints
Taiga 12
The Taiga 12 is the definitive close-quarters weapon in the game. Because zombies in Toxic Commando charge directly at you in tight clusters, a fast-firing shotgun turns any doorway or corridor into a kill zone. What separates the Taiga 12 from other shotguns is its reload speed. You are never caught standing still waiting to chamber shells while a horde closes the gap. If your team is holding a position, at least one player should have this equipped.
ARK-103
Think of the ARK-103 as the AK-47 of Toxic Commando. It hits hard, carries a generously sized magazine, and reloads quickly enough that you rarely feel punished for burning through a clip. The damage per shot is among the highest of any automatic rifle in the game, making it reliable at both clearing standard enemies and softening elite targets.
HW416
If you could only bring one weapon into any mission without knowing what enemies to expect, the HW416 would be the correct choice. It pairs high damage with a rapid fire rate and a moderate magazine that reloads in an instant. Nothing about it feels clunky or situational. It is the ultimate all-purpose tool and the safest pick for players who want consistent performance.
Keris V10
The Keris V10 trades raw damage per bullet for an absurdly high rate of fire. On paper that sounds like a downgrade, but in practice the sheer volume of lead it puts out means targets die just as fast, if not faster. The negligible reload time keeps you in constant action, and the fire rate makes it especially effective against tightly packed groups where every bullet finds a target.
MAG-5
The MAG-5 is a light machine gun loaded with 95 rounds. When you are staring down an open field packed with dozens of zombies, this is the weapon that lets you hold the trigger and simply erase the problem. The massive magazine means you can sustain fire through an entire wave without reloading, which is an enormous tactical advantage in the game's most chaotic encounters.
A Tier: Strong Picks With Specific Limitations
A Tier weapons are genuinely excellent, but each one comes with a tradeoff that prevents it from reaching the top five.
MK110 punishing elite targets
What Makes A Tier Weapons Worth Using?
- MK110: A sniper rifle that delivers punishing single-shot damage against brutes and bosses. The slow fire rate makes it a liability during swarm encounters, so treat it as a specialist tool rather than a primary.
- HAMR-17: The SCAR equivalent of the game. Damage per shot is among the highest in the entire arsenal, but the lower fire rate means getting surrounded by numbers is a real risk.
- PAC-15: Functions like a precision laser with high damage and fire rate, but its 21-round magazine forces frequent reloads at the worst possible moments.
- TMP 5: One of the fastest-firing SMGs available. Recoil and slightly lower damage hold it back compared to the Keris V10, but it remains a strong performer.
- XTAR-95: Moderate damage, high fire rate, and a 31-round magazine make this a reliable mid-range option for players who want versatility.
- Hailstorm MGL: A grenade launcher that holds multiple grenades in the chamber, letting you fire 5 rounds before reloading. Excellent for area denial and clustered enemies.
- BF25GL: Nearly identical performance to the Hailstorm MGL with the added benefit of a scope for more precise targeting.
B Tier: Functional but Demanding
B Tier weapons can absolutely get the job done, but they require you to actively compensate for their weaknesses. Using them is not a mistake, but you will work harder for the same results.
The Railgun deserves special mention here. Against a boss encounter where you have space and time, it is genuinely devastating. Against a standard horde that closes the distance in seconds, the charge time will get you killed before you fire a single shot. Treat it as a niche tool, not a primary weapon.
Railgun charging for boss damage
C Tier: Leave These in the Armory
These weapons are not just weak. Some of them are actively detrimental to your survival and your team's performance.
Why Should You Avoid C Tier Weapons?
- Dunali SXS: The double-barreled shotgun looks terrifying on paper with massive damage output. In practice, you get exactly two shots before entering a slow reload that leaves you completely exposed. The game never gives you enough breathing room to make this work consistently.
- 1911 Protector: A pistol. Use it only when your primary and secondary have both run completely dry, which should almost never happen if you manage ammunition properly.
- Casull 6: A revolver with decent hitting power. Same problem as the 1911 Protector. It is a last-resort option, not a weapon you plan around.
- Flamethrower: Visually spectacular and genuinely fun to use, but the damage-over-time mechanics simply do not kill zombies fast enough. Enemies will catch fire, keep running, and reach you before the flames finish the job.
- ACW-20: The weakest of the grenade launchers due to its inadequate blast radius. When you compare it directly to the Hailstorm MGL or BF25GL, there is no justification for equipping this.
How Should You Build Your Loadout?
With the tier list established, here is how to translate these rankings into practical loadout decisions.
For maximum horde clearing: Pair the Taiga 12 with the HW416 or Keris V10. The shotgun handles anything that reaches close range while the assault rifle or SMG covers medium distance.
For boss-focused runs: Bring the MK110 alongside the ARK-103 or MAG-5. Let the sniper handle elite targets while the high-capacity option manages surrounding adds.
For co-op role specialization: One player runs the MAG-5 for sustained suppression, another carries the Hailstorm MGL for area denial, and a third holds the Taiga 12 for close-range defense. This division of roles covers every threat type the game presents.