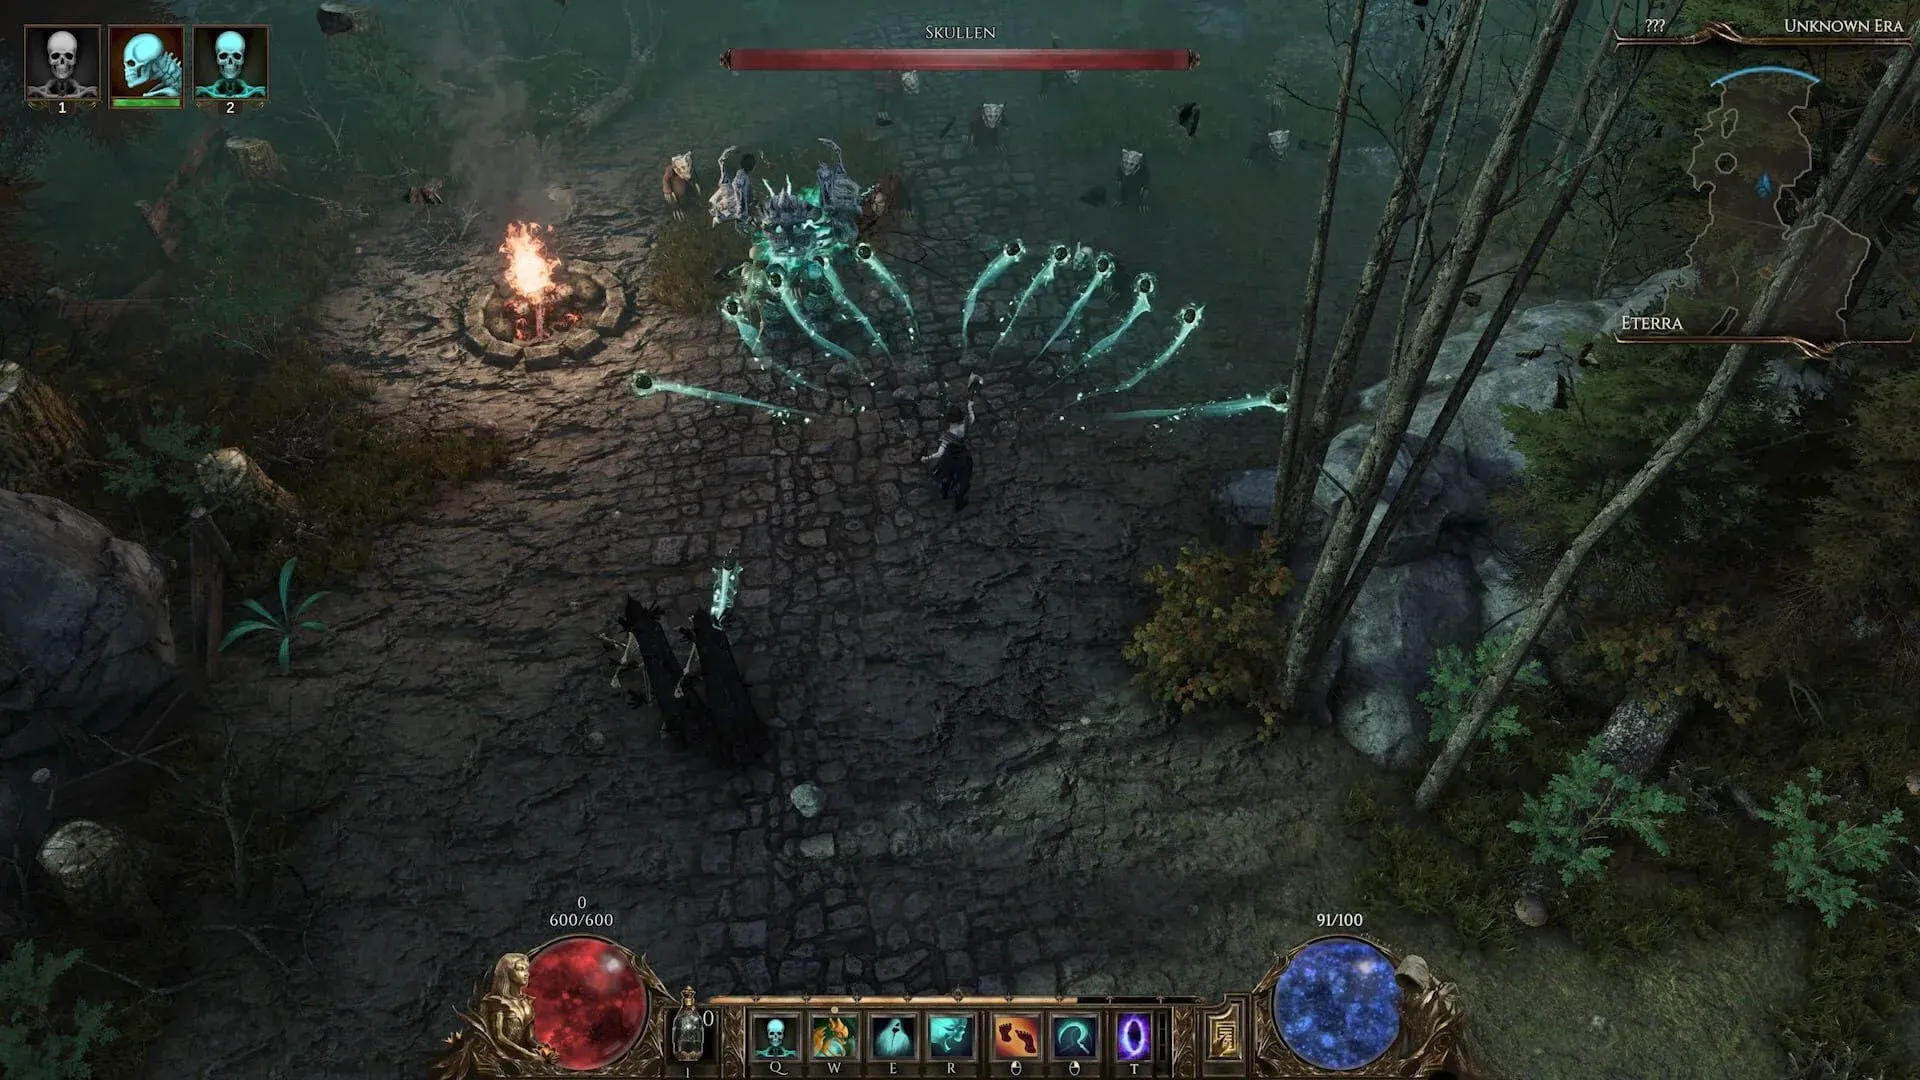


The Abyssal Echoes Void Knight is one of the more satisfying caster builds in Last Epoch right now. You stack Vitality to convert it into raw Flat Void Spell Damage, then fire off Abyssal Echoes and watch entire screens of enemies dissolve. The catch is that this skill costs a lot of Mana, so the build only functions once you have specific gear in place. Get the gear right, and it performs extremely well in endgame Monolith and Dungeons.
What makes this build work?
The core mechanic is straightforward: Abyssal Echoes gains +2 Flat Void Spell Damage per point of Vitality. Stack enough Vitality, and the damage output scales aggressively. The skill also inherently applies Armor Shred through the Rippling Corrosion node, so you do not need to source that debuff anywhere else on your gear.
The Mana problem is real, though. Abyssal Echoes has a high base Mana cost, and the build cannot function without addressing it. Three things solve this together: the Omnividence unique to reduce Spell Mana Cost, two Ornate Solar Idols with Void Spell Mana Efficiency, and the Reliquary Nest to amplify the effect of those Idols. The Void Well passive is also mandatory for Mana sustain. Skip any of these and the build stalls out mid-fight.
Skill setup and rotation
This build runs five skills. Abyssal Echoes is your primary damage dealer. Anomaly maintains Time Bubble, which provides significant buffs, and hitting bosses with it activates Mark of Rot. Devouring Orb is placed on your action bar but never manually cast; it fires automatically via Abyssal Rush whenever you stay in motion. Symbols of Hope goes on the bar for its passive buffs but also does not need manual activation. Your fifth slot is either Shield Rush for movement or Healing Hands if you need the damage immunity and free Mana cost it provides.
The general loop during mapping:
- Keep Time Bubble active by casting Anomaly on cooldown.
- Spam Abyssal Echoes into packs.
- Stay moving constantly so Devouring Orb procs automatically.
- Use Shield Rush or Healing Hands to cross the map between packs.
For boss fights, the priority shifts slightly. Hit the boss with Anomaly first to apply Mark of Rot, then keep all buffs running while staying mobile. The stutter-step technique (holding your movement key and attack key simultaneously) keeps Devouring Orb proccing even when standing in place to attack. For particularly tough encounters, swapping Shield Rush out for Healing Hands is worth it for the damage immunity window.
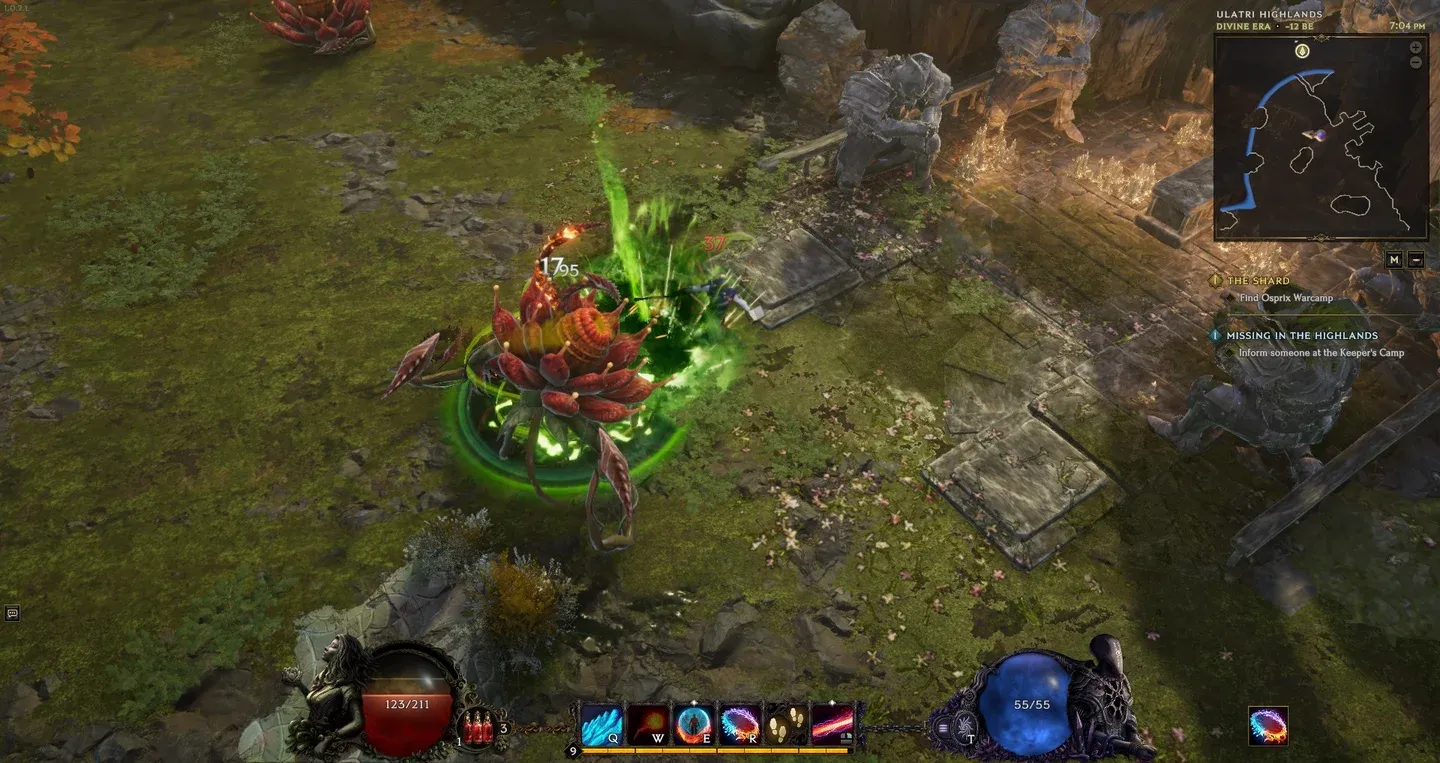
Anomaly activates Mark of Rot
What gear does this build need?
The build has hard requirements and strong optional upgrades. Here is how they break down:
The two helmet options worth noting: Dominance of the Tundra and Carcinization of Momentum both disable your Evade but offer strong stats. If you want to keep Evade functional, use Leonine Greathelm paired with Oceareon or Flames of Midnight instead. Grasp of the Blood Mage also reduces burst damage by converting 25% of hit damage taken from Bosses and Rares into a damage-over-time effect spread over 4 seconds, which pairs well with the build's defensive profile. Use Phantom Grip alongside it to cap your Crit Chance.
For a deeper look at how the skill's damage formula actually calculates, the Abyssal Echoes mechanic analysis on the official Last Epoch forums breaks down the math behind scaling, including how the ARPG generic damage formula interacts with the Void spell mechanics.
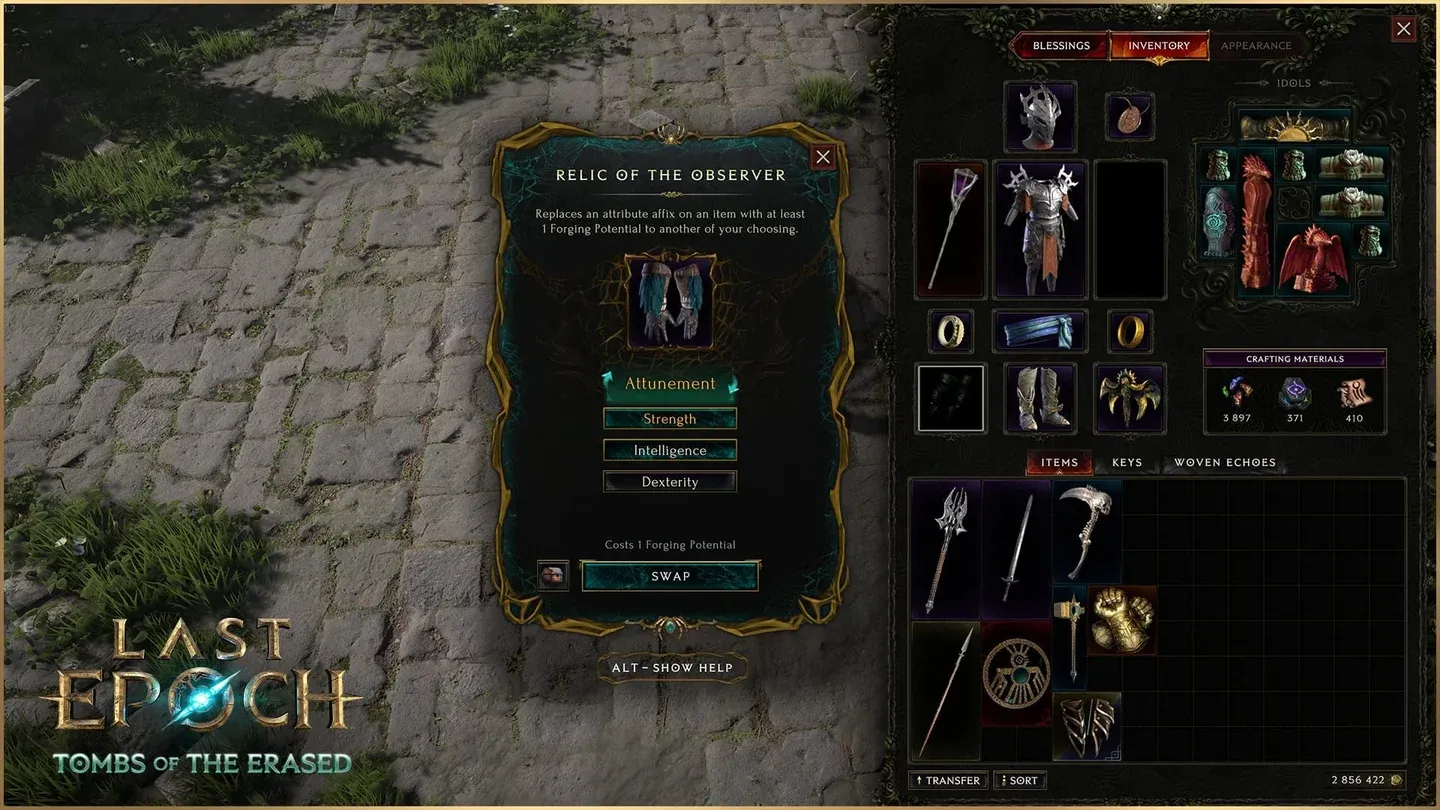
Mana Efficiency Idols setup
How do you scale damage and defense?
Offensive priorities (in rough order of importance):
- Flat Void Spell Damage (primary source via Vitality)
- Vitality (every point adds +2 Flat Void Spell Damage to Abyssal Echoes)
- % Increased Void Damage
- % Increased Critical Strike Chance
- Critical Strike Multiplier
- Void Resistance Shred and Void Penetration
- % Increased Cast Speed (be careful here; too much Cast Speed creates Mana problems, so scale it only as your gear improves)
- Armor Shred Chance (not needed on gear since Rippling Corrosion handles it)
Defensive priorities:
- Health
- Armor
- Endurance
- Leech
The passive Abyssal Fluctuation is worth calling out specifically. It grants Damage Reduction against Void Damage and converts a portion of incoming Elemental Damage to Void, which effectively increases your Void Resistance. The Inevitable item provides immunity to Slow and Chill, which matters in content with those debuffs. For resistance gaps, the passive nodes Abyssal Endurance and Holy Icon can cover shortfalls without sacrificing offensive points.
How does this compare to other Void Knight builds?
The Abyssal Echoes version sits in a different niche compared to the Rive Void Knight, which focuses on melee attack speed and single-target DPS with skills like Rive converted to Void damage. The Rive build requires no Uniques to function and has higher movement speed, but its AoE is limited. Abyssal Echoes trades that accessibility for much stronger pack clear at range, though it demands specific Uniques and Idols to even get started.
Both builds share the same supporting cast: Devouring Orb, Anomaly, and Symbols of Hope appear in both because the Void Knight passive tree and the Time Bubble buff are that good regardless of your primary damage skill. The official Last Epoch Wiki entry for Abyssal Echoes covers the base skill behavior, including the nova mechanic and how Abyssal Decay applies to hit enemies.
Passives and progression tips
Void Well is the non-negotiable passive. Without it, Mana sustain collapses entirely. Beyond that, the passive tree focuses on maximizing Vitality, Void damage, and the defensive layers mentioned above. If you are short on Resistances while gearing up, temporarily allocating points into Abyssal Endurance and Holy Icon covers the gap until your gear catches up.
This build assumes a level 70 character with the full Sentinel passive progression completed. Make sure to finish the campaign to unlock all passive points and idol slots, both of which are required for the build to function at its intended power level.
For more Last Epoch build strategies across all classes, you can browse more guides on GAMES.GG to find content covering other masteries and endgame approaches.