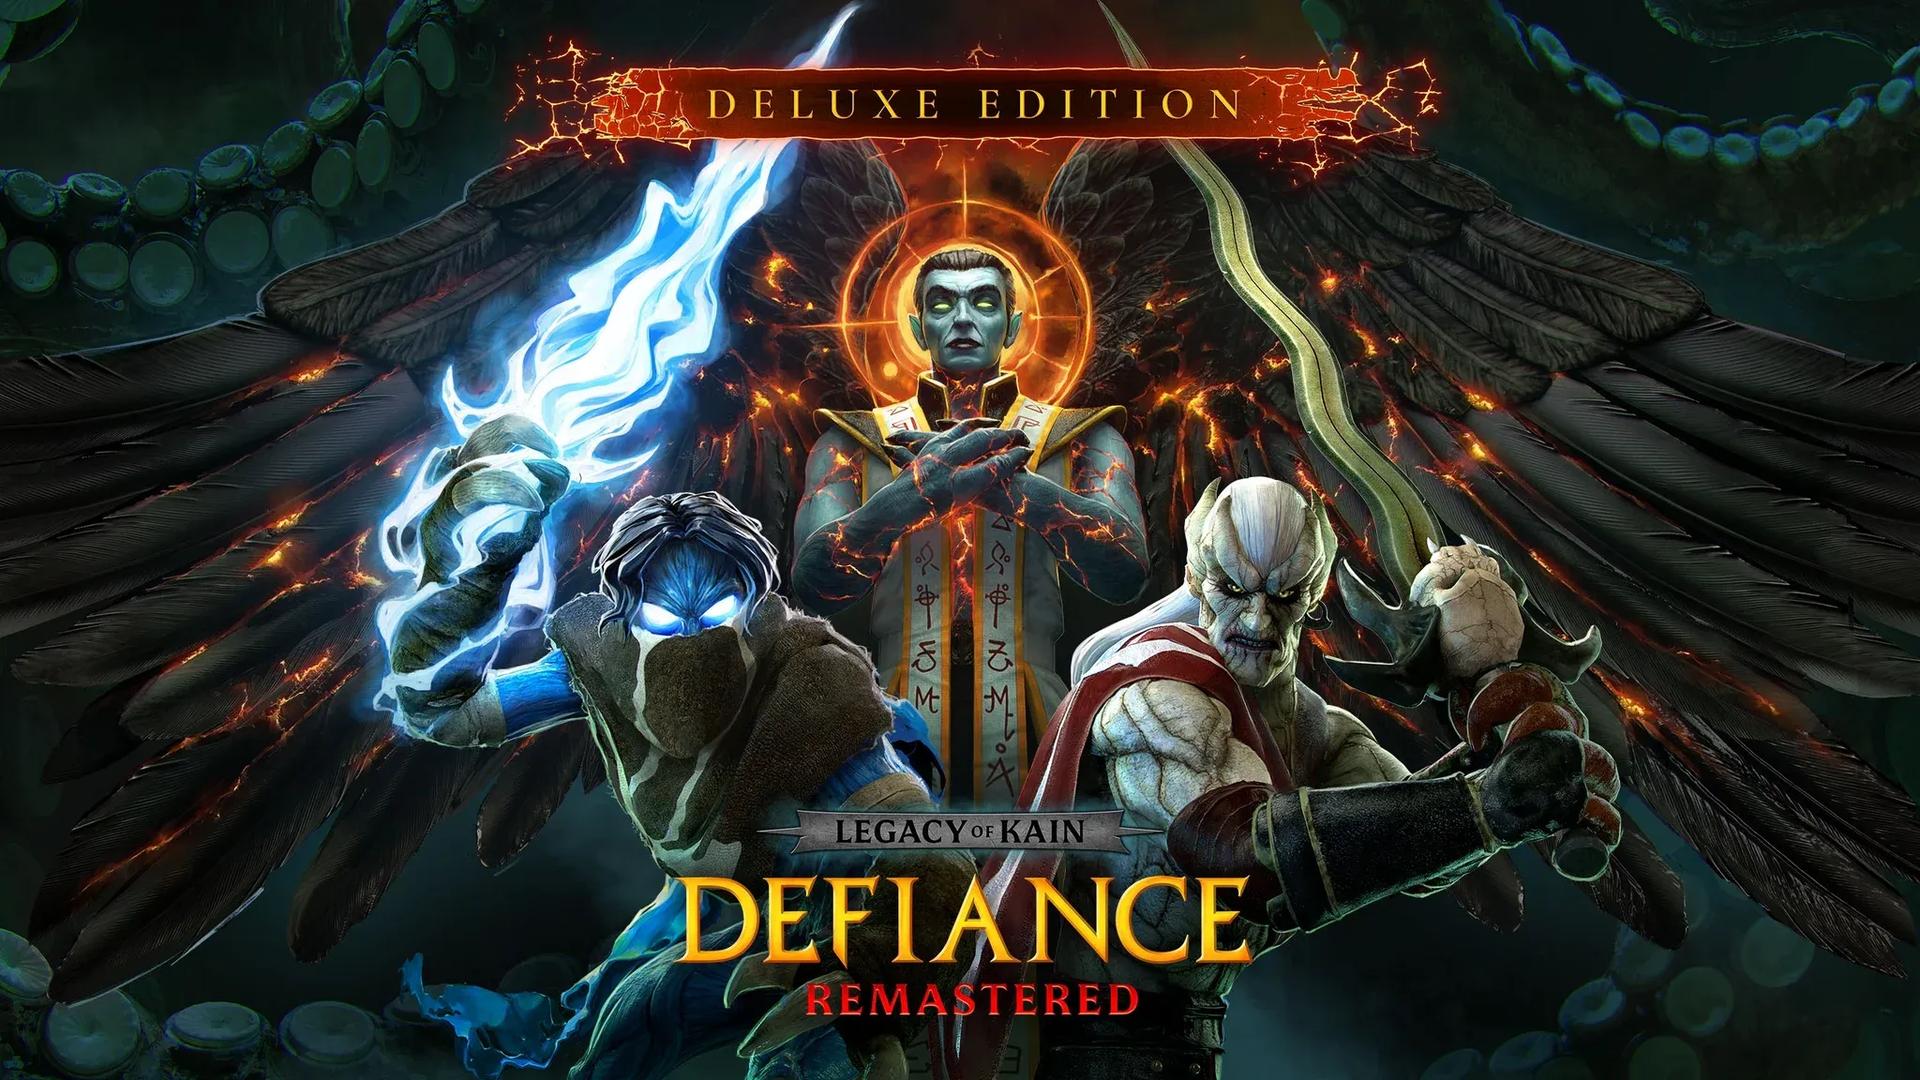

Legacy of Kain: Defiance Remastered is the series' ambitious finale, putting you in control of both Kain and Raziel as their timelines spiral toward a collision neither can fully predict. The remaster delivers a modernized camera, updated character models, and a toggleable classic graphics mode, making this the most playable version of a game that was always more compelling in story than in structure. Whether you're a returning fan or diving into Nosgoth for the first time, this guide walks you through every major chapter, boss encounter, and blade upgrade you need to reach the ending.
How Do the Two Protagonists Play Differently?
Both Kain and Raziel share the Soul Reaver as their primary weapon and unlock identical combo strings as they progress. That said, their sections feel distinct in practice.
- Kain focuses on brute force, feeding on enemy blood to restore health, and opening paths by acquiring relics and artifacts. His movement can feel restricted since the game controls when he uses jump and bat abilities, which sometimes clashes with how powerful he appears in cutscenes.
- Raziel can shift between the spectral realm and the material world, giving his sections more creative problem-solving depth. He restores health by consuming souls rather than blood. His access to the spirit plane is the key mechanic for bypassing locked grates, crossing flooded areas, and interacting with the environment in ways Kain cannot.
Chapter-by-Chapter Walkthrough
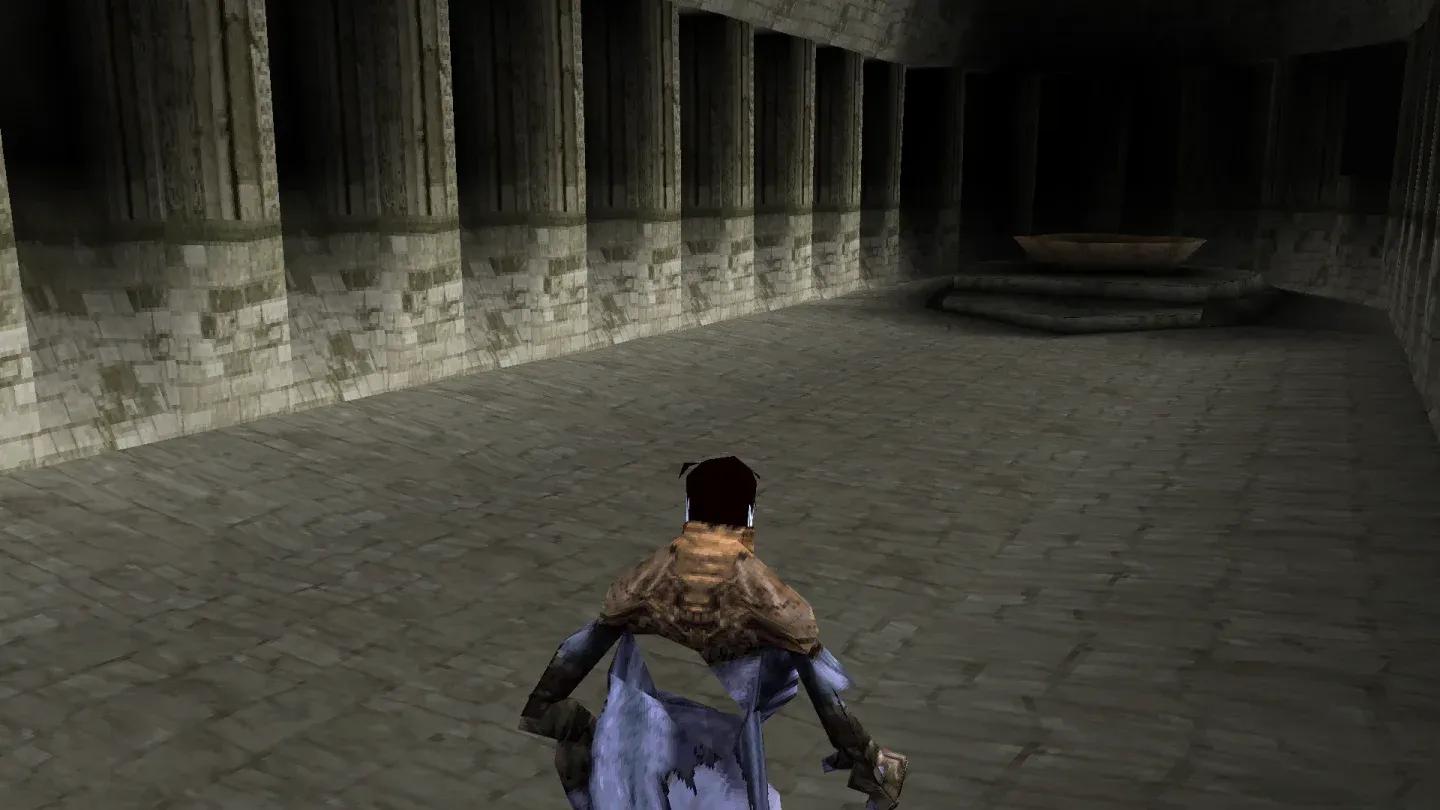
Chapter 1: Sarafan Fortress (Kain)
The opening chapter drops Kain into a fortress full of Sarafan mercenaries. Human enemies are straightforward at this stage, and every one of them doubles as a health restore. Use telekinesis to impale pikemen on wall spikes rather than trading sword blows, which saves time and builds blade energy faster.
Key objectives here:
- Find the first blade energy relic on the altar in the large hall (activates the sword's first energy stage)
- Locate Malek's Shield and Malek's Sword to open the two doors behind the central statue
- Use targeted telekinesis to ignite objects once the fire element is added to the blade
- Reach Moebius in the high tower by destroying bridge supports and solving the cabinet mechanism
The fortress is divided into sections connected by suspension bridges. Memorize the layout of key rooms early, because you will pass through them multiple times. The dungeon prisoners chained to walls should always be eliminated, as enemies can transform them into demons if left alive.
Chapter 2: The Underworld (Raziel)
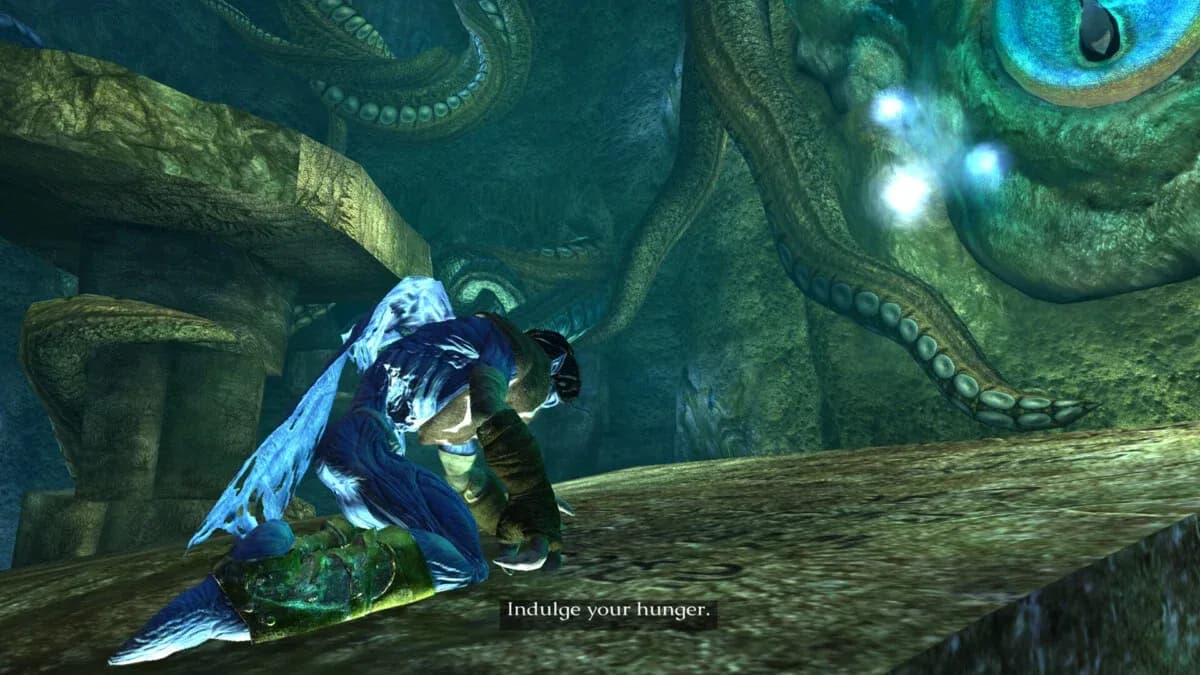
Raziel begins in the spectral realm at the bottom of the Lake of the Dead, under the watch of the Ancient One. This chapter is entirely about escape.
- Consume six wandering souls to satisfy the Ancient One and open the first tentacle barrier
- Defeat six dogs (weakened enemies turn transparent before they can be absorbed)
- Survive the rising spectral liquid by moving fast up the ruined spiral staircase
- Watch for tentacle creatures that exist in both worlds simultaneously, tracked by floor cracks
The hardest section is the vertical climb. The Ancient One collapses floors as you ascend, so keep moving and avoid pausing on any platform longer than necessary.
Chapter 3: Sarafan Fortress Revisited (Kain)
Returning to the fortress, you now face axe throwers and court mages. Eliminate mages first in every encounter since they buff nearby warriors with protective spells. The Unusual Lock door can now be activated with the artifact collected earlier.
This chapter introduces the fire blade ability, which lets you ignite objects using targeted telekinesis. Light the column tops in the large hall to raise stone slabs, then climb to reach Moebius in the upper tower.
Chapter 4: The Cemetery (Raziel)
This is where the structure of Defiance becomes clear. The cemetery contains several tombs, each requiring a visit to an Ancient Tomb of the Winged Race to collect a blade element. The order is locked: complete one tomb to unlock the next.
New enemy types introduced:
- Vampire hunters (female spearmen and grenadiers with Molotov cocktails, capable of creating magical arena barriers)
- Demons (attack in numbers and fire energy beams)
The Blade of Darkness is the first elemental blade you acquire. Its super attack grants invisibility, which is essential for bypassing the two steel scanning ravens in the Tomb of Darkness. Build blade energy using the cocoon on the second floor, activate invisibility, and walk past undetected.
Once you have the Blade of Darkness, return to activate the right-side orb at the gate leading to the Magic Pillars. You'll need the Blade of Light for the left orb later.
Raziel spectral shift mechanic
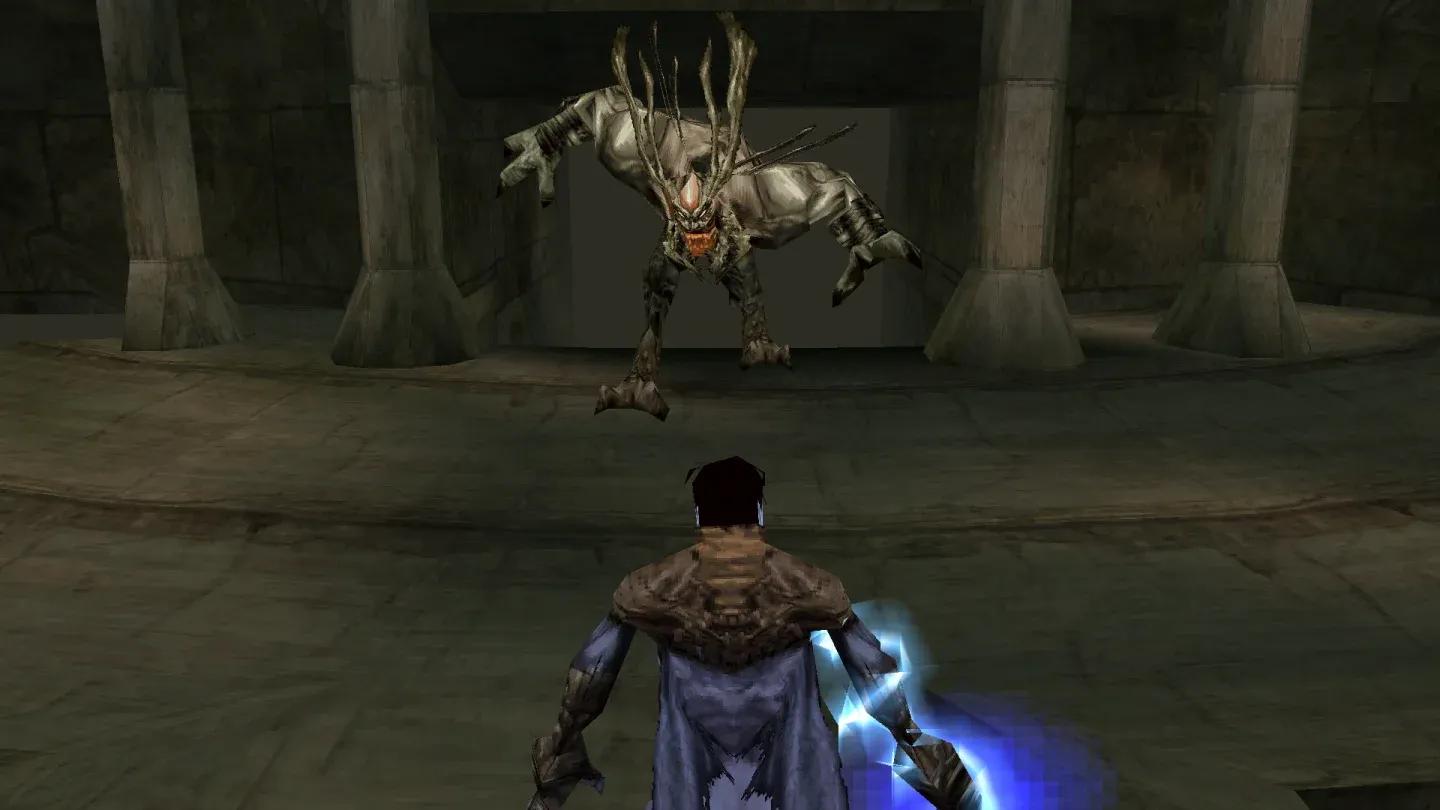
How to Beat the Archangel Boss?
The stone Archangel guardian is the first major boss encounter and appears multiple times across the Tombs of the Winged Race. Here is what works:
- Never commit to a full combo string. The Archangel will interrupt and hit you almost guaranteed on the last strike.
- When the Archangel begins winding up its axe swing, immediately jump into the air or roll sideways.
- After each swing, there is a brief recovery window. Use that window to land one or two quick strikes, then back away.
- Aim strikes at the head when possible. Head hits slow the Archangel's movement speed and eventually clip its wings.
- Once the wings are damaged enough, the Archangel self-destructs.
Patience wins this fight. Greedy players who chase full combos will take heavy damage. One or two hits per opening is the correct approach.
Chapter 5 and 6: The Pillars (Kain and Raziel)
Kain arrives at the Magic Pillars during a snowstorm and must find two artifact pieces to unlock the path forward. The stone disk puzzle requires inserting the disk into a floor slot, then using targeted telekinesis to ignite two wall urns and rotate the torch pedestal twice.
Raziel arrives at the same location 500 years later. The landscape has transformed from frozen wasteland to a forest overrun by vampire hunters. New enemy types here include massive hammer-wielding recruits who can drive you into the ground on impact. Jump away from their attacks and strike from behind or during their air animation.
Raziel needs the Blade of Fire from a nearby tomb to progress. The tomb puzzle involves dragging a torch pedestal to a flamethrower to light it, then repositioning it to activate the portal.
Chapter 7: Vampire Citadel (Kain)
The citadel introduces banshees, axe-throwing enemies covered in vegetation. They are not especially dangerous individually but appear in large groups. The citadel is a looping network of Tombs of the Winged Race connected by portals.
Key items to find:
- Disc of Life (opens the First Gate)
- Blade of Light (earned from the hourglass after defeating the Archangel in the second tomb)
The two Divine Shadows that appear after acquiring the Blade of Light are significantly tougher than standard enemies. They teleport during attacks and have high durability. Use the new blade and commit to sustained pressure rather than trying to dodge every teleport.
The iron fire statue boss near the end of the citadel sequence requires patience. Only attack when its fire armor deactivates. While the armor is active, avoid all contact. When it launches fireballs, strafe continuously until the opening arrives.
Legacy of Kain: Defiance Remastered Guide and Walkthrough
Chapter 8: Vorador's Mansion (Raziel)
This is the longest and most maze-like level in the game. The goal is to activate a portal at the bottom of the Fountain Hall by finding three magical spears and piercing the three gargoyle statues above the pool.
Finding the three spears:
- First spear: Located in the hall with a winged male statue. Activate six hidden orbs scattered around the room. The second orb is inside the fireplace (use invisibility). The sixth orb requires riding a descending chandelier to the opposite end of the hall.
- Second spear: Found in a hall with a winged female statue. Again, six orbs. One is hidden behind a fake cabinet (identified by two ring-shaped handles). One is under a smashable dining table concealing a secret button.
- Third spear: Requires solving a column-orientation puzzle in a hidden chamber. Arrange the column symbols left to right as: Wind, Fire, Elemental Unity, Water. This raises a central column to reach the half-artifact needed to open the locked door. The second half of the artifact is in the greenhouse sewers.
The Water Blade is acquired in this chapter's Winged Race tomb. Use it to extinguish the six blue urns at Vorador's crypt entrance (three lit with fire, three extinguished with water) to gain access.
Winged demons in the mansion can regenerate health and transform chained prisoners into monsters. Always eat prisoners before engaging winged demons to prevent this.
Chapter 10: The Cathedral of Avernus (Raziel)
The cathedral introduces the Earth Blade and culminates in the Turel boss fight.
How to beat Turel: Giant gongs hang around the edges of the sacrificial pit. When Turel emits an ultrasonic wave (visible as concentric circles closing in), locate the vibrating gong and strike it before the circles close. The returned wave stuns Turel temporarily. Strike him during that window, then repeat. When all gongs vibrate simultaneously, strike each one in sequence to deliver the finishing blow.
After Turel falls, Raziel absorbs his soul along with the dark forces that had been consuming him from within.
Legacy of Kain: Defiance Remastered Guide and Walkthrough
Chapter 11: The Cathedral (Kain vs. Raziel)
The confrontation between Kain and Raziel plays out in two phases.
Phase 1 (Kain vs. Raziel): Raziel uses every ability he has learned throughout the game. Suppress him with fast combos and punish his attack animations quickly. He is weaker than Kain at this stage.
Phase 2 (Raziel vs. Kain): Now you control Raziel. Kain hits harder and moves faster. Use the full range of elemental blades and Raziel's acrobatic mobility. Do not trade hits directly. Dodge, strike, and reposition constantly.
Chapter 12 and 13: Final Stretch
After Vorador's mansion is attacked by Moebius's forces, the path leads back to the Vampire Citadel and ultimately to the Ancient One as the final boss.
How to defeat the Ancient One (Final Boss):
- When a tentacle attacks, dodge and wait for it to slam the floor, then slash it repeatedly.
- After enough hits, the tentacle disappears in an energy burst and the Ancient One's eye protection drops briefly.
- Land two combo series on the exposed eye, then strafe to avoid the homing plasma bolts.
- Phase 2 adds a second tentacle. Phase 3 adds a third alongside a rapid plasma barrage.
- A final strike to the eye ends the fight.
What Are All the Blade Elements and What Do They Do?
Tips for New Players
- Explore each location thoroughly before moving on. Puzzles in Defiance are clustered tightly, and the solution is almost always nearby rather than in a previous area.
- Telekinesis is your most versatile tool. Use it to knock archers off walls, collapse columns for climbing, press distant buttons, and impale enemies on environmental spikes.
- Prisoners and captives should always be dealt with before or during combat. Enemies can transform them into demons mid-fight.
- The spectral realm changes geometry. Columns appear at different heights and positions, making jumps possible in spirit form that are impossible in physical form.
- Mages and magic users are always priority targets. Their buffs significantly increase nearby enemy attack power and their barriers trap you until every enemy is dead.
- Boss encounters reward patience. Committing to long combo strings against bosses almost always results in getting hit. Strike once or twice per opening and back away.