

The Amber House is one of Life Is Strange: Before the Storm's most story-dense locations. Sitting at 2420 Blackfriars Road in Arcadia Bay's upscale neighborhood, it appears in both Episode 2: Brave New World and Episode 3: Hell Is Empty, and it rewards players who take the time to poke around every corner. Miss the optional interactions and you'll skip some of Chloe's sharpest observations and a handful of collectible moments that recontextualize the whole Amber family drama.
What makes the Amber House worth exploring fully?
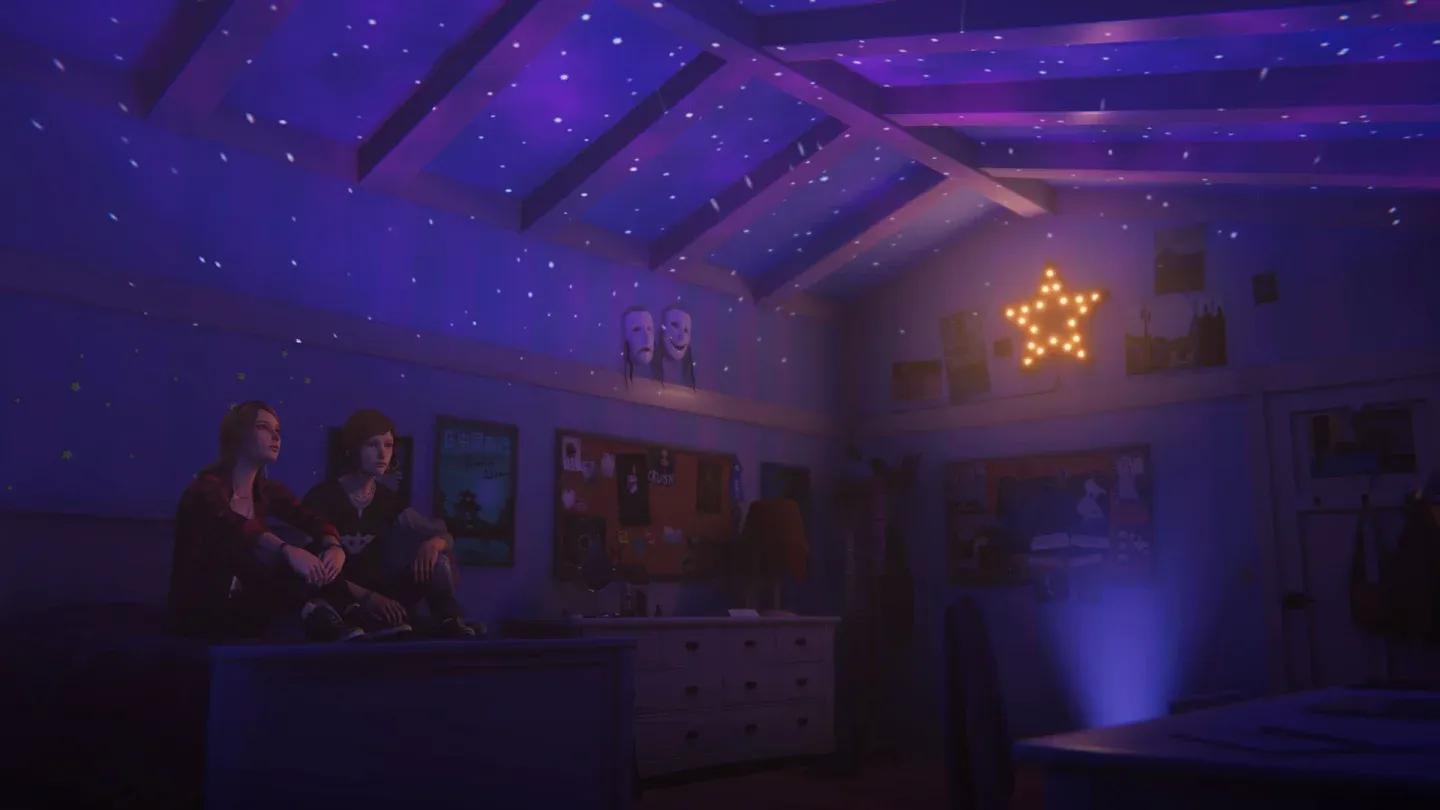
The house is designed as a deliberate contrast to the Price household. Where Chloe's home is worn and lived-in, the Amber House has yellow lanterns in every room, mosaic glass on the doors, a grandfather clock, a vinyl record player, original artwork, and a china cabinet full of glasses Chloe openly admits she has no idea how to use. The gap between the two households isn't just set dressing — it feeds directly into Chloe's internal monologue and the class tension running through Before the Storm.
Every interactive object comes with a comment from Chloe, and many of those comments shift depending on earlier choices (particularly around the money from Episode 1). This is a location worth treating as a character study, not just a checklist.
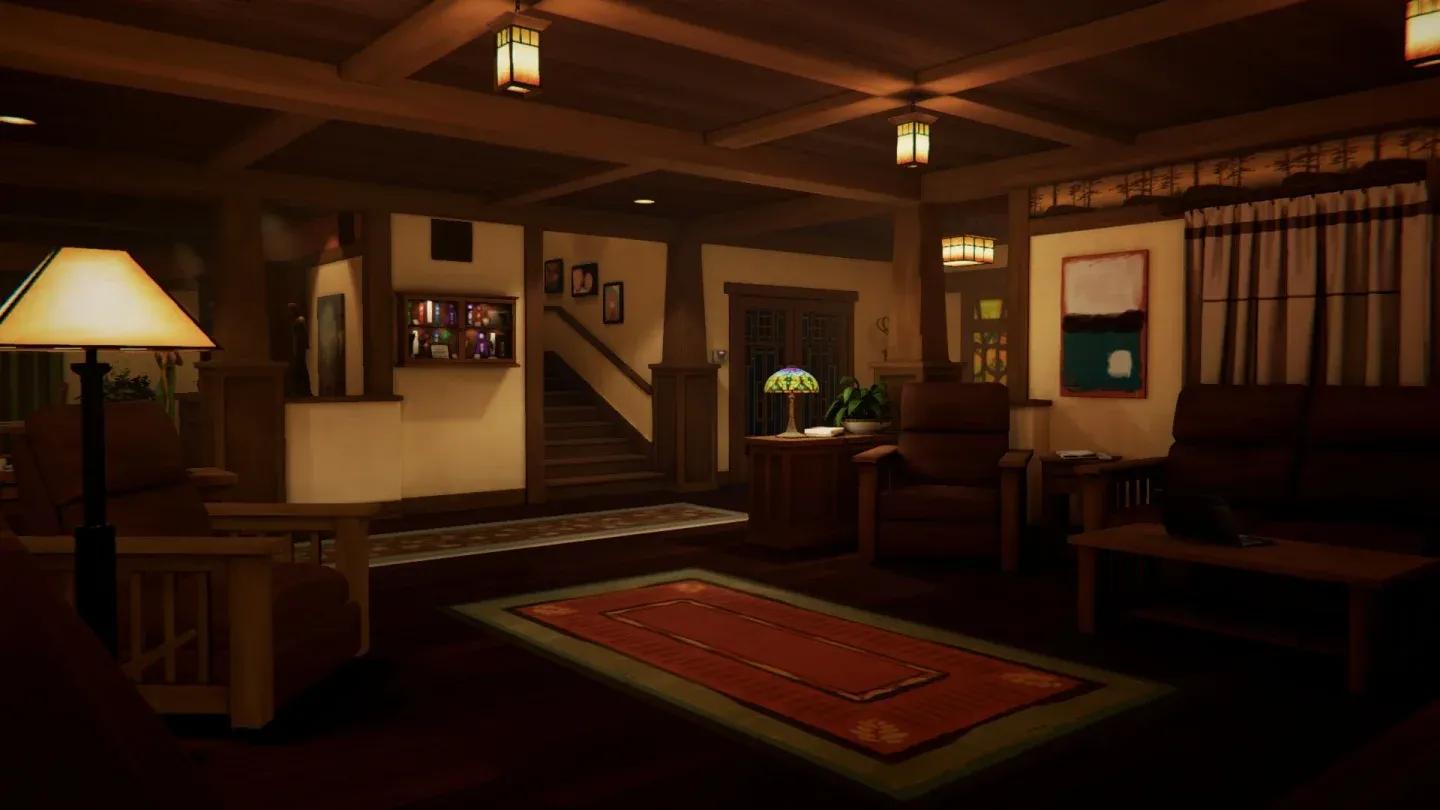
Amber House living room
Episode 2 walkthrough: how to complete the dinner sequence
The dinner scene in Brave New World has a specific sequence of required tasks. Skipping any of them stalls progress, so here's the exact order:
- Speak to Rose Amber (required to trigger the task chain)
- Open the cupboard and take the plates
- Put the plates on the dining table
- Speak to James Amber to ask what he wants to drink
- Take the correct glass from the china cabinet (Rose will tell you it's the triangle-shaped one)
- Place James's glass on the table
- Speak to Rose again
- Light the candles on the table
Once the candles are lit, the dinner scene triggers automatically. The conversation at the table covers the forest fire and family matters before Rachel Amber drops the confrontation about James kissing another woman at Overlook Park — and James's reveal that the woman is actually Rachel's biological mother, Sera Gearhardt, closes out the episode.
info
Complete every optional interaction before triggering each required step. Once a required task advances the scene, some objects become inaccessible.
Optional interactions worth prioritising in Episode 2
Beyond the required dinner tasks, several optional interactions add meaningful context:
- James's computer: Checking the search history reveals a gap with searches for "how to clear browser history," which Chloe immediately reads as suspicious. This plants the seed for the Sera revelation before it lands.
- The file on James's desk: References Damon Merrick, the man who attacked Drew. Chloe's comment changes based on whether she kept the money, gave it to Damon, or returned it to Drew in Episode 1.
- The awards shelf: Chloe notes that Rachel was an overachiever before they met, delivered with exactly the dry self-awareness you'd expect.
- Optional graffiti on the news article: You can draw either Frankenstein's monster or Count Dracula on the photo, but only when Rose has her back turned. In Episode 3, Chloe revisits this and remarks that she can't believe she was feeling goofy enough to do it just hours earlier — a small but effective tonal shift.
Selecting James's drink glass
Episode 3 walkthrough: what changes after the revelation?
Hell Is Empty opens directly where Brave New World ended. James walks Chloe and Rachel through his history with Sera using a viewfinder — five required story beats labeled Meeting, Courtship, Parenthood, Descent, and Reunion. Each one has a required interaction to advance the scene.
After Rachel heads upstairs, Chloe has free time to explore the house again. The atmosphere is completely different. The broken table where Rachel had her breakdown is now visible, and Chloe's comments on familiar objects carry more weight than they did an episode earlier.
What's different in Episode 3?
danger
The broken table is only observable in Episode 3. Chloe can't interact with it beyond looking, but her comment confirms Rachel smashed it during the confrontation.
The determinant interactions in Episode 3
Three interactions in Episode 3 are determinant — they only appear if you choose to engage with them, and they're easy to miss:
- Opening the breezeway door leads to a small area off the kitchen.
- Rachel's old shirt is in the breezeway, in a donation pile. You can claim it for Chloe.
- The broom is also in the breezeway. Giving it to Rose triggers a brief exchange and a small moment of connection between the two characters.
warning
If you skip the breezeway entirely, you'll miss the shirt and the Rose interaction. There's no way to go back once the scene advances.

Amber House breezeway items
How does the Amber House connect to the larger story?
The house functions as the physical representation of the lie Rachel has been living. Everything in it is curated and expensive and carefully arranged — and underneath that surface is James Amber's hidden past with Sera, a woman Rachel didn't know existed. The mosaic glass, the antique clock, the family photos: all of it reads differently once you know what James was concealing.
Chloe's comment on the travel photo says it plainly: "Guess some families actually go to Paris instead of just talk about it their whole lives." That line lands harder in Episode 3 when the whole picture of the Amber family is visible. The house didn't just represent wealth — it represented a version of Rachel's life that was built on incomplete information.
For technical notes on the game's PC version, including any display or performance settings that affect how locations like this render, the PCGamingWiki entry for Life Is Strange covers the base game's technical profile in detail. The prequel shares the same engine foundations.
Patch history for the series, including text corrections to Max's diary entries that were adjusted from Episode 2 onward, is documented on the Life is Strange Fandom wiki's patches page) — worth checking if you notice any dialogue inconsistencies between versions.

James's viewfinder story beats
Quick reference: all required tasks by episode
Episode 2 required tasks:
- Speak to Rose
- Take plates from cupboard and set the table
- Ask James what he wants to drink
- Take the sherry glass and place it at James's setting
- Speak to Rose again
- Light the candles
Episode 3 required tasks:
- View all five sections of James's viewfinder story (Meeting, Courtship, Parenthood, Descent, Reunion)
Episode 3 determinant tasks:
- Open the breezeway door
- Take Rachel's shirt (optional)
- Bring Rose the broom (optional)

Lighting candles at dinner
For more Life Is Strange guides and walkthroughs across the full franchise, browse the latest gaming guides at GAMES.GG to find coverage of every episode and entry in the series.