

Life is Strange: Reunion picks up more than a decade after the original game, and its opening five scenes do a lot of heavy lifting. They reintroduce Max's rewind power, establish the new cast, and drop you into a murder mystery before you've even had time to unpack. If you've already imported your choices from previous entries, you know the emotional stakes are high from the first frame.
This guide covers everything in Scenes 1 through 5: every story beat, every collectible photo, every rewind puzzle, and which dialogue choices carry weight versus which ones are purely cosmetic.
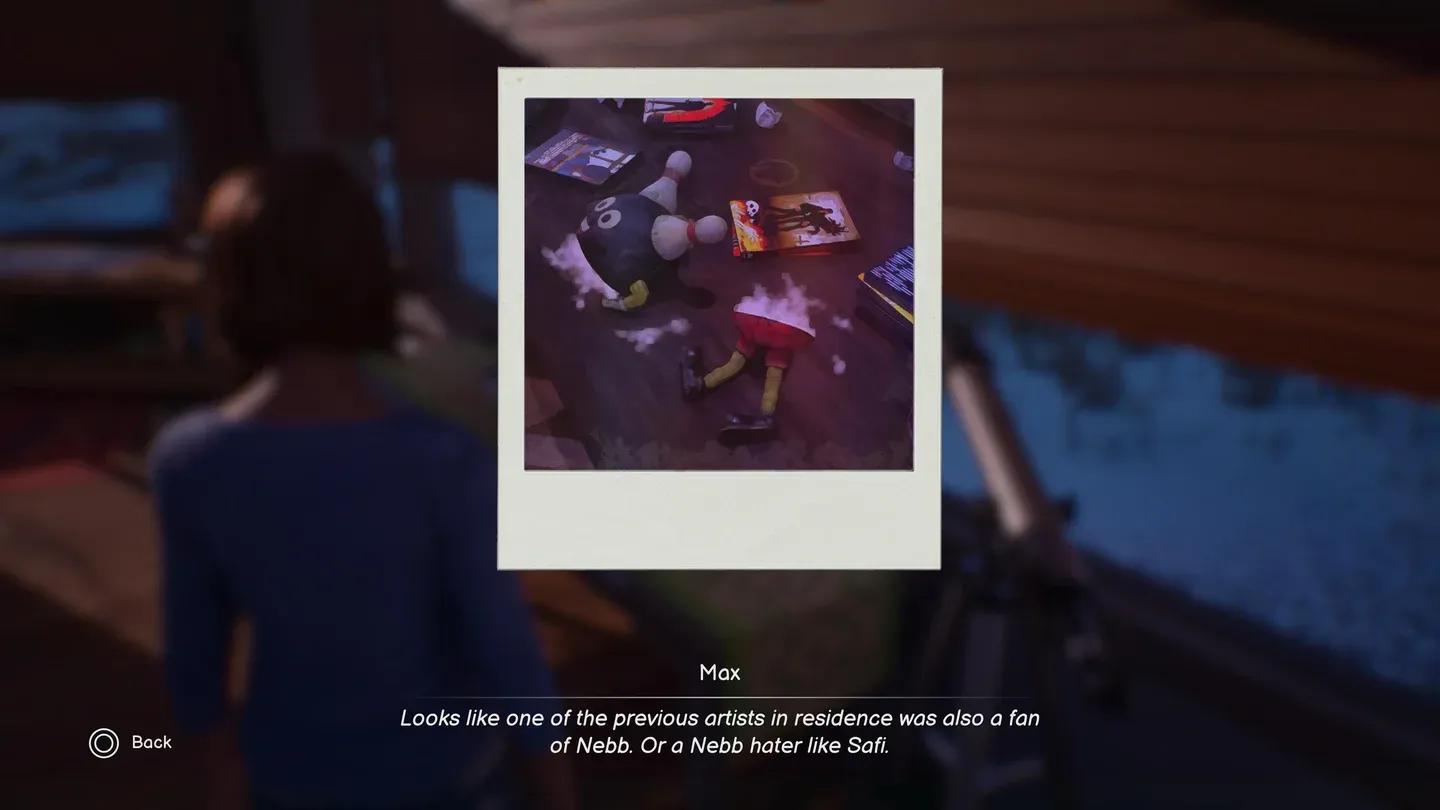
Max retrieves her camera
Setting up your past game outcomes
Before the opening scene plays, Reunion asks you to configure your history across previous Life is Strange games. These aren't cosmetic tweaks. They shape character relationships, dialogue, and certain story moments throughout the entire game. The main variables are:
If you'd rather not manually configure each one, the randomize option is available. Just know that some dialogue in later scenes references these choices directly.
If you played previous entries and remember your choices, configure them manually. The randomize option can produce combinations that feel tonally inconsistent with your personal history with the series.
Scene 1: Backstage Pass (playing as Chloe)
The game opens with Chloe backstage, facing a stage manager on the other side of a door. Your response options are Lie, Threaten, or Negotiate. All three are flagged as no-consequence choices, so pick whichever fits the Chloe you've been playing.
After this exchange, Chloe enters a dream state. Use WASD to move through the space and interact with the following objects before reaching the outlook at the top:
- Mirror of Blackwell Academy (at the start of the area)
- Gun on the ground (mid-slope)
- Max's camera (near the gun)
- Gravestone (just before the outlook, on the right side)
None of these interactions are required to progress, but they fill in emotional context for Chloe's headspace. Reaching the outlook triggers a cutscene and earns you the Green-Haired Girl achievement.
Chloe's dream state slope
Scene 2: Mountain State of Mind (playing as Max)
You switch to Max, who's digging through her car trunk. Hover over the portfolio and the donuts box to get the options to clean and organize. Move the donuts box to uncover your Journal, which functions as the main menu for story notes, SMS threads, and your collectibles tracker.
Move the hat to find the polaroid camera, but before picking it up, check Max's student essays, bag, and suitcase for optional dialogue. Once you grab the camera, you'll enter a photo-capture moment.
Collectible 1: After picking up the camera, photograph the sunset over the outlook. This is your first collectible photo and it's easy to miss if you immediately advance the scene.
Pressing C at any point pulls out the camera for free-roam photography. Keep that in mind throughout the rest of the game. Completing this scene earns the Mad Max achievement.
Scene 3: Emergency Response
Max arrives at a fire on campus. Walk toward the campus security first, then take a moment to examine the environment before heading up the steps:
- Abraxas graffiti on the ground
- Protest flyer (right of the stairs)
- Protest sign (left of the stairs)
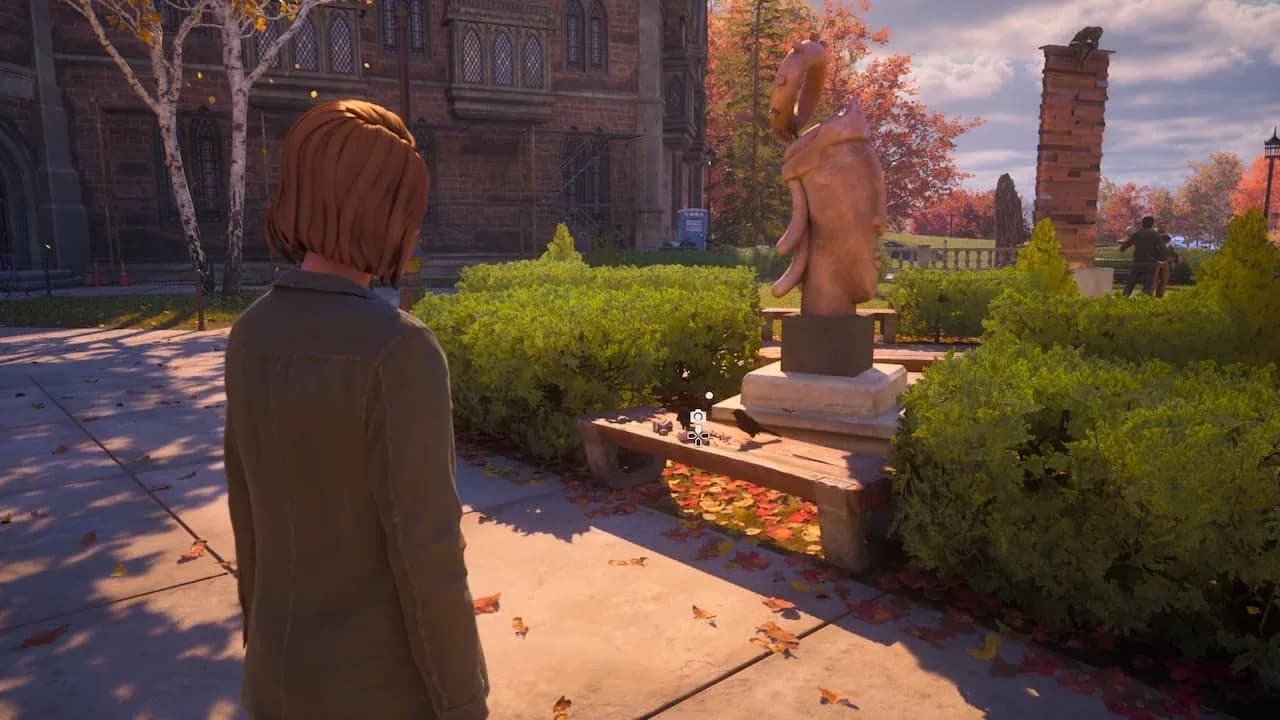
Head up the steps toward the statue, watch the brief cutscene, then circle around the building to the left. Check the Fire Material on the table in the backyard area, then walk to the open gate on the left. The next cutscene triggers automatically.
The Abraxas graffiti and protest materials are environmental storytelling, not collectibles. They won't appear in your journal, but they add context to the campus conflict running through the early scenes.
Scene 4: Return to Selfie
This is a quiet scene. Max sits on a bench with inner dialogue and a song playing. You can stay seated and absorb it, or press Spacebar to stand and move on. There are no collectibles or puzzles here.
Scene 5: Time Dojo (the rewind training sequence)
This is the meatiest section of the opening act. Max returns to campus after time-traveling through a photograph and needs to find Moses in his classroom. From the lobby, walk straight, take a left through the open doors, take another left, and his classroom door is on the right.
Before entering, grab these collectibles in the space campus building:
Collectible 2: In the lobby, photograph the pumpkin display in the left corner near the entrance.
Collectible 3: Walk past the staircase to the end of the hall and photograph the astronaut display.
Podcast collectible: From the lobby, take the first left through the open doorway marked with a "Restrooms" sign. The podcast flyers are on the wall to your right.
How do you solve Test 1 (the Swordmaster murder puzzle)?
Moses shows you a drawing, then rips it up. Hold M2 to rewind before he tears it, then choose the Take option to see the image. Moses then asks you to name the character who killed him in the drawing.
To find the answer, search the classroom:
- Walk left past the counters and examine the Samurai poster on the wall.
- Go up the stairs and rotate the Schoolgirl anime figure on the stand near the railing until you can read the name on its base.
The answer is Mina Hiramatsu. Before telling Moses, rewind to before you spoke to him again so the exchange plays cleanly.
Don't skip rotating the figure. The name isn't visible from the default angle, and guessing wrong without checking the clues means you'll need to rewind anyway.
How do you solve Test 2 (the cabinet puzzle)?
Moses wants you to retrieve an item from a locked cabinet without breaking it. Here's the exact sequence:
- Examine the cabinet.
- Grab the screwdriver from the counter above it.
- Use the screwdriver on the cabinet. The mug inside falls and shatters.
- Rewind before opening the cabinet.
- Walk to Moses' computer near the entrance and grab the cushion from his chair.
- Use the Move option on the cushion to place it below the cabinet.
- Use the screwdriver on the cabinet again. The mug lands safely on the cushion.
- Collect the mug, then rewind to before you opened the cabinet.
- Hand Moses the intact mug.
This puzzle is a clean demonstration of how Reunion expects you to think: act, observe the consequence, rewind, then solve with the new information.
How do you solve Test 3 (the kettle fire)?
Stand on the X marked with tape on the floor and choose the Stand option. When Moses' kettle starts to catch fire, rewind before it ignites and sprint up the stairs using Shift. The rewind window is short, so you may need to rewind multiple times to buy enough time. At the top, interact with the kettle and choose Unplug.
After the tests, Moses debriefs you. The conversation has several branches, all marked as no-consequence, covering your powers, the suspects, your leads, and what comes next. The "What's next?" option ends the conversation and transitions you to Scene 6, where the investigation into the fire begins in earnest.
Collectibles summary for Scenes 1 to 5
For a deeper look at every collectible and trophy tied to these scenes, the Life is Strange: Reunion walkthrough on GameSpew has solid coverage of the full game's progression.
The Fandom wiki also has a thorough breakdown of the rewind mechanics introduced in Time Dojo, including the specific interaction order for each test, over at the Life is Strange: Reunion Walkthrough on the Life is Strange Wiki.
If you're looking for more guides across other games while you work through Reunion, browse the full guides library at GAMES.GG for walkthroughs, tips, and more.