

Collectibles in Life Is Strange: Double Exposure are easy to overlook on a first playthrough. Max is navigating two timelines simultaneously, and it's genuinely simple to walk past a Polaroid while your attention is split between the living world and the dead one. This guide breaks down every collectible location by chapter so you can grab them all without replaying entire episodes.
What collectibles are in Life Is Strange: Double Exposure?
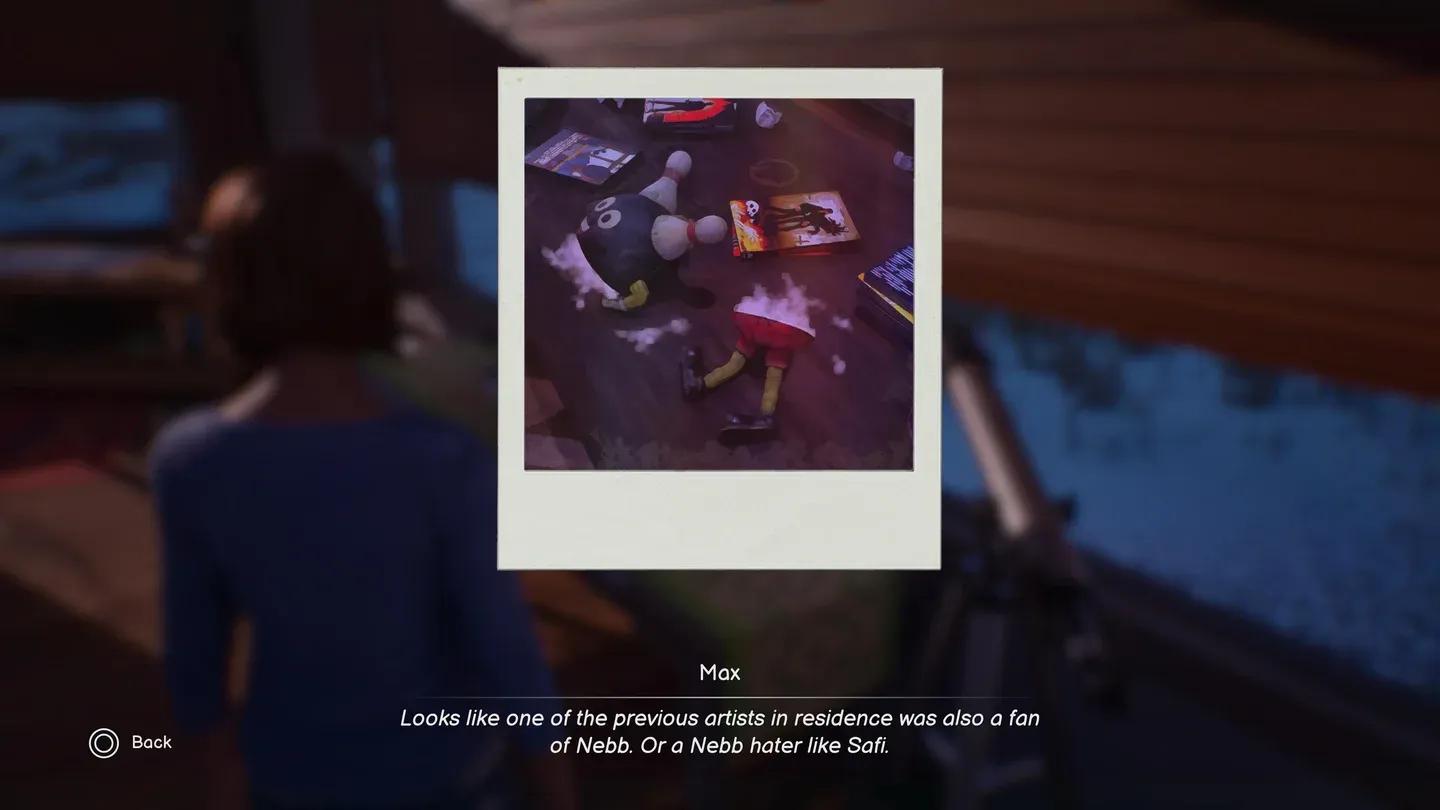
The primary collectibles are Polaroids, physical photographs scattered across the game's environments. Unlike some collectible systems that feel tacked on, the Polaroids in Double Exposure fit naturally into Max's identity as a photographer, and finding them all rewards completionists with a fuller picture (no pun intended) of Caledon University and its characters.
The full optional photos reference on the Life is Strange Wiki confirms that Collectible Mode allows players to collect all photos multiple times across playthroughs, with one exception: the final photo during Max's nightmare sequence. Keep that in mind if you're attempting a clean-up run.
Polaroid collection inventory
Chapter-by-chapter Polaroid locations
The collectibles are divided across all five chapters. Here's how the distribution breaks down:
Chapter 1 Polaroids
Chapter 1 serves as your introduction to Caledon University, and the Polaroids here are relatively straightforward to spot. Take your time exploring Max's dorm room and the surrounding campus paths before advancing the story. The game doesn't rush you during this chapter, so use that breathing room to sweep each area thoroughly before triggering the next story beat.
Chapter 1 campus exploration
Chapter 2 Polaroids
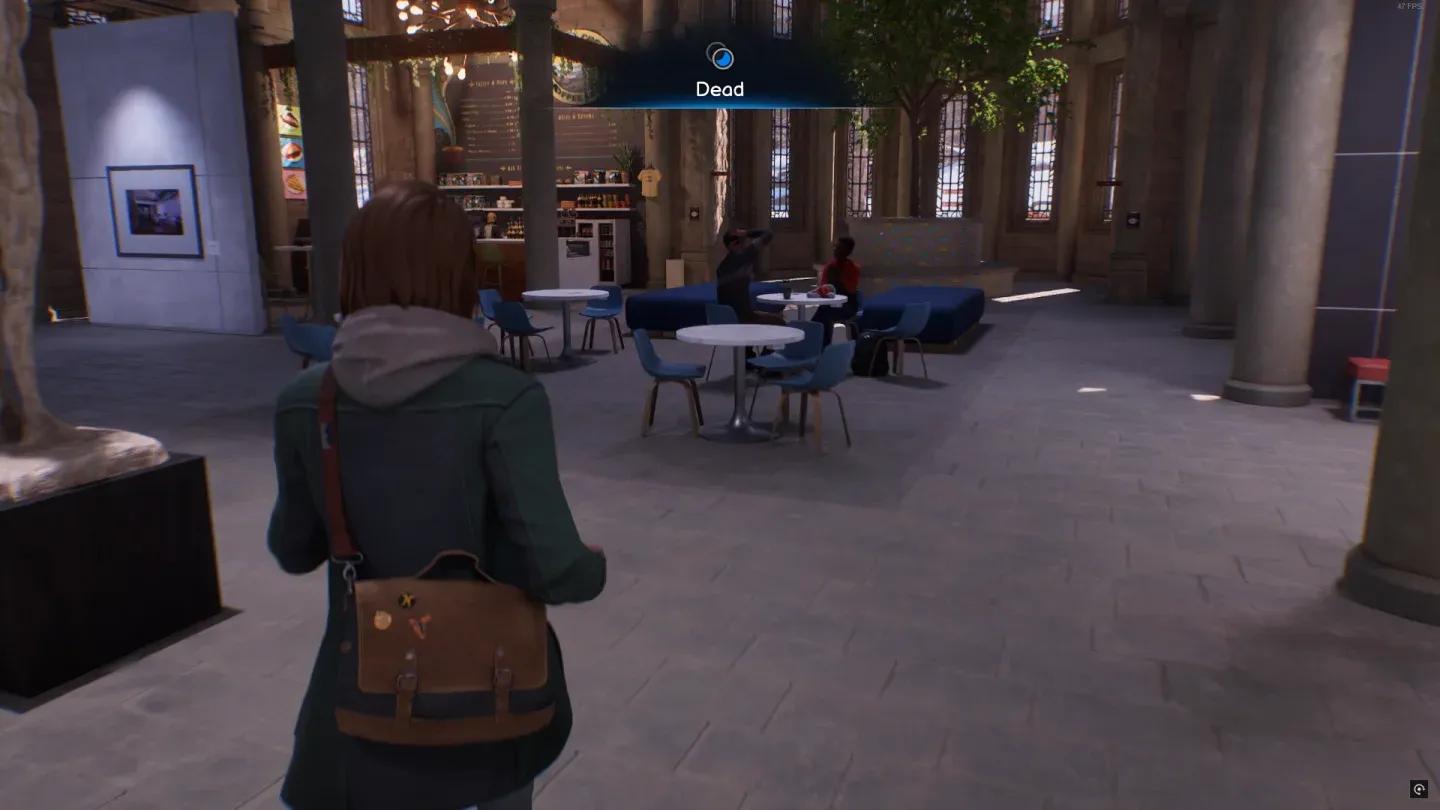
By Chapter 2, the dual-timeline mechanic is fully active, which means some Polaroid locations only exist in one version of the world. Pay close attention to which timeline you're in when exploring. A photo visible in the living world may not appear in the dead world, and vice versa. Switching timelines in the same physical space before moving on is the safest habit to build.
Rushing through dialogue sequences in Chapter 2 can lock you out of certain exploration windows. Wait until a conversation fully resolves before moving to search nearby areas for Polaroids.
Chapter 3 Polaroids
Chapter 3 is where the collectible hunt gets genuinely tricky. The environments open up more, and several Polaroids are tucked into corners that don't sit along the main story path. The library and the outdoor areas near the art building are worth a careful sweep. After testing all available routes through this chapter, the spots that trip players up most consistently are the ones requiring you to enter a room, switch timelines, and then check a secondary corner that only becomes accessible in the alternate version of the space.

Chapter 3 library search area
Chapter 4 Polaroids
Chapter 4 ties several Polaroid locations directly to story-critical areas, meaning you'll pass through the right rooms naturally. The risk here is moving too quickly once a scene resolves. Slow down after any major story moment and check the immediate surroundings before the game transitions you forward.
Some Chapter 4 areas become inaccessible once you pass a specific story checkpoint. If the game prompts you to proceed, check the current room for collectibles first.
Chapter 5 Polaroids and the missable nightmare photo
Chapter 5 contains the one Polaroid that cannot be collected in Collectible Mode on subsequent runs: the photo inside Max's nightmare sequence. This is the single missable collectible in the entire game. Treat it as a priority the moment the nightmare begins. Don't get caught up in the story momentum and forget to grab it.
For a full breakdown of how patches have affected collectible behavior over time, the Life is Strange patch history on Fandom) notes that collectible photo formats were updated from 1:1 to 10:15 aspect ratios in earlier entries, and various ambient sound and credits fixes have been applied across patches. If you notice any display inconsistencies with Polaroid presentation, a patch may be the cause.
How do you get 100% collectibles in Double Exposure?
Hitting 100% requires collecting every Polaroid across all five chapters. The nightmare photo in Chapter 5 is the only one you cannot retroactively grab in Collectible Mode, so the practical approach is:
- Play through the game naturally and grab what you can.
- On a second pass using Collectible Mode, replay Chapters 1 through 4 to fill any gaps.
- On your next full playthrough, prioritize the Chapter 5 nightmare photo before anything else in that sequence.
This three-step approach is far less frustrating than trying to be perfect on a blind first run.
Tips for finding every Polaroid
- Switch timelines in every room. Many Polaroids only exist in one version of the world. Make it a habit to flip between the living and dead timelines before leaving any area.
- Check low and high angles. The camera in Double Exposure often places collectibles at floor level or on elevated surfaces that don't catch your eye during normal movement.
- Don't skip environmental dialogue. Max will often comment on nearby objects, including Polaroids. Her commentary is a reliable audio cue that something collectible is nearby.
- Use chapter select freely. There's no penalty for replaying chapters in Collectible Mode, so don't stress about perfection on the first pass through each episode.
For more guides across all kinds of games, browse the full guide library at GAMES.GG to find walkthroughs, tips, and breakdowns for your next playthrough.