


What makes Luna Abyss different from other shooters?
Luna Abyss is not a tactical shooter where cover saves you. It is a first-person action game built around arcade bullet-hell mechanics, and every instinct you have from other shooters will get you killed. Projectiles ricochet off walls, enemy patterns are geometric and layered, and standing still for even half a second in the wrong spot means you are already dead. The good news: the mechanics are learnable, the enemy patterns are consistent, and once the movement system clicks, the whole game transforms from a frustrating grind into something genuinely satisfying.
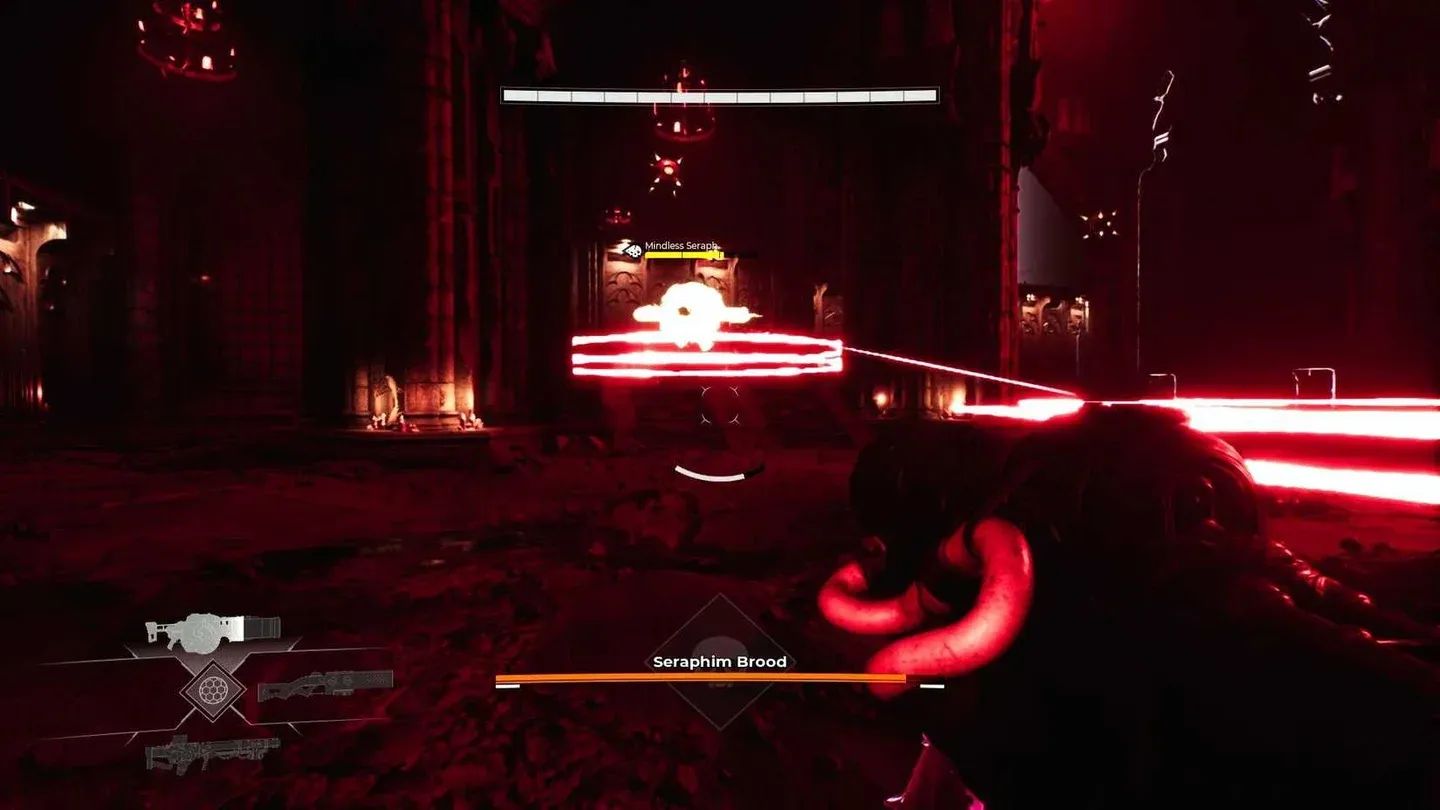
Bullet hell waves in Sector 3
Understanding the core combat system
How do dash iframes actually work?
The dash is the single most important mechanic in Luna Abyss, and most beginners use it wrong. When you dash, you get exactly 24 frames of invincibility at 60 FPS, which works out to 0.4 seconds. The catch is that the full dash animation runs for 0.7 seconds, meaning the tail end of your dash leaves you completely exposed.
The practical rule: dash into or through bullet waves, never away from them. Dashing backward extends the time your character model overlaps with incoming projectiles during those vulnerable recovery frames. Dashing parallel to a wave is nearly as bad. Threading through the thin gaps in a bullet pattern is the correct play, even when every instinct tells you to run.
Stamina management ties directly into this. Your stamina bar needs to stay above 30% at all times. A fully depleted bar locks you out of dashing for 2.5 seconds, which is effectively a death sentence in any mid-game or late-game encounter. Stamina begins regenerating 0.5 seconds after your last dash, and jumping does not interrupt that regeneration. Advanced players use a dash-then-jump technique to keep moving while their stamina recovers, reaching near-continuous high-speed mobility around arenas.
What are the different projectile types?
Not every glowing orb behaves the same way, and reading the room quickly is what separates players who survive from players who repeatedly restart.
- Standard Pulse (Blue): Medium velocity, moderate damage. These exist to restrict your movement and funnel you into more dangerous attacks. Treat them as positioning threats, not direct threats.
- Tracking Spheres (Purple): Homing projectiles that require a well-timed dash to break their lock. Strafing alone will not shake them. You need to wait until the last possible moment before dashing to break the tracking algorithm.
- Laser Sweeps (Red): Effectively instant. Once you see the telegraph line appear, you have 0.6 seconds to clear the area. Reactive dodging does not work here. You need to read where the sweep is heading and preemptively reposition.
Why does aggressive play keep you alive?
Luna Abyss punishes passive play through its health economy. Health drops are tied to the Execution mechanic: dealing sustained damage fills an enemy's invisible stagger bar, and once staggered, a close-range execution grants a brief window of complete invincibility and guarantees a high-tier health restorative drop. Players who snipe from across the room get chip damage without the healing payoff. Getting in close, staggering enemies, and executing them is how you sustain through long encounters.
The Overdrive meter compounds this. Many beginners hoard Overdrive for boss fights, but using it to instantly clear a wave of Elite enemies mid-sector saves more health than saving it for a boss you might not even reach. Overdrive multiplies damage output, instantly recharges stamina, and provides burst healing. Spending it freely is mathematically more efficient.
What mistakes kill beginners most often?
After spending time testing every enemy type across multiple sectors, the same five mistakes appear repeatedly in players who struggle.
Hugging walls is the most common. In Luna Abyss, walls eliminate your navigable space and many bullet patterns are designed to ricochet or produce splash damage on environmental surfaces. Controlling the center of the arena gives you the most room to maneuver.
Ignoring audio cues is the second. Every enemy type has a distinct spawn sound. The heavy bass drop signals incoming Swarmer drones; a high-pitched whine means an Elite sniper has entered the arena. Players who react to audio rather than waiting to see threats visually can start repositioning before the danger is even on screen.
Mismatching shield damage becomes a problem from Sector 3 onward, when color-coded elemental shields appear. Using a kinetic weapon against an Energy-shielded enemy drops your damage output to 20% of normal. That is not just a DPS loss; it is wasted seconds where you could be dodging instead of tickling a shield.
The double-jump trap catches players who feel safer in the air. Jumping makes your trajectory predictable, and many enemy AI patterns specifically track your landing zone after a double jump. Reserve double jumps for clearing ground-based shockwaves and use horizontal dashes for everything else.
Spreading upgrade points too thin is the last major trap. The upgrade tree looks like it rewards balance, but specialization is what actually carries you through the early game.
Weapon loadouts: what actually works?
Weapon tier list (Patch 2.4 meta)
The Plasma Spread acquired in Sector 2 is the weapon that carries beginners through the first three sectors. A Level 3 Plasma Spread handles crowd control well enough that you do not need a secondary weapon upgrade until mid-game. The Void Beam becomes essential from Sector 3 onward when shielded Elites become the primary threat.
How to run the Momentum Striker build
This build minimizes downtime between engagements and keeps you in constant motion.
- Primary: Plasma Spread, upgraded for wider arc and faster reload
- Secondary: Void Beam, upgraded for reduced charge time
- Perks: Dash Cooldown Reduction, Execution Heal Bonus, Overdrive Generation on Stagger
The execution loop works like this:
- Open with the Void Beam to shatter an Elite's shield
- Swap to the Plasma Spread while dashing forward
- Dump shots into the enemy to fill the stagger bar
- Execute at close range for the invincibility window and health drop
- Use the invincibility frames to reposition onto the next target
The invincibility from the execution overlaps with your dash cooldown recovery, which is what makes the loop sustainable rather than just a one-time burst.
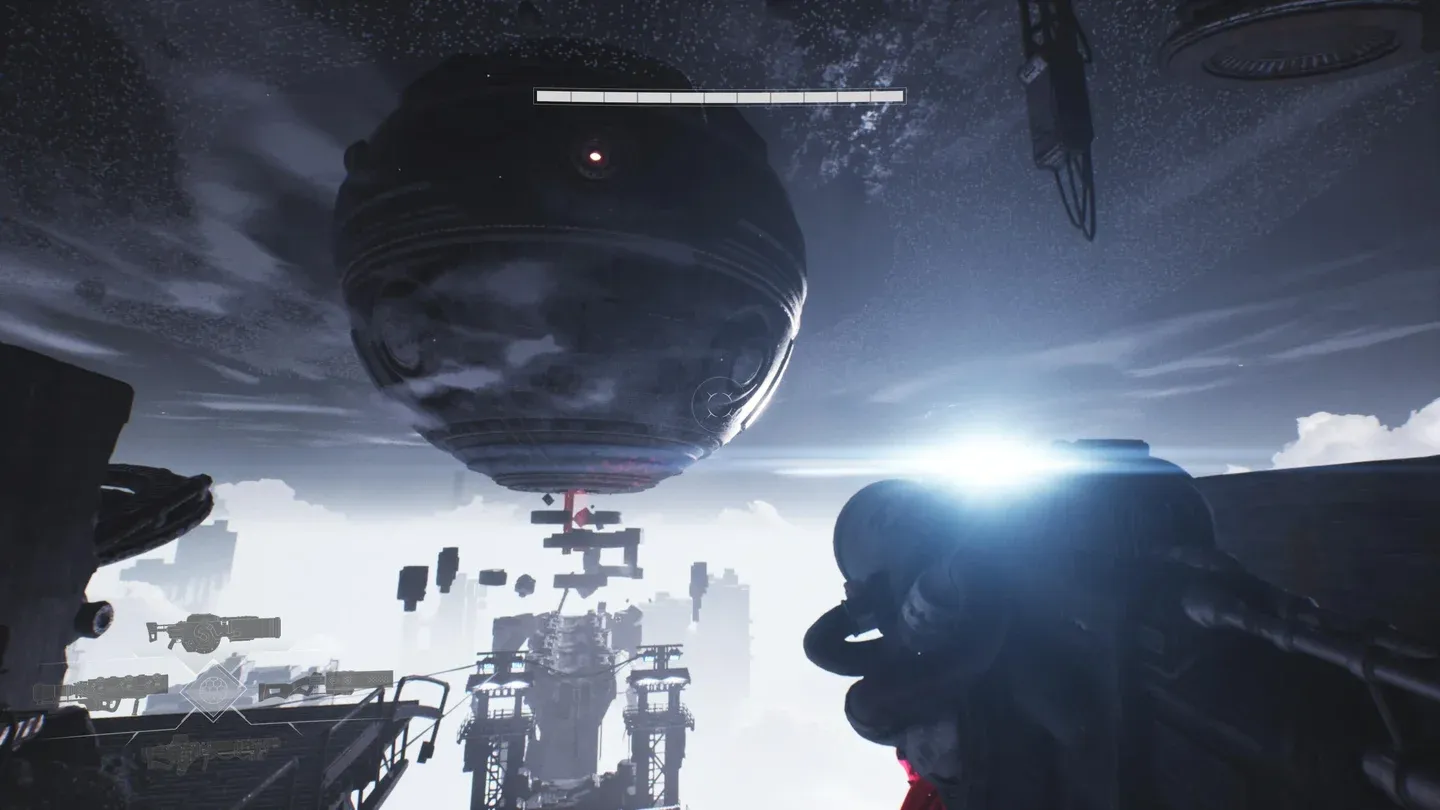
Momentum Striker weapon setup
How does resource management work in Luna Abyss?
Where to spend your Abyssal Fragments first
The two primary resources are Abyssal Fragments (upgrade currency) and Void Cores (rare materials for unlocking weapon nodes). Spreading Fragments across every available upgrade is the single most common economic mistake.
The correct spending order:
- Extended Dash Distance first. This upgrade changes which bullet patterns you can physically escape and affects every encounter from the moment you buy it.
- Plasma Spread upgrades second. Dump everything remaining into your primary weapon until it reaches Level 3. It will carry you through Sectors 1 to 3 without needing secondary investment.
- Health Regeneration via Executions over raw health pool increases. Late-game attacks deal 2 to 3 hit kills regardless of your total health. Sustainable healing through executions is worth far more than a larger health bar.
Where to farm resources by sector
If you die before banking your Fragments, you lose a percentage of the unbanked total from that run. Permanent weapon upgrades and unlocked abilities are never lost on death, but the time cost of losing unbanked currency is real. Reach save stations before pushing into high-risk areas.
Finding hidden rooms and secret upgrades
Luna Abyss hides permanent stamina boosts and unique weapon mods behind environmental puzzles. The developers use consistent visual language to hint at these locations.
Misaligned geometry is the most reliable tell. Large architectural blocks that appear slightly offset or cracked can be destroyed with a fully charged heavy melee or a mortar round, revealing false walls.
Flickering neon signage indicates a vent or crawlspace nearby. Standard corridors use solid neon strips; a light blinking in a repeating pattern means there is a hidden path directly above or below your position.
Abyssal Whispers is an audio cue. Within 15 meters of an upgrade cache, the ambient audio shifts to include a low resonant whisper. Spatial audio headphones make this significantly easier to track.
Early-game hidden items worth finding
How to prepare for boss fights
Boss encounters in Luna Abyss are multi-phase endurance tests, not DPS races. The Tortured Adrift, the first major boss, introduces the core boss pattern: waves of orbs mixed with a generator-and-shield mechanic that requires you to break generators and destroy shields before you can deal damage. The Monarch's Lance, obtained before this fight, handles purple shields specifically and pierces through multiple enemies in a line.
Pattern recognition is the skill that matters most. Every overwhelming bullet wave has a safe zone built into its design. Rather than focusing only on the projectiles immediately threatening you, look at the negative space on the far side of the arena. Plot a path three moves ahead. Standing still in a pixel-perfect gap is frequently safer than panic-dashing into an intersecting line of fire.
The pre-boss checklist before any red-glowing Boss Gateway:
- Overdrive meter at 100%
- All weapons fully reloaded (the auto-reload perk takes 3 seconds when a weapon is stowed; complete this before the cutscene triggers)
- Stamina above 30%
- Mental reset: boss fights run 5 to 8 minutes of continuous intense focus
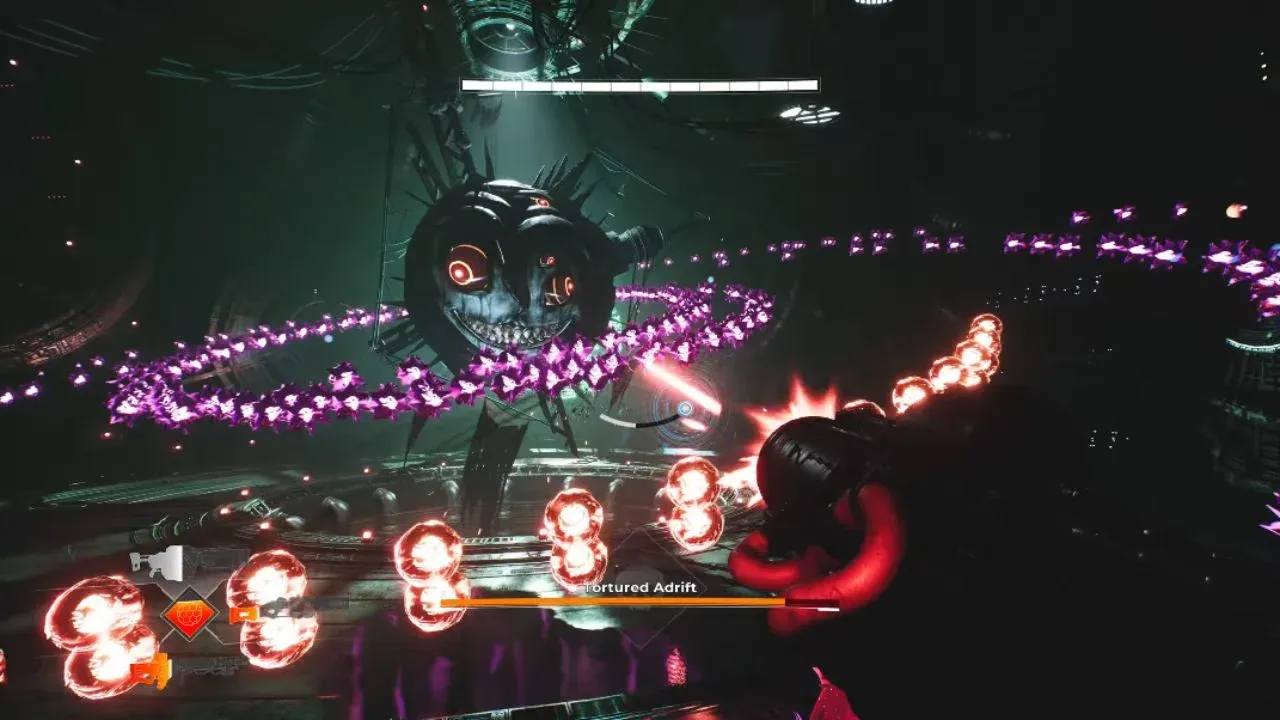
Tortured Adrift Phase 2 pattern
Abilities you unlock through the story
Luna Abyss gates several core movement and combat tools behind story progression rather than the upgrade shop. Knowing what is coming helps you plan.
- Drift skill: Obtained early. Used on staggered enemies to replenish health. This is the foundation of the execution loop.
- Watcher control: Allows possession of Watcher enemies to teleport across gaps. Used extensively for both exploration and traversal puzzles.
- Double jump: Unlocked in the Forgotten Roads section. Opens vertical traversal options but creates predictable air trajectories in combat.
- Evasive dash: The core defensive tool, unlocked in The Fettered Pump section. Also passes through red barriers in the environment.
- Shield Wall: Blocks enemy projectiles. Situationally useful for specific encounter types.
- Drift Surge: An upgraded finisher that causes staggered enemies to explode, dealing secondary damage to nearby targets.
- Goliath Neural Pattern: Allows possession of Goliath Wardens, large units that deal heavy damage and clear groups of enemies quickly.
- Monarch's Lance: A weapon that destroys purple shields and pierces through multiple enemies. Required for the Tortured Adrift boss fight.
The Shield Breaker is acquired during the Right Tool for the Job section and is needed to remove blue shields from both enemies and doors. You will use it constantly.
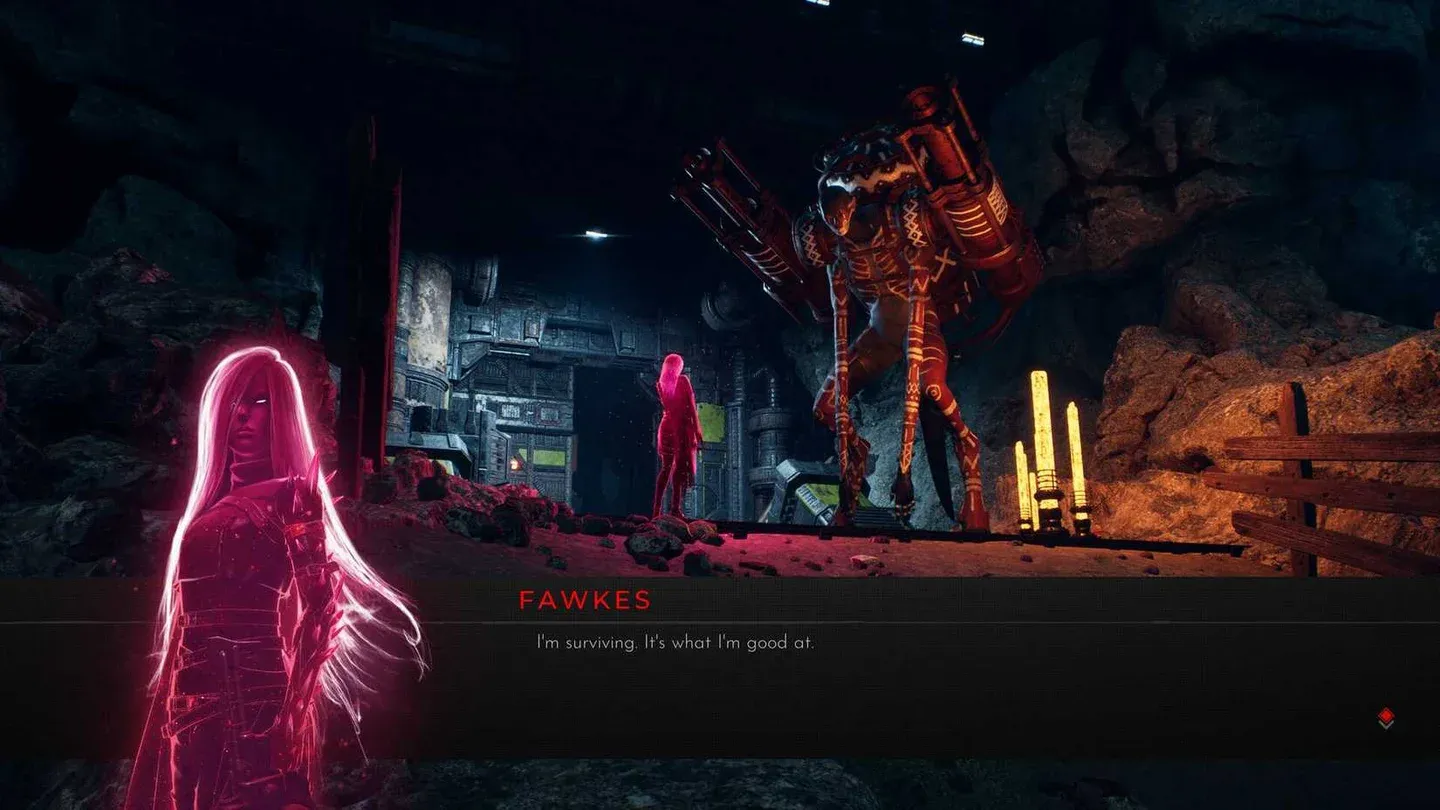
Evasive dash clears red barriers
Keep going deeper into the Abyss
Luna Abyss rewards players who treat it as the puzzle game it actually is underneath the bullet-hell surface. The dash iframe window, the execution health economy, the color-coded shield system, and the resource specialization path are not optional complexity; they are the game. Once these systems click together, the difficulty curve stops feeling arbitrary and starts feeling fair.
For more strategies across every sector, the Luna Abyss strategy guides on GAMES.GG cover boss breakdowns, advanced movement techniques, and weapon node optimization in detail. Luna Abyss sits comfortably among the most demanding shooter games releasing right now, and it earns that difficulty honestly.