


Red Barriers are stopping you cold, and here's why
Luna Abyss does not slow down to explain itself. You sprint through brutalist alien ruins, dodge bullet hell projectile patterns, and then a glowing red field blocks your path and suddenly the momentum dies. Red Barriers are traversal gates that reject normal movement entirely. Walking into one stops you. Jumping into one from the wrong angle sends you into a drop. The fix is your dash, but the timing and positioning matter more than most players expect when they first encounter these obstacles.
What exactly are Red Barriers?
Red Barriers are traversal gates built into Luna Abyss's environments that block standard movement. You cannot walk through them, and colliding with the edges during a jump will interrupt your path and drop you to a lower area. They are not obstacles in the traditional sense, where you fight or destroy them. They are movement puzzles that require your dash ability to pass cleanly.
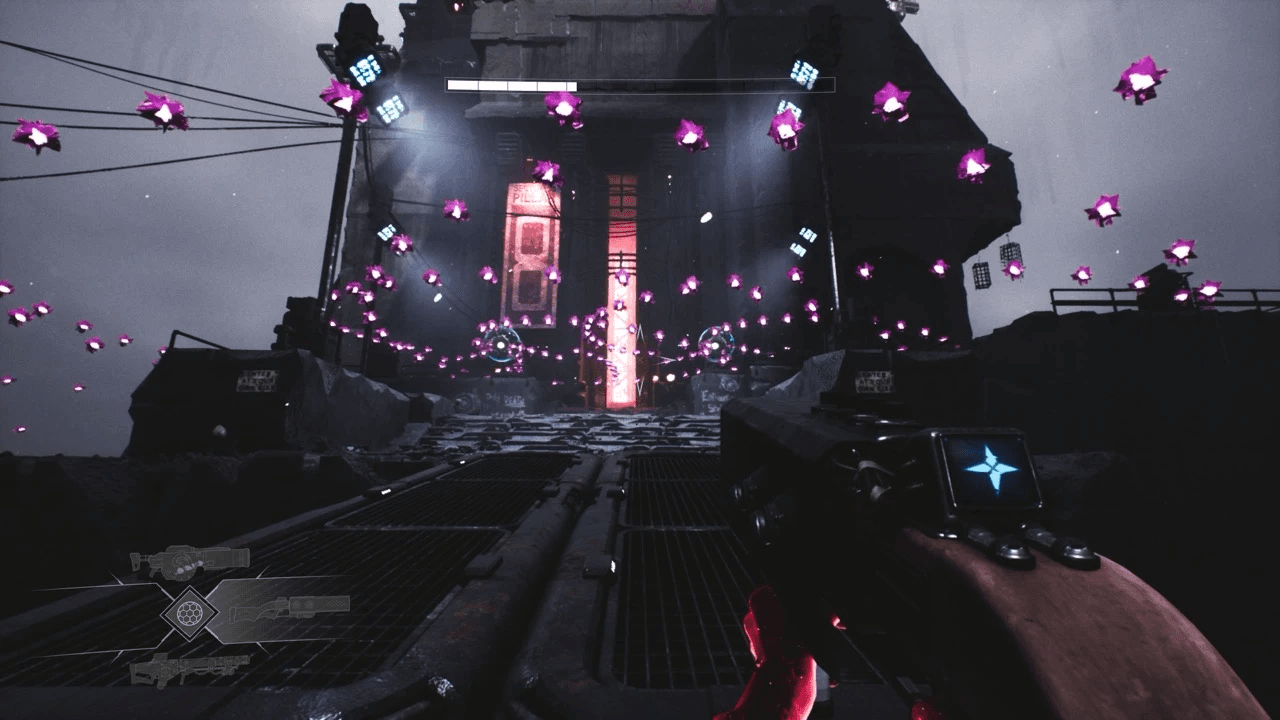
The game places them across routes through the Greymont colony ruins, and they appear in both main-path sections and optional side areas. Some guard upgrade chests or Drift Crystal routes. Others sit directly on the critical path, meaning you will encounter them whether you are exploring or pushing forward.
How do you dash through a Red Barrier correctly?
The process has two parts: positioning before the dash, and controlling your landing after it.
Positioning before you dash
Stand close enough to the barrier that you can see the full route on the other side before committing. This is the step most players skip. Dashing blind means you cross the barrier without knowing whether you need to immediately double jump, connect to a Watcher, or land on a platform. Knowing what comes next lets you react the moment you clear the red field.
Align yourself straight with the opening. Dashing from an angle increases the chance of clipping the barrier's edge, which interrupts the move and drops you. A clean, direct line through the centre is the safest approach every time.
If the barrier sits above ground level, jump first, then dash through the red field in one committed motion. Do not hesitate mid-jump. The dash needs to carry you through completely.
Controlling your landing after the dash
The common mistake after crossing is pressing every movement input at once. The dash carries you through with its own momentum. Let it finish before you correct your position.
If there is a platform on the other side, aim for the centre of it during the dash rather than trying to steer after landing. If the route opens into a combat encounter, land while already scanning for the nearest enemy or shielded target. The transition from traversal to combat happens fast in Luna Abyss, and arriving disoriented costs health.
What do white symbols near Red Barriers mean?
A white symbol near a barrier wall is a signal worth stopping for. These marks point toward hidden paths rather than the main objective. The actual entrance is usually a small gap, a side platform, or an upper ledge nearby rather than the barrier itself.
Searching the area around the symbol before dashing through will often reveal an optional route leading to upgrade chests or Drift Crystal deposits. These are easy to miss if you dash straight through without checking the surrounding geometry first.
Red Barrier situations compared
Why does momentum matter so much in Luna Abyss?
Luna Abyss builds its entire movement system around staying mobile. The bullet hell combat fills screens with incoming projectiles and demands constant repositioning. Stopping or stumbling at a Red Barrier does not just waste time. It often drops you into a lower section of the environment, resets your position relative to enemies, or leaves you exposed mid-encounter.
The dash is your primary traversal tool across the game's fast-paced platforming sections, and Red Barriers are specifically designed to test whether you can execute it with purpose rather than panic. Players who approach them as movement puzzles rather than simple gates will clear them consistently. Those who dash reactively without checking the route beyond will repeat the same falls across multiple attempts.
Luna Abyss sits in an unusual space among shooter games in that it demands precision platformer discipline alongside its combat. The Red Barrier mechanic is one of the clearest examples of that combination at work.
Quick reference: Red Barrier dash checklist
- Stand close enough to see the full route beyond the barrier
- Align your approach straight with the opening, not at an angle
- Jump first if the barrier is raised above ground level
- Dash in one committed motion without hesitating mid-move
- Let the dash carry you through before correcting your landing
- Aim for the centre of any platform visible on the other side
- Check for white symbols near the wall before dashing to spot hidden optional routes
- Arrive in combat sections with your weapon already oriented toward the nearest threat
For more movement tips, boss strategies, and traversal guides, the full Luna Abyss guide collection covers everything from Goliath control to weapon upgrades as you push deeper into the Abyss.