


The fastest way to stop losing fights in Luna Abyss
Luna Abyss throws you into bullet-hell combat almost immediately, and the gap between a stock weapon and an upgraded one is noticeable. There are exactly 4 weapon upgrades in the game, one for each weapon in your arsenal, and none of them are handed to you automatically. Miss one and you'll be grinding through later encounters with a gun that overheats faster than it should. This guide covers every upgrade location in order, so you can grab them all without backtracking.
Weapon upgrade chest found
What do weapon upgrades actually do in Luna Abyss?
Every gun in Luna Abyss runs on a heat system instead of traditional ammo. Fire long enough and the weapon locks up until it cools down. Each upgrade reduces that cooldown time, which means you spend less time standing still and more time shooting. In a game where enemy bullet patterns can fill the screen in seconds, that difference matters.
The four weapons unlock in a fixed order during the story: the Scout Rifle, the Shieldbreaker, Monarch's Lance, and the Atom Splitter. Their upgrades follow a similar progression, spread across Chapters 3 through 6. None are missable permanently since the level select menu lets you replay any sub-chapter, but grabbing them on your first pass is cleaner.
When you replay older stages through level select, you do not keep the weapon unlocks or upgrades you earned in later chapters. Plan your routes accordingly.
How to get the Scout Rifle upgrade
The Scout Rifle Mark II is the first upgrade available and sits in Chapter 3, The Second Seal. After passing through the red barrier into the mines, climb through the area to reach the upper level. The chest is in plain sight once you get there. It's the most straightforward of the four to find.
The Scout Rifle stays relevant throughout the entire game because of its speed and accuracy. Most players use it to whittle down enemy health before swapping to a heavier weapon for the finishing shot, so getting this upgrade early pays off in almost every encounter.

Scout Rifle Mark II location
How to get the Shieldbreaker upgrade
The Shieldbreaker upgrade is found in Chapter 4, The Crescent Mile. From the start of that sub-chapter, head through the red barrier back into the mines area. As you climb up, you'll now have the ability to activate blue orbs and convert them into platforms. Use those platforms to reach the chest containing the upgrade.
The Shieldbreaker functions like a heavy shotgun and is the only weapon that breaks blue enemy shields reliably. The upgrade is worth hunting down early in Chapter 4 because shielded enemies appear frequently from this point forward. The trick with the Shieldbreaker is to fire two or three shots to crack the shield, then immediately switch back to the Scout Rifle before the heat builds up.
You need the blue orb activation ability before you can reach the Shieldbreaker upgrade chest. If you haven't learned it yet, the platforms simply won't be there.
How to get the Monarch's Lance upgrade
The Monarch's Lance upgrade is tucked inside a building in Chapter 5, One Last Job. From the start of that sub-chapter, head through the red barrier back to the mines and continue until you meet Jonty again. To her left, you'll find grappling points. Use them to cross the gap, then go left through the triangular door inside the building to collect the upgrade.
Monarch's Lance destroys purple shields and handles long-range precision work. It overheats fast, so the upgrade's cooldown reduction genuinely changes how often you can use it in extended fights. After testing this weapon against shielded ranged enemies, the difference between upgraded and stock is roughly the difference between two shield-break shots and one.
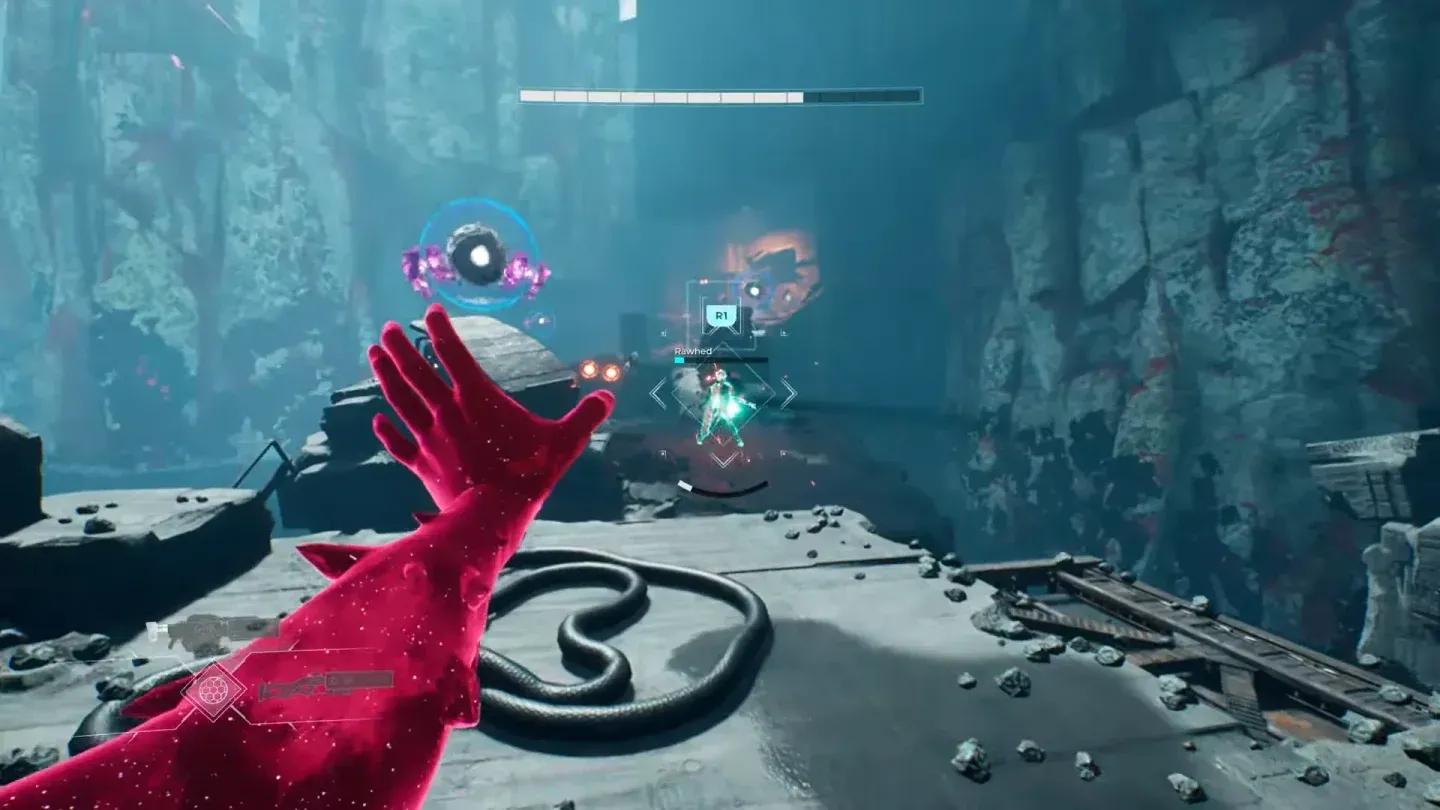
Monarch's Lance upgrade spot
How to get the Atom Splitter upgrade
The Atom Splitter upgrade is the last of the four and also the easiest to grab. It's in Chapter 6, The Womb of Silence. As soon as you step off the train at the start of the sub-chapter, walk to the end of the platform. The chest is sitting right there.
The Atom Splitter is the game's rocket launcher equivalent, best used against grouped enemies and larger targets. It can also interact with environmental switches and doors in ways the other weapons can't. With the upgrade in hand, you'll have the full set of four upgraded weapons heading into the final stretch of the game.
Don't go looking for the Atom Splitter upgrade before Chapter 6. It won't be there. The upgrade appears only after you've reached The Womb of Silence.
All weapon upgrade locations at a glance
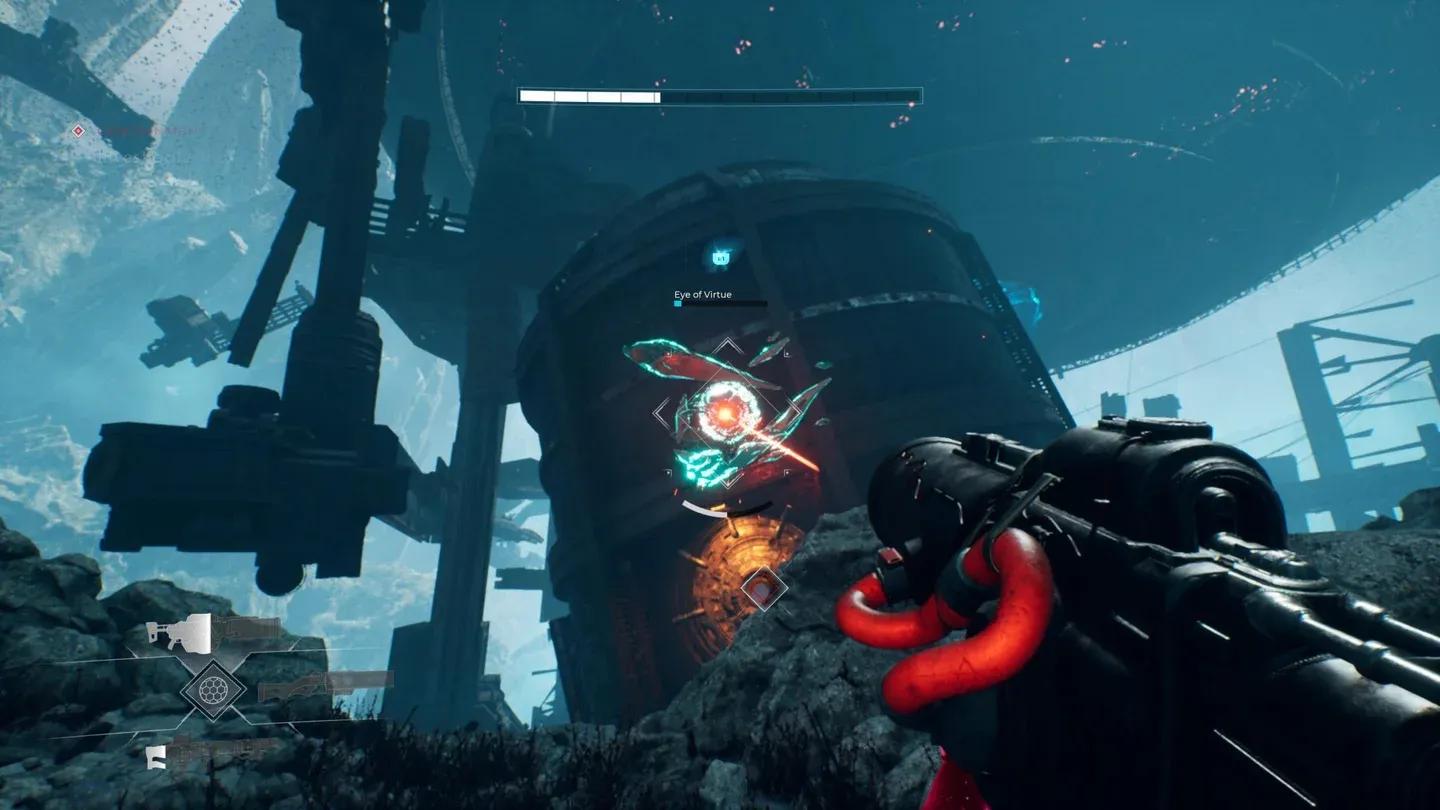
Full weapon wheel with upgrades
What most players miss about the upgrade system
The upgrades don't change how the weapons feel mechanically in terms of damage or range. They specifically reduce cooldown times. That means your combat rotation changes more than your raw output. With upgraded weapons, you can afford to lean on the Shieldbreaker or Monarch's Lance for an extra beat before swapping out, which opens up more aggressive plays against shielded enemies.
The level select system makes sure nothing is permanently missable. The in-game collectible counter for each sub-chapter shows exactly how many items remain, including weapon upgrades, so you can check at a glance whether you've cleaned up a section. Just remember to reach a checkpoint and use the Exit Level Select option after picking up a missed upgrade for it to save correctly.
For more strategies across every chapter, the Luna Abyss guides collection covers boss fights, collectible locations, and mechanics in detail. Luna Abyss sits comfortably among the more demanding shooter games released this year, and having all four weapons fully upgraded before the final chapters makes a meaningful difference in how those encounters play out.