


Luna Abyss is a bullet-hell action game where your weapon choice matters as much as your movement. The megastructure throws relentless projectile patterns at you, and if your loadout DPS scaling is off, fast reflexes alone won't keep you alive. After testing every weapon against the game's toughest encounters, the gap between S-tier and C-tier picks becomes impossible to ignore. This guide breaks down the full weapon tier list, the best loadouts for every playstyle, and the mechanical details that separate players who clear bosses cleanly from those who wipe repeatedly.
What are the best weapons in Luna Abyss?
Weapons in Luna Abyss aren't just about raw damage numbers. Each one carries a Stagger Multiplier that determines how quickly you break enemy poise, and that stat matters far more than base damage once you hit the late game. Here's the full breakdown:
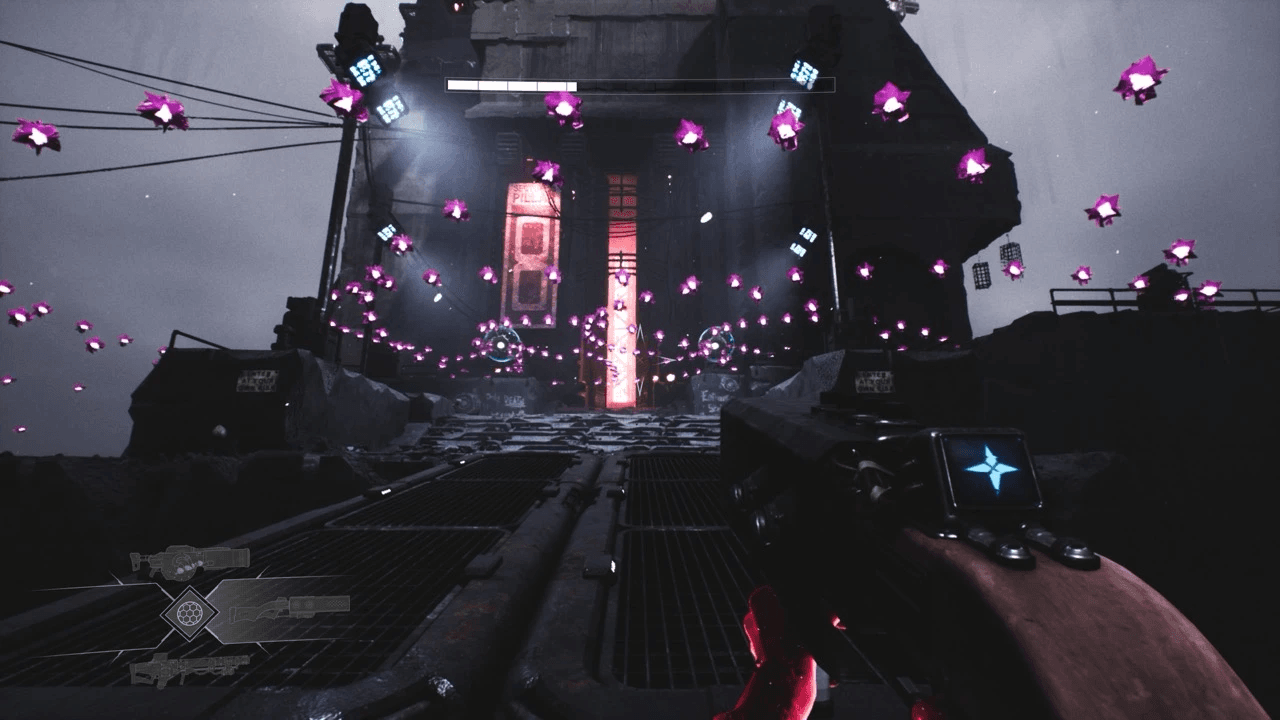
S-tier weapons
Void-Ray Emitter is the strongest weapon in the current meta. Its beam bends up to 15 degrees to track moving targets, which means you can keep damage flowing while weaving through dense bullet patterns. Base damage sits at 35 per hit at 720 RPM, giving it a base DPS of 420. The Stagger Multiplier of 1.2x isn't the highest in class, but the continuous tracking makes it the best tool for maintaining stagger meter pressure without pausing your movement.
Abyssal Scattergun is the burst king. At 180 damage per pellet across 8 pellets per shot, a clean close-range blast deals catastrophic damage during boss stagger windows. Those windows last roughly 3.5 seconds by default, so the Scattergun's 2.5x Stagger Multiplier and raw burst output make it the go-to finisher. The catch: you need to be within 5 meters to land all pellets.
Phase-Shift Sniper is the armor specialist. It deals 1,250 damage per shot, carries a 3.0x Stagger Multiplier, and ignores 100% of Heavy Carapace armor entirely. Against Energy Shielding, damage drops by 40% unless you equip the Frequency Modulator suit upgrade. Fire rate is slow at 45 RPM, but against the right enemy types, nothing else comes close.
A-tier weapons
Plasma Repeater hits 45 damage per shot at 600 RPM with a 1.0x Stagger Multiplier. It's the most flexible weapon in the game because it applies zero movement speed penalty when aiming down sights. That makes it reliable for sustained mid-to-long range pressure without sacrificing your ability to dodge.
Heavy Mag-Revolver lands 320 damage per shot at 150 RPM with a 1.8x Stagger Multiplier. It punches well above its fire rate and works effectively at mid range, sitting comfortably between the Scattergun's burst and the Sniper's precision.
Swarm Micro-Missiles excel at area-of-effect crowd control. They're the correct answer whenever you're facing multi-enemy encounters or swarm phases, particularly against the Mimic Hive-Mind.
C-tier: weapons to avoid past Sector 3
The Standard Carbine and Starter Pulse Pistol both fall apart in the late game. Damage falloff drops by 60% beyond 15 meters, and their Stagger Multipliers sit at 0.8x, which is mathematically insufficient to break the poise of late-game enemies. A fully upgraded Level 5 Carbine still outputs 20% less DPS than a Level 2 Plasma Repeater. Don't spend Void Cores on them.
Full weapon comparison table
What are the best loadouts for every playstyle?
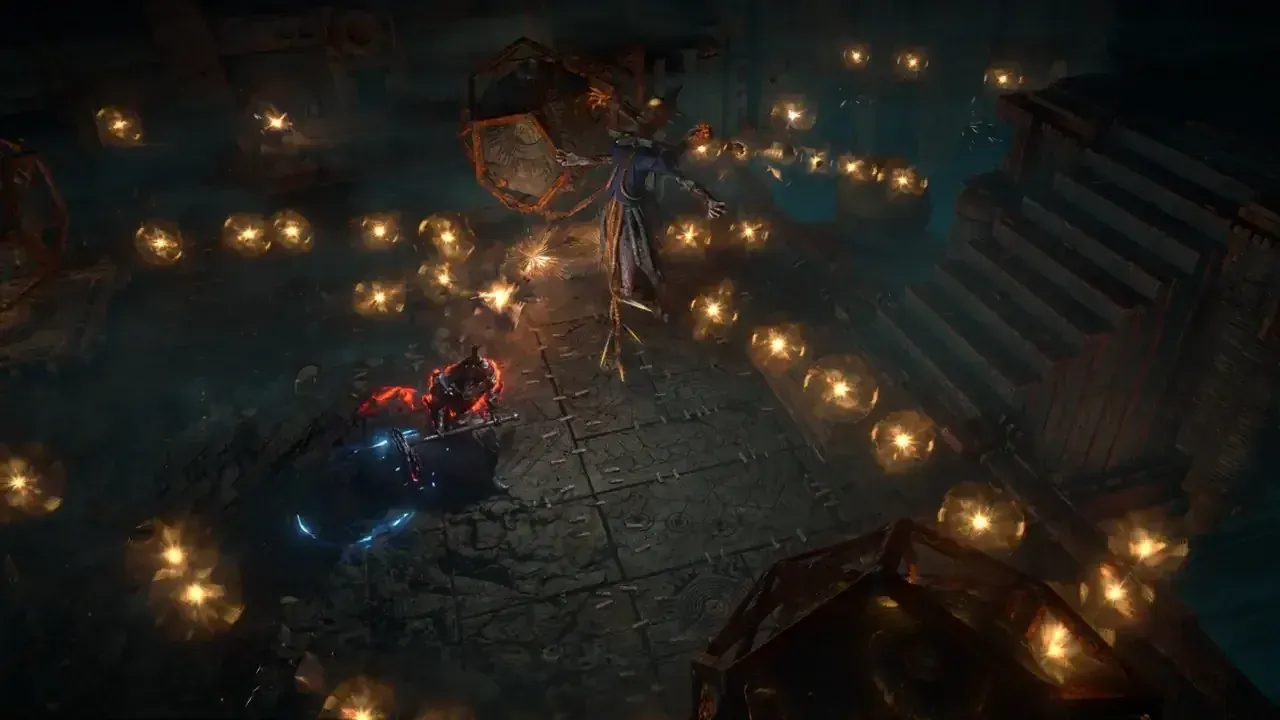
I-Frame Dancer loadout setup
Loadout 1: The I-Frame Dancer (meta speedrun build)
- Primary: Void-Ray Emitter
- Secondary: Abyssal Scattergun
- Suit Module: Phase-Dash (grants 0.4 seconds of invincibility frames)
This is the dominant build for the majority of boss encounters. Keep the Void-Ray active while strafing through bullet patterns, then Phase-Dash directly into the enemy's hitbox the moment a stagger triggers. Unload the Scattergun at point-blank range during that window. The Phase-Dash grants exactly 24 frames of invulnerability at 60 FPS, which is enough to pass through attacks that would otherwise force you backward.
Pair this loadout with the Stagger Duration Amplifier suit upgrade. It extends the default 3.5-second stagger window to 5.2 seconds, fitting in two additional Scattergun blasts per stagger cycle.
Loadout 2: The Artillery Turtle (defensive build)
- Primary: Phase-Shift Sniper
- Secondary: Swarm Micro-Missiles
- Suit Module: Kinetic Deflector (converts blocked projectiles into ammo)
This build suits players who struggle with high-speed dodging. The Kinetic Deflector absorbs incoming bullet-hell waves and converts them directly into missile ammunition. Use the Swarm Micro-Missiles to clear add spawns, then reserve the Phase-Shift Sniper for elite weak points and armored targets. It's slower but far more forgiving during dense projectile phases.
How do stagger mechanics and DPS scaling actually work?
Every enemy in Luna Abyss runs a dual-health system: an Armor/Poise layer and a Flesh layer beneath it. The hidden Stagger Meter fills as you deal damage, and triggering it opens the burst window where the Scattergun or Sniper can deal full damage.
The critical detail most players miss: if you stop dealing damage for more than 1.5 seconds, the Stagger Meter decays at 20% per second. High fire-rate weapons and damage-over-time effects are valuable specifically because they prevent that decay between burst windows.
Armor type also changes everything. Bringing the wrong damage type against a Heavy Carapace enemy applies a severe damage penalty:
What advanced techniques improve weapon performance?
Scattergun pump-skip (weapon swap cancel)
The Abyssal Scattergun has a 0.8-second pump animation after every shot. Swapping to your secondary weapon and immediately swapping back exactly 0.15 seconds after firing bypasses this animation entirely. Done correctly, this effectively doubles the Scattergun's RPM, turning an already powerful burst weapon into something considerably more damaging during stagger windows.
Frame data reference
The Phase-Dash i-frames also disjoint tracking attacks. Against Mimic Sentinel tracking lasers specifically, you can't outrun them with standard movement. Triggering the Phase-Dash exactly as the laser transitions from yellow to red forces the Sentinel into a 4-second cooldown.
Which suit upgrades matter most?
Base weapon stats only tell half the story. The suit upgrades you slot determine whether your loadout actually performs in late-game bullet-hell phases.
Always grab the Stagger Duration Amplifier before anything else when running the I-Frame Dancer build. The extra 1.7 seconds on the stagger window is the difference between fitting two Scattergun blasts or three.
How should you adjust loadouts for specific bosses?
The Warden of the Abyss
Swap out the Plasma Repeater for the Phase-Shift Sniper before this fight. The Warden shifts to Heavy Carapace plating in its second phase, and only kinetic burst damage can break its enrage timer before it resets. Energy weapons underperform here regardless of upgrade level.
Mimic Hive-Mind
The Swarm Micro-Missiles are mandatory. Spawned Sentinels need to be cleared with AoE before you can focus damage on the core. Pair with the Kinetic Deflector so the Hive-Mind's own bullet waves convert into missile ammunition throughout the fight.
Resource management and the Sector 6 wall
Upgrading S-tier weapons requires significant amounts of Abyssal Fragments and Void Cores, and the game's supply tightens sharply around Sector 6. Upgrading the Abyssal Scattergun from Level 3 to Level 4 costs 150 Void Cores. A standard 20-minute survival room yields roughly 12 Void Cores, which means the upgrade grind becomes a real time investment.
The Void Core Magnetism suit upgrade helps by passively pulling in materials while you strafe during combat. It won't eliminate the grind, but it meaningfully reduces the number of dedicated farming runs needed to keep your weapons upgrade-viable for endgame encounters.
Running out of heavy ammo mid-boss is effectively a wipe due to enrage timers, so maintaining a stockpile before entering major encounters is worth the preparation time.
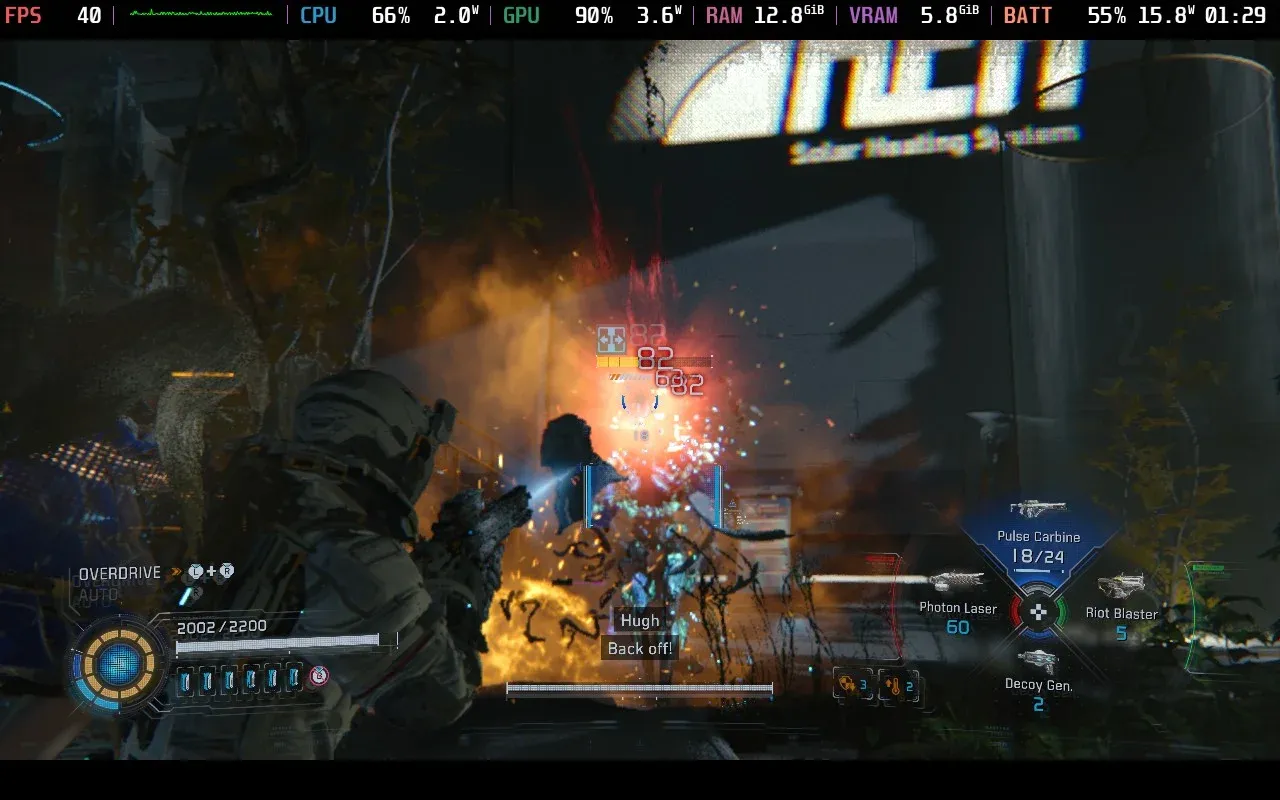
Scattergun upgrade material cost
For more strategies across every encounter in the game, the Luna Abyss strategy guides collection covers boss fights, traversal sections, and progression tips in detail. Luna Abyss sits within the broader shooter games genre but plays distinctly differently from most entries, leaning on bullet-hell evasion and stagger windows rather than traditional cover-based gunplay.