
Marathon's Perimeter zone is a punishing but rewarding map that rewards smart positioning and careful loot routing over raw aggression. With five major points of interest, locked rooms, guarded exfils, and UESC forces patrolling the most valuable areas, knowing the map before you drop in is the difference between a profitable run and losing everything. This guide breaks down every key location, the best loot spots, and how to extract safely whether you're running solo or with a full crew.
What Is the Perimeter Map in Marathon?
Perimeter is one of Marathon's three launch maps, set among desolate outer settlement ruins on Tau Ceti IV. It supports up to 15 players across 5 teams of 3, making it slightly less chaotic than Dire Marsh but no less dangerous. The map leans toward medium-to-long-range combat thanks to wide open sightlines and elevated urban structures, though dense jungle sections offer flanking routes for players who prefer to move unseen.
This is a Medium-High difficulty zone, and it's particularly well-suited to Runners like Recon, Destroyer, and Assassin who can exploit its open terrain or control its chokepoints.
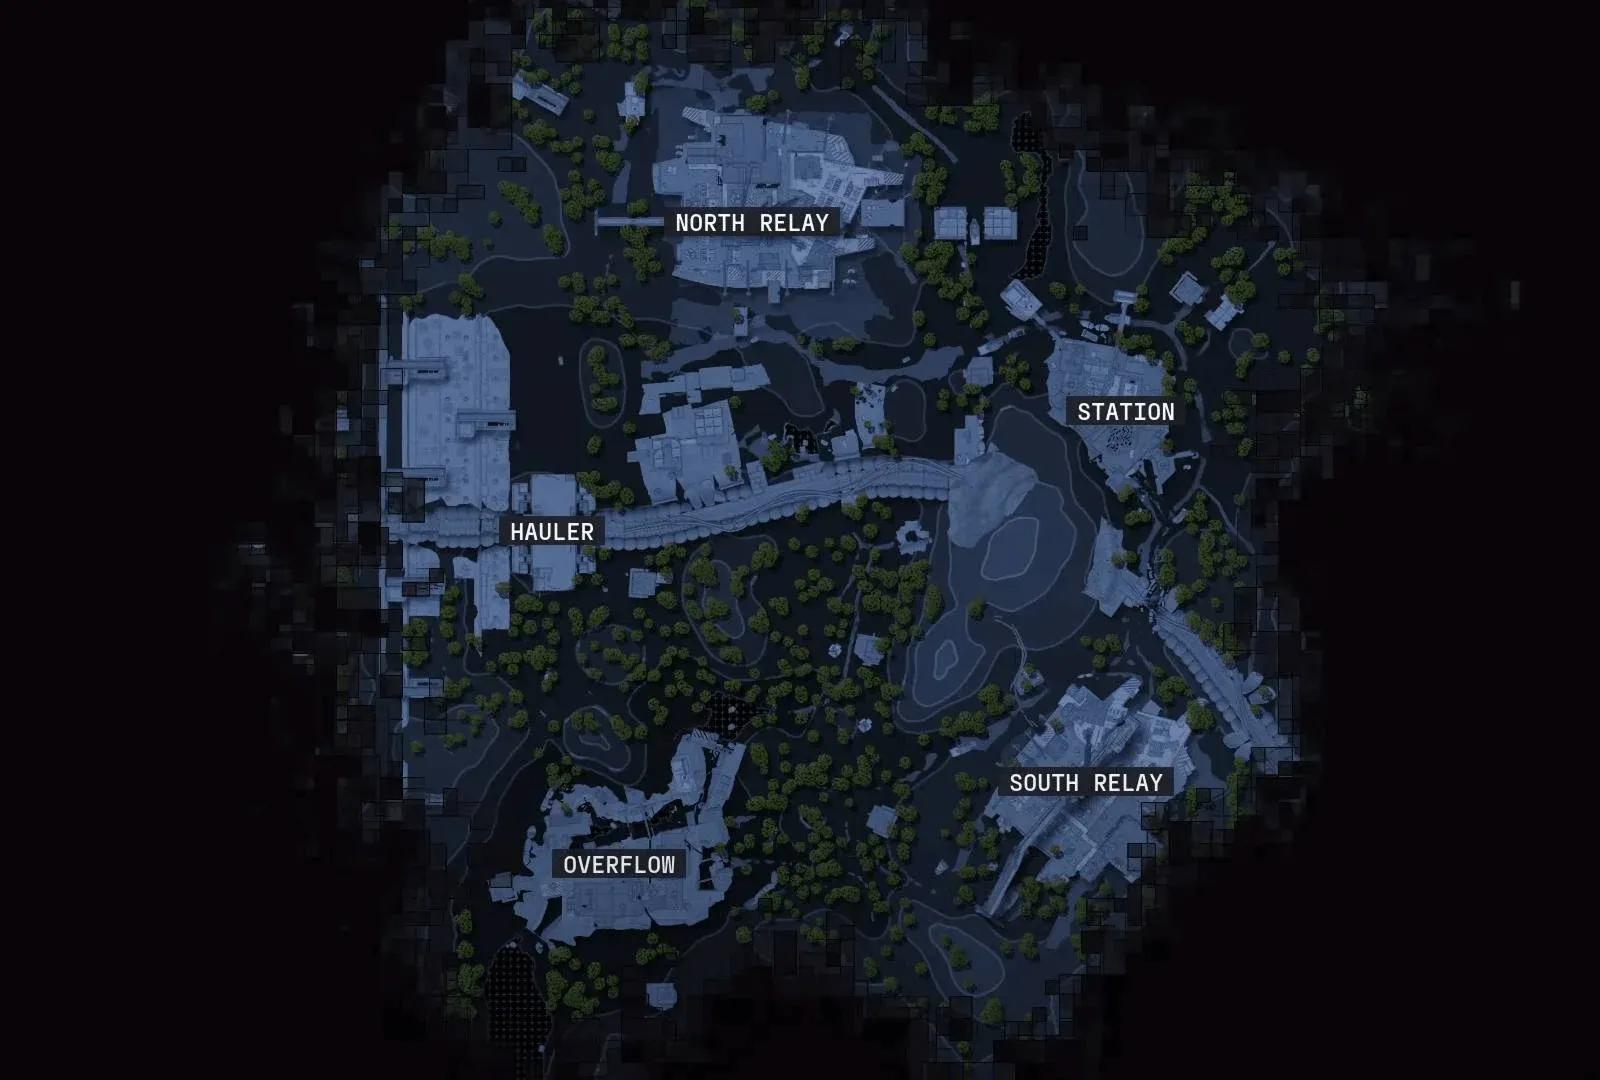
Perimeter zone map overview
Perimeter Map Points of Interest
Main POIs
There are five primary locations you'll want to know cold before your first drop:
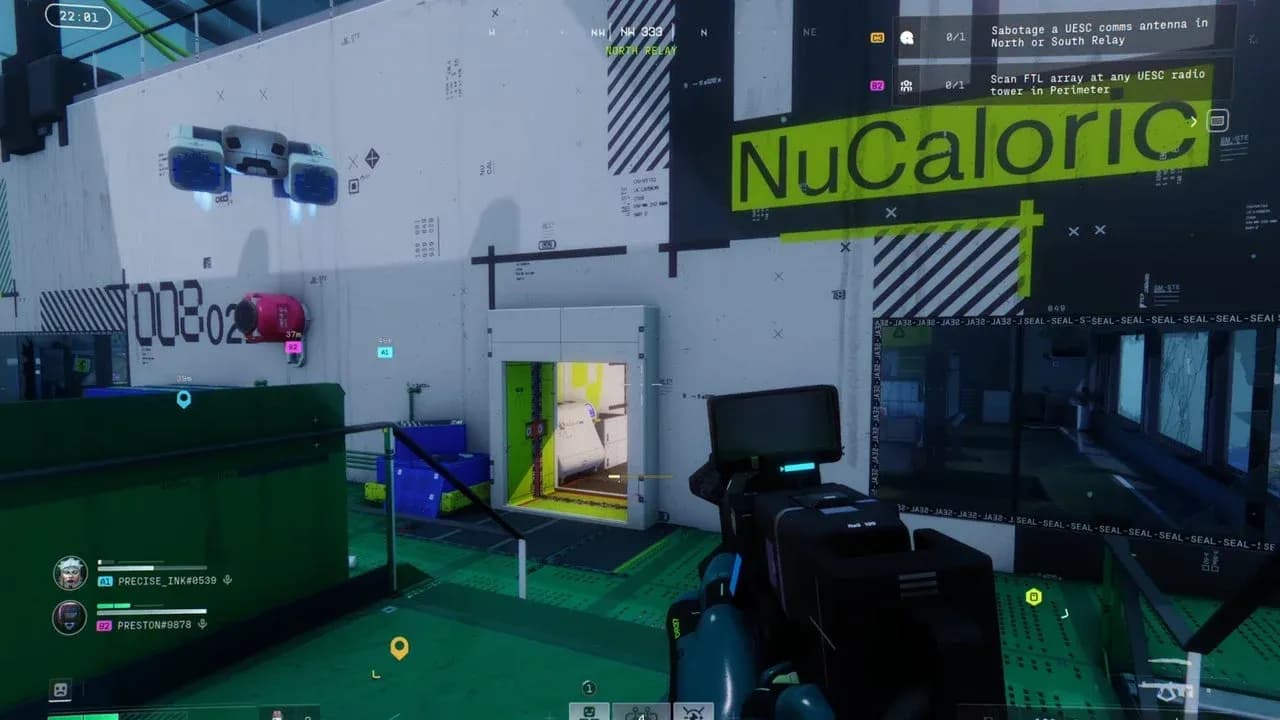
- North Relay (far north) — A high-traffic area with strong loot potential, including the NuCloric Research Building which frequently yields rare finds.
- Station (northeast corner) — Home to the Tox Clear Room, a locked area worth cracking if you have the right access.
- South Relay (lower southeast) — A solid rotation point with decent loot and slightly less foot traffic than the north.
- Overflow (southwest corner) — Features a Central Building Locked Room with high-tier gear behind it.
- Hauler (west side) — Contains an Upper Floor Locked Room that can pay off big for prepared teams.
Secondary Locations
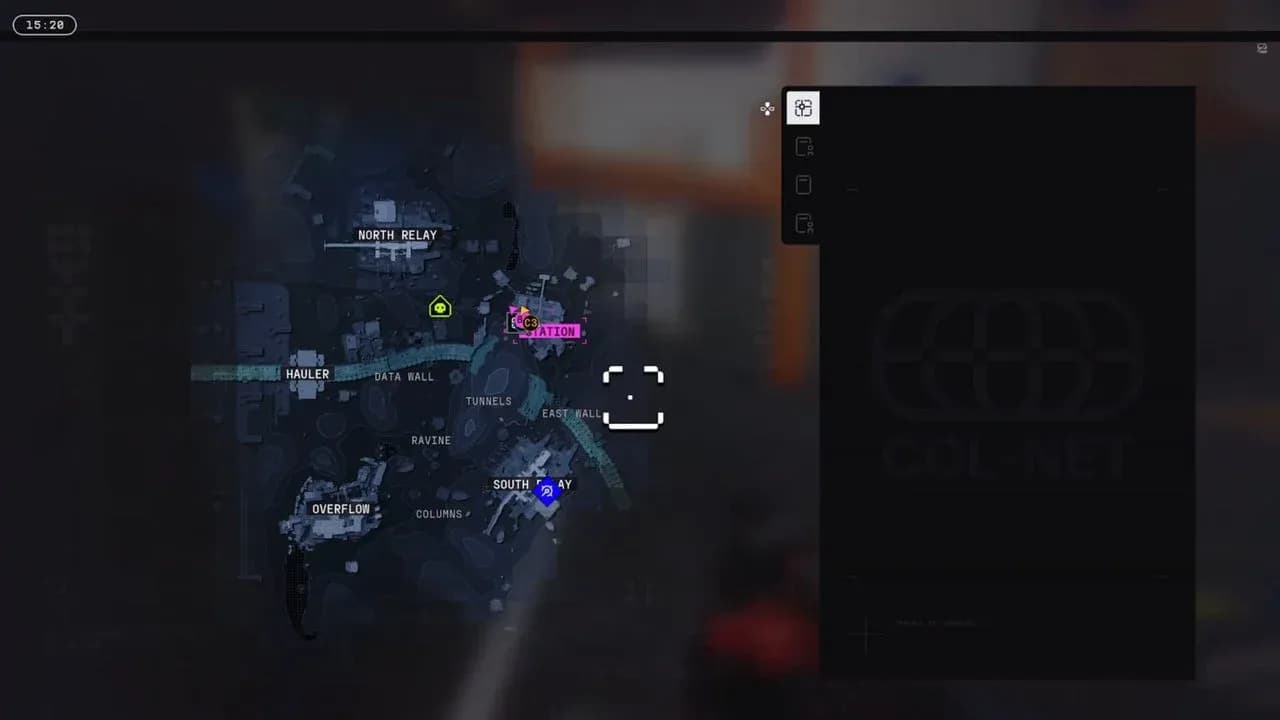
Beyond the main five, Perimeter has several smaller areas worth noting during rotations:
- Data Walls
- Tunnels
- Ravine
- East Wall
- Columns
These spots won't make your run on their own, but they're excellent for repositioning between hotspots without crossing open ground unnecessarily.
Where Are the Best Loot Spots in Perimeter?
If you're new to the zone, prioritize North Relay, Hauler, Overflow, and South Relay first. These four locations consistently produce rare weapons, valuable items, and gear that makes your extraction worthwhile. The locked rooms scattered across the map push that reward even higher, but you'll need a keycard or access code to get inside.
Here's a quick breakdown of the top locked room locations:
Every one of these rooms is guarded by UESC forces, so don't expect to walk in unchallenged. Clear the area before you start looting, or you'll be caught mid-search when a second wave pushes in.
Locked room keycard prompt
How to Navigate Perimeter Safely
Use the Jungle for Rotations
Perimeter blends open urban ruins with patches of dense jungle vegetation. The jungle sections are your best friend for safe movement between POIs. Open ground in this zone is extremely exposed, especially near the relay stations where long sightlines give enemy Runners easy shots. Whenever you're moving between major areas, hug the tree line and use the jungle as natural cover.
Control the High Ground
The urban ruins throughout Perimeter offer elevated positions that dramatically improve your sightlines and give you early warning on incoming threats. If your team can hold a rooftop near a contested POI, you'll win most of the engagements that follow. Recon Runners are especially effective here, using their abilities to spot threats before committing to a push.
Loadout Recommendations for Perimeter
Given the map's emphasis on mid-to-long-range combat, your weapon choices should reflect that:
- Primary: Longshot or Twin Tap HBR for dominant sightline control
- Secondary: M77 AR or Demolition HMG for close-range defense inside buildings
How to Extract Successfully From Perimeter
Perimeter gives you 5 Crew Exfil points and 1 Guarded Exfil. The Guarded Exfil is tempting because it offers better rewards, but it draws attention from every team still alive. Before committing to it, honestly assess how much your current loot is worth versus the risk of losing it all in a contested extraction fight.
For most runs, especially early on, a clean Crew Exfil with solid loot beats gambling everything at the Guarded point. Scout two or three potential extraction zones before you start looting so you always have a backup route ready.
Is Perimeter Good for Solo Players?
Running Perimeter solo is absolutely doable, but it demands a specific approach. The map's PvP intensity is real, and without teammates to cover flanks or revive you, mistakes are punished hard. That said, the Rook Runner Shell has a notable advantage here: Rook's ability lets you slip past UESC forces rather than engaging them head-on, which is a massive edge when you're alone and can't afford to burn resources fighting bots before a potential PvP encounter.
If you're going solo, drop late to avoid early PvP, prioritize the secondary POIs first to build up your kit, and only push locked rooms once you've confirmed the surrounding area is clear.

Rook stealth ability in Perimeter
Perimeter vs. Other Marathon Maps: Which Should You Play?
Perimeter sits in a sweet spot: it's more structured and rewarding than Dire Marsh for teams that want to fight on their terms, but less relentless than Outpost's constant AI waves. If your squad enjoys setting up ambushes, holding elevated positions, and making deliberate rotations, this is your map.
Key Takeaways for Perimeter Runs
Perimeter rewards preparation over improvisation. Learn where the five main POIs sit on the map, identify which locked rooms you can access with your current keycards, clear UESC forces before looting, and always have two extraction routes planned before you start filling your inventory. Whether you're running a full squad or going it alone as Rook, the zone consistently delivers strong rewards for players who respect its layout and don't get greedy.