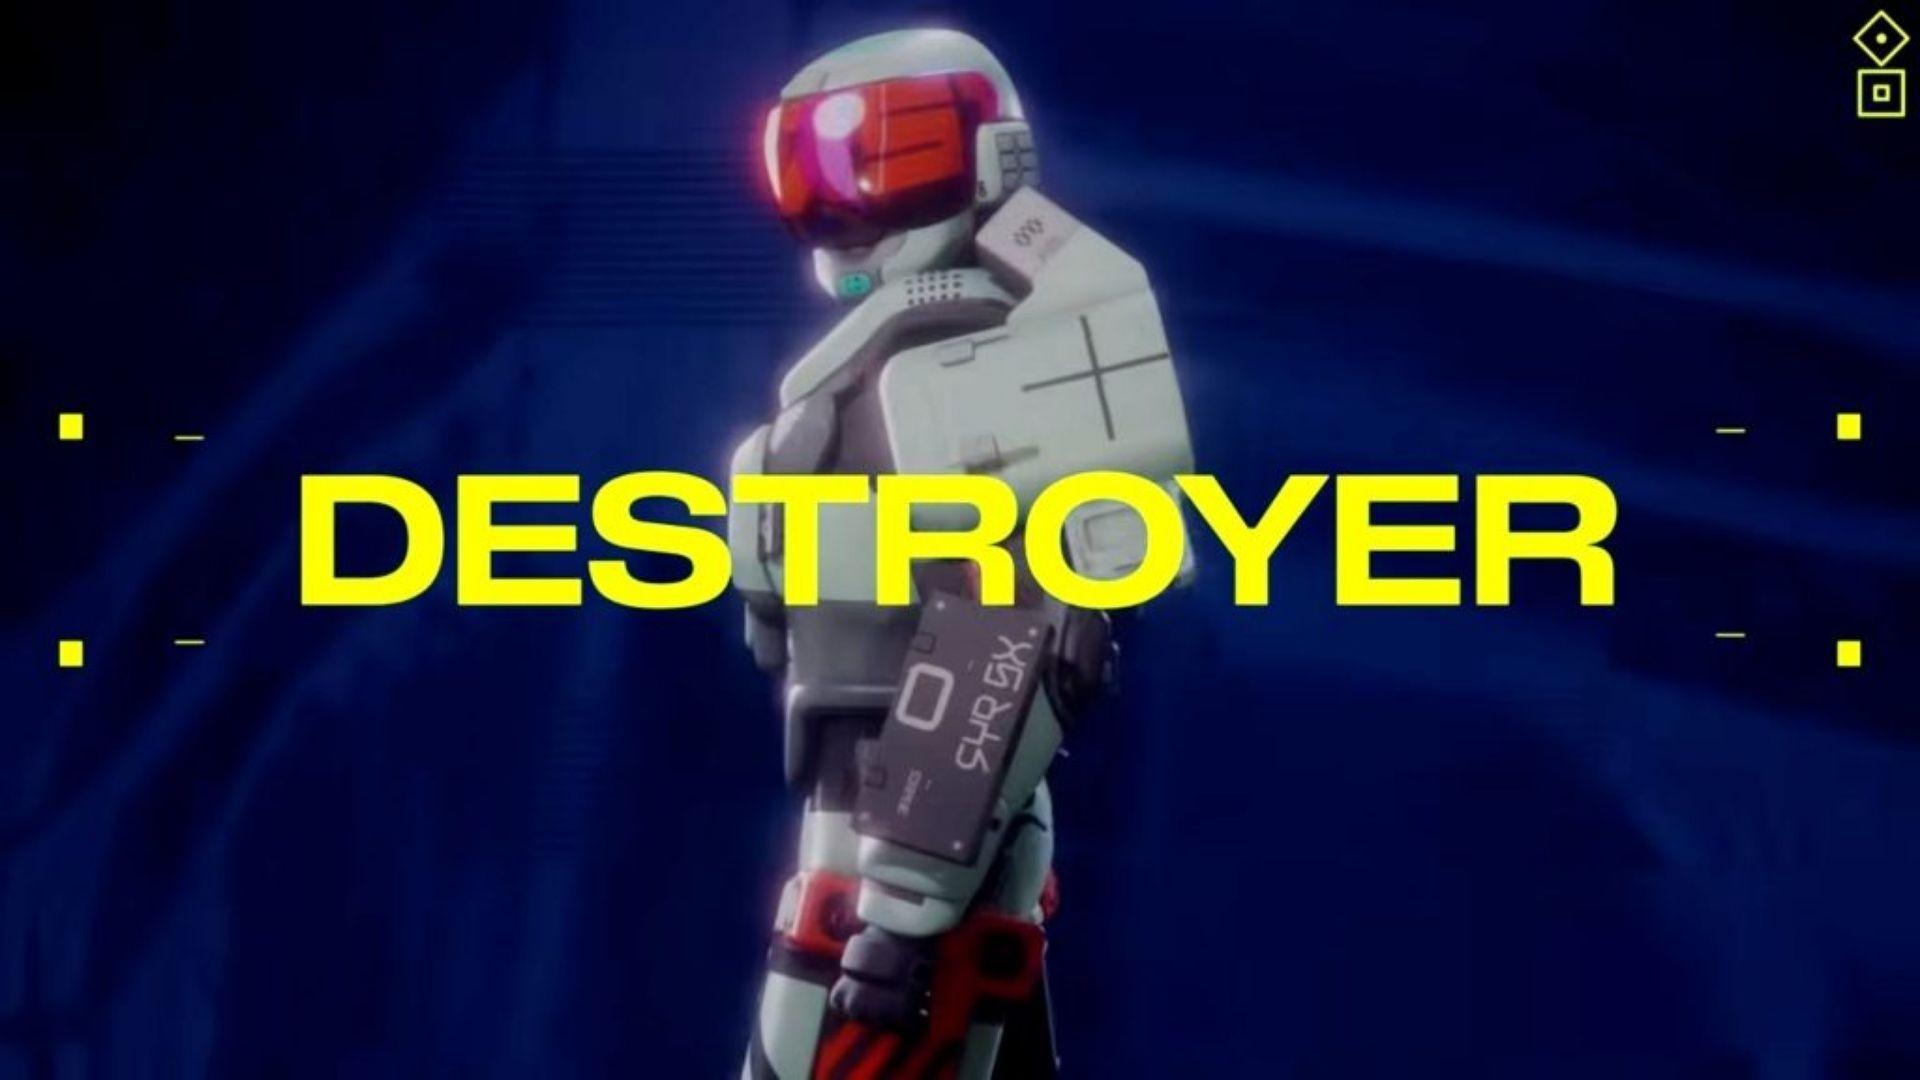

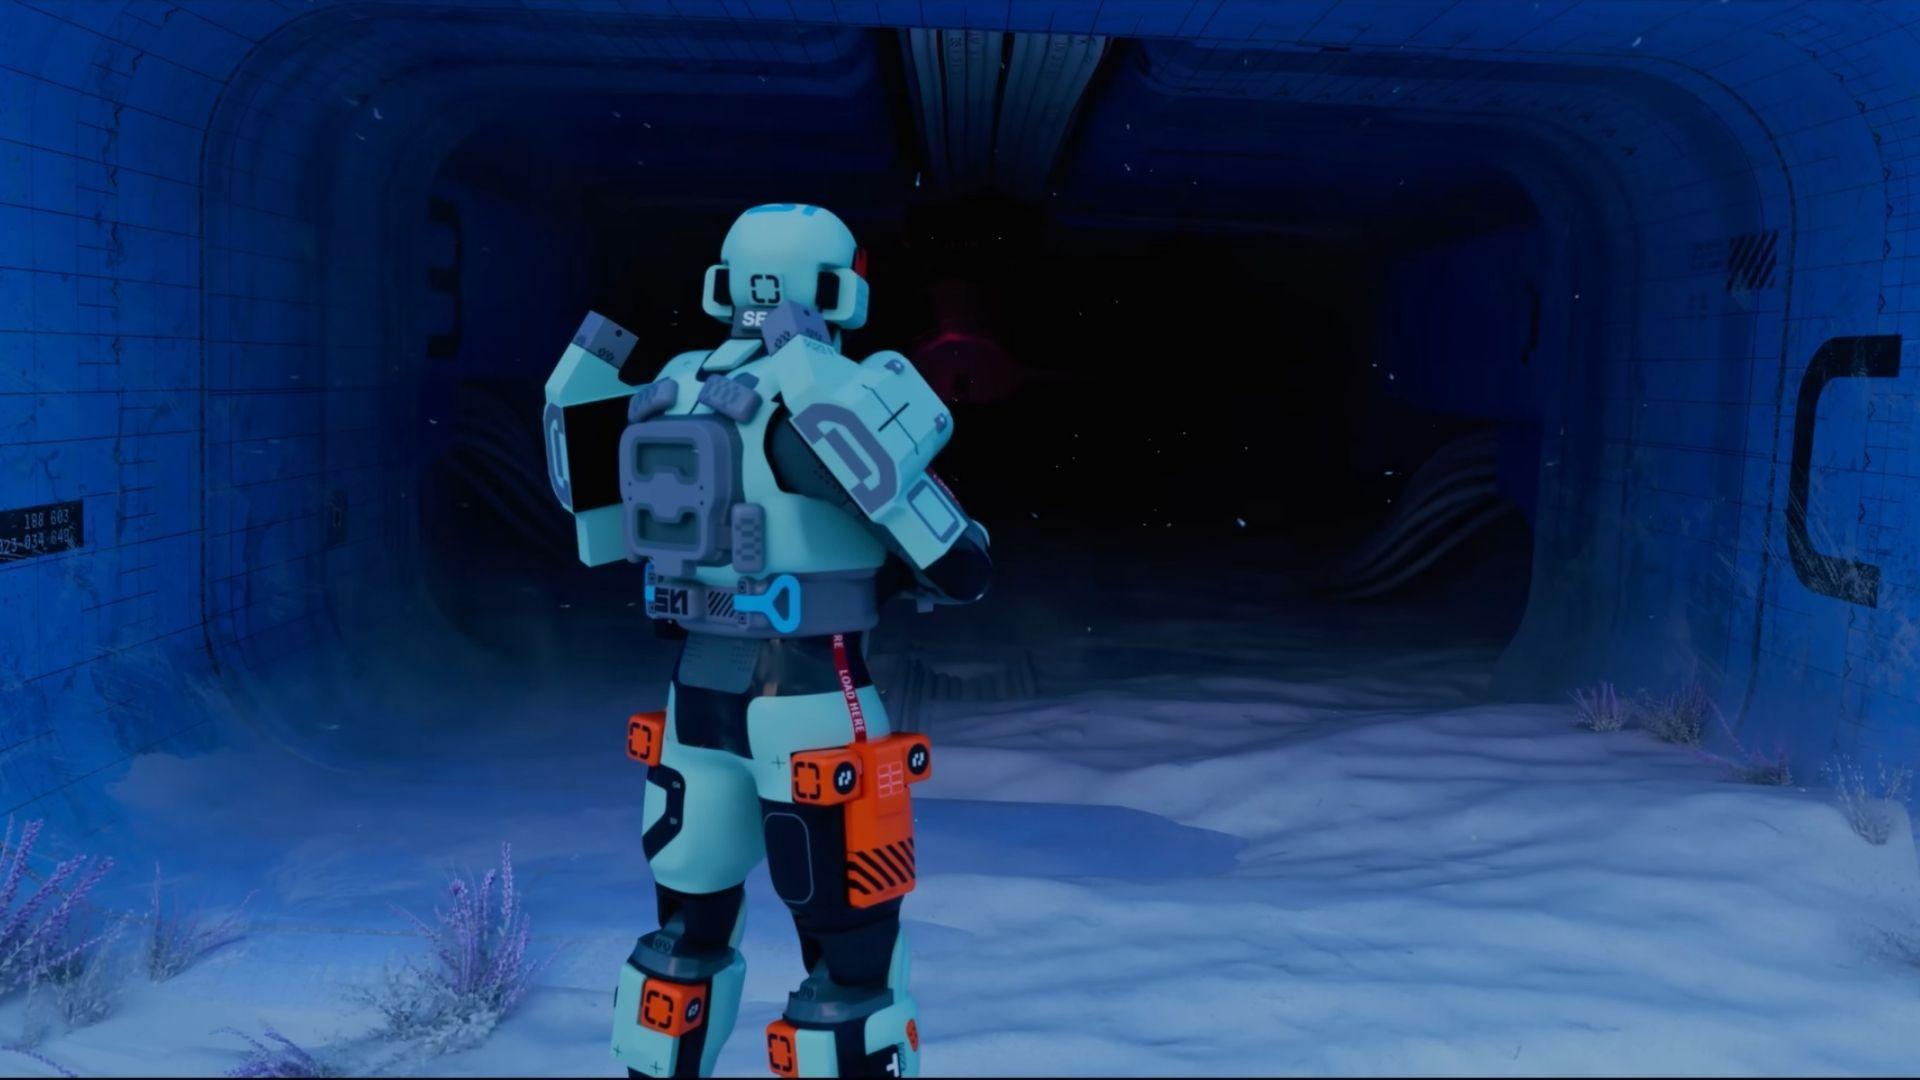
The Destroyer Shell in Marathon is built for players who want to take fights head-on. It is a combat specialist with both offensive and defensive tools, designed to pressure enemies and control engagements. Instead of sneaking around or scouting from a distance, Destroyer pushes forward and forces action.
This guide explains how Destroyer works, how to use its abilities properly, and how to get the most value out of it in Marathon’s extraction mode.
What the Destroyer Does
Destroyer is often compared to a tank class, but it is more than just durability. It combines strong damage output, mobility, and defensive tools. The goal is simple: push into fights, sustain damage, and secure kills before the enemy can reset.
It performs best in close to mid-range combat and thrives in chaotic team fights. Players who enjoy aggressive playstyles and leading engagements will feel comfortable with this shell.
Destroyer Abilities Explained
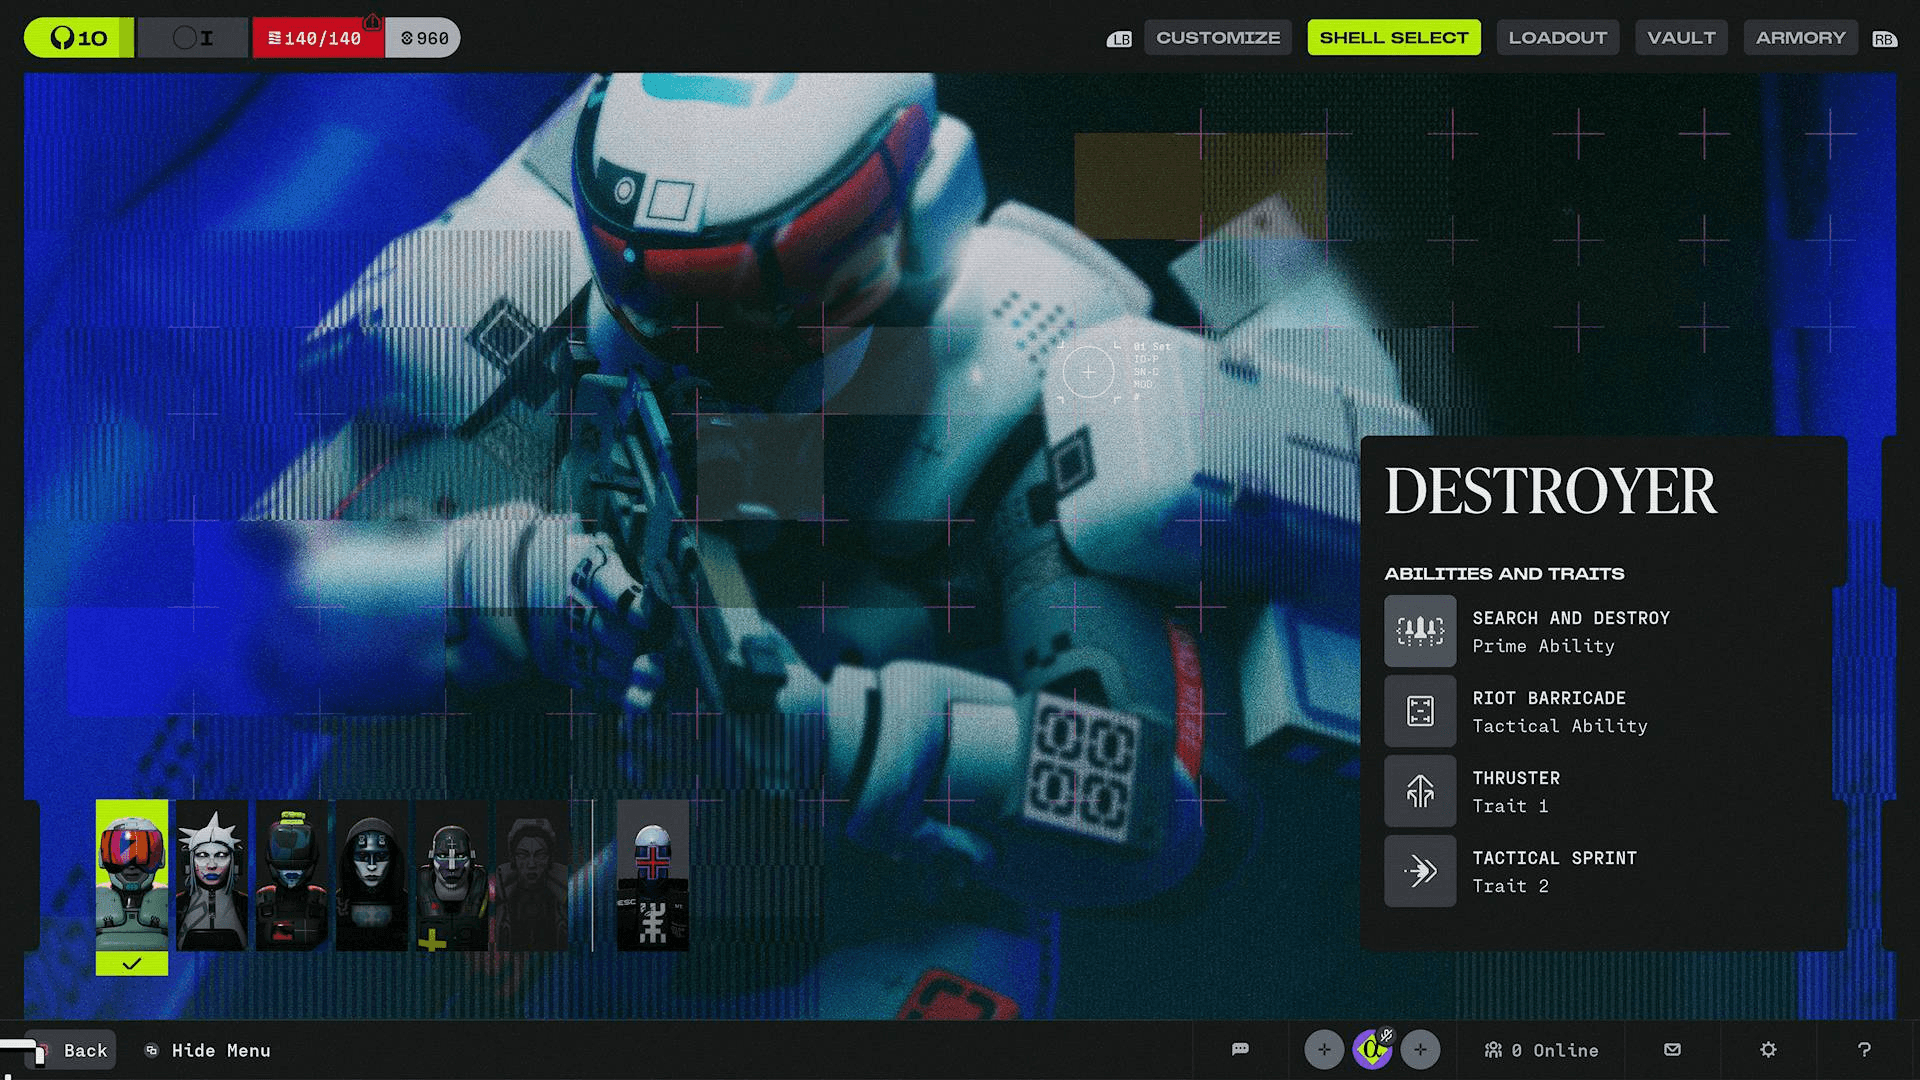
Search and Destroy (Prime Ability)
Search and Destroy activates shoulder-mounted missile pods. After dealing sustained damage to a target, homing missiles automatically fire and immobilize the enemy while dealing extra damage.
This ability rewards consistent aim. The key is not to activate it too early. Apply pressure first, force the enemy to panic, then trigger Search and Destroy to secure the finish.
In PvP, the homing missiles prevent enemies from easily breaking line of sight to heal. In PvE, it helps burn down tougher UESC units and event enemies before they become a problem.
Cooldown-focused cores and explosive synergies can reduce the cooldown, making it possible to trigger this ability more often during extended fights.
Barricade (Tactical Ability)
Barricade is the tactical ability. It deploys an energy shield that blocks incoming damage while draining ability energy. It drains faster when absorbing fire.
This ability should not be saved as a last-second panic tool. It is stronger when used mid-fight. Drop it to create space, reload safely, or give a teammate time to reposition. It is also strong during extraction. Placing it toward the most likely enemy approach can stall pushes and waste enemy ammo.
With the right cores and implants, Barricade can also support more aggressive builds, depending on how the loadout is set up.
Movement Tools
Destroyer has strong mobility but requires good heat control.
Thruster can be activated mid-air to boost in the direction of movement. It works well for closing gaps, dodging shots, or escaping bad angles. It is one of the main tools for entering fights quickly.
Tactical Sprint increases movement speed when double tapping sprint, but it generates more heat. Overheating disables movement tools, which can be dangerous during a push. Players should avoid entering fights while close to overheating.
Managing heat is part of mastering Destroyer. Aggression works best when it is controlled.
How to Play Destroyer
The basic gameplay loop with Destroyer follows a clear pattern.
First, use Tactical Sprint and Thruster to close distance. Destroyer wins fights by getting into effective range before enemies are ready.
Second, apply sustained damage to trigger Search and Destroy. Stay on target. Do not spray randomly. Controlled pressure activates the missile pods and secures kills.
Third, deploy Barricade mid-fight when needed to stabilize or secure position. Then finish the engagement.
Destroyer is strongest when it dictates the fight instead of reacting to it.
Team Synergy
Destroyer performs even better in coordinated squads.
With Recon: Recon provides enemy intel through scan tools, while Destroyer acts as the entry fragger. Once positions are revealed, Destroyer forces the engagement.
With Triage: Triage supports extended frontline fights by healing and increasing uptime. This combination allows Destroyer to stay aggressive longer and win sustained encounters.
In extraction scenarios, Destroyer can hold the frontline while teammates secure angles and loot.
Tips & Tricks in Using Destroyer
Destroyer is durable but not invincible. Smart ability timing matters.
Use Barricade before you are critically low on health
Manage heat carefully to avoid losing mobility
Do not activate Search and Destroy too early
Build around cooldown reduction and explosive synergy
Play aggressive, but stay aware of positioning
Advanced players can bait enemies into shooting the Barricade while teammates flank. In passive lobbies, Destroyer can punish slow teams by forcing early pressure.