

The Upper Complex in Dire Marsh (Night) is one of the most rewarding areas in Marathon, and almost no one knows how to open it properly. Behind a locked door sits a multi-room gauntlet capped by a gold shield Warden boss, and clearing it drops Purple and Gold loot that makes the whole run worth it. Getting there takes preparation, UESC CERTs, and the right keycard. Here's exactly how to pull it off.
How do you get the Observation Labs keycard?
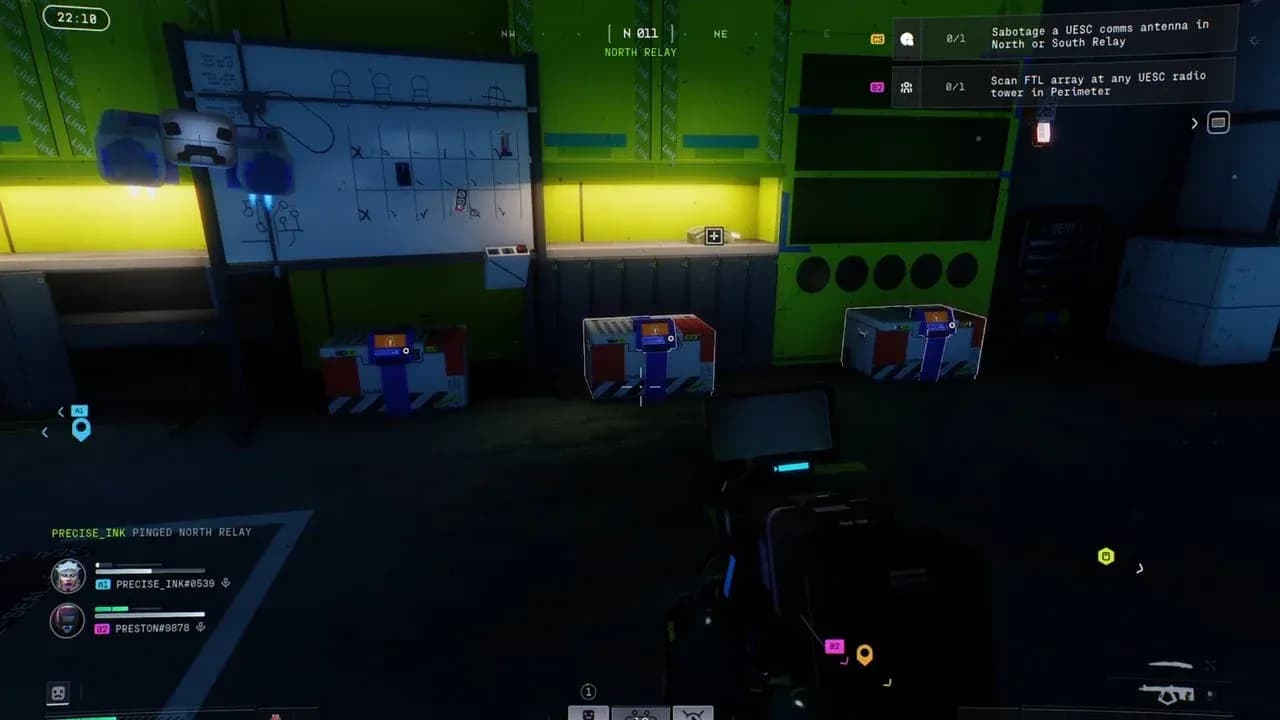
You cannot buy or craft the Observation Labs keycard. It drops randomly from Caches, which you unlock by activating Network Towers around the map's points of interest. Each Network Tower activation requires 3 UESC CERTs, and once active it spawns a Supply Cache, a Weapons Cache, and a Gear Cache. Each Cache contains 3 chests, and the keycard can appear in any of them.
The drop is not tied to a specific Cache type, so hit whichever ones are closest to your position first. You can also get the keycard from Wardens that spawn randomly across the map, but that route is slower and far more dangerous than farming Caches.
Network Tower CERT cost
This entire process only works on Dire Marsh (Night) and can be completed in both Standard and Sponsored Survival modes.
How to open Upper Complex in Marathon
Once you have the Observation Labs keycard, you have two ways to get into Upper Complex. They cost different amounts of UESC CERTs and play out very differently in terms of combat.
Method 1 is cheaper but forces you to fight through enemies before the security barrier drops. Head to the north area of Complex, spend 7 CERTs on the garage door, take the elevator up, and clear the hostiles.
Method 2 costs 12 CERTs total. Each corner of Complex has a small room with stairs. Spend 3 CERTs at the top of each stairwell, do all four, and the doors to Upper Complex open without spawning a single enemy. This is the smarter play if you're trying to conserve health and ammo for what comes next.
Don't skip the ammo prep before entering. The three-room sequence inside Upper Complex plus the boss wave will drain your reserves fast, especially if you're running solo.
Observation Labs keycard drop
For teams that need to locate specific objectives efficiently before heading in, the DCON terminal locations guide is worth checking so you can plan your route through Dire Marsh without wasting time.
What happens inside Upper Complex?
Upper Complex runs across three sequential rooms before the boss encounter. Each room follows the same pattern: activate a terminal, then shoot all the green buttons that light up.
- Room 1: Activate the upstairs terminal, shoot 3 green buttons. The door below the terminal opens.
- Room 2: Activate the next terminal, shoot 4 green buttons. Proceed forward.
- Room 3: Activate the terminal, shoot 5 green buttons. This leads into the boss room.
There are also 7 red buttons scattered across the entirety of Upper Complex that open an additional loot room after the boss. Finding all of them takes significant time, and most runs won't have the exfil window to spare. Treat it as a bonus objective rather than a priority.
How do you spawn and defeat the gold shield Warden?
At the back of the boss room sits a terminal where you use the Observation Labs keycard. Inserting it starts the encounter.
The fight runs across three waves. Each wave follows the same mechanic as the rooms before it: enemies spawn, and you shoot the green buttons to progress the wave. Clear all three waves and a gold shield Warden spawns. Kill it, and a loot room opens containing Purple and Gold tier loot.
This is not a forgiving encounter. The Warden hits hard, and the waves before it will have already cost you ammo and health. Coordinating with your team on which player focuses the Warden versus which handles adds makes the difference between a clean clear and a wipe.
Planning your full Dire Marsh Night run
Upper Complex doesn't exist in isolation. A good Dire Marsh Night run builds toward it from the moment you drop in. Activate Network Towers early to start generating Cache spawns, grab the Observation Labs keycard as soon as it drops, and decide on your entry method based on how many CERTs your team has accumulated.
If you're working through contracts at the same time, the Survival Directive contract walkthrough covers how to hit UESC terminals efficiently in Perimeter, which can inform how you structure multi-objective runs across maps.
For everything else, the full Marathon strategy guides collection covers contracts, key locations, and faction progression to keep your runs productive beyond just the Upper Complex farm.