
If you're dropping into Marathon with a squad and wondering which Runner Shell actually pulls its weight in a coordinated team, you're in the right place. This tier list breaks down every shell from the perspective of 3-man squad play, covering what each one brings to the table, where it falls short, and which teammates make it shine. Whether you're coordinating on voice comms or running with randoms, knowing your shell's role is the difference between a clean extraction and a wipe.
How Do Runner Shells Work in Marathon?
Before diving into rankings, it's worth understanding what a Runner Shell actually is. Rather than locking you into a fixed class identity, each shell is a biosynthetic frame that serves as your build's foundation. You then layer Cores, Implants, weapons, and mods on top to shape how that shell performs in practice.
Every shell comes with three built-in tools:
- Prime Ability: Your highest-impact skill, used sparingly due to a long cooldown. Think of it as your ultimate.
- Tactical Ability: Your bread-and-butter combat or utility tool with a shorter cooldown, used regularly each run.
- Traits (x2): Passive or situational perks that are always available, covering everything from movement options to intel gathering.
Cores vs. Implants: What's the Difference?
Cores are shell-specific modifiers that alter or amplify how your abilities function. You can slot two cores per shell, but you can't run duplicates in the same loadout. They come in five tiers: Standard, Enhanced, Deluxe, Superior, and Prestige. Because cores are tied to a single shell, they allow for deep specialization within one archetype.
Implants, on the other hand, are universal upgrades any shell can equip. They provide stat bonuses plus a random perk, and top-tier implants add a fixed bonus perk on top. The combination of the right cores and implants is what separates a functional build from an optimized one.
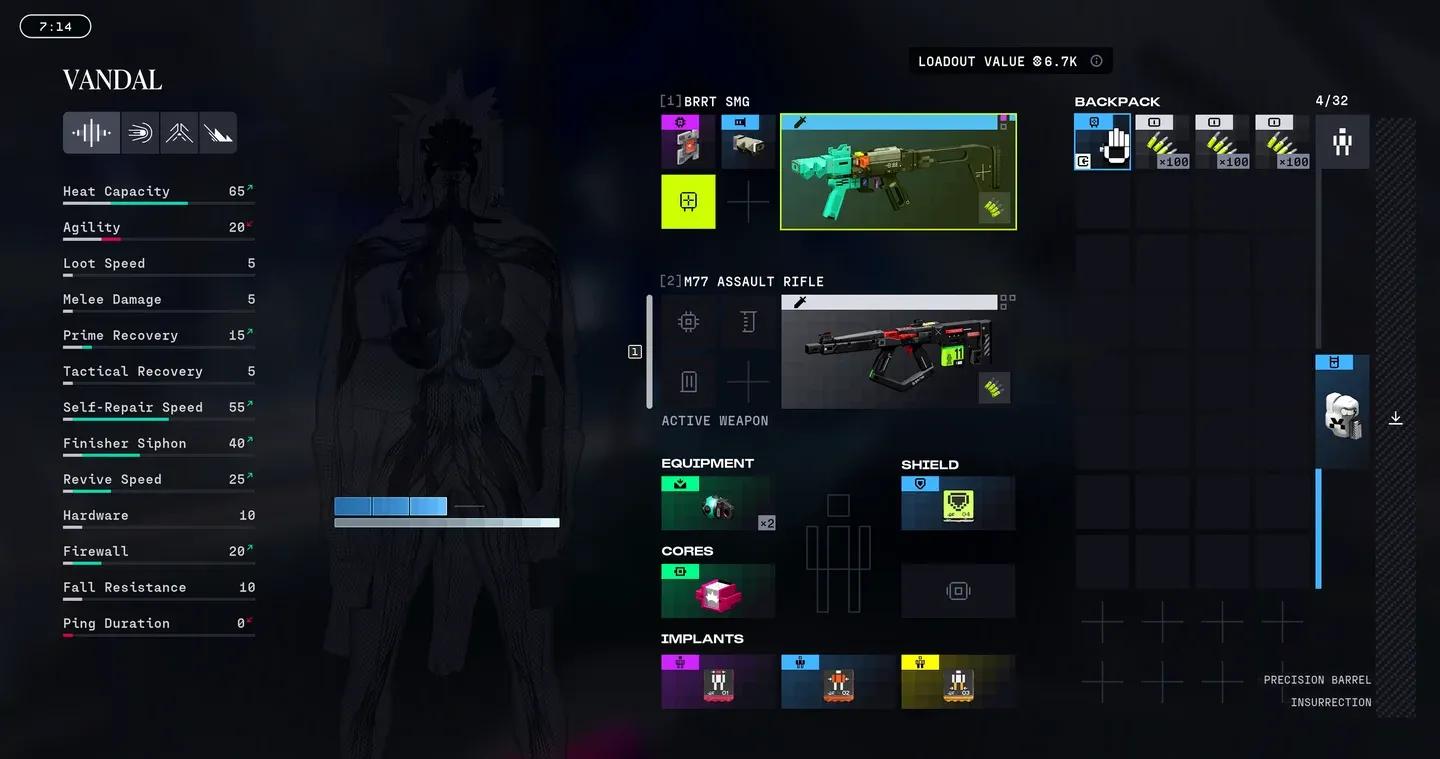
Runner Shell cores and implants
Marathon Runner Shell Squad Tier List
Here's how every shell stacks up specifically in squad-focused play. These rankings assume you have access to voice comms and are building toward coordinated team compositions.
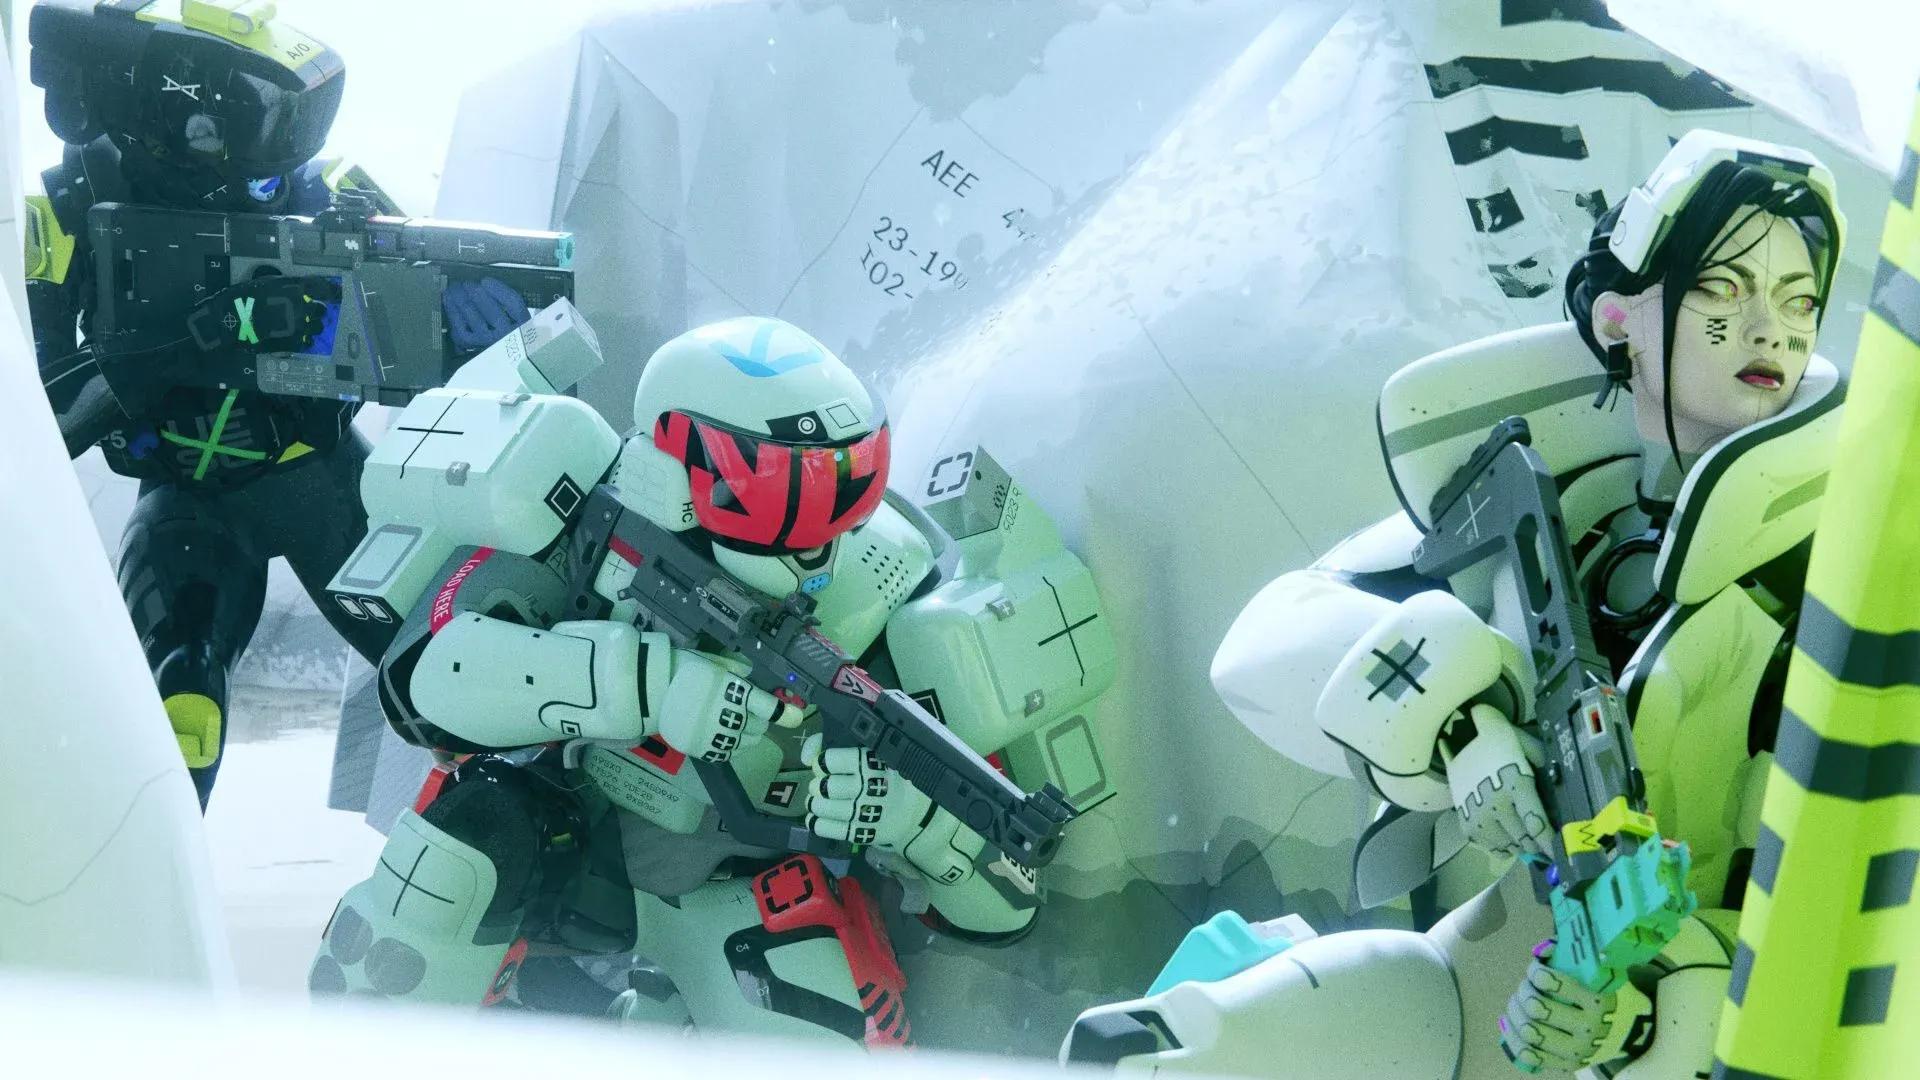
S-Tier Marathon Shells
Triage: The Shell That Wins Fights You Should Have Lost
Triage is the only Runner in Marathon that can actively reverse bad situations through healing and remote revives. In a game where every death carries real economic consequences, having a shell that can flip a losing fight into a recovery is genuinely invaluable.

Triage is a must in Marathon Squads
Here's a breakdown of Triage's full kit:
What makes Triage genuinely S-tier is how Capacitive Gauntlets lets you deliver revives at range without exposing yourself to the same fire that downed your teammate. Pair that with Shareware duplicating your consumables across the squad and you're essentially tripling your healing economy.
Triages confirmed cores push this even further. No Good Deed (Superior) gives you a burst of healing whenever your Med Drone successfully attaches to a crewmate, and Samaritan (Prestige) cuts your next Med Drone cooldown every time Shareware triggers. Stack these and your uptime becomes relentless.
The one real weakness is mobility. Triage lacks the movement tools of shells like Vandal or Thief, so it needs teammates who can protect it and create space. Playing Triage as a lone wolf actively wastes the shell's entire value proposition.
Best synergies: Destroyer (pushes forward while Triage sustains from behind) and Recon (feeds intel on when teammates are in danger and when repositioning is safe).
Recon: The Shell That Decides Fights Without Firing
Recon wins fights by preventing bad situations before they happen. Its entire kit is built around information control, and in an extraction shooter where uncertainty kills more players than bullets, that's an enormous advantage.
Echo Pulse is the standout ability here. It reveals nearby hostiles including invisible targets, which means Recon is the direct counter to Assassin. If the enemy team is running an Assassin and you have a Recon, that invisibility advantage evaporates entirely.
Stalker Protocol adds another layer of pressure: break an enemy's shields and you can track exactly where they flee. Combined with Tracker Drone forcing overheat (which locks down movement abilities), you can strip a Runner of both their escape route and their ability to use it.
The critical caveat is that Recon only works if you communicate. Gathering intel and sitting on it is just as damaging as having no intel at all. This shell demands a caller who actively feeds positions to their squad.
Best synergies: Destroyer (for clean, covered entries on the positions Recon identifies) and Assassin (to weaponize your intel with precision ambushes).
A-Tier Marathon Shells
Assassin: Conditional S-Tier Depending on Enemy Loadouts
Assassin is arguably the most misunderstood shell in Marathon. Most players gravitate toward it expecting a straightforward advantage from invisibility, then get frustrated when it underperforms. The truth is that Assassin is a high-ceiling shell with a very specific playstyle requirement.
The ideal Assassin loop is: drop smoke first, reposition under Active Camo, take a guaranteed shot, then vanish before the enemy can trade back. A disciplined Assassin controls when fights happen and when they end, generating panic and confusion rather than brute-forcing gunfights.
The problem is that if enemies have a Recon running Echo Pulse or weapons with thermal sights, the invisibility advantage disappears entirely. Without the ability to dictate the terms of engagement, Assassin lacks the raw offensive power to win direct fights and gets pushed into a purely reactive, escape-focused role.
If you know the enemy squad has no Recon and no thermal optics, Assassin jumps to S-tier. In any other situation, treat it as a strong but conditional A-tier pick.
Best synergies: Recon (for intel on enemy positions before committing to a flank) and Thief (to capitalize on the chaos and confusion you generate).
Destroyer: The Frontline Every Squad Wants
Destroyer is Marathon's closest equivalent to a frontline tank, and it's the shell that makes aggressive coordinated pushes possible. Its value isn't in personal kill counts but in how much space and safety it creates for teammates.
Destroyer Riot Barricade shield
Riot Barricade is what earns Destroyer its place in nearly every competitive squad composition. Using it to cross dangerous sightlines, shield revives, or hold a contested point while teammates reposition is exactly the kind of team-enabling play that wins raids. Search and Destroy then punishes anyone who tries to rush you while you hold ground.
The biggest trap is playing Destroyer for personal impact rather than team enablement. It needs discipline, not ego. Without out-of-combat utility like healing or intel gathering, it's best paired with Triage and Recon to fill those gaps.
Best synergies: Triage (to sustain your pushes) and Recon (to feed you information on when and where to advance safely).
Thief: Best-in-Class for Loot-Focused Squads
Thief is quietly one of the strongest shells for teams that prioritize the economy layer of Marathon over raw combat performance. Its kit functions as both a loot vacuum and a makeshift reconnaissance tool.
Thief's confirmed cores are worth knowing before you commit to this shell. Greed is Good (Enhanced) boosts sprint speed and slide distance when your backpack is full. Hidden Run (Deluxe) lets a melee strike immediately after grappling hack an enemy and knock random loot from their pack. Case the Joint (Superior) extends X-Ray Visor's wall-penetration range, and Partner in Crime (Prestige) turns your idle drone into a passive pinger for nearby hostiles.
The classic Thief mistake is spending too long piloting the drone while stationary in a contested zone. Fly it only when your squad has your flanks covered, scan loot routes quickly, and grapple out early rather than overstaying for one extra item.
Best synergies: Vandal (to generate distractions that let you loot safely) and Assassin (for clean exits and suppressed enemy vision during your runs).
B-Tier Shells
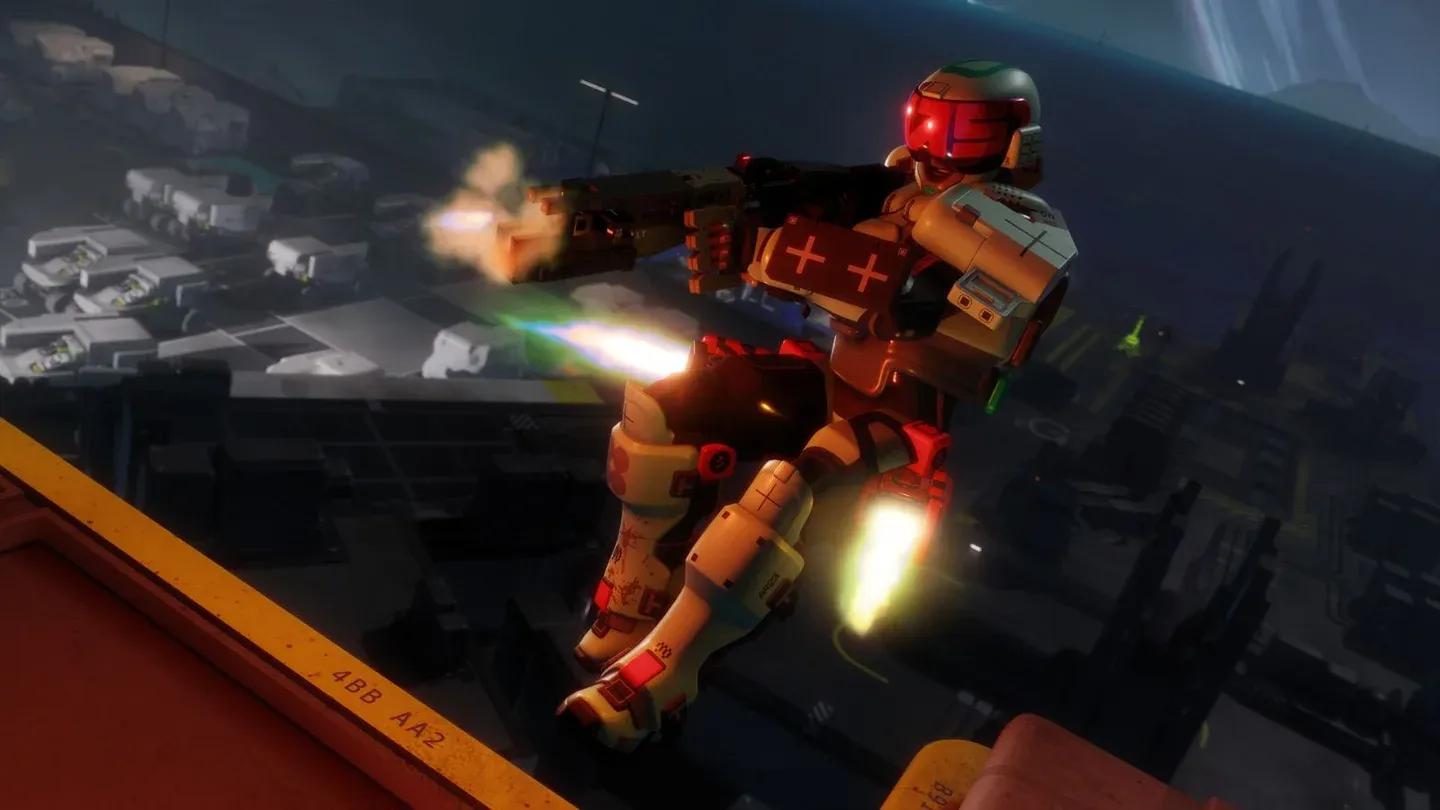
Vandal: The Carry Shell That Demands Mechanical Skill
Vandal has the highest individual carry potential on the roster, but it's also the shell that punishes poor heat management most severely. Its entire design revolves around chaining mobility tools to break enemy formations and force panic, which works brilliantly when executed well and catastrophically when it doesn't.
Vandal's kit is almost entirely offensive with very little team utility baked in. A skilled Vandal player uses Amplify to chain movement and force enemies to chase and separate, then hits them with Disruptor to blast them out of cover or knock a runner into a terrible position. Bungie has confirmed mobility-focused cores for Vandal including jump enhancements and movement chaining that significantly raise the ceiling once acquired.
The reason Vandal sits at B-tier for squads specifically is that when a Vandal's shot isn't landing, the shell offers almost nothing to the team. There's no healing, no intel, no shielding. It's a shell that amplifies individual skill rather than team coordination, which makes it a riskier pick in organized squad play compared to the S and A-tier options.
Best synergies: Destroyer (to anchor fights while Vandal disrupts) and Thief (to pair chaotic movement with efficient looting in the aftermath).
What About Rook?
Rook sits outside the standard tier list entirely because it's not a conventional Runner Shell. It's a stripped-down scavenger frame designed for players who want to join in-progress matches with zero risk and zero loadout. Rook drops into raids already underway as a solo player, bringing nothing in and losing nothing if eliminated.
Rook's Signal Mask lets you slip through AI-controlled zones while geared Runners fight around you, which makes it genuinely useful for learning maps, practicing loot routes, or recovering items from a rough previous run. The critical caveat: other players can still see and kill you. Treat every match as Rook with the assumption that you're a target.
What's the Best Squad Composition in Marathon?
Based on everything above, the strongest all-around squad composition pairs Triage + Recon + Destroyer. Triage keeps everyone alive, Recon feeds the team constant positional intel, and Destroyer uses that intel to create space and pressure enemies directly. This trio covers healing, information, and frontline aggression without any major gaps.
For a more aggressive composition, Recon + Assassin + Destroyer works well when your team is comfortable calling shots and executing coordinated flanks. Recon spots the target, Assassin hits from an unexpected angle, and Destroyer cleans up or holds the exit.
If your squad prioritizes economic efficiency and extraction over combat, Triage + Thief + Vandal is a strong alternative. Vandal creates chaos, Thief vacuums loot in the aftermath, and Triage keeps everyone healthy enough to make it to extraction.