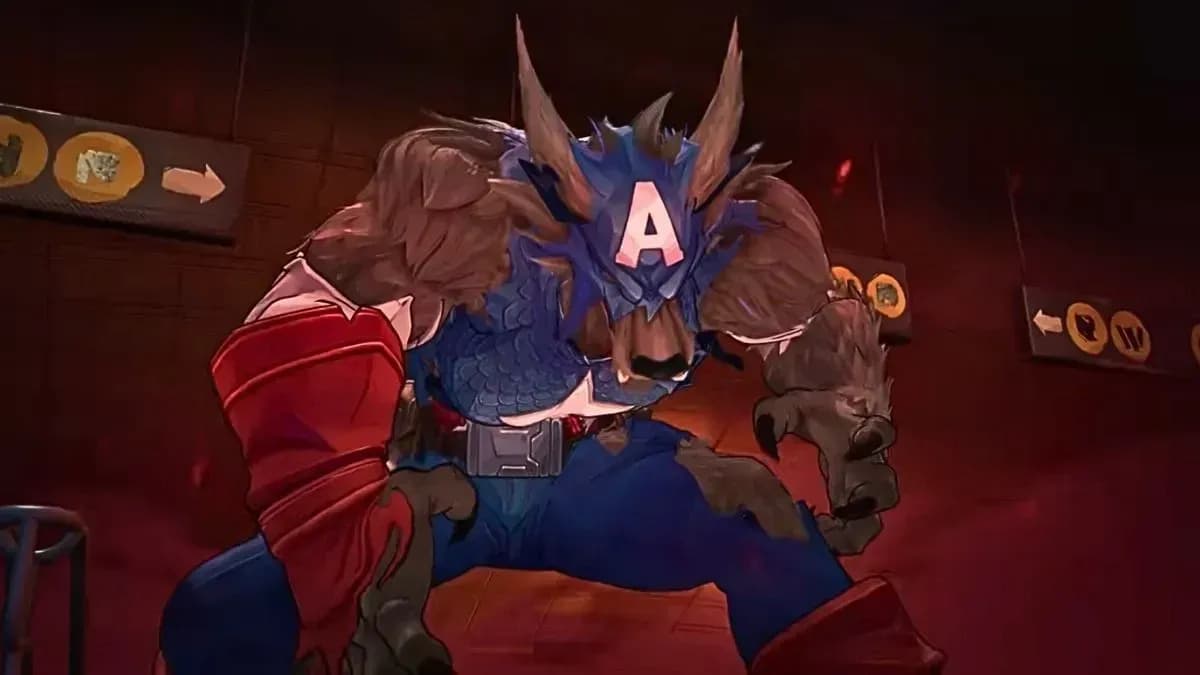

Capwolf is the first boss you'll run into during Marvel Rivals Blood Hunt, and while he's positioned as a warm-up fight, he can absolutely shred your team if you walk in blind. He's fast, he picks targets, and his second phase adds a nasty self-healing mechanic that can drag the fight out painfully long. Here's everything you need to know to put him down cleanly.
What abilities does Capwolf have in phase one?
Capwolf's first phase is aggressive but manageable once you understand his toolkit. His abilities in this phase include:
- Prey marking: Capwolf periodically selects one player as his prey, locking onto them and prioritizing them above everyone else on your team.
- Shield swing: A melee sweep that damages anyone standing too close to him.
- Ground slam: He leaps into the air and crashes back down, dealing area damage on landing.
- Charge: Capwolf rushes at all enemies, closing distance fast.
- Shield throw: He hurls his shield at targets, dealing damage and applying a stun.
Phase one rewards teams that spread out and keep pressure on him from range. His aim isn't always precise, so distance works in your favor.
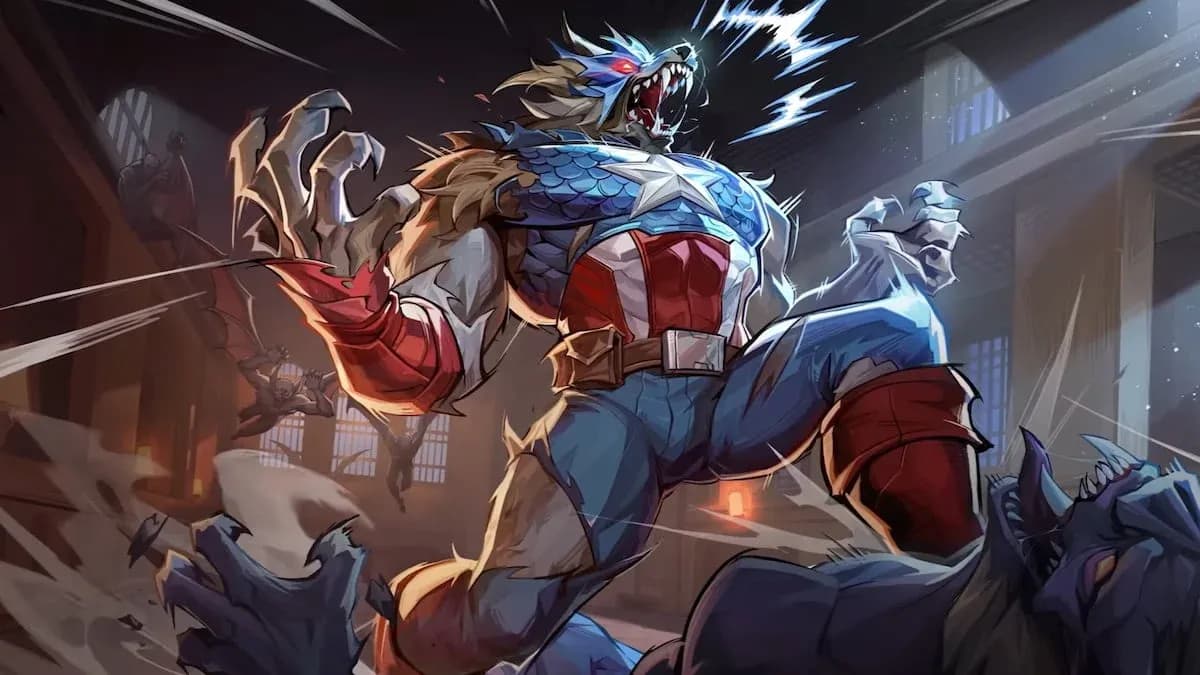
Capwolf: first Blood Hunt boss
What changes in Capwolf's phase two?
Once Capwolf transitions into his second phase, the fight gets significantly more dangerous. Four new mechanics come online:
- Lifesteal on prey: Any damage he deals to his marked prey now heals him. This is the most punishing mechanic in the fight if left unchecked.
- Dashing pounce: He launches a pounce attack at his prey. If it misses, he tries again. Miss twice and he's briefly stunned, giving your team a free damage window.
- Channel and pin: Capwolf channels briefly, then teleports behind his prey, pins them, and unleashes a claw combo. Your team can interrupt this by dealing enough damage during the channel.
- Death's door shield: When Capwolf drops to near-zero health, he regenerates HP and gains a large shield. Breaking the shield removes some of the health he recovered. This can only trigger once.
How to beat Capwolf: the strategies that actually work
After watching this fight play out across multiple runs, a few things become clear. Capwolf is not a DPS race. He's a coordination test.
Stay at range whenever possible
Capwolf is built for close-quarters combat. His shield swing, ground slam, and charge all require him to be near you. Fighting him at range strips away most of his effectiveness. Characters like Blade who naturally want to be in melee range can still contribute, but they need to be disciplined about backing off to heal rather than trading hits.
When you're prey, run. Seriously.
This sounds obvious, but the temptation to keep attacking is real. If Capwolf marks you as prey, your job becomes survival, not damage. Your teammates are still attacking him. The best thing you can do is keep moving and stay out of his reach. In phase two especially, getting hit while marked directly heals him, so every hit you take is working against the team.
Break the phase two channel immediately
When Capwolf starts channeling in phase two, treat it like a DPS check. Dump everything you have into him during that window. If the channel completes, the pinned player is looking at a devastating claw combo that can potentially finish them off. Coordinate with your team beforehand so everyone knows to switch to burst damage the moment they see him begin channeling.
Burn through his death's door shield fast
The end-of-fight shield is a surprise the first time you see it, but it's manageable. Focus the shield down as a team. Breaking it removes some of the health he recovered, so you're not starting from scratch. Spread your fire evenly and don't panic when his health bar suddenly jumps back up.
Help your marked ally
When a teammate is prey and you're not, your role flips entirely. Get between Capwolf and your ally, deal as much damage as you can while he's distracted, and if the channel starts, break it. Capwolf's heavy focus on a single target is actually the mechanic your team can exploit most effectively.
Quick reference: Capwolf survival tips
- Fight from range as your default positioning
- Melee characters can go in briefly, but must back off to heal
- Prey players should focus on movement and survival, not damage
- In phase two, avoid all hits while marked to deny Capwolf his lifesteal
- Break the channel with burst damage before the pin completes
- Destroy the death's door shield quickly; it only activates once
- When you're not the prey, maximize your damage output
Blood Hunt has more encounters waiting past Capwolf, and the same teamwork principles apply throughout. For more Marvel Rivals guides and the latest gaming coverage, browse more guides at GAMES.GG.