

Susan Storm is one of those heroes who looks straightforward on paper but has a ceiling that most players never reach. She heals, she shields, she goes invisible, she disrupts. The problem is that doing all four things well at the same time requires a level of situational awareness that takes real practice to develop. This guide breaks down every ability, the best combos to run in actual matches, which team-ups to prioritize, and the mechanical tricks that separate competent Invisible Woman players from genuinely scary ones.
What makes Invisible Woman worth playing?
Invisible Woman (Susan Storm) is a 4-star difficulty Strategist in Marvel Rivals, which means she sits in the healer/buffer role alongside characters like Luna Snow and Mantis. What separates her from the rest of that pool is the sheer number of tools she brings to a fight. She can heal at range, generate a physical barrier, displace enemies with crowd control, and vanish entirely when things go wrong. The trade-off is that she deals relatively low damage in isolation and her impact drops sharply when her team isn't in a position to capitalize on her setups.
Matchup data from Season 2 backs this up. Against Namor, she posts a 55.9% win rate across 136 matches, with an assist count of 34.2 per game compared to his 1.9. That assist number tells the whole story: she wins fights by enabling her team, not by solo carrying.
Invisible Woman ability breakdown
Orb Projection (primary fire)
This is your bread-and-butter tool and it does two jobs at once. Fire a force field orb that travels up to 30 meters, passes through heroes, then returns to you. Each pass deals 20 damage to enemies (40 total) and heals allies for 46 HP per pass (92 total). The key mechanical detail: aim at the ground near your target's feet rather than directly at them. This tightens the return arc and makes both passes connect far more reliably, especially against mobile opponents.
Psionic Vortex (Left Shift)
Charge and release psionic energy that erupts into a vortex on contact or manual detonation. Deals 35 damage per second over 4 seconds (140 total) with a slight pull effect on enemies caught inside. Maximum range is 80 meters and cooldown is 12 seconds. The pull is subtle but genuinely useful for dragging enemies out of cover or interrupting ability casts. Don't think of this as a damage tool primarily; it's a positioning disruptor.
Force Physics (E key)
A push-or-pull ability that deals 55 damage and moves enemies up to 15 meters away or 10 meters toward you, with an 8-second cooldown. One important note: enemies who are airborne when this connects get significantly more displacement. If you're trying to yeet someone off a ledge, wait for them to jump first.
Agile Strike (F key)
A three-hit melee combo dealing 30, 30, and 50 damage (110 total). The third hit knocks enemies back rather than launching them upward, which is actually more useful for objective denial. The combo resets after 2 seconds of inactivity, so don't wait too long between hits.
Veiled Step (double Space)
Double-jump to trigger instant invisibility, bypassing the 5-second delay of the passive. Heals 25 HP per second while invisible. Cooldown is 6 seconds. This is your escape hatch, your repositioning tool, and your self-sustain button all in one input.
Covert Advance (passive)
After 5 seconds out of combat, you automatically enter an invisible state and regenerate 25 HP per second. Breaks the moment you attack or use an ability. Useful for recovering between engagements, but don't rely on it mid-fight since the delay is too long.
Guardian Shield (right-click)
Place a shield in front of a selected ally that absorbs up to 300 damage and heals nearby allies for 60 HP per second. Enemies who walk through it are slowed. The cooldown scales with the shield's remaining HP when you retract it, so pulling it back before it breaks keeps downtime minimal. Let it shatter and you're waiting significantly longer.
Invisible Boundary (Q ultimate)
Deploy a cylindrical force field that renders allies inside invisible to enemies outside and heals for 250 HP per second over roughly 8 seconds. Enemies who enter the boundary are slowed. This is one of the strongest counter-ults in the game because you can pop it reactively when the enemy team pops their own ultimates.
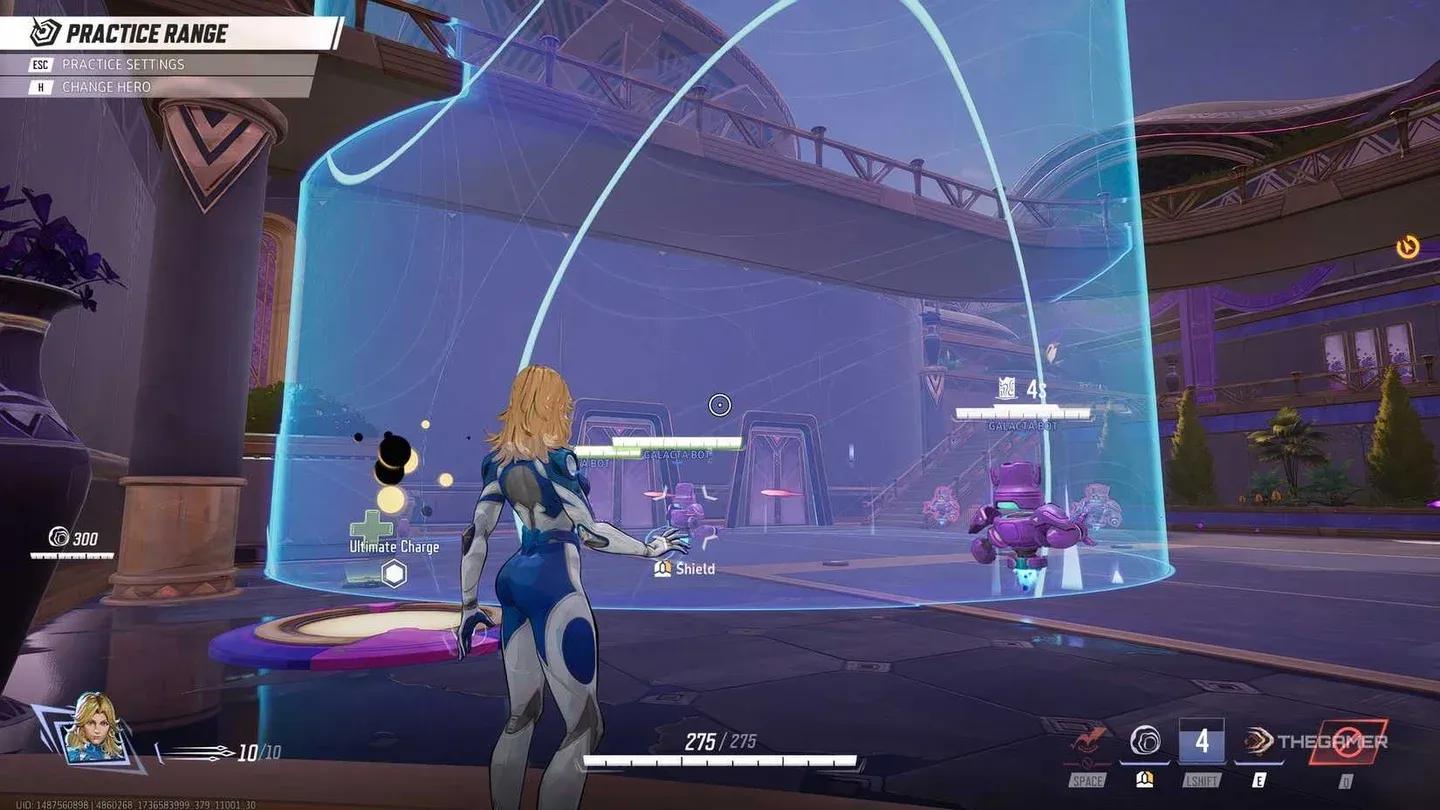
Invisible Boundary ultimate active
Full ability stats at a glance
Retract Guardian Shield before it breaks. A shield at 50% HP that you pull back manually has a much shorter cooldown than one that shatters from enemy fire.
Team-up abilities: who to run with Invisible Woman?
Invisible Woman currently has two relevant team-up options depending on the season.
Fantasti-Force (with Mister Fantastic)
The original Fantastic Four pairing. Invisible Woman channels psionic energy to grant Mister Fantastic damage resistance and generate bonus health over time for the whole team. This is a passive that rewards keeping both characters alive simultaneously, which is harder than it sounds since Mister Fantastic tends to dive aggressively.
Psionic Mayhem (with Doctor Strange)
Introduced in Season 6.5 and currently active as of Season 7.0, this team-up makes Invisible Woman the anchor. When paired with Doctor Strange, she enhances his Maelstrom of Madness with a psionic explosion that damages and pulls enemies toward Strange. Based on the explosion's damage, Strange and nearby allies gain bonus health (0.3 conversion for Strange, 0.2 for allies, capped at 75 bonus HP). The spell field has an 8-meter spherical radius and a 6-second cooldown. This is a genuinely strong combination because Strange's portal play already forces enemies into awkward positions, and adding a pull effect plus bonus health generation on top of that is a real threat.
The Psionic Mayhem bonus health values (0.3 self / 0.2 ally conversion, 75 max) are listed as current on the Marvel Rivals wiki but marked TBA for the team-up bonus multiplier. Treat those specific numbers as subject to change.
How to play Invisible Woman: core playstyle
The fundamental loop is positioning, not aggression. You want to stay close enough to your frontline to keep Guardian Shield relevant but far enough back that you're not the first target when a Duelist dives. Most new players either play too far back (Guardian Shield whiffs, Orb Projection barely reaches) or too close (you die to the same burst that's killing your Vanguard).
The sweet spot is roughly at the edge of your Guardian Shield range, which gives you a clear sight line to your tank, puts your Orb Projection in optimal bounce range, and keeps Veiled Step available as an escape rather than a panic button.
In objective modes specifically, Invisible Boundary is the ability that swings matches. The correct use isn't to pop it at full health as a comfort blanket; it's to hold it until the enemy team commits their own ultimate, then drop it to negate the value. An enemy Scarlet Witch or Iron Man ultimate that hits a team inside Invisible Boundary accomplishes almost nothing.
What combos actually work in matches?
Engagement opener
Veiled Step → Guardian Shield → Orb Projection
Use this when your team is pushing and taking early pressure. The invisibility from Veiled Step lets you close distance safely, the shield protects whoever's taking the most heat, and the orb heals while poking. Simple, reliable, and covers the most common scenario.
Crowd control burst
Psionic Vortex → Force Physics (pull) → Orb Projection (aimed low)
For grouped enemies or a single overextended target. The vortex clusters and slows, Force Physics pulls them tighter or repositions a priority target, and the low-aimed orb maximizes both damage passes. This is the combo that turns a 5v5 stalemate into a numbers advantage.
Defensive reset
Guardian Shield → Invisible Boundary → Veiled Step
For when your team is getting overwhelmed and needs to regroup. Shield buys time, the ultimate heals and stealths your whole team, and Veiled Step lets you personally disengage and heal while the enemy decides whether to push through the boundary or wait it out.
Ultimate ambush
Invisible Boundary → Psionic Vortex → Force Physics → Orb Projection
The full commit. Hide your team, disrupt enemy positioning with the vortex, use Force Physics to isolate or reposition a key target, then clean up with the orb. This requires your team to actually follow up, which is why it works better in coordinated play.
Advanced tips most players miss
Aim at the floor, not the enemy. Orb Projection's return pass is what makes it efficient. Enemies standing still are easy to hit on both passes, but aiming at their feet shortens the return arc dramatically and makes the orb connect twice even on moving targets.
Double invisibility stacking. Use Veiled Step while inside your own Invisible Boundary. You become invisible to enemies both because of the boundary's effect and your personal stealth state. Enemies who push through the boundary to find your team will still have trouble locating you specifically.
Psionic Vortex interrupts abilities. The pull effect is small but consistent. Enemies channeling abilities or using movement skills can be nudged out of position or have their timing broken. This is particularly effective against heroes who need to stand still to deal damage.
Shield management is a skill. Most players let Guardian Shield break naturally. Pulling it back manually when it's at half health keeps the cooldown short enough to have it ready again within seconds. A shield that breaks means a much longer window where your ally has no protection.
When should you pick Invisible Woman?
She's strongest when your team already has reliable damage output and needs survivability rather than more firepower. A composition with a dive tank like Thor or Venom and a high-damage Duelist benefits enormously from her sustained healing and crowd control.
She's weaker in compositions that are already heal-heavy, because her value comes from the combination of healing and disruption. Running two sustain Strategists with no CC usually means you're just delaying losses rather than winning fights.
For countering specific enemy picks: she handles Namor particularly well (55.9% win rate across 136 Season 2 matches per matchup data), largely because her sustain outlasts his burst and her assists enable teammates to punish his positioning. She struggles more against coordinated dive that can reach her before Veiled Step is available.
Invisible Woman strengths and weaknesses
Keeping up with changes
Invisible Woman has been one of the more frequently discussed Strategists in the community, with ongoing conversation about whether her Invisible Boundary ultimate is appropriately tuned. A notable concept circulating in the r/marvelrivals community proposes converting the ultimate into a true projectile-blocking shield with an upfront burst heal instead of sustained healing over time, arguing it would better match her comics identity as a shielding hero while reducing how oppressive she feels in coordinated fights. NetEase hasn't implemented that change, but it's worth watching whether her ultimate gets adjusted in future patches. Keep an eye on the latest Marvel Rivals patch notes to stay ahead of any adjustments to her kit.
For more hero guides, tier lists, and game mode breakdowns, browse the full guides section at GAMES.GG to find everything you need across the current meta.