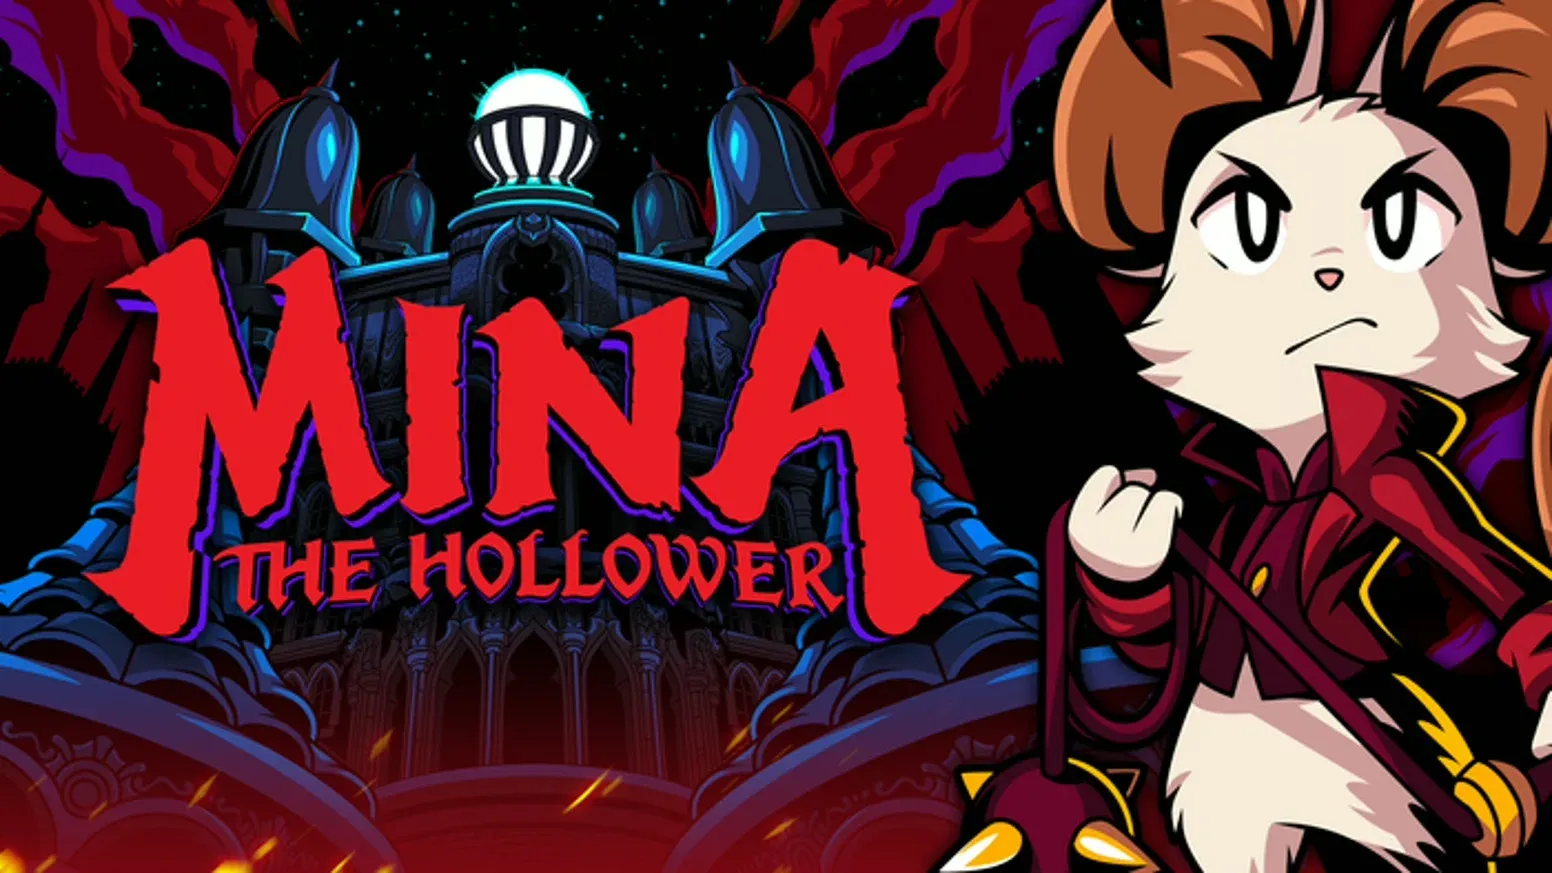


Mina the Hollower is Yacht Club Games' love letter to classic Zelda and Castlevania, wrapped in an adorable mouse-protagonist package that hides a genuinely punishing game underneath. Checkpoints can sit 10-15 minutes apart, bones (the currency you absolutely cannot afford to lose) drop on death, and the dungeons are packed with secrets that reward players who actually pay attention. Whether you're stepping into Tenebrous Isle fresh or bouncing off your third death in the same room, these tips will get you oriented fast.
What should you do first in Mina the Hollower?
Before anything else, head to the Hollowers' Guild. After arriving in Ossex and speaking to Lionel, you'll need to repair six generators, and the first four can be tackled in any order. The problem is knowing where they are. Head south through the guild's mini dungeon, rescue your fellow Hollower Rhene, and then buy a map from Drillhardt. This map lives in Mina's burrow and marks the general direction of all four generators. Drillhardt also sells an upgrade that tracks how many collectibles remain in each area, which is worth picking up once you have the bones to spare.
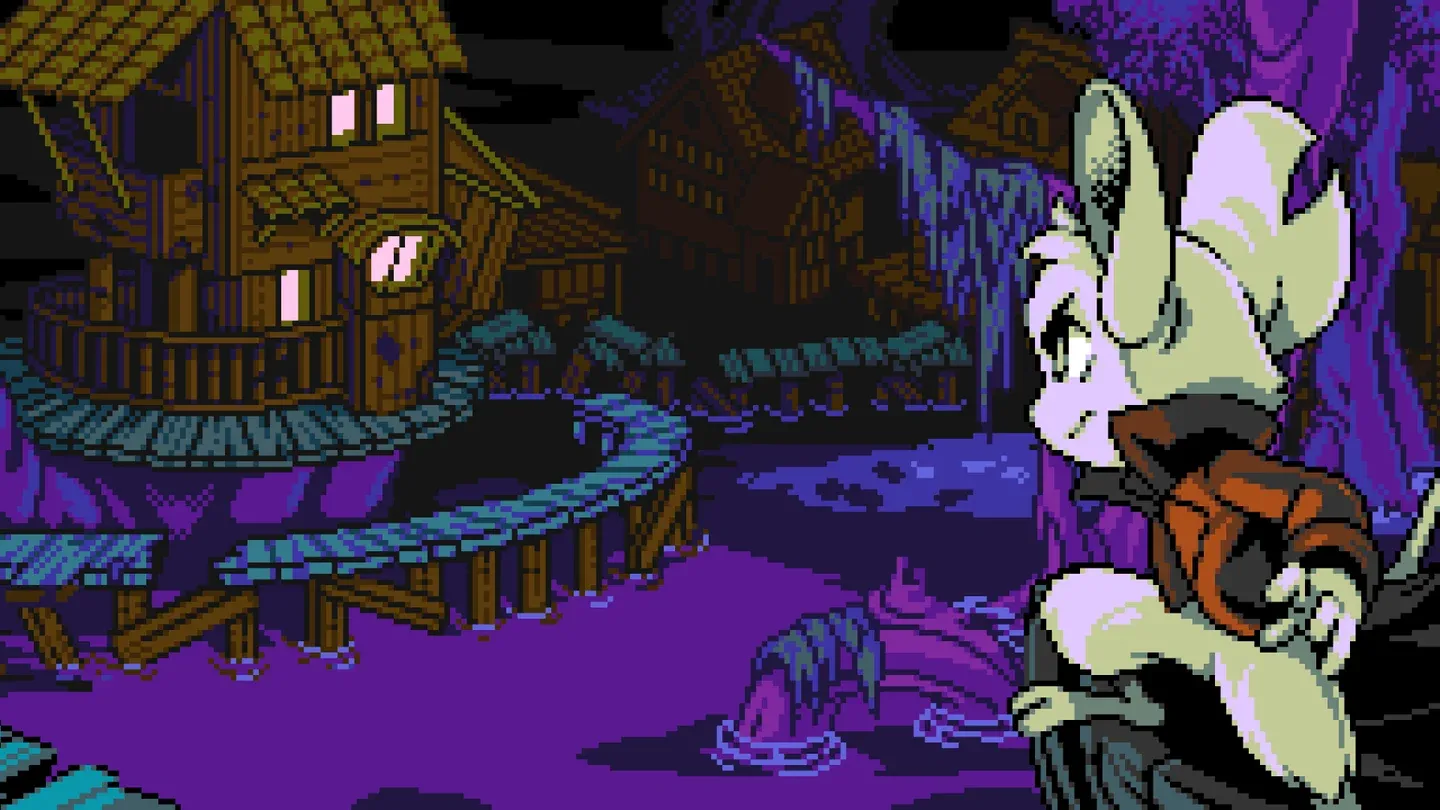
Buy the map early
Yacht Club Games' own recommended order after the crypt is southwest, northwest, then southeast. That said, the game is semi-open, so if one area is destroying you, back off and try another.
Which trinkets are worth grabbing early?
Two trinkets stand out in the early game above everything else.
The Proto Spark (also called the Proton Spark) is effectively a free revive. It resurrects Mina with most of her health when she dies, then recharges at the next checkpoint. To get it, complete the ghost NPC's sidequest near the end of the graveyard region. You'll need to escort him to a locked room just past the boss fight. Escort quests are never fun, but this one pays off more than almost anything else in the early game.
The second early pickup is the Primed Vial Pouch, which lets you carry two extra healing vials. To grab it, enter a house south of Ossex through the chimney. You can eventually replace it as you find more vial pouches scattered around the world, but in the opening hours it makes encounters noticeably more forgiving.
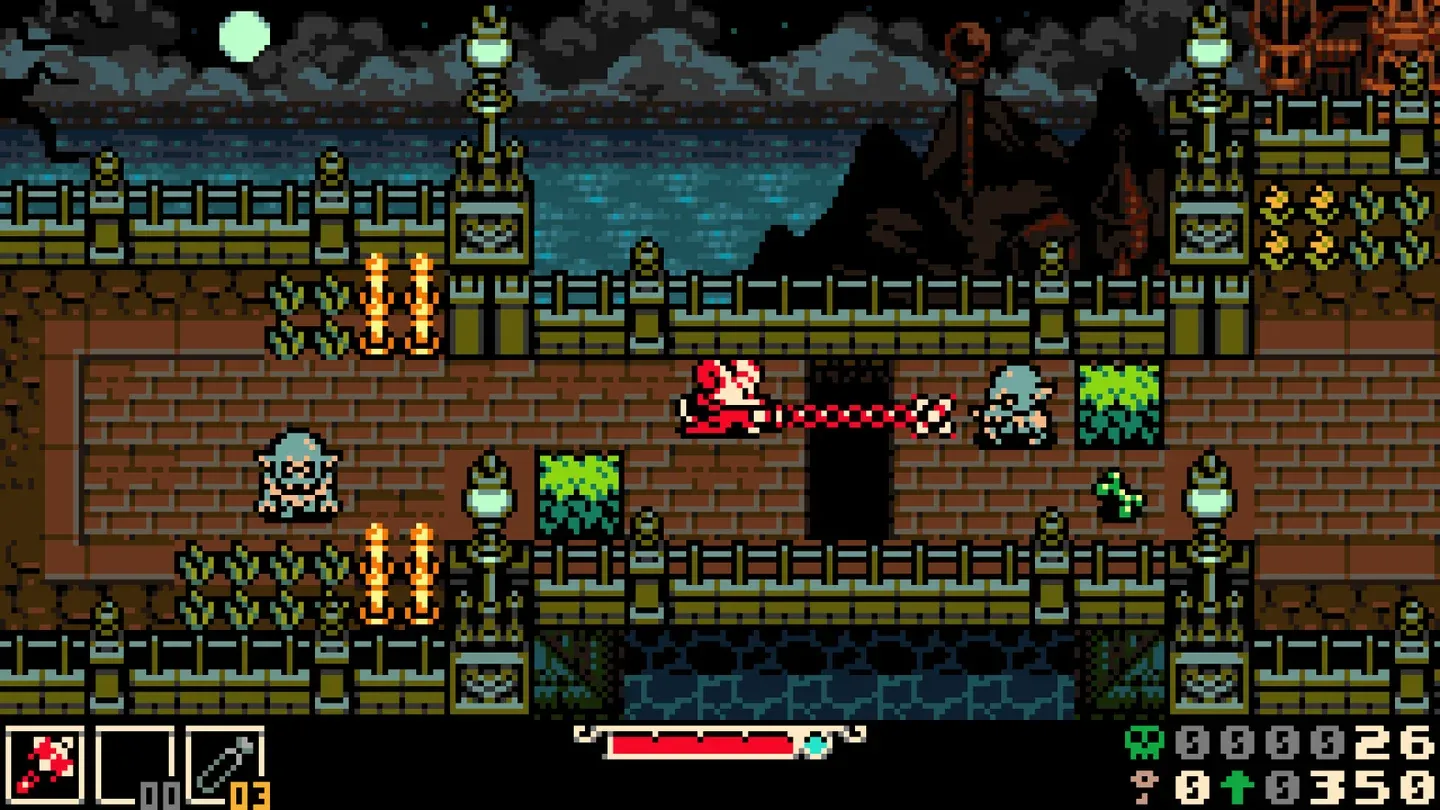
Proto Spark saves runs
How does healing work?
Healing in Mina requires building up charge by hitting enemies before you can use a flask, and the flasks themselves are slow to activate. This means you can die in a boss fight while sitting on a full stack of vials because you never had a clean window to use them.
The fix is patience. Wait for a boss to finish an attack string before healing rather than trying to squeeze it in during a brief gap. Even a partial heal is worth taking. A small top-up now beats holding out for a full heal that never comes.
If healing still feels impossible, specific trinkets and items exist to boost flask effectiveness. Swapping in even one healing-focused trinket can shift a fight from unwinnable to manageable.
What's the best way to manage bones?
Bones are Mina's currency and her experience points rolled into one. Dying drops them, and while you get a few recovery attempts based on your Sparks, a second death in the same area turns those bones to dust permanently.
The good news: bone income scales up meaningfully as you progress, so even a large loss is recoverable. Enemies and loot respawn, so farming is always an option if you're short.
For spending, prioritize in this order:
- Sparks first. They give you extra lives before bone loss kicks in and unlock doors that require a minimum Spark count.
- Trinket slots second. Passive bonuses from trinkets outpace raw stat increases at almost every stage of the game.
- Train funding third. Donating 10,000 bones to the train station network unlocks fast travel between all five major stations. One area of the map is only accessible by train for story reasons, so this isn't optional forever. Save your Bonestones specifically for this fund before spending them elsewhere.
For the Bone Up stat system, put early points into Attack and Defense before touching Sidearms or Bonestones. Sidearms are powerful but limited-use, so raw attack investment goes further in general play.
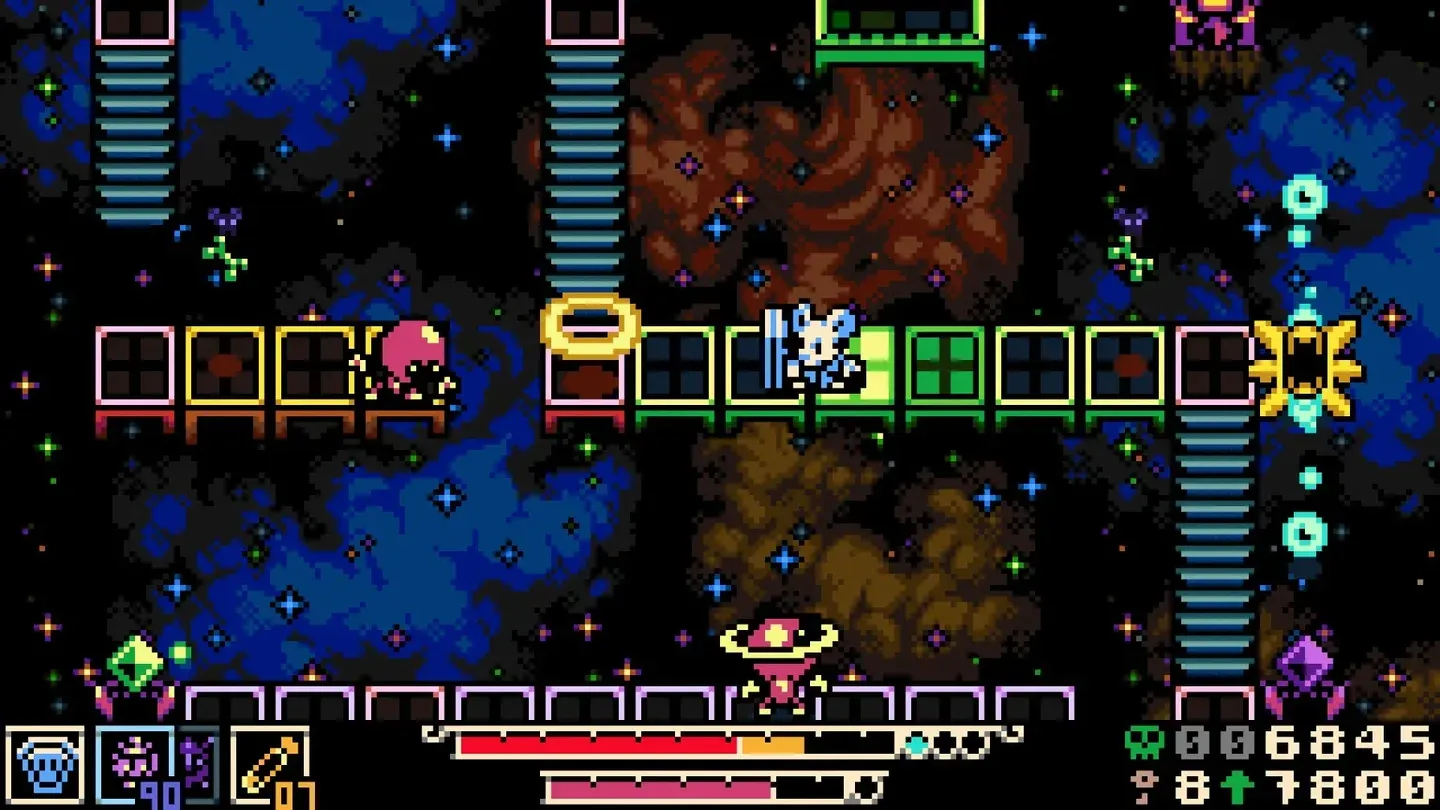
Bone Up stat priorities
How should you approach weapons and sidearms?
Mina has five primary weapons, three of which are available from the start. The early-game shops are expensive and lootable weapons sit inside difficult dungeons, so take time with the opening weapon choice. Playing an uncomfortable weapon style for two hours because you rushed the selection screen is avoidable.
The good news is that most damage upgrades apply universally across weapons, so switching later doesn't mean starting from scratch on power level. Try everything before committing.
Sidearms function similarly to Castlevania's sub-weapons: powerful, Joule-fueled tools that range from throwing axes to physics-based projectiles. The key rule is to save them. Basic enemies go down fine with your primary weapon. Sidearms are for elite enemies (the heavily armored types guarding valuable loot) and exploration puzzles.
Sidearms double as traversal tools. The bike, for example, can clear large gaps in addition to its combat use. When you spot a seemingly unreachable area, check whether a nearby sidearm solves the problem before assuming it's locked behind story progression. Some city areas genuinely do require later-game items, but most environmental puzzles have a sidearm solution close by.
Once you hit level 5 with sidearms, talk to Brandish in Ossex. He'll issue a license to carry a second sidearm simultaneously. Both sidearms share the same mana pool, but the flexibility of switching between two tools mid-fight or mid-exploration is worth the investment.
What game systems are easy to overlook?
The Tenebrous Times newspaper sits at a newsstand in front of every train station. A new edition prints after each generator repair, and it gently points toward your next recommended destination. It also tracks whether you followed its suggestions, which is a nice touch. Check it regularly.
Mina's color and sweat are a visual warning system. If she starts changing color and sweating, danger is nearby, whether that's a hidden enemy or a floor tile that's about to crumble. Pay attention to this in dark areas.
Mirrors appear throughout the world and serve a purpose beyond decoration. You'll need at least three of them to progress at a specific story point, so note their locations as you find them rather than treating them as background scenery.
Keys feel expensive and wasteful to buy, but they regularly pay for themselves. Many locked rooms contain loot valuable enough to refund part of the key's cost outright. Buy them.
The in-game manual is worth reading in full. The game was designed with it in mind, and it contains mechanical explanations and world hints that aren't explained anywhere in the UI. Read it in sections if needed, but don't skip it.
Should you adjust the difficulty modifiers?
Mina the Hollower includes options like No Bone Loss and Weak Boss modes. These aren't cheats. If the Soulslike bone-dropping tension isn't what you came for but the Zelda-style exploration absolutely is, turning off bone loss removes the punishing economy without touching the dungeon design or combat. You can toggle these modifiers back off whenever you're ready.
The game is hard by design, but it's always fair. Every enemy and boss has readable patterns. Patience in boss fights (observing attack rhythms before committing to hits) is more effective than any stat investment. When a fight feels impossible, the answer is usually better pattern recognition rather than more grinding.
If an entire region is shutting you down, leave. The semi-open world exists specifically so you can try a different area, come back with better gear, and approach the problem from a stronger position.
For more help navigating Tenebrous Isle, check out the full Mina the Hollower strategy guides collection, or if you're still getting set up, the release date and start times guide has everything you need to know about jumping in. Mina the Hollower sits comfortably among the best adventure games released this year, and these tips should give you a solid foundation for everything Tenebrous Isle throws at you.