
Sidearms are one of the most underutilized systems in Mina the Hollower. Most players grab whatever spawns nearby and forget about it the moment they die and lose it. That's a mistake. These 15 secondary weapons do far more than deal extra damage — several of them are the difference between clearing a brutal boss fight and getting sent back to the Underlab for the fifth time. Knowing which ones are worth hunting down, and exactly how to use them, changes how the whole game plays.
What's the best Sidearm overall?
The Mist Jar is the most consistently valuable Sidearm in the game, but the answer shifts depending on what you need at any given moment. Here's the full breakdown of the top picks.

Recall Disc portal detonation
Mist Jar
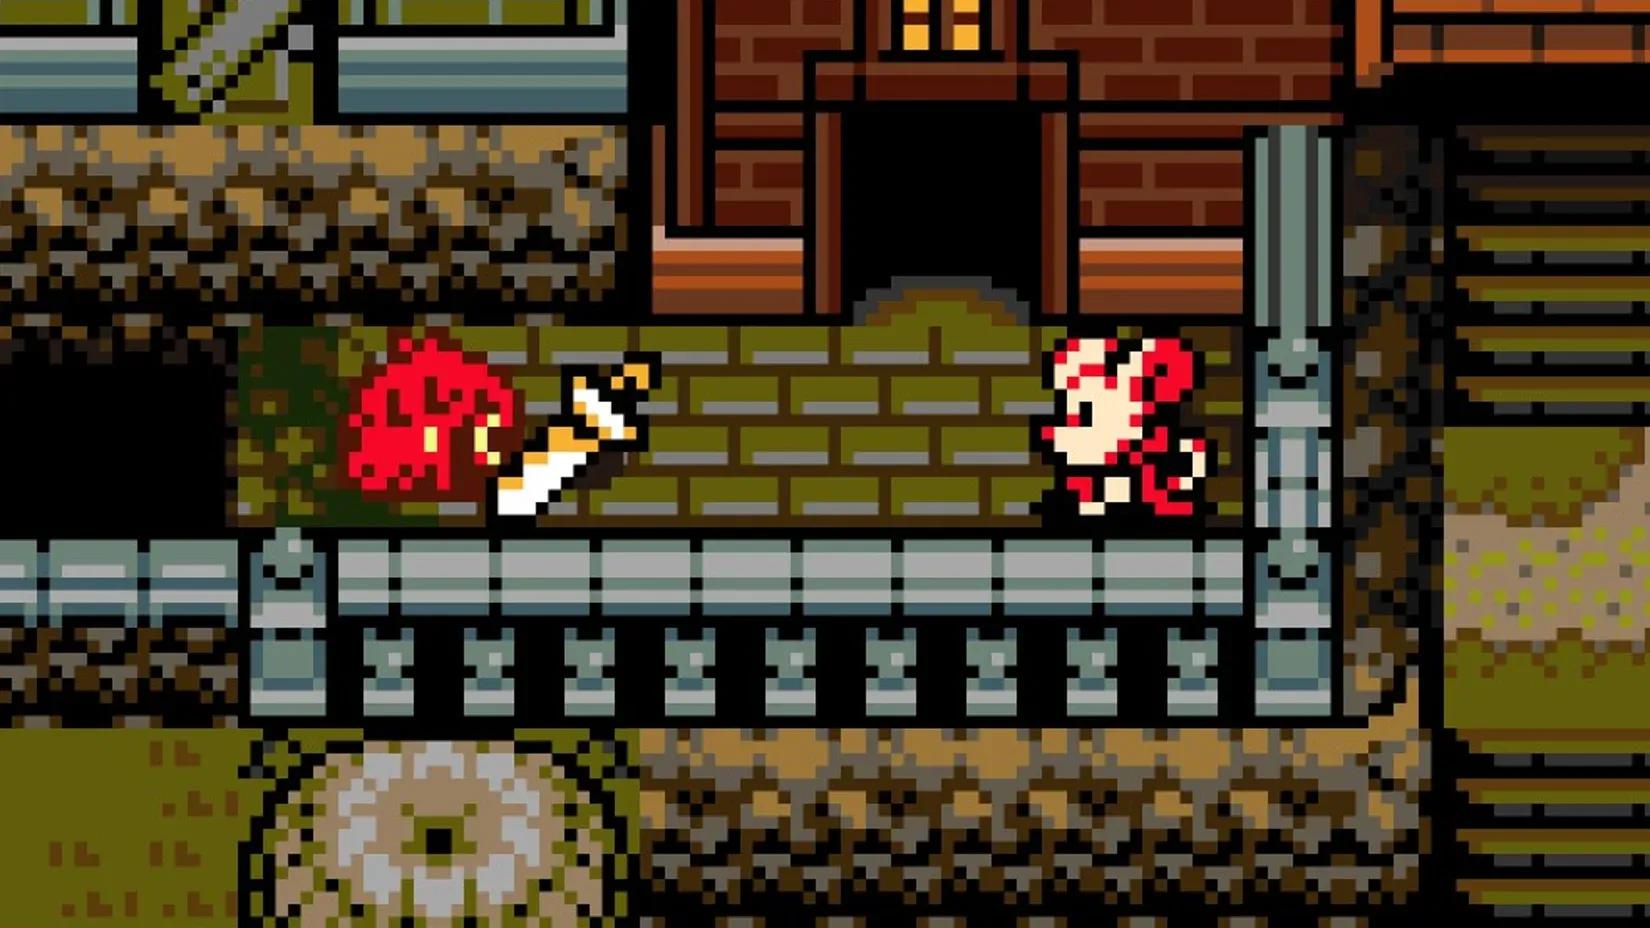
Found in Queensbury Crypt, the Mist Jar does something no other Sidearm does: it heals you. When activated, Mina dashes forward a significant distance, becoming invulnerable during the movement. Pass through an enemy and you recover a small amount of health while also building Plasma for your healing vials. Since Plasma Vials are your only reliable healing source and require Plasma buildup to use, having a backup that generates both health and Plasma simultaneously is enormous.
The one caveat is that its effectiveness scales with your Sidearm level. Below level three, the Plasma gain from a single dash is roughly half of what one normal hit would generate. Level it up and the value skyrockets.
The Mist Jar deals no damage. Its entire value is mobility, invulnerability frames, and healing. Don't use it expecting to hurt anything.
Beckoning Collar
First found in Coltrane Peak and Backwaters, the Beckoning Collar summons a small imp that orbits Mina on a chain. It attacks nearby enemies automatically, intercepts incoming projectiles, and can tank several hits before disappearing. Against flying enemies that hover out of your normal weapon range, it's basically mandatory — the imp reaches them without you having to jump and expose yourself.
The detonation option is the hidden gem here. Press the Sidearm button while the imp is active and it explodes, dealing solid damage in a small radius. That makes it a reliable option against bosses and minibosses where you want consistent chip damage plus an on-demand burst. The passive Joule drain while summoned means you can't keep it out forever, but timing the detonation well conserves energy and maximizes damage.
Recall Disc
Available in Sandfalls and Septemburg, the Recall Disc works in two activations. First use drops a portal in front of Mina. Second use teleports her back to that portal with a large explosion on arrival. She's invulnerable for roughly half a second after emerging, which matters when you're teleporting into a crowded space.
The explosion covers several squares and deals meaningful damage, making it useful for groups. In boss fights, the real application is positional: place a portal on one side of the arena, lure the boss, then teleport through to reposition and deal damage simultaneously. It generates Plasma on the explosion hits, so it feeds into your healing loop as well.
Dynamo Lantern
First found in Septemburg, the Dynamo Lantern requires a short windup before Mina throws it out on a chain about two squares ahead. When it reaches its apex, it releases several powerful bursts of electricity in a cone. The damage output within that cone is among the highest of any Sidearm.
The windup is the catch. If your target moves during the animation, you waste Joules and deal nothing. Against larger enemies and bosses that can't easily escape the area of effect, it absolutely melts them. Against fast or small foes, it's frustrating. Plan your spacing before you commit to the throw.
Gyro Dagger
First obtained in Loner's Landing on the way to Ossex, the Gyro Dagger flies forward about three squares, lingers briefly while spinning, then returns to Mina. It hits on the way out, hits multiple times during the spin, and hits again on the way back. Against large or stationary targets, that's a lot of damage from a safe distance.
The advanced technique: as the Dagger flies back, hit it with your weapon to send it out again. You can reflect it twice before it breaks. Getting the timing right on the reflect takes practice, but once it clicks, the sustained damage against bosses is excellent. Against small or fast enemies, don't bother — the limited area of effect makes consistent hits nearly impossible.
Position yourself so the Gyro Dagger's spin phase lands directly on the enemy's hitbox. That's where most of the damage comes from, not the initial throw.
Drill Driver
The Drill Driver launches Mina forward in whatever direction she's facing, delivering strong knockback to anything in her path. The damage on contact is modest, but it increases significantly if the enemy gets knocked into a solid wall. The real value, though, is environmental: the knockback is strong enough to send most smaller enemies into pits for instant kills.
For traversal, the Drill Driver is the best gap-crossing tool in the Sidearm lineup. Combined with trinkets and a burrow jump, it covers more horizontal distance than almost anything else Mina has access to. Several hard-to-reach areas in Eastern Heath: Buckler's Bluff and Western Wilds: Secret Passage require it specifically.
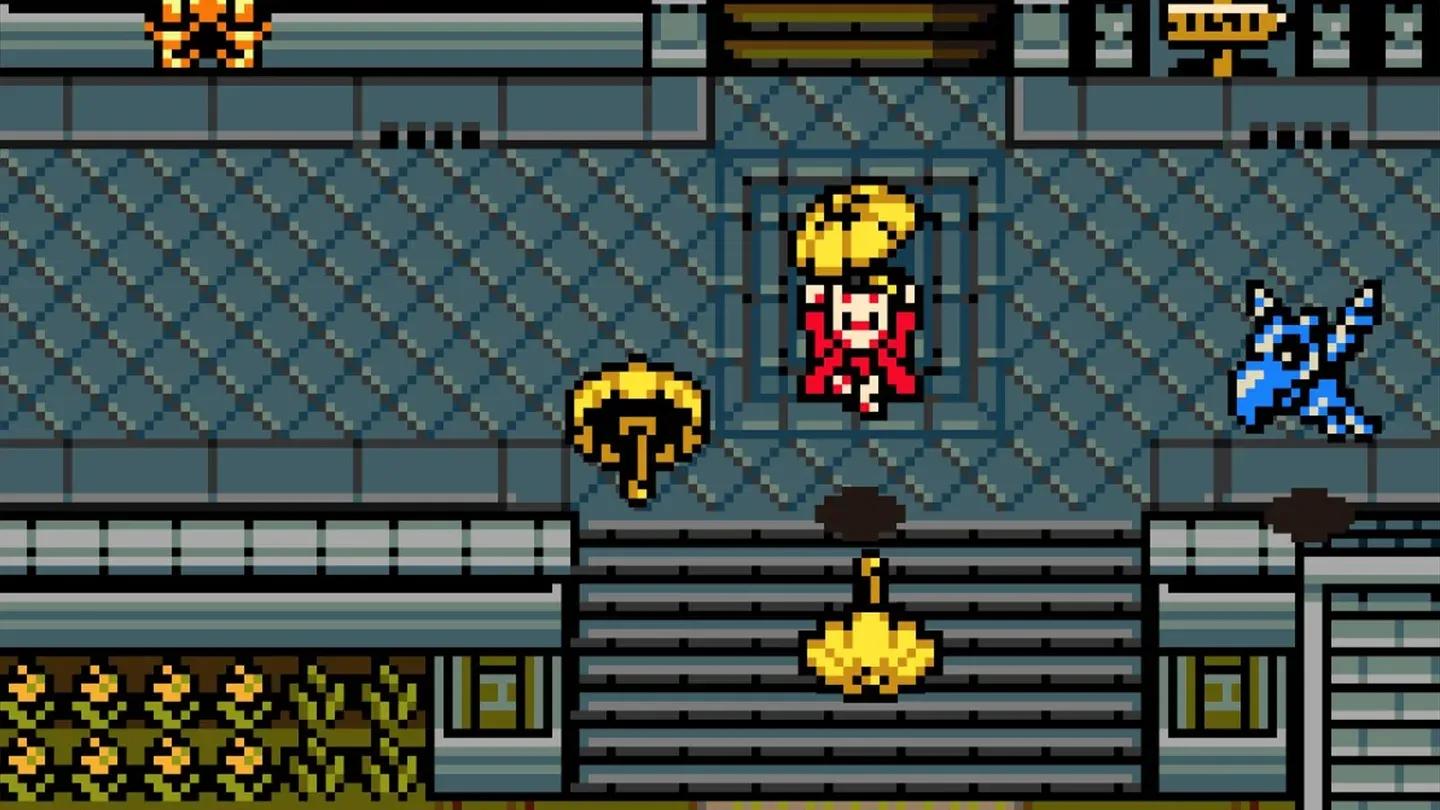
Drill Driver pit knockback
Deflector Parasol
The Deflector Parasol works in two modes. A quick press throws it forward, stopping projectiles and dealing contact damage. Hold the button and Mina holds it above her head; hold Jump while holding it and she floats slowly downward, useful for crossing long horizontal gaps.
It's genuinely versatile — projectile defense, physical attack deflection, and limited glide all in one slot. The gap-crossing utility is real but not as efficient as the Drill Driver. Where it earns its keep is against enemies that mix projectile and melee attacks, where burrowing alone doesn't cover everything.
Iron Steed
Mount the Iron Steed and Mina pedals rapidly in the direction she's facing, moving faster than walking or burrowing. You can jump while riding to clear longer gaps. Running into enemies damages them but knocks you off. The bell mechanic is the interesting part: ring it to agitate nearby enemies and draw them toward you, which lets you corral groups or pull foes out of your path before biking past them.
The Iron Steed is susceptible to crashing and isn't a primary combat tool. Think of it as crowd management and fast traversal with occasional offensive applications.
Fishing Rod
Unlocked through a side encounter in the Bayou involving a fishing shop and an unfortunately-timed leviathan, the Fishing Rod is the only Sidearm that requires unlocking before it appears in the world. Once you have it, fish shadows appear in every body of water across the game, including random puddles in Ossex.
Catching fish and killing them drops items including Joule Jars and Plasma Roses, which means the Fishing Rod is an emergency resupply option when you're out in the field with no healing. There's also a lesser-known use as a grappling hook when the line attaches to an enemy, opening up some otherwise unreachable routes. It's finicky and situational, but the field resupply angle alone makes it worth understanding.
Volt Hatchet
The Volt Hatchet is a direct nod to Castlevania's throwing axe, lobbed in an upward arc before crashing down and releasing blast waves in four directions. Every phase of its flight deals damage, from the arc through the detonation. Against large or stationary enemies, the combination of flight damage and the four-directional blast makes it a reliable damage option from a comfortable distance.
The slow arc is the limiting factor. Fast or small enemies will simply move out of the way before it lands. Treat it as a tool for specific matchups rather than a general-purpose weapon.
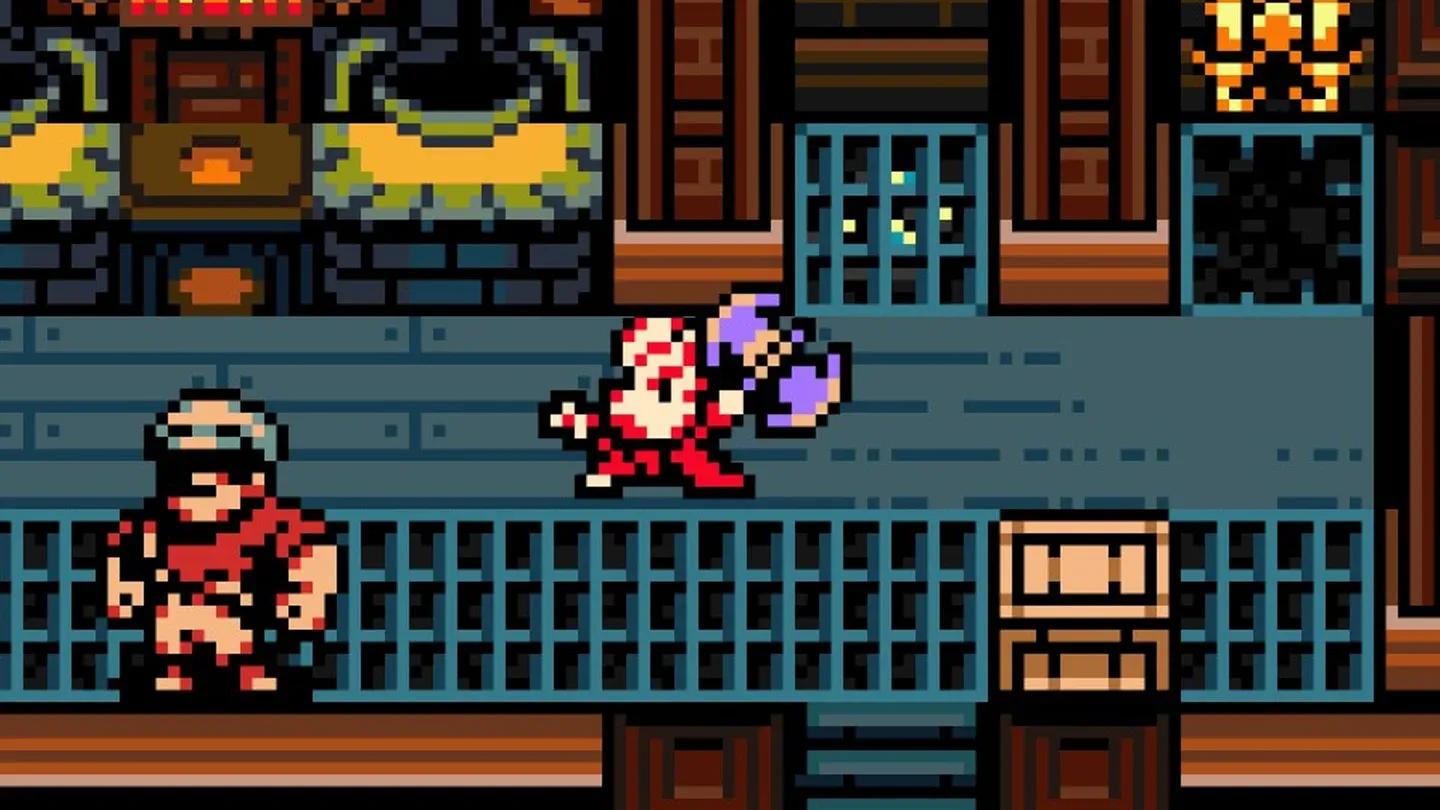
Volt Hatchet blast wave landing
What Sidearms should you skip?
The Bounding Bombs deal high damage but require two bombs to connect for full effect, and the Joule cost for that payoff is rarely worth it outside of very specific setups. The Hollower's Rocks only reach their maximum effective range in two areas of the entire game, making them highly situational. The Angler's Raft helps with large water crossings but requires hitting it to move, which makes it awkward in practice.
None of these are completely useless, but if you're choosing what to hold onto with limited Sidearm slots, these are the ones to pass on.
Don't hoard Joules waiting for the perfect moment. Sidearms are meant to be spent. Running dry mid-fight because you were saving up is a common mistake that costs more than it saves.
How to get more Joules and keep your Sidearms
Beyond the 8 Joule Boxes scattered across the world, the upgrade path from Drillhardt at the Follower HQ is worth prioritizing. The Joule Alembic (1,000 Bones) lets you recharge Joules from your Underlab between runs, and the Sidearm Recoverer (2,000 Bones) means a death no longer costs you a Sidearm you've been carrying for three areas.
For everything else Mina has to offer, the full Mina the Hollower strategy guide collection covers bosses, trinkets, weapons, and exploration in depth.