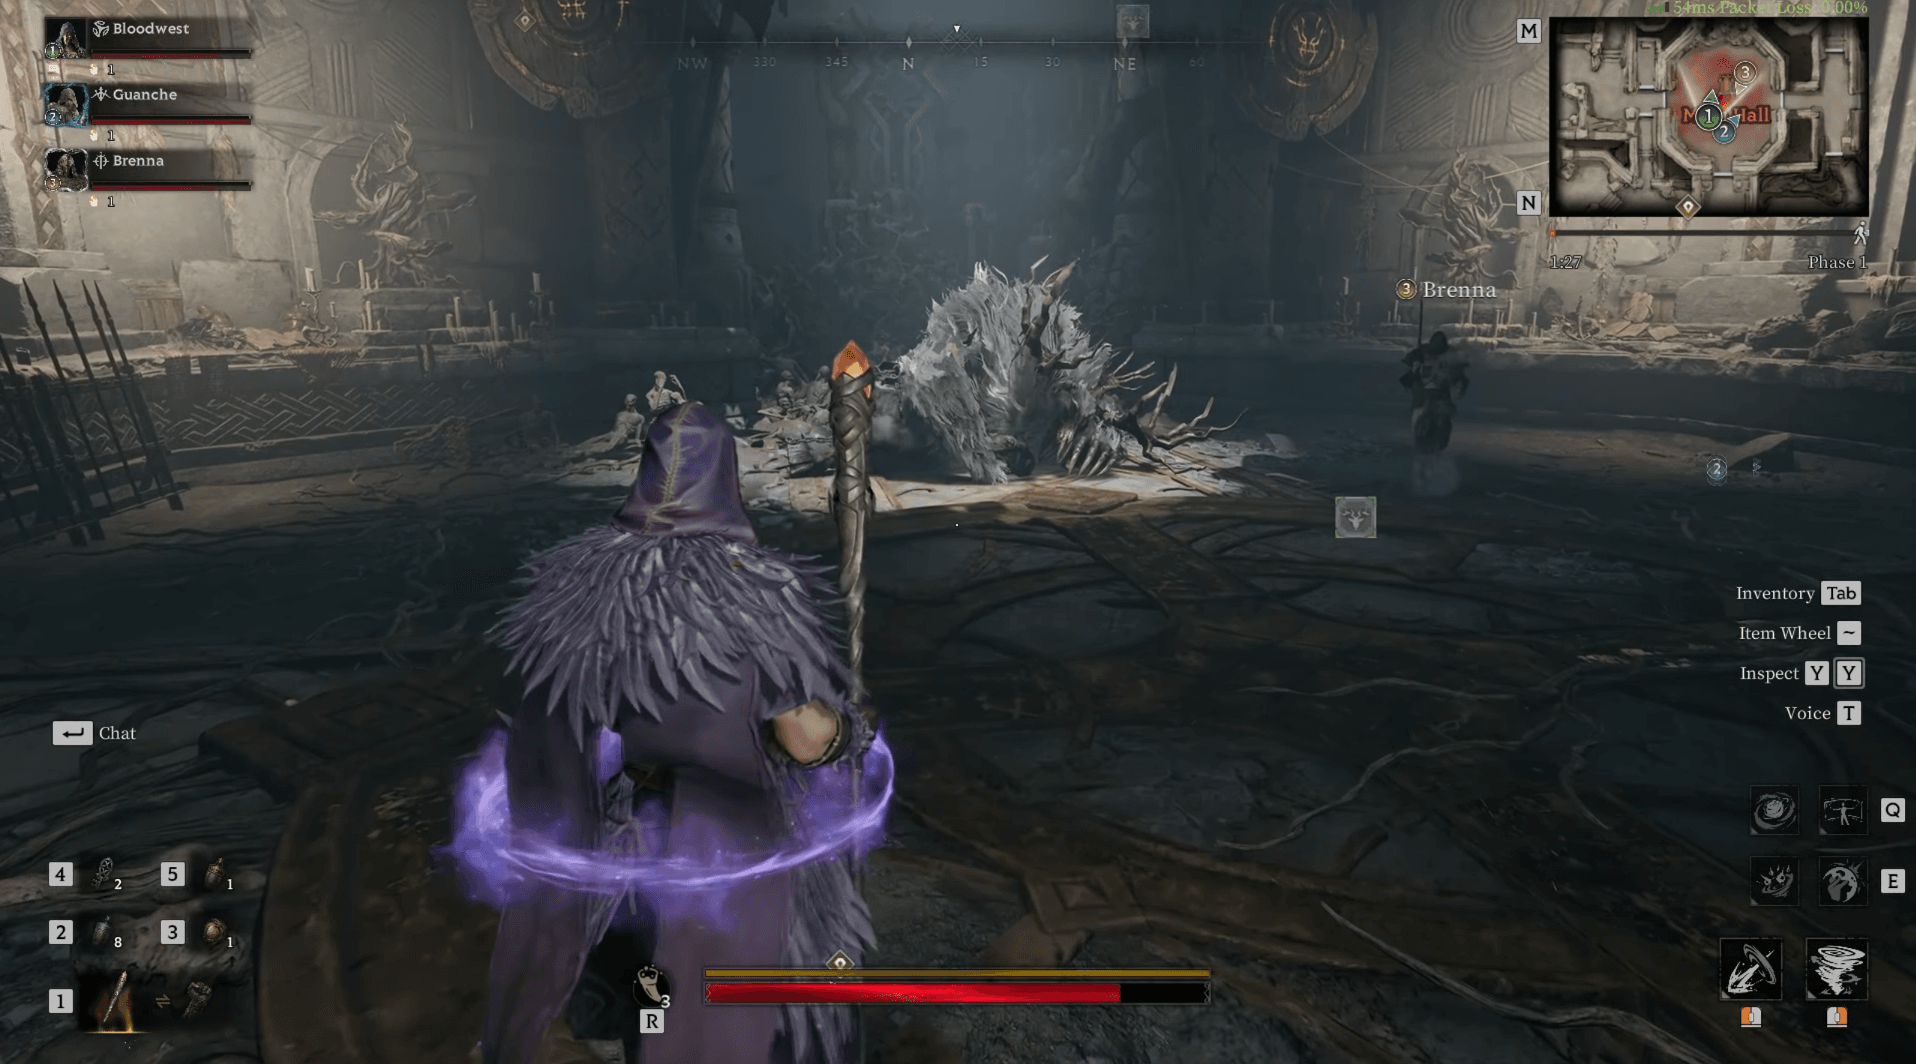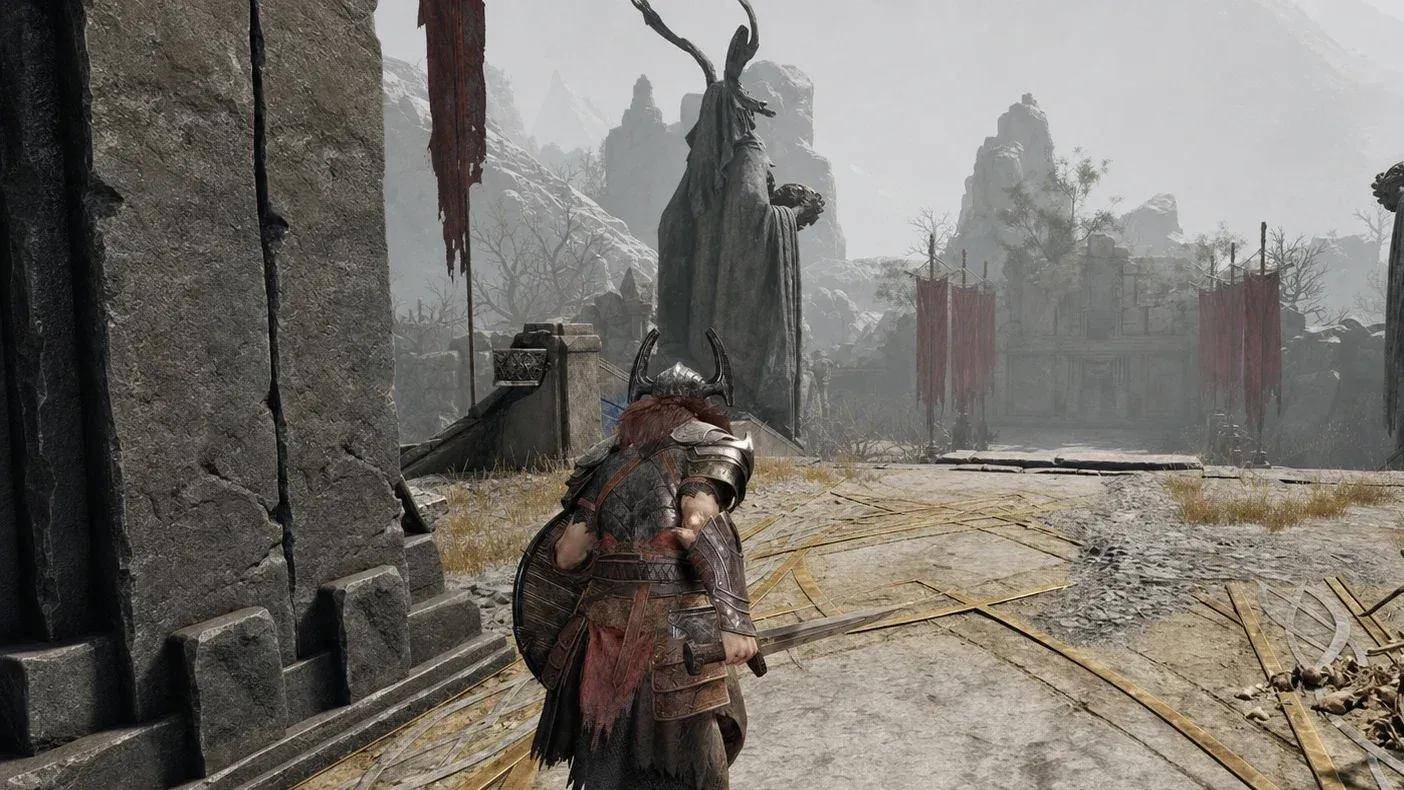

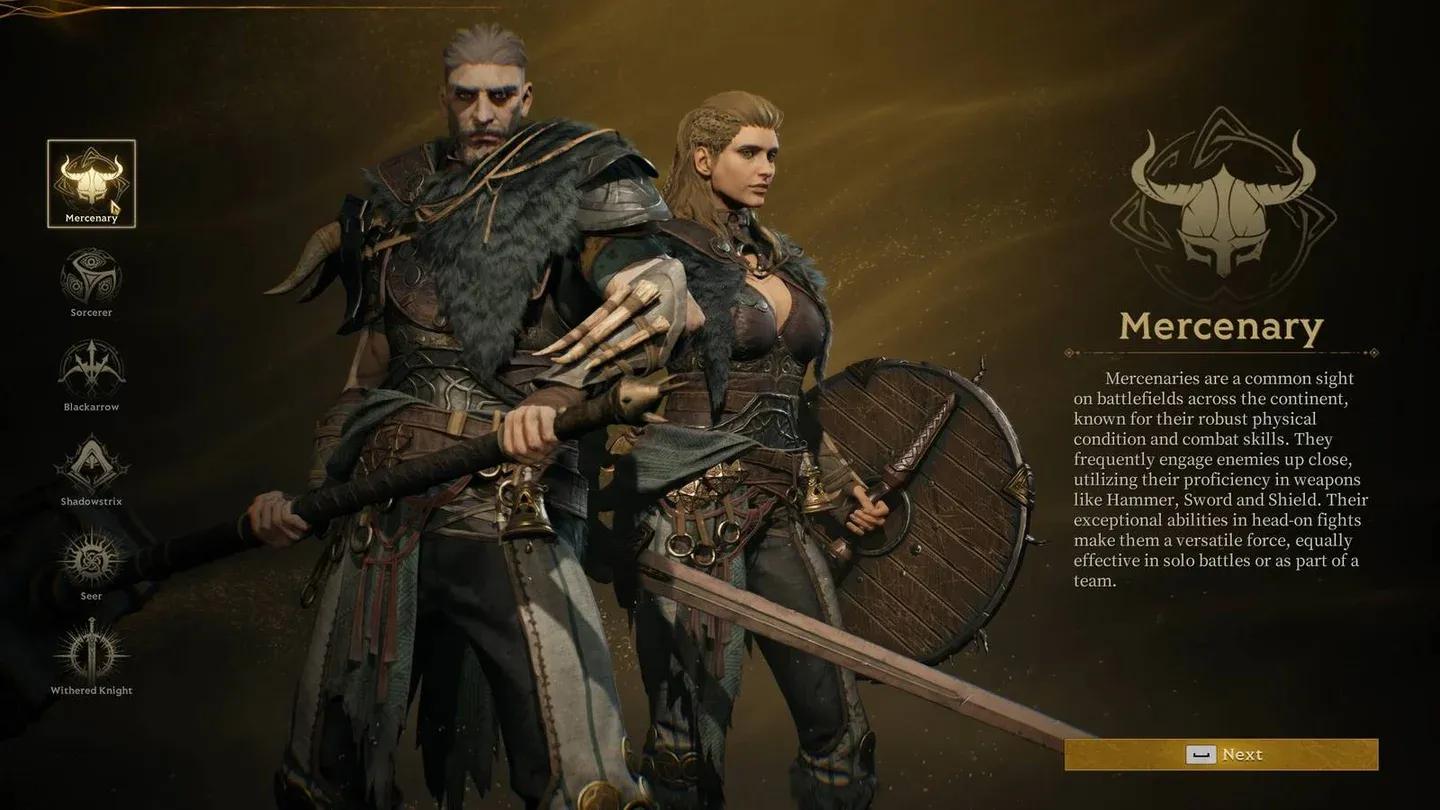
The Mercenary is Mistfall Hunter's most forgiving class to pick up, but that doesn't mean it's a pushover. With the Sword and Shield, you get a genuine mix of offense and defense that holds up in both PvE dungeons and PvP encounters. The skill ceiling is real, though. Parrying at the right moment and stacking Sword Tips efficiently separates a Mercenary who survives from one who dominates.
What makes the Mercenary worth playing?
The Mercenary's biggest selling point is versatility. You can push it toward pure damage output, run it as a hybrid fighter, or lean into its defensive tools to stay alive in drawn-out fights. The tradeoff is mobility. The class moves slower than most, and going too deep into a defensive setup will noticeably reduce your damage output. In PvP specifically, classes like the Withered Knight can outpace the Mercenary in raw pressure, but the Mercenary's consistency and survivability make it a dependable pick for solo play and trio compositions alike.
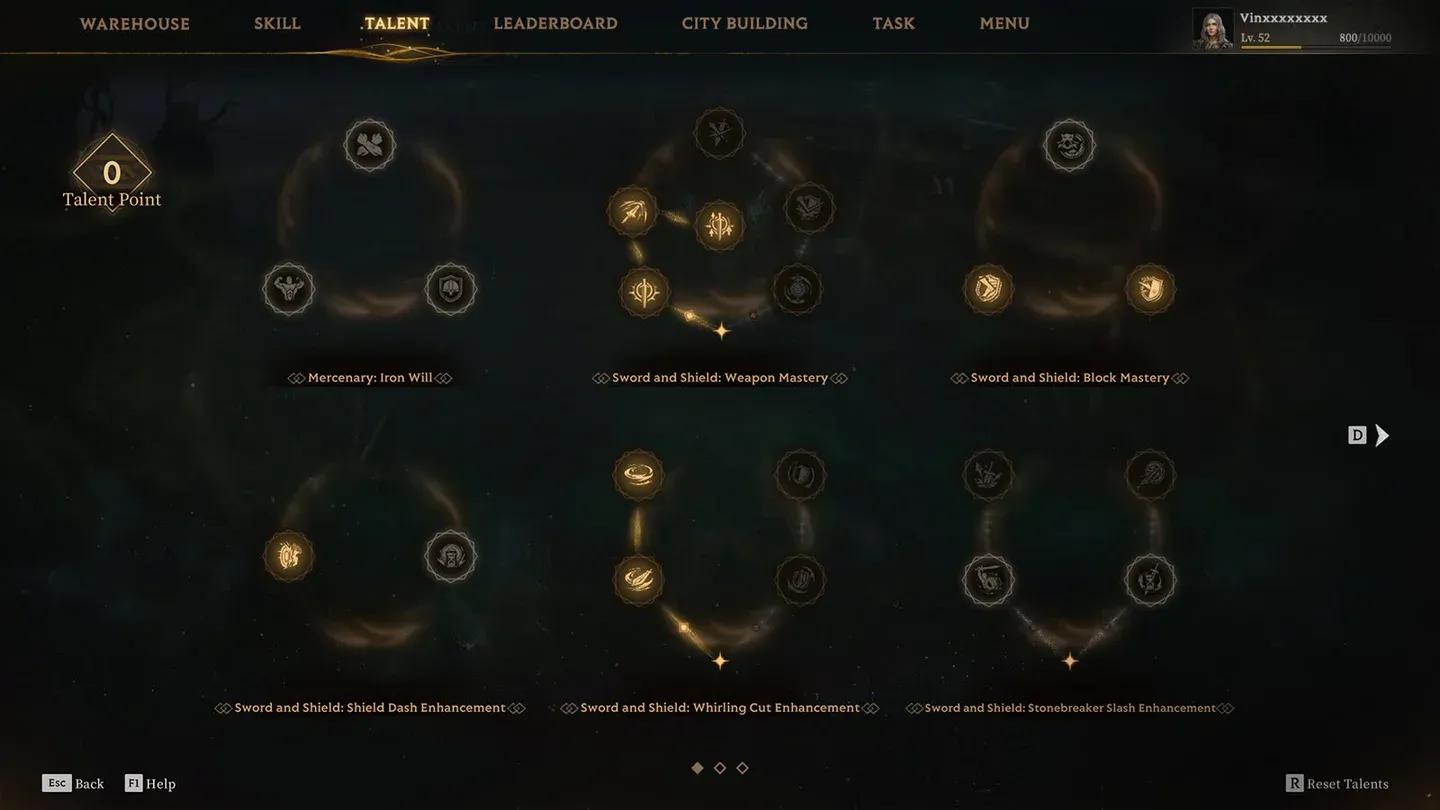
Mercenary skill selection screen

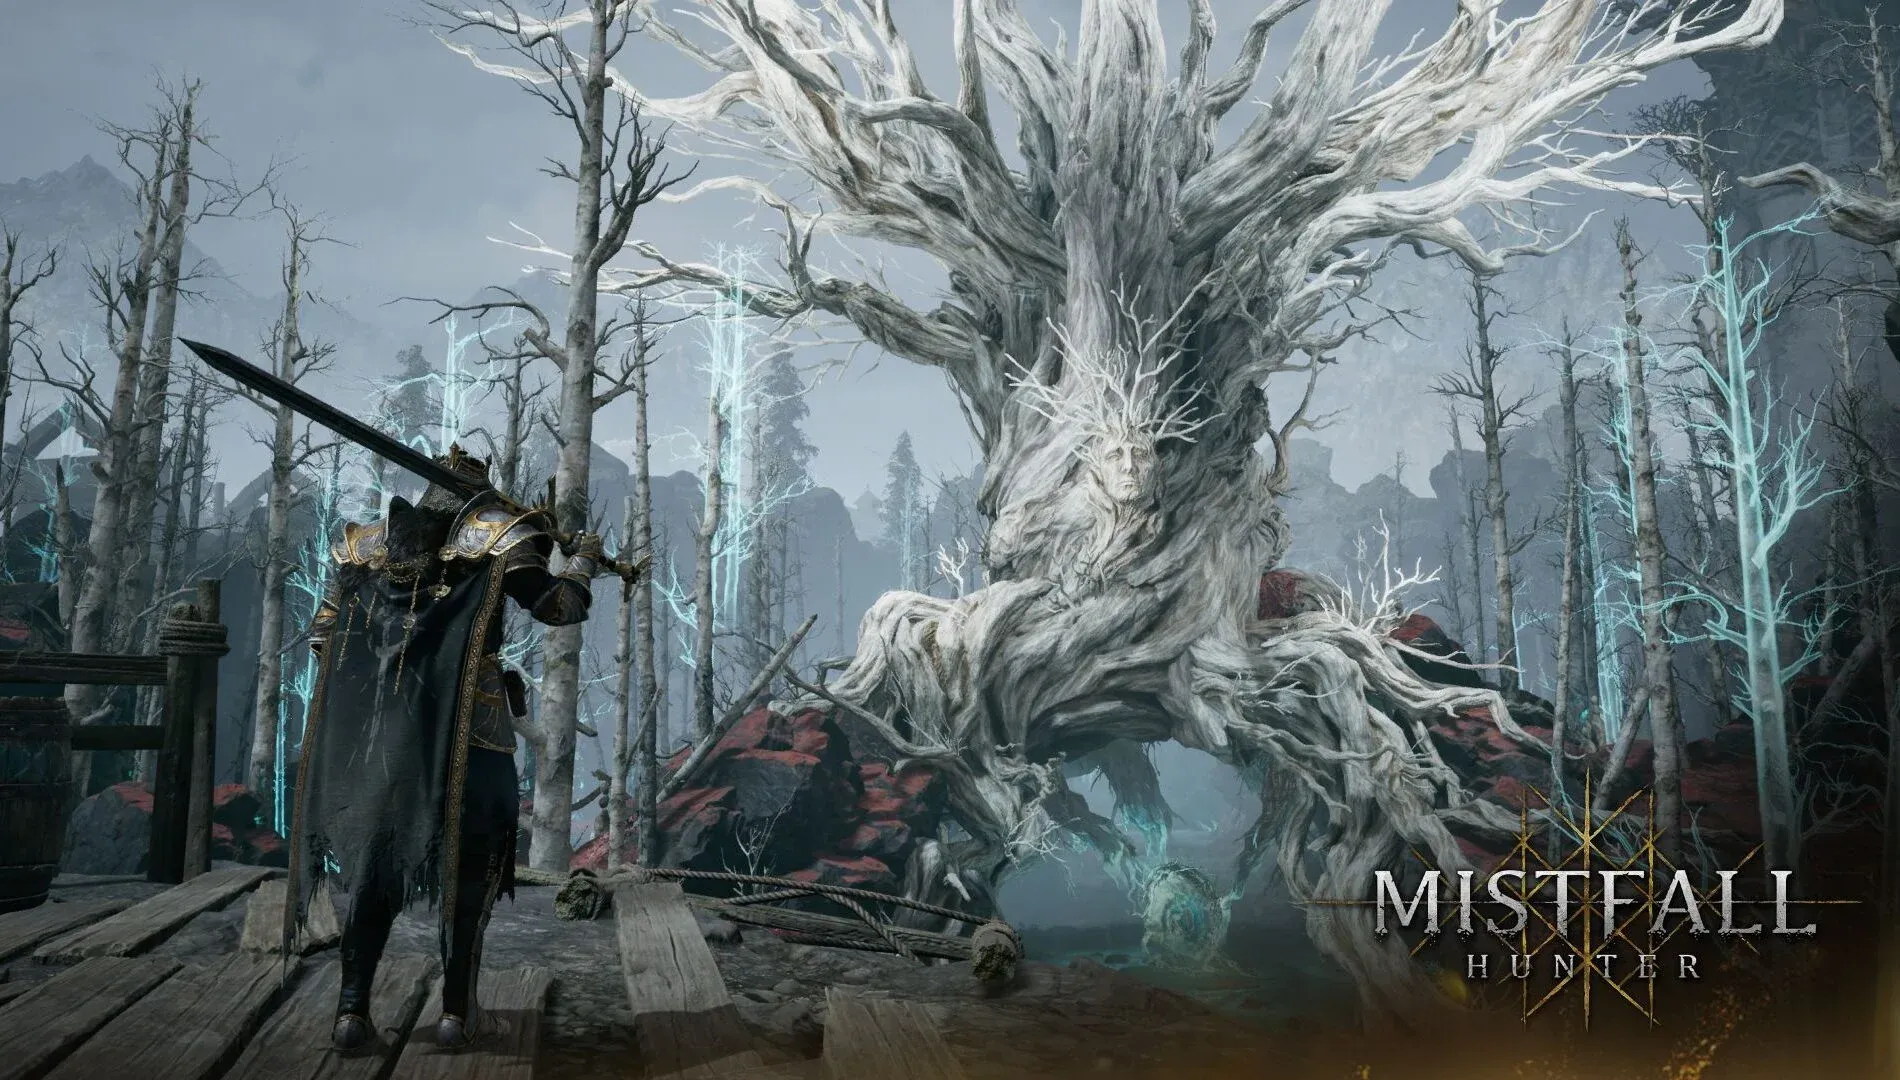
Best sword and shield skills for the Mercenary
The core loop of the Sword and Shield build revolves around building Sword Tip stacks through normal attacks and skills, then unleashing a high-damage Stacked Slash when you reach the right threshold. Here are the four skills that drive this build:
- Whirling Cut: Dashes forward and delivers 2 Physical damage hits. Good against single targets and groups, and your primary gap-closer against mobile enemies.
- Stacked Slash: Each basic attack hit generates 1 Sword Edge stack. At 6 stacks, you enter the Sharp Blade state. Reaching another 6 stacks triggers the Strong Blade state, which enhances the Stacked Slash with greater movement distance, higher damage, and Super Armor on release.
- Shield Slam: Unlocks at level 7 and immediately changes how the build plays. You leap forward with the shield raised, block all frontal attacks during the jump, deal Physical damage on landing, and slow enemy movement speed. You also gain Super Armor briefly. Use this to close on ranged enemies safely.
- Perfect Block: Triggered within a tight window after raising the shield. Timing this correctly negates incoming damage from dangerous attacks and is the main reason the Mercenary's skill ceiling is higher than it first appears.
Best Mercenary talents
Talents amplify the Sword Tip stack loop and your overall survivability. These are the five you want to prioritize:
- Sword Edge: Generates Sword Tip stacks from every Sword and Shield skill, not just basic attacks. Speeds up the entire damage loop.
- Blade Charge (Blade Edge): Increases damage output whenever you're in any Edge state. Pairs directly with the Stacked Slash loop.
- Stacking Blade: Reduces the number of Sword Tips required to enter Blade Edge and Strong Edge states from 6 down to 4. This is the single biggest efficiency upgrade in the talent tree.
- Opportunist: Increases movement speed while blocking. Keeps you mobile during defensive phases instead of being rooted in place.
- Resilient Body: Builds Indomitable Will stacks when using skills, which increases Physical damage resistance. Lets you trade hits more aggressively without burning through your health.
Mercenary talent tree priorities
What are the best weapon affixes for the Mercenary?
The Mercenary's primary weapon for this build is the Sword and Shield. The four affixes below give you the best combination of damage scaling and survivability:
| Affix | Effect |
|---|---|
| Aegis | Increases overall defense |
| Stoic | Raises Physical and Magic Resistance when health drops below 50%; triggers auto-heal below 30% |
| Fervor (Fervid) | Stacks Physical and Magic Damage increases up to 5 times after hitting an enemy; reduces skill cost when health is above 70% |
| Valor | Increases damage and defense penetration for a flat damage boost |
Stoic is particularly valuable in longer fights where you'll inevitably take hits. The auto-heal trigger below 30% health has saved runs that looked finished. Fervor rewards aggressive play by stacking damage the longer you stay in a fight.
Hammer build: is it worth it?
The Mercenary's second weapon option is the Hammer, and it plays completely differently from the Sword and Shield. You lose the shield entirely, trading defense for significantly higher burst damage. The catch is timing. The Hammer is slower, and a mistimed attack will break your combo and leave you exposed.
These are the key skills for the Hammer build:
- Skullcrusher: Swing and smash forward with up to 2 charge levels. At level 2 charge, you leap forward and slam the ground for heavy Physical damage, with Super Armor active during the cast. This is your primary damage tool.
- Hammer Spin: Deals Physical damage in an area around you. Useful against grouped enemies and in PvP situations where multiple opponents cluster together.
For Hammer talents, these are the ones that matter:
- Shield Break: Boosts normal attack damage against all enemies, with an additional bonus against shielded targets.
- Combo Energy Recovery: Recovers Energy on consecutive hammer hits. The Hammer is energy-intensive, so this talent keeps your rotation going.
- Titan Hammer Strike: Normal attacks generate 1 stun stack, heavy attacks generate 2. At 6 stacks, your next hit stuns the enemy. Strong in PvP.
- Endless Whirlwind: Adds movement speed to Hammer Spin, giving the build some much-needed mobility.
- Dynamic Charge: Allows you to dodge while charging Skullcrusher, up to 2 dodges by consuming Energy. This addresses the Hammer's biggest weakness: being locked in place during charge animations.
The same affixes recommended for the Sword and Shield (Aegis, Stoic, Fervor, Valor) work equally well with the Hammer build.
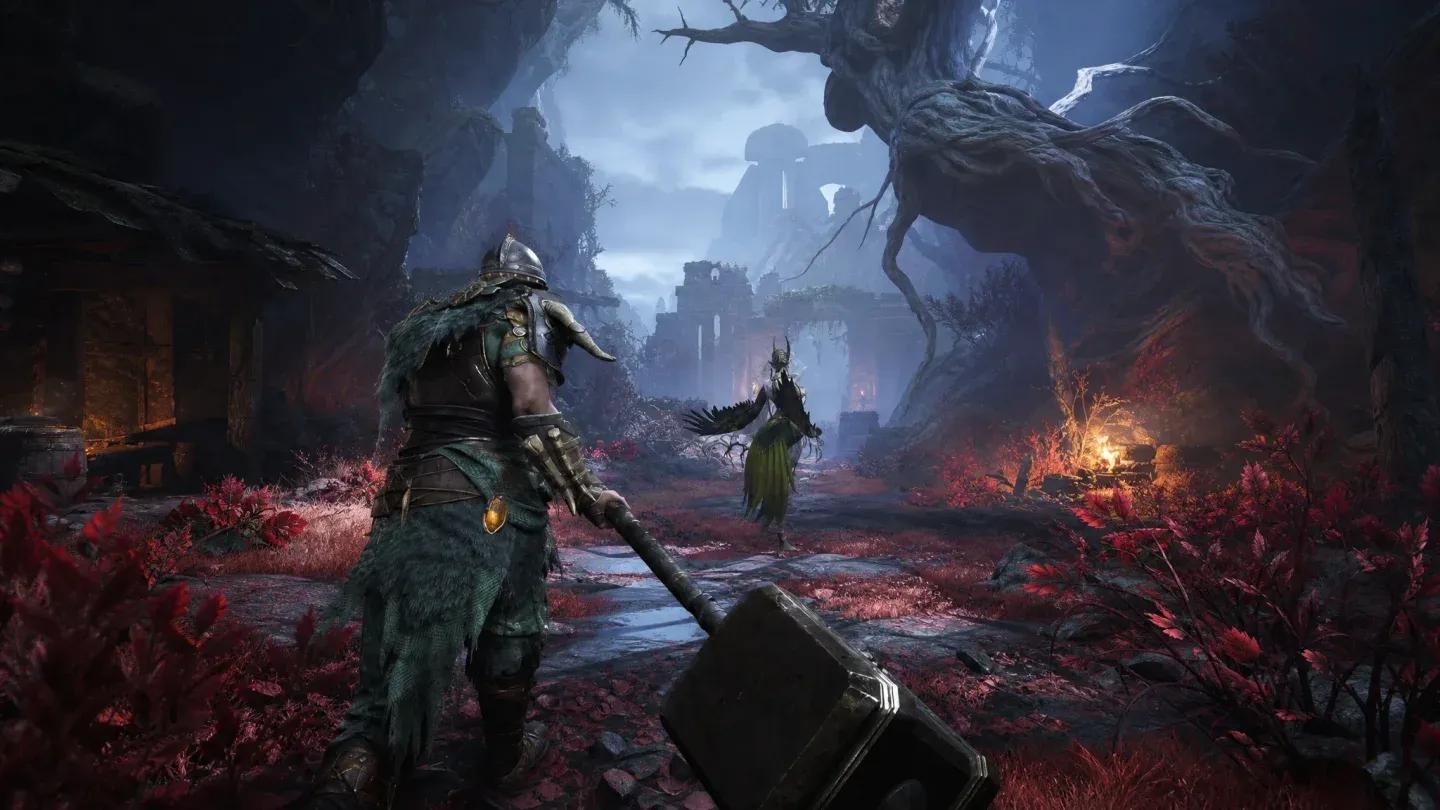
Hammer skill loadout setup
Mercenary gameplay tips
After spending time testing both weapon paths against various enemy types, here's what actually makes a difference in practice:
- Use Whirling Cut to open fights. It closes distance and starts your basic attack chain immediately, getting Sword Tip stacks rolling before an enemy can reposition.
- Learn enemy movesets before committing to Perfect Block. Perfect Block has an extremely short window. Trying to use it blindly against unfamiliar enemies will get you hit more than it saves you. Study the tells first.
- Shield Slam is your answer to ranged enemies. The frontal block during the jump means you can charge into projectile attacks without losing health. Use it proactively rather than reactively.
- Don't ignore blocking in favor of pure stack-building. The temptation to spam attacks for Sword Tip stacks is real, but taking unblocked hits will cost you more than the damage you gain. Mix blocking into your rhythm.
- With the Hammer, patience pays more than aggression. Unlike the Sword and Shield, button-mashing with the Hammer will consistently get punished. Commit to Skullcrusher charges only when you have a clear window.
For a broader look at how the Mercenary compares to every other class, the Mistfall Hunter class tier list breaks down PvP and solo performance rankings across all six options. If you want to branch out from the Mercenary, the best Withered Knight builds cover a class that rewards similar combo-focused play but with a heavier emphasis on timing.
For more class guides, builds, and strategy breakdowns, the full Mistfall Hunter guide collection has everything you need to get the most out of every class in the game.