
Netmarble's Mongil: Star Dive drops you into the world of Belana with a roster of characters that all look appealing on paper, but perform very differently once the fights get serious. Picking the wrong units early means wasted resources and slow progress through harder content. This tier list ranks every available character based on damage output, utility, survivability, and team fit, so you can make smarter decisions from the first pull.
Sources for this tier list include community testing documented by Game8, GamingOnPhone, Pocket Tactics, and GamerBraves, all published at or shortly after launch. Rankings reflect the current state of the game and may shift with future patches.
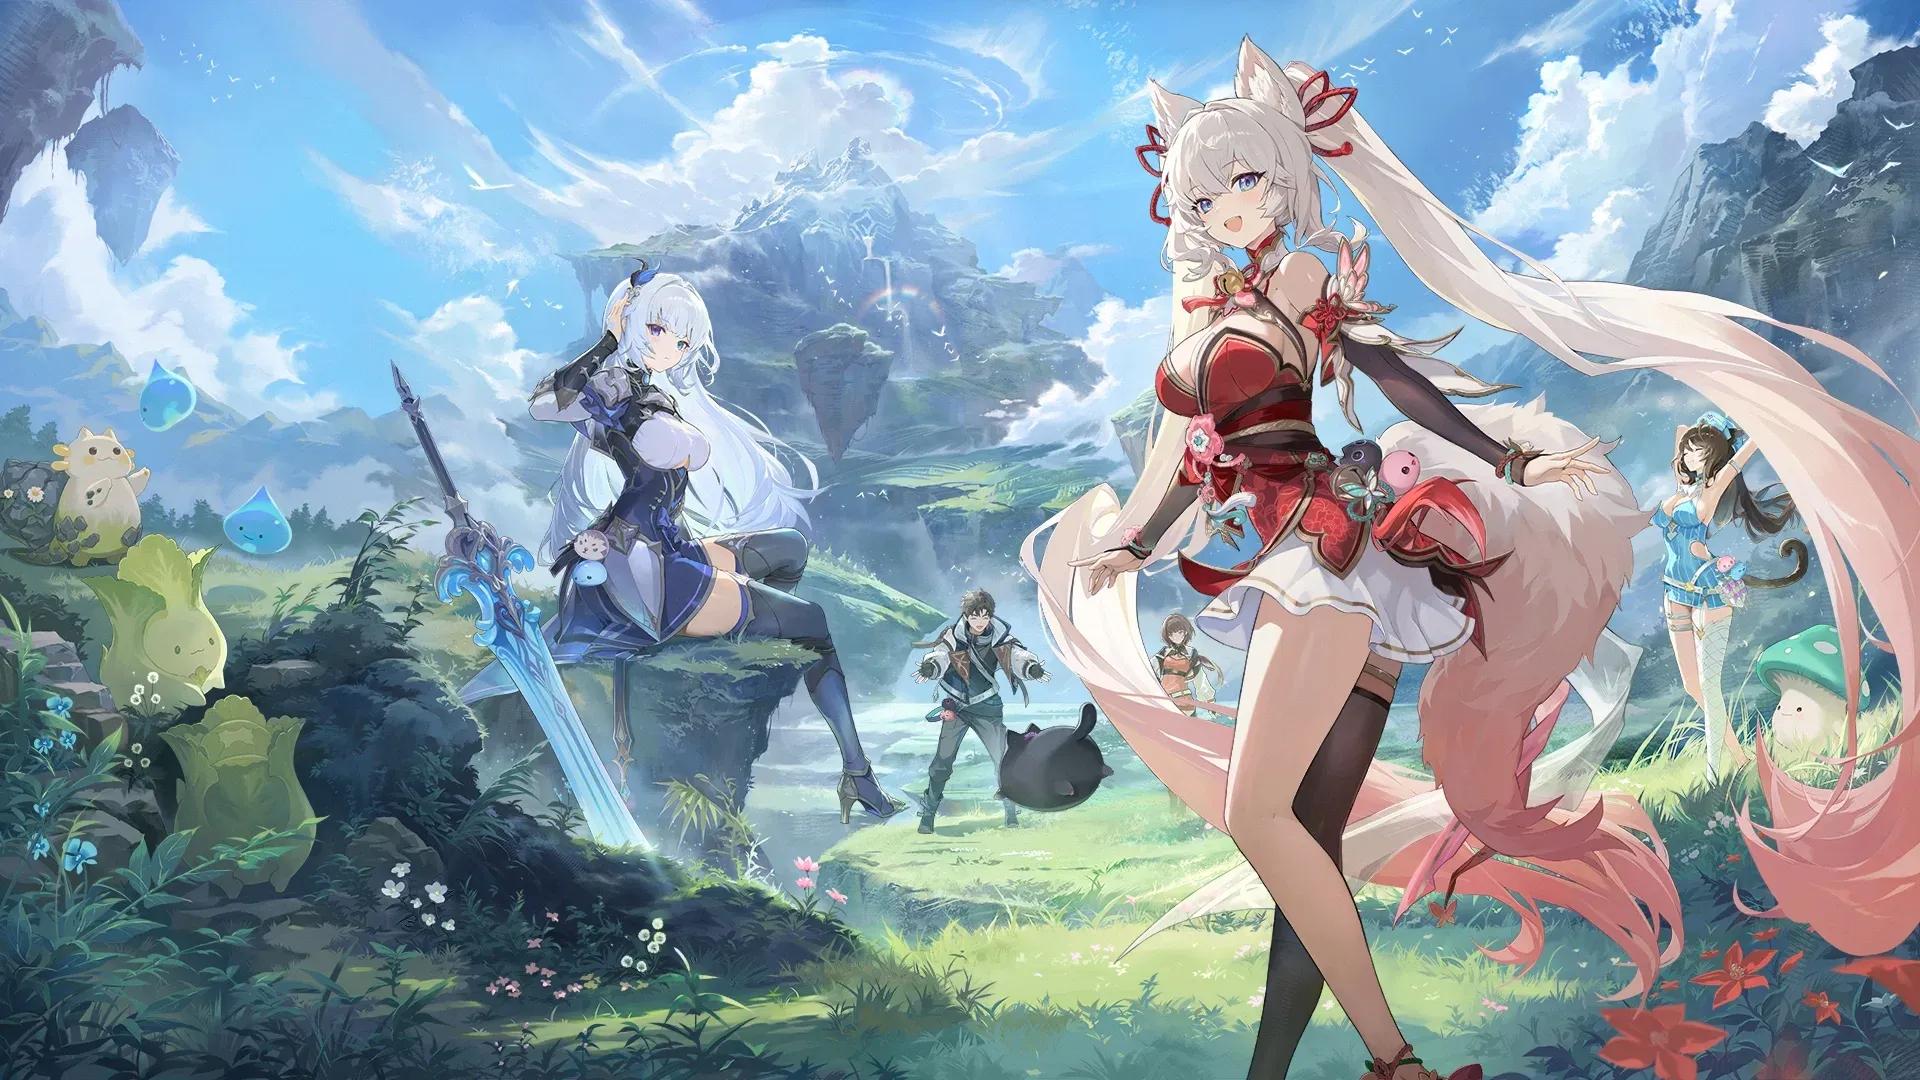
Full character roster in Belana
Mongil: Star Dive tier list: all characters ranked
The table below consolidates rankings across multiple sources. Note that some sources use slightly different tier breakdowns. Where sources disagreed on placement, the majority position is used, with notable conflicts called out in the character notes below.
The New Friends banner in Mongil: Star Dive guarantees a five-star character of your choice within 50 pulls, according to Pocket Tactics. If you are rerolling, this is the banner to target.
This ranking is based on PvE performance, boss fights, and general team synergy as documented across Game8's launch tier list (updated April 19, 2026), GamingOnPhone, GamerBraves, and Pocket Tactics. One source (Sportsdunia) ranked some characters like Penny and Francis lower, while placing Narae and Mina in S tier. Since Narae and Mina are not confirmed in the majority of sources at this time, treat those placements with caution until more community data is available.
Who are the best characters in Mongil: Star Dive?
SS tier: the characters worth building immediately
Esther is the standout DPS in the current roster. She is a Wind-element Assassin whose Special Skill does two things at once: it Confuses nearby enemies, making them less accurate, and it transforms her Basic Attacks into rapid enhanced strikes that hit significantly harder. Her Ultimate Skill applies Wind Affliction, lowering enemy Wind resistance and amplifying her total damage output further. According to Game8's testing, Esther also deals Wind damage and applies Wind Affliction automatically when off-field during fights, which means she contributes even when you are not actively controlling her.
Jiwon is the support that Wind teams need and a strong pick in almost any composition. Her Divine Harmony buff increases Wind damage dealt by the whole team while simultaneously reducing Stamina consumption, which means longer combo strings without interruption. Her Special Skill groups enemies together and knocks them airborne for crowd control. Her Ultimate Skill also applies Wind Affliction, making her a natural pairing with Esther. The main limitation, as noted by GamingOnPhone, is that she provides no healing or defensive buffs, so you will need another unit to cover that role.
Francis rounds out the SS tier as the game's best healer at launch. According to Game8, her Tag-Out Skill increases your Attack and heals HP simultaneously, and she has a passive safety net that automatically heals your active character when HP drops low. She also applies Earth Affliction, making her useful in Earth-focused team compositions beyond just her healing value.
Esther's Dust Cloud in action
S tier: strong picks with high investment payoff
Ophelia is an Ice-element Fighter built around her Amethyst Witch transformation state. While in that state, she gains increased Crit Rate and Crit Damage, allowing for consistent high-damage output. Her Ultimate Skill applies Ice Affliction to further boost damage against affected enemies. Higher Awakening levels add guaranteed critical hits after using her Special Skill, which scales her ceiling considerably.
Flare is a Fire-element Destroyer who fills the Stagger Gauge of bosses quickly, which is one of the most valuable things a sub-DPS can do. Her Basic Attacks create Blaze Zones that boost Fire damage for the whole team, and her Ultimate and Tag-Out Skills reduce enemy Fire resistance. The catch: you need to maintain consistent Basic Attack uptime to keep Blaze Zones active. Let that slip and her contribution drops noticeably. At higher Awakening levels, the Blaze Zone buff extends to the entire team rather than just Flare.
Gabi is an Earth Fighter with a mechanic built around summoning and destroying Rocks that Petrify enemies, locking them in place and increasing the damage they take from her Crushing Blow ability. Crushing Blow also provides damage reduction while active, giving Gabi some survivability. Her Ultimate Skill summons a Wooden Guardian Statue that boosts Earth damage and increases DEF, making her one of the few characters who contributes to both offense and defense simultaneously.
Penny is a Lightning-element character whose coin generation mechanic feeds into an enhanced Special Skill capable of clearing groups of enemies efficiently. Her Ultimate Skill inflicts Lightning Affliction, lowering enemy Lightning resistance. Higher Awakening levels automate coin management, removing the main mechanical demand from her kit.
Flare requires consistent Basic Attack uptime to maintain her Blaze Zones. In fights where you are frequently dodging or switching characters, her damage contribution can fall off. Plan your rotation around keeping her on-field during burst windows.
A tier: reliable units for most content
The A tier in Mongil: Star Dive covers a wide range of roles. None of these characters are bad investments, but they either require more setup, have narrower use cases, or are simply outperformed by SS and S tier units in the roles they share.
- Sangun: A Wind Fighter whose Aura of Harmony passive increases his hit count and attack speed after landing a counterattack. Both his Special and Switch Skills pull enemies in, making him solid for crowd fights. His Ultimate applies Wind Affliction and extends his attack range.
- Cloud: An Ice ranged character who fills the Stagger Gauge safely from distance. His Special Skill consumes Ice Crystals for bonus damage, and his Ultimate creates a Glacier Zone that deals Ice damage and inflicts Ice Affliction.
- Verna: A flexible Fire Fighter who can operate as either a main or sub-DPS. She deals both Physical and Fire damage and can apply Fire Affliction, making her useful in Fire team compositions without needing heavy investment.
- Reina: A tanky Lightning Destroyer who consumes Lightning Energy to perform Variant Attacks while reducing incoming damage. Her Ultimate charges Lightning Energy and applies Lightning Affliction. Her Neutralization damage scales with her HP, which rewards building her defensively.
- Yeonhwa: A Lightning Assassin who creates a Shadow that mimics her actions, increasing her total hit count. Her Special Skill lets her dodge while dealing damage. When off-field, she performs follow-up attacks on critical hits that apply Lightning Affliction. The Shadow mechanic can occasionally do nothing, which is the main reliability concern.
- Daisy: An Earth Support who heals allies over time and weakens enemies. She automatically heals allies who drop below a certain HP threshold. Ally revival is available, but only at maximum Awakening level.
- Angel: A Fire Assassin whose Wanted mechanic applies Fire Affliction. She does not need to be on-field to get value from her kit, but the Wanted mechanic becomes unreliable against multiple enemies simultaneously.
- Benjamin: A Lightning Assassin who summons clones and deals burst Lightning damage. His Nightmare Spring buff empowers his Special Skill and clones, but requires him to avoid taking damage for 3 seconds to activate, which is situational in harder content.
- Ellie: An Earth Destroyer who creates Snacks that heal the active character and buff Ellie when picked up. When fully buffed, she can use Pillow Pow! for a strong Earth damage hit. Her Sleepy... state when switched out allows her to automatically collect Snacks and use Pillow Pow! passively.
- Bonnie: A Wind Support with an explosive Resonance mechanic that deals decent AoE damage. She can apply Wind Affliction and increase her own Crit Rate, but her overall impact is narrower than Jiwon in Wind team compositions.
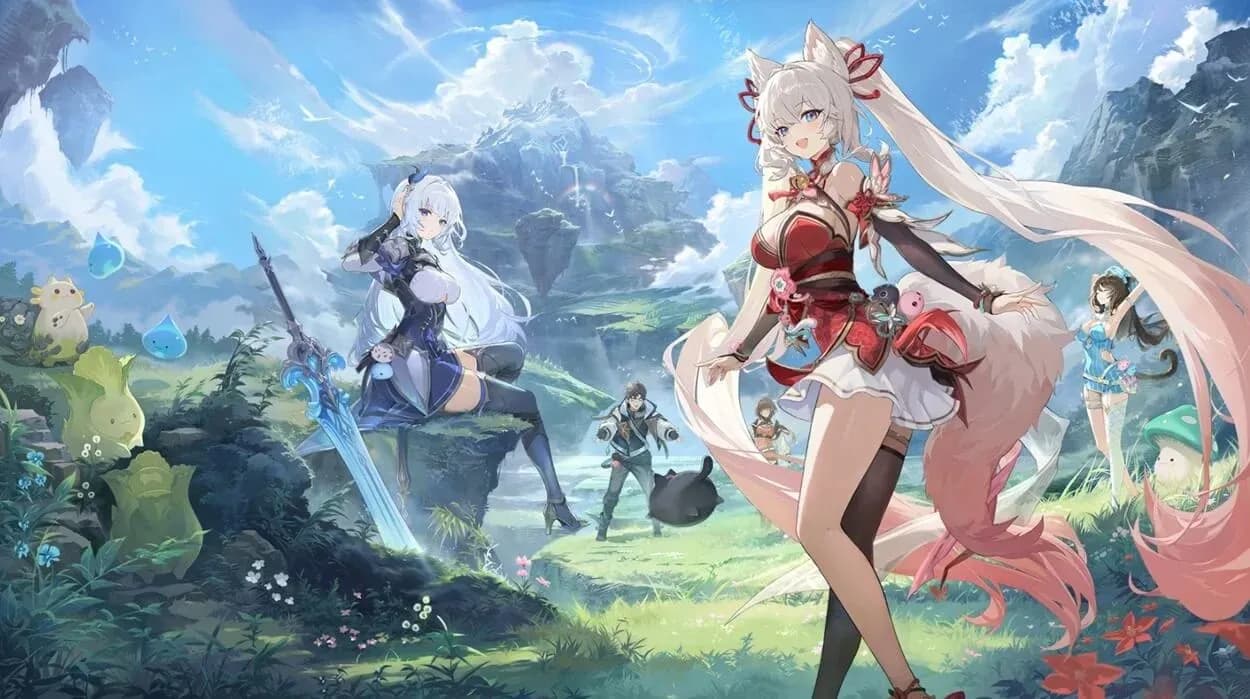
Building your team in Belana
B tier: niche picks with high setup requirements
Leeho is a Fire Assassin who applies a Prey Mark to reduce enemy Fire resistance, then consumes that mark to enter his Tiger Hunter form, which buffs his Basic Attack damage and converts it to Fire damage. The setup chain is longer than most characters require, which limits his practicality in fast-paced content.
Sera is an Ice Fighter who can Freeze enemies and inflict Ice Affliction with her Ultimate. She can pull enemies closer and knock them airborne, and she gains increased Crit Damage against enemies with Ice Affliction. Her Laxima and Arkarion Energy mechanic is engaging, but demands proper resource management to deal optimal damage. The ceiling is there, but the floor is lower than A tier alternatives.
How does rerolling work in Mongil: Star Dive?
If you finish the tutorial and end up with a character you do not want, rerolling is possible but not instant. According to Pocket Tactics, you cannot delete your account and reuse the same email immediately. There is a 30-day cooldown after account deletion before that email becomes available again. To reroll, you will need to create a new account with a different email or login method.
The tutorial takes roughly 30 minutes to complete before you unlock the Recruit banners. Your first pull guarantees Reina (four-star), and the New Friends banner guarantees a five-star character of your choice within 50 pulls. Francis (four-star) is available as a pre-registration reward delivered to your in-game mail.
Given that Francis is a free pre-registration reward and sits in SS tier, every new account starts with a strong healing option. Prioritize your five-star pull on Esther or Jiwon from the New Friends banner for the strongest early foundation.
What are the best Gene XL artifacts to equip?
According to GamerBraves, the Gene XL artifacts provide significant stat boosts and are worth understanding before committing resources. Here is a breakdown of the available options:
Match your Gene XL to your primary DPS element for the most straightforward power increase. Salt in Wound XL is worth considering for teams built around applying Afflictions, since Esther, Jiwon, Flare, and Francis all apply elemental Afflictions as part of their core kits.
For more guides covering Netmarble's latest and other action RPGs, browse more guides at GAMES.GG.