
The opening chapter of Mouse: P.I. For Hire drops you straight into a chase with zero hand-holding beyond a few tutorial posters. Jack Pepper is an ex-cop turned private detective working off his debts in Mouseburg, and his first job goes sideways fast. This walkthrough covers every room, both hidden comics, all three safes, and the combat waves standing between you and that blimp.
How do you start the chase in Big Mouse, Little Hope?
The chapter opens with Jack riding an elevator to a room containing a bar on the left, a center table, and doors in every direction. Most doors are locked and stay that way. The game signals which doors are active by giving them a brighter white color, so pay attention to that visual cue throughout the entire game.
Head through the left door marked Staff Only. Inside you'll find three tutorial posters covering dashing, the magnifying glass hint system, and the Detective Brush. That last tool is your navigation fallback: use it to spray dust and reveal footprints whenever you lose the trail. The footprints here point south through the next door.
Follow the footprints up the stairs to a ladder. Two more tutorial signs at the top explain jumping and crouching. Take the big jump down to the lower platform in the corner, then grab the Heal-D drink from the white first-aid cabinet at the base of the next staircase. That fall chips your health, so don't skip it.
Climb the next set of stairs and go through the door at the top. Your first combat encounter starts here. A single enemy appears, giving you time to get used to the Micer (your starting pistol) and your Mitts (fists). Pick up the ammo box near the hint poster by reloading and walking over it, grab the nearby Heal-D, then head upstairs and take the elevator.
What's in the first safe and how do you crack it?
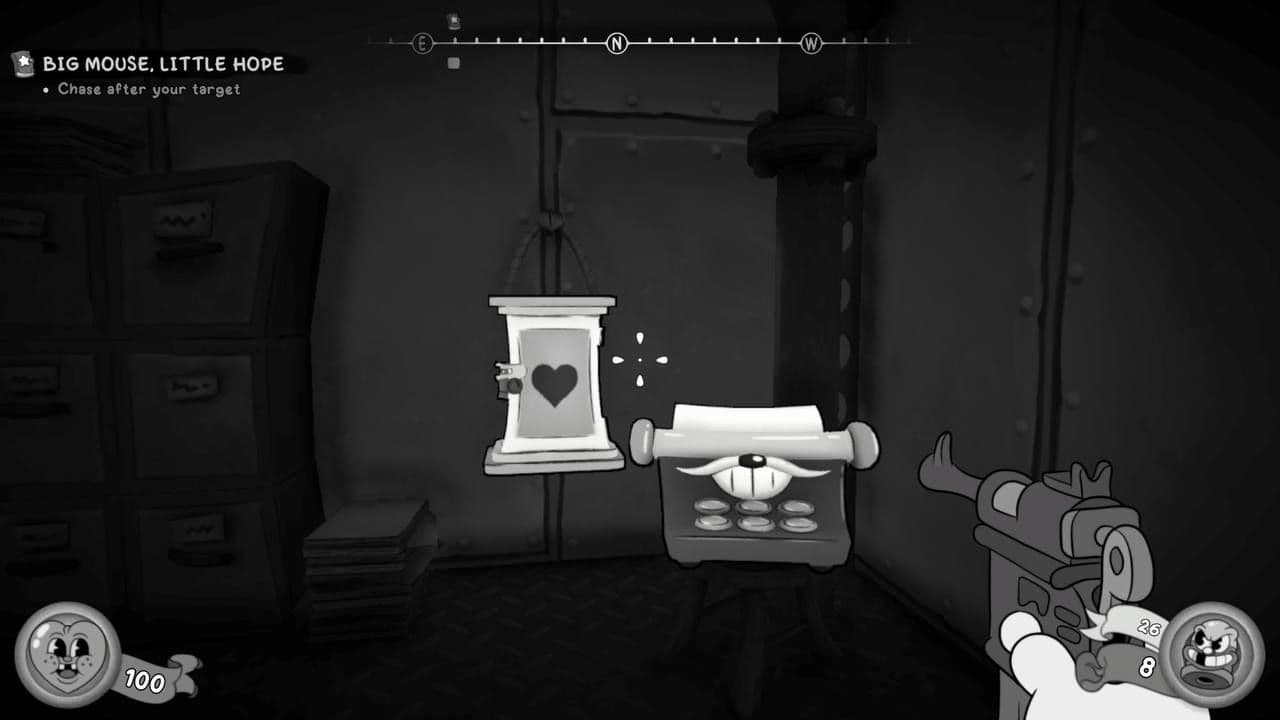
The elevator deposits you in front of your first typewriter. Save here. Typewriters are manual save points and you should use every single one you see, especially before attempting safes.
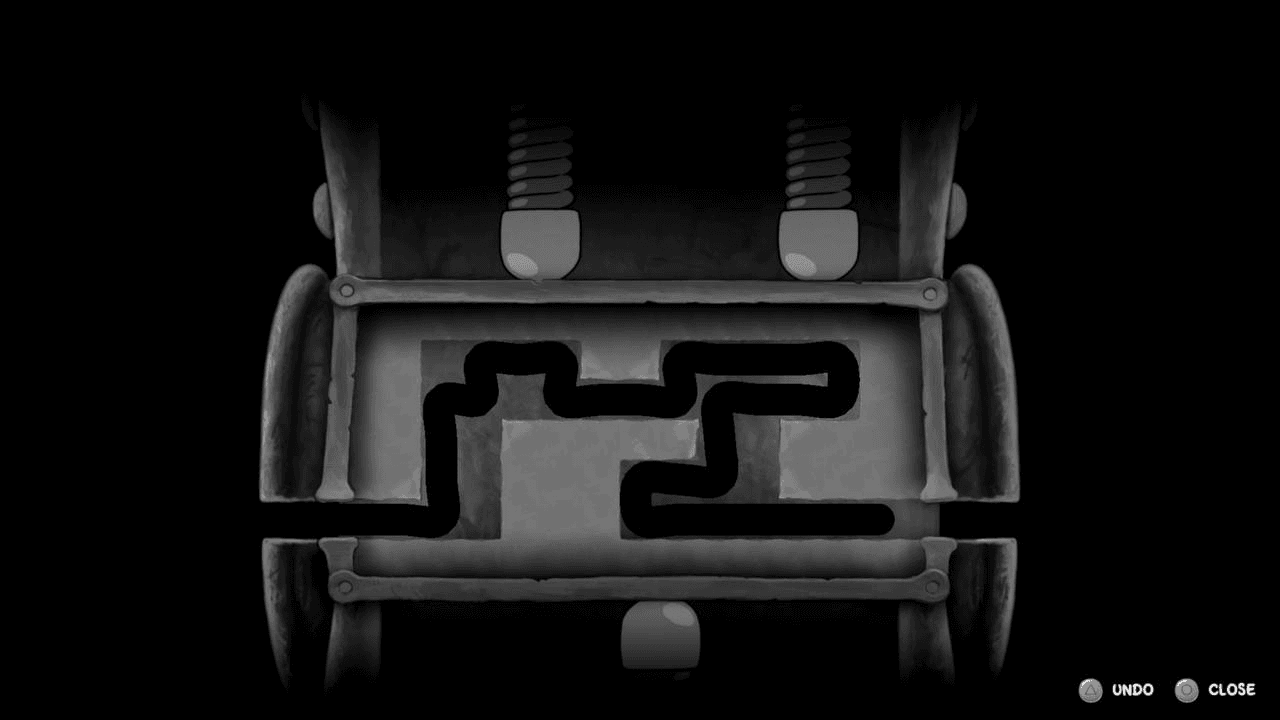
The safe in this room introduces the tailpicking mini-game. Your tail navigates a dark maze, popping up gumdrop-shaped bumpers to release the lock. Your tail cannot cross its own path, all bumpers must be pushed up, and you finish by reaching the opening on the right side at the bottom. This first safe has no timer and no spikes, so treat it as practice.
Through the door to the left, you enter a large room with a customer service center in the middle. One enemy comes through the far door. Two more appear as you move down toward the center. Kick the lighter-colored boxes and barrels to break them open for items without wasting ammo.
Spot the white cord running from a door near the big double doors down to the customer service center. Tailpick the lock on the south side of the center, flip the switch inside, and the power travels through that cable to open the double doors. Before you leave, kick out the window on the opposite side of the center and crouch through to collect the items inside.
Where is Comic 1 hidden?
Back through the double doors, you'll see your target briefly before he bolts and sends six waves of goons at you. The waves break down like this:
Use the stair banisters as cover from gunfire. Heal-D drinks sit on the east side of the room at ground level and inside a first-aid cabinet up one platform. The slot machines scattered around are labeled Super Life Wasters in-game and do nothing useful.
After the fight, continue east past the bar area. Behind the bar counter you'll see a blocked vent with items visible inside. Keep moving to the next room, go immediately left after entering, then left again around the corner.
Secret Found: A grate with a cheese design sits pulled away from the wall with an opening to the left. Crouch and crawl through the vent, activate your flashlight, and climb down the ladder to reach the items you spotted from the bar. This is Comic 1.
Exit the vent, head down the stairs to the right, and save at the typewriter before going through the door by the table.
Where is Comic 2 and how do you get the weapon schematic?
As you descend the next staircase, your target escapes again. Follow the path down, dodge or jump over the boxes in the hall, and clear the gun-wielding enemy in the next room.
In the hallway between rooms, there's a timed safe with spike walls on the right. This one gives you a strict move limit of 28 moves. The reward inside is a Schematic used later to upgrade your weapons. Save before attempting it.
Before chasing your target down the stairs, go up instead.
Secret Found: At the top of those stairs you'll find a pile of cash and Comic 2.
Now head all the way down. A door opens automatically and drops more enemies on you. Clear them, kick the barrels blocking the path, then tailpick the locked door ahead. Through it is a dedicated save room stocked with ammo, money, health, and a typewriter. Use all of it.
How does the chapter end?
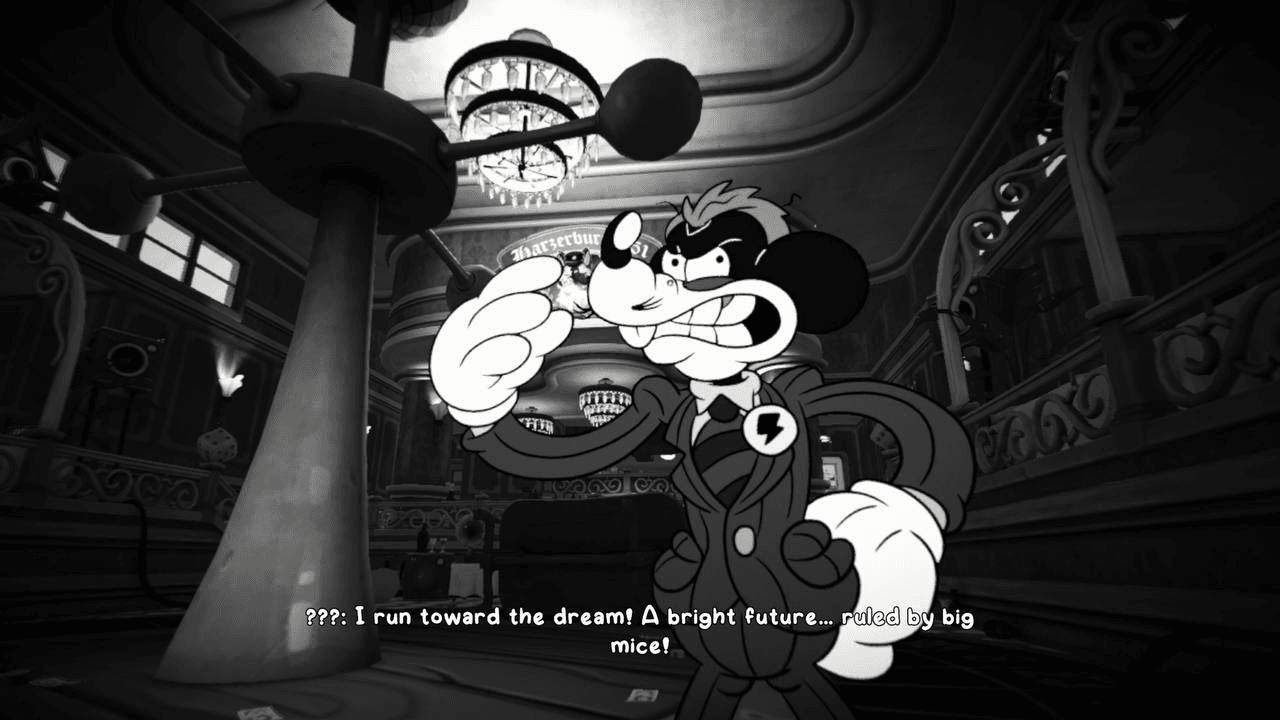
Through the east door, a cutscene plays. Your target has reached a blimp on floating metal platforms and taunts Jack from the other side. Three more waves release two enemies each, one with a bat and one with a gun per wave. Break barrels for extra resources between waves.
Cross the bridge toward the blimp. It snaps under Jack's weight, he falls, and the opening credits roll over his narration. That's the end of Big Mouse, Little Hope.
For more guides covering the rest of Jack Pepper's cases, browse more guides on GAMES.GG to stay on top of every mission in Mouse: P.I. For Hire.