

The Clergy Row police station in Mouse: P.I. For Hire is full of corrupt cops, but the two heavy iron doors in the cell block are the real obstacle. Approach either one and you get the same message: "shut tight." There's no key to find and no amount of Tommy gun fire that changes the situation. The solution lives in the monitor room just off the cell block, where two consoles of levers control the door locks through a math-based value system. Here's exactly how to crack both puzzles and what you'll find on the other side.
What's actually going on with these doors?
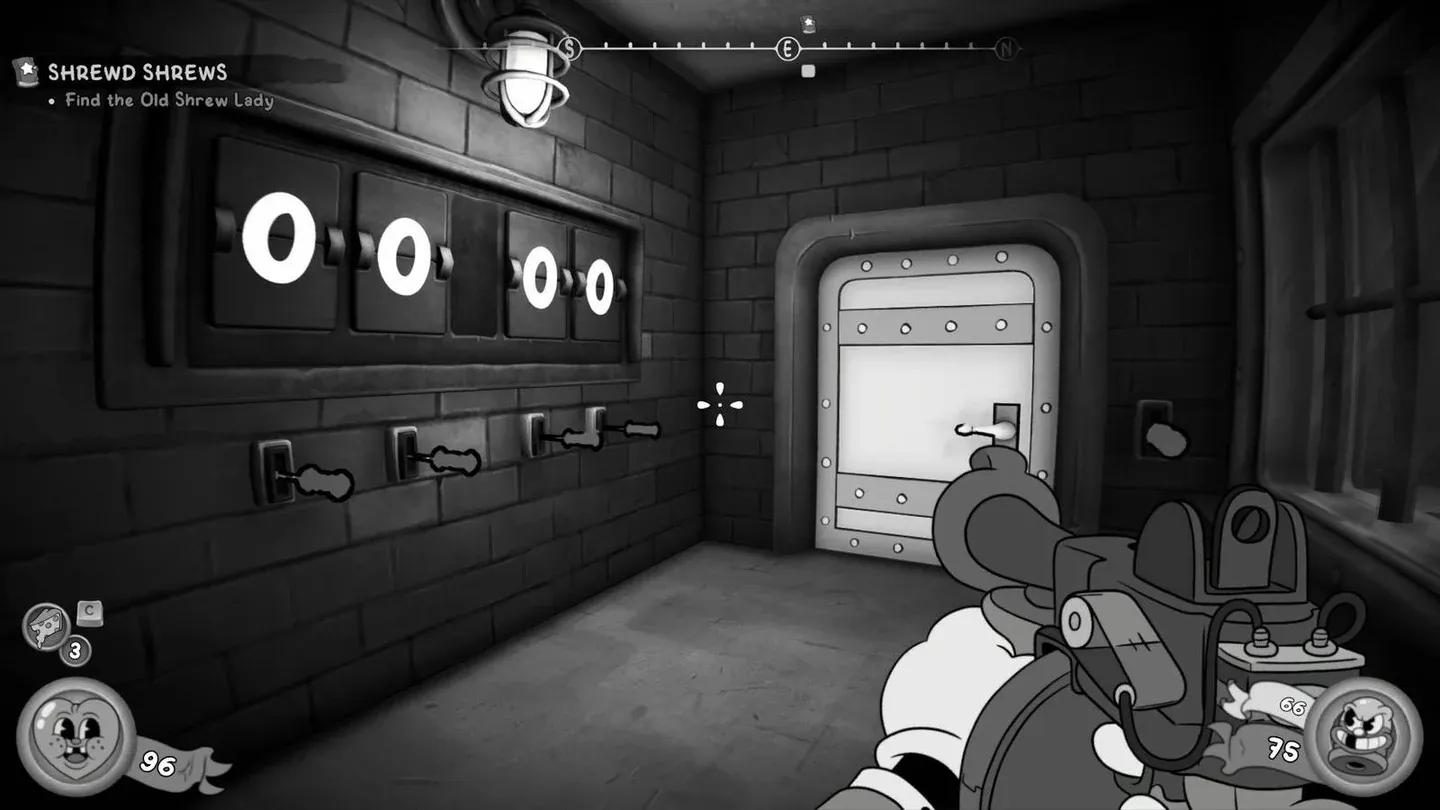
Before touching any lever, it helps to understand the setup. The Clergy Row station uses a value-sync security system where each door only releases when a running total on a monitor reaches a specific target number. The monitor room sits behind a glass partition overlooking the cells, and it contains two separate consoles, each with three levers. Each console controls one of the locked doors.
The levers add or subtract fixed values from a running total visible on a screen across the room. Pull the wrong lever one too many times and your total overshoots the target. The good news: you can keep pulling levers to correct the count, and the puzzle has no time limit, so there's no pressure to rush.
Monitor room lever consoles
How to open the right cell block door
The right door leads to a room with a safe you can tailpick. The target value for this door is 35.
Pull the levers in this exact order:
- +6 lever (middle) six times, bringing the total to 36
- -2 lever (right) twice, dropping the total to 32
- +3 lever (left) once, landing exactly on 35
You'll hear a mechanical clunk when the door releases. Head inside and use your tailpick on the safe. These safes contain rare ammunition, health restoratives, or currency for weapon upgrades back at the P.I. office, making this the more rewarding of the two cells.
How to open the left cell block door
The left door is the progression gate. Getting through here moves you into the station offices and forward with the mission. The target value for this door is 26.
Pull the levers in this exact order:
- +7 lever (right) three times, bringing the total to 21
- +3 lever (left) three times, pushing the total to 30
- -2 lever (middle) twice, dropping the total down to 26
Once the total hits 26, the left door opens and you can proceed deeper into Clergy Row.
What if the door doesn't open after hitting the target?
This can happen if an enemy is still standing in the doorway on the other side of the door. Make sure you've cleared all mice from inside the cells. If the door still won't trigger, pull any lever once and then correct the total back to the target number. This re-syncs the value and typically fires the unlock script.
Can you blow the doors open instead?
No. The cell block doors are part of the station's reinforced structure. Environmental explosives damage enemies near the doors but have no effect on the lock mechanism itself. The lever puzzle is the only way through.
Getting the most out of the Clergy Row station
The cell block puzzle sits in the middle of a level that rewards thorough exploration. The right cell's safe is worth the extra 30 seconds it takes to solve the second puzzle, especially if you're running low on upgrade materials. The left cell door is mandatory for story progression, but don't sprint through it without looting the right cell first.
For everything else happening in Clergy Row, including all collectible locations across the "A Bit of a Scene" chapter, browse more guides at games.gg to stay on top of every secret the level hides.