
The Vanishing Act is the first full case in MOUSE: P.I. For Hire, and it sets the tone for everything that follows. Jack gets a call from Wanda Fuller of the Mouseburg Herald about a missing magician named Steve Bandel, who vanished mid-performance under circumstances that could be a lot more sinister than a botched trick. The case takes you from a police-locked theater through apartment buildings, subway tunnels, and back to your own office to pin the clues together.
How do you start The Vanishing Act?
The mission opens with Jack already on the scene. Wanda is standing near her car and fills you in: the Magnificent Bandel disappeared during a show, and nobody knows whether it was a kidnapping or something worse. The theater is an active crime scene, which means you need credentials you do not have.
Wanda hands you her own photo as a makeshift ID pass. Head through the door to the left and walk up to the officer blocking the backstage entrance. Present the photo and he waves you through without a second thought.
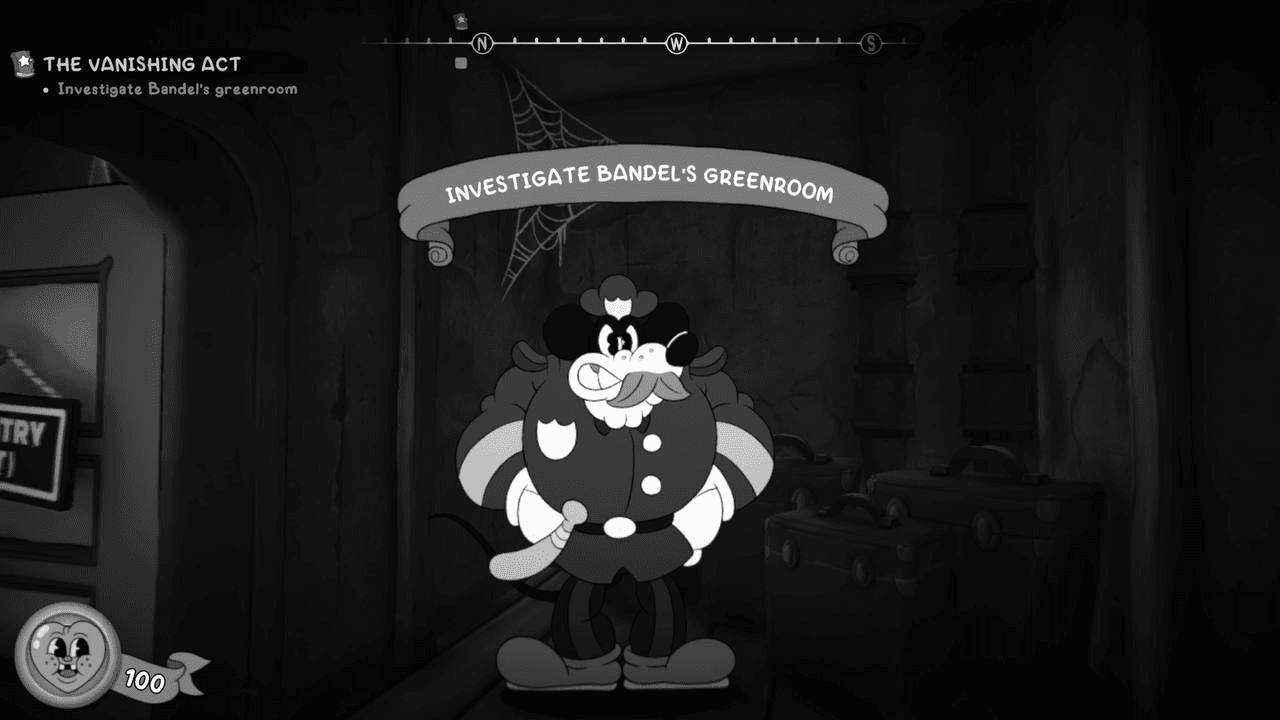
How to investigate Bandel's greenroom
Past the first officer you will hit a locked door with another guard nearby. Skip the locked door for now and take the open door on the left. Inside, you will find a vent grate already pulled off the wall. Crawl through it to reach the stage area.
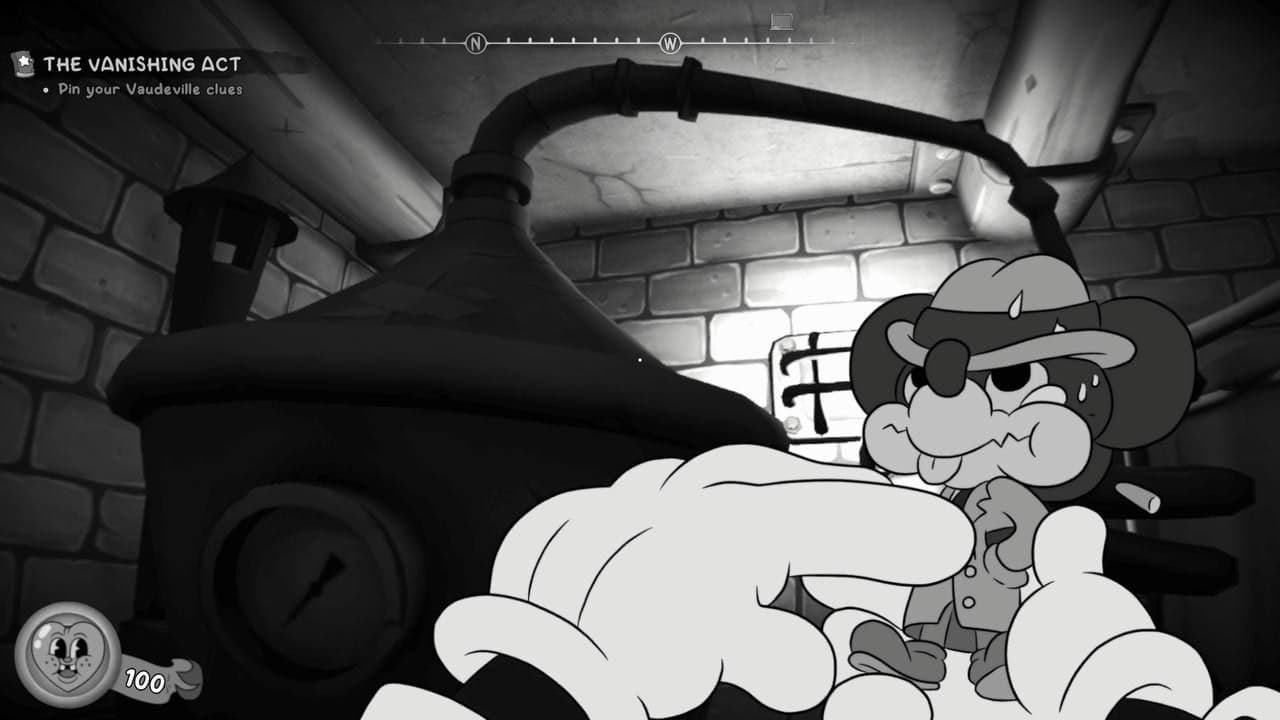
On stage is a large water tank. Climb the ladder, drop into the tank, and grab the Bandel's Greenroom Key floating inside. Then interact with the switches in the same room to unlock the stage before heading back to that locked door.
Once inside the greenroom, two clues are waiting:
- Open the vanity table drawer to find an address book. This tells you Bandel's assistant lives nearby.
- Photograph the Steve Bandel poster on the wall for your second clue.
Leaving the theater and reaching the apartment
Once you exit the greenroom, the officers have cleared out. Crouch under the crime scene tape and save at the typewriter before continuing. Two enemies with bats attack in the next room. Deal with them, then follow the path they came from up the stairs.
Before you go through the door at the top, check the table to your right. There is a Baseball Card (Charlie Pepper) sitting there. These cards are collectibles and also feed into the Baseball Cards mini-game at the bar, where you can win Spike-d Prize Tokens.
Follow the Detective Brush indicator out of the theater. Outside, enemies pour out of a garage. Two come from the north garage and two more from the west, armed with a mix of bats and guns. Both garages contain Heal-D bottles and ammo, and the north garage has a safe you can tailpick for extra cash.
How do you unlock the Loft Key door?
Inside the apartment building, head upstairs. On the first landing, kick the window to break it and crawl out onto the ledge to access a blocked room. Inside you will find a Baseball Card (Joel Blunt) and money from an open safe.
Higher up, you will reach a landing with two doors: a locked one requiring the Loft Key on the right and a blocked door on the left. Kick the box blocking the left door and go through. You will spot a poster that says "Barrels, how do they work?!" which is a direct hint from the game.
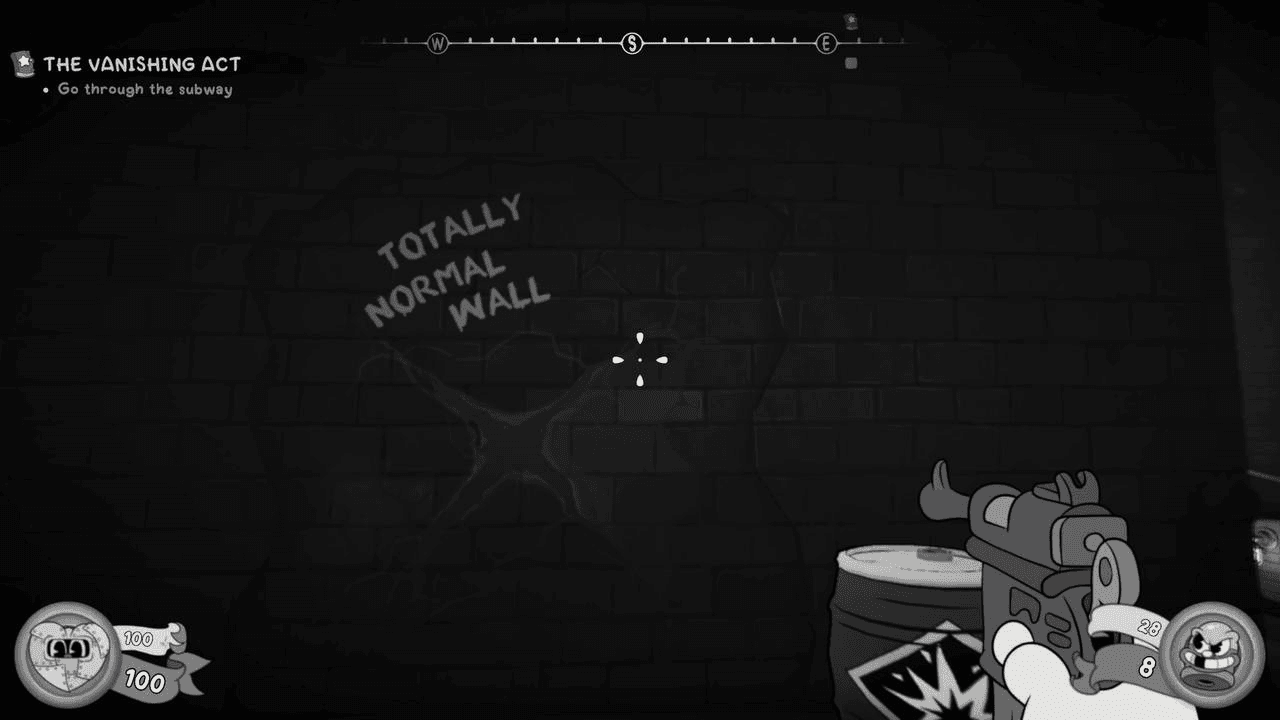
In the bathroom nearby, the Loft Key is sitting on a table by the toilet. A box is blocking the door from opening fully. Shoot the box to clear it, grab the key, then blow up the explosive barrel in the same room. This destroys a "totally normal wall" and creates a shortcut back to the hallway directly across from the locked loft door.
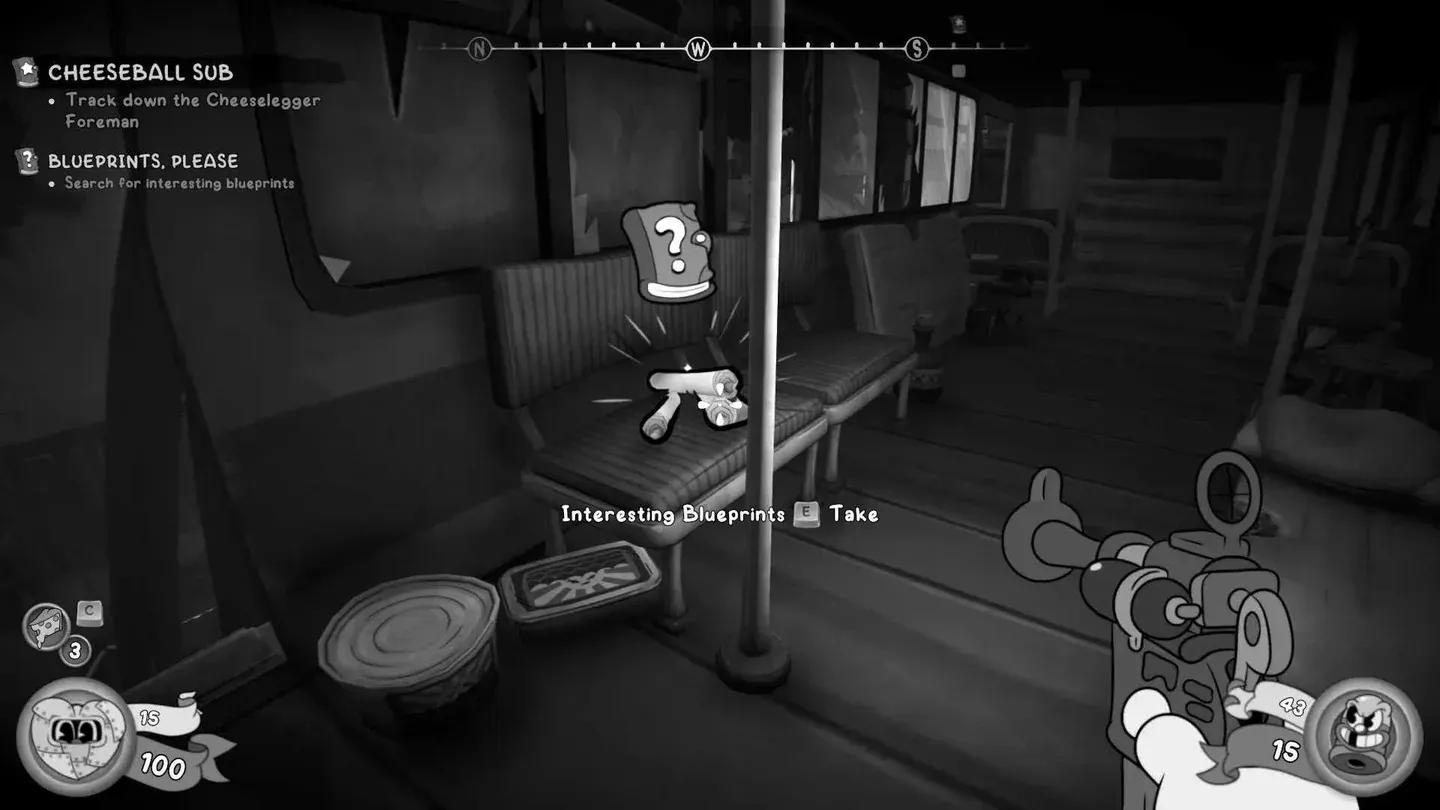
Go through the loft door (crouch under the boards) and pick up the Schematic from the desk inside. This is one of several schematics scattered across the level.
Loft secret room schematic
Clearing the apartment exit
Back on the main path, you will see an enemy standing directly under an anvil on a rope. Shoot the rope to drop the anvil. More enemies follow. Use the explosive barrels in the alley outside to handle the groups efficiently rather than burning ammo.
Before heading to the subway, check the east side of the alley for a ladder. Climb it and drop behind the fenced area to collect money from the outhouse and the makeshift shelter. Jump back onto the trash cans to reach the fire escape and climb back down.
How to get through the subway
The subway entrance is south of the alley. Before you descend, check the bench on the far south side of the street. Comic 4 is sitting there along with a few Heal-D bottles.
Inside the subway, go through the turnstile and head to the Staff Only door. Crouch under the steaming pipes. Just to the right between the pipes and the north wall is a hidden pile of cash.
Through the next door, save at the typewriter and pick up the Schematic from the table. When you re-enter the main area, an explosive barrel sits next to another "totally normal wall." Blow it to open a new room where six enemies are waiting.
The toughest stretch of the subway has enemies flooding in off an actual subway train. An armor chest plate giving 40 armor is in the room just before this fight. Pick it up before the wave starts. Use the metal plates along the left wall as cover while enemies shoot at you.
In the bathroom at the far north wall of the subway, a janitor named Mike Maple gives you intel on the enemies in the area. A third Schematic is on the table behind him.
How to find and talk to Betty Deux-Fiddle
The subway stairs lead directly to the assistant's apartment building. Before entering, grab the money in the northeast corner behind the trash cans. Enter the door to the west.
Go up two flights of stairs. On the second floor, break the east window and step out onto the landing for more cash. Come back inside and take the south door on the same floor.
Inside Betty Deux-Fiddle's apartment, you will find a hutch dedicated to Steve Bandel with a torn diary page inside. Betty herself is in a strange state (her body appears detached, which the game acknowledges without explaining). She tells Jack that Bandel had a long list of enemies, mentions the Big Mouse Party politicians he spent time around, and points you toward the Stage Designer at the Opera House as a lead.
Before leaving, check the kitchen behind the typewriter. Newspaper 2 is sitting on the counter.
Returning to town and pinning the clues
Fight through the three enemies waiting outside the apartment building, then approach your car and hold the action button to return to the hub area. This is where Jack's office, the Little and Big Bar, and the ammo shop are all located.
Stop at the ammo shop on the west side first. You can buy Comic 2 here if you did not find it in the field. The shop also sells Baseball Cards and other collectibles you might have missed.
Head to your P.I. Office to the southwest and go upstairs. Save at the typewriter, then enter the back room and interact with the Crime Wall. You do not need to figure out where the clues connect. Jack places them automatically. Once all three clues are pinned, the connections resolve and your next destination becomes clear: the Opera House, where the Stage Designer should be.
After the Crime Wall, head into the Little and Big Bar to talk to Wanda. She already knows who the Stage Designer is and gives you background on him. Talk to bartender John Brown as well for additional context on what is happening in the area.
In the kitchen at the back of the bar, tailpick the locked door to access a basement. Behind a curtain in the back corner is the first of 10 secret collectible figures in the game.
For more walkthroughs and gaming guides, browse the latest at games.gg/guides/.