

Daffodill is an S-Rank Chaos-element Esper in Neverness to Everness who fills a role nobody else currently does: Break-Burst DPS. Her entire kit is built around stacking Break Intensity, punishing enemies the moment their Break bar shatters, and recharging her Ultimate through well-timed Parry Attacks. She sits at A-tier on the current character rankings, which is accurate but slightly undersells how punishing she can be in the right team. The catch is that her damage windows are strict and her timings demand attention. Get those right, and she hits exceptionally hard right when it matters.

Daffodill's character profile
What is the best Arc for Daffodill?
Youthful Fantasy is the clear first choice, and it is not particularly close. According to the Game8 build database, it increases Break Intensity by 60 and summons the Black Tome for 20 seconds once two Support Skill chains are unleashed. While active, the Black Tome designates an enemy every 5 seconds, boosts Daffodill's Chaos DMG to those enemies by 20%, and deals Chaos DMG equal to 200% of her ATK whenever a designated enemy takes Break Damage. That last part is the real payoff: every time you crack an enemy's Break bar, the Arc fires off an extra hit scaled to Daffodill's ATK. Since she is built to break enemies repeatedly, the Arc activates constantly.

Diabolos 4-piece module layout
Youthful Fantasy also provides 570 base ATK and a 30% ATK bonus, which directly amplifies the secondary damage the Black Tome deals on Break. If you do not have Youthful Fantasy, the two A-rank alternatives are both usable:
Shiny Days is the more damage-focused fallback, especially at high Mixing levels. At M5, its Break Intensity surpasses a base M1 Youthful Fantasy, making it a real alternative if you want to push Break stats hard. Mind Royale trades damage for Ultimate frequency, which helps if you struggle to land Parry Attacks consistently.
Best Cartridge and Module Setup for Daffodill
Diabolos is the recommended Cartridge. The 2-piece effect gives +10% Chaos DMG, and the 4-piece effect ignores 12% of enemy Chaos RES, jumping to 24% for 20 seconds whenever Daffodill participates in Nova or Scorch reactions. Since her best teams pair her with Incantation or Psyche characters specifically to trigger those reactions, the 24% resistance ignore is effectively the standard value rather than a conditional bonus.
The alternative is Shadow Creed, which provides +10% ATK at 2-piece and +25% ATK for 20 seconds after casting a Skill at 4-piece. It is a cleaner all-rounder if you cannot run Nova or Scorch reactions, but Diabolos pulls ahead in any team built around her strengths.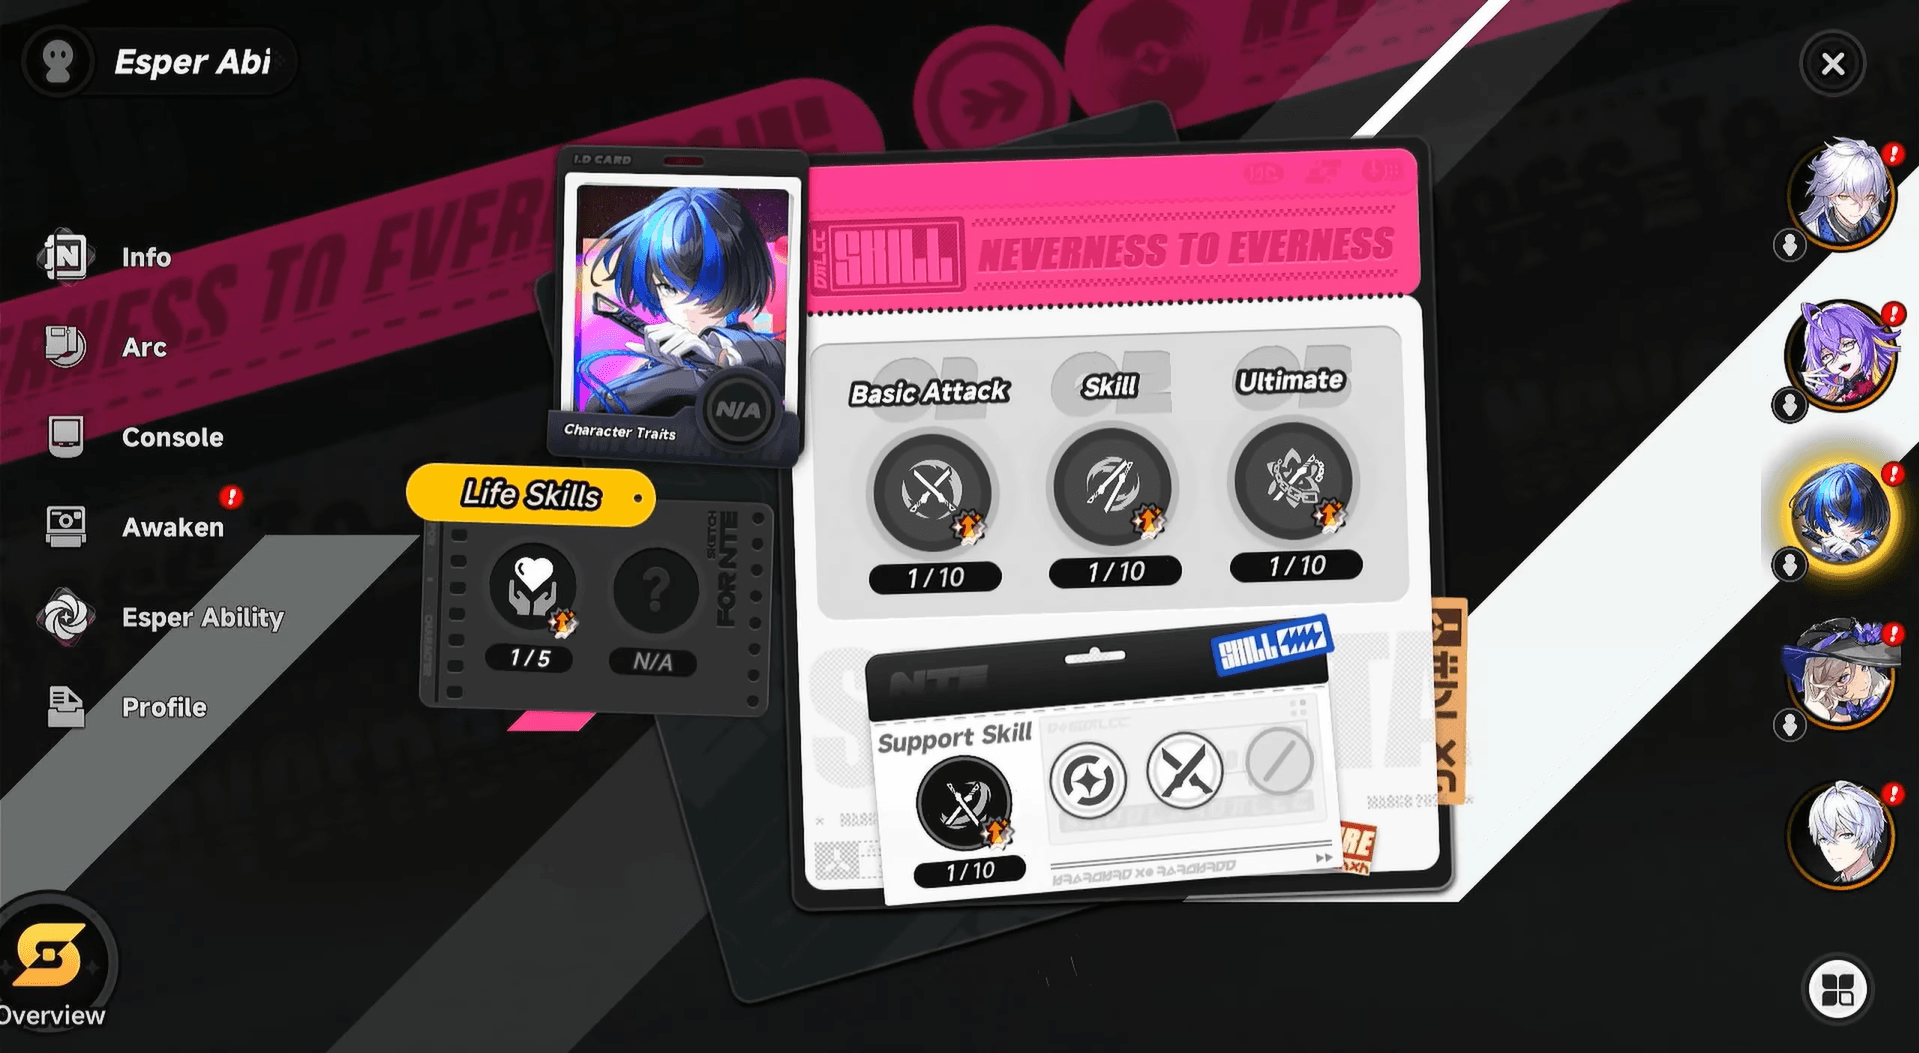
For Module stats, the priority order is:
- Break Intensity (highest priority)
- CRIT Rate
- CRIT DMG
- DMG
- Cycle Intensity
Daffodill's Console bonus grants +10% Chaos DMG per Type III Module equipped. With 4 Type III Modules active, that is a flat +40% Chaos DMG from the Console alone. The full Diabolos 4-piece layout with this setup yields a combined +40% Chaos DMG from Modules plus the Cartridge's own bonuses. For the Cartridge main stat, prioritize Break Intensity first, then CRIT Rate.
Icy Veins notes that running a 2-piece Diabolos with maximum Type III Modules can reach +70% Chaos DMG, but you lose the resistance ignore. In teams that trigger Nova or Scorch, the 4-piece setup wins. In teams that cannot, the 2-piece with extra Type III Modules is worth considering.
How to play Daffodill
Daffodill's playstyle revolves around three things: building buff stacks off-field, entering combat at the right moment, and converting Parry Attacks into Ultimate charges.
What does Daffodill's core rotation look like?
Here is the standard gameplay loop as documented by Game8:
- Start combat with a Psyche or Incantation character who has full Cycle Energy. Swap to Daffodill immediately to trigger Nova or Scorch.
- Use Support Skills with your team to empower Daffodill's Redirect Skill, Resonance. You need at least two Support Skills to fully empower it. Each stack increases Resonance's DMG by 50% and its Break bonus by 125%.
- Once Resonance is fully stacked, switch to Daffodill and fire the empowered version. It deals heavy Chaos DMG and chunks the enemy's Break bar.
- When her Ultimate, Finale, is charged, activate it. Finale deals AoE Chaos DMG and applies Insight to nearby enemies. Insight causes enemies to take increased Break Damage. It also grants Daffodill 2 charges of Phantom Step.
- If an enemy is about to perform a parryable attack, swap to Daffodill and use Phantom Step. A successful Parry Attack immediately refills her Ultimate Energy, letting you loop Finale more frequently.
Phantom Step's Parry timing is strict. If you miss the window, the attack still deals damage and generates some Break Intensity, but you do not get the Ultimate Energy refill. The Mechanical March Awakening removes this penalty by fully charging the Ultimate even on a failed parry, which dramatically lowers the difficulty of playing Daffodill.
The GameWith breakdown adds an important note: Daffodill stacks her Redirect Skill buffs while sitting on the bench. Your on-field character triggers Esper Cycles and uses Support Skills, Daffodill absorbs those stacks passively, and then you swap her in loaded and ready. That off-field buff accumulation is what makes her rotation feel explosive when executed correctly.
How does Insight work with Break damage?
Insight is applied by Daffodill's Ultimate and increases the Break Damage enemies take. Once an enemy with Insight is Broken, the status is normally removed. The Assembly of Creations Awakening changes this: Insight becomes permanent (up to 2 stacks) and cannot be removed except when the enemy leaves combat. With the In Concealment Awakening, each stack of Insight also increases Daffodill's additional Break DMG by 15%. Stack both and Insight becomes a persistent damage amplifier rather than a one-time bonus.
Finale applies Insight on cast
Daffodill Awakening priority order
The two sources disagree slightly on the exact unlock order, but the reasoning behind each pick is consistent. Here is a consolidated priority based on both Game8 and Icy Veins:
Note that Icy Veins prioritizes Perfect Truth (A5) first, while Game8 leads with Assembly of Creations (A3). The reasoning differs: Perfect Truth creates more burst damage on Broken enemies, while Assembly of Creations sustains Insight for more consistent Break DMG throughout a fight. For most content, Assembly of Creations is the safer first pick. For boss fights where enemies get Broken multiple times, the Perfect Truth plus Assembly of Creations combination is where Daffodill becomes genuinely threatening.
You can swap Awakenings freely at any time, so you are not locked into a permanent choice. Adjust based on the fight.
Best teams for Daffodill
Daffodill functions as a Break-focused Sub-DPS in most team configurations. Her passive skill, Blade Draw, reduces the target's Break Threshold by 10% whenever Discord is triggered, stacking up to 20% of the enemy's initial Break Threshold. That passive is the main reason she belongs in Discord teams specifically.
Discord-Scorch team (recommended)
Pairing Daffodill with Baicang triggers Scorch, which satisfies the condition for Diabolos's 24% Chaos RES ignore. Sakiri and Adler round out the team with buffs and break pressure.
Discord-DoT team (alternative)
Swap Sakiri and Adler for Haniel and Jiuyuan to shift toward a Discord team with damage-over-time capabilities. According to Game8, this version leans harder into Discord reactions and gives Daffodill's Blade Draw passive more triggers.
Budget team option
GameWith documents a lower-rarity team using Daffodill alongside Adler, Aurelia, and Haniel. This setup still triggers Discord through Esper Cycles and keeps Daffodill's Break capabilities online without requiring multiple S-rank characters. Mint can replace Aurelia for more attribute coverage if needed.
Skill leveling priority
Both Game8 and Icy Veins agree on the same skill order:
- Resonance (Redirect Skill) — Her primary damage tool and Break engine. Level this first.
- Finale (Ultimate) — Applies Insight and grants Phantom Step charges. Level second.
- Still Waters (Basic Attack) — Contributes meaningful Break Damage thanks to her passive Light Prism, which increases her Break Damage contribution by 20%.
- Crossed Blades (Support Skill) — Useful but lowest priority until everything else is leveled.
For Daffodill's full character background, faction details, and lore context as a member of the Eibon Antique Shop, the Daffodill wiki page has her complete profile including birthday, esper ability name, and character history.
Building Daffodill correctly means accepting that she is a technical character with real timing requirements. The payoff is a Break-Burst DPS who can flip a fight the moment she swaps in, especially in Discord teams where her passive keeps shaving the enemy's Break Threshold down. For more character guides and team-building resources across Neverness to Everness and other games, browse the latest guides on GAMES.GG.