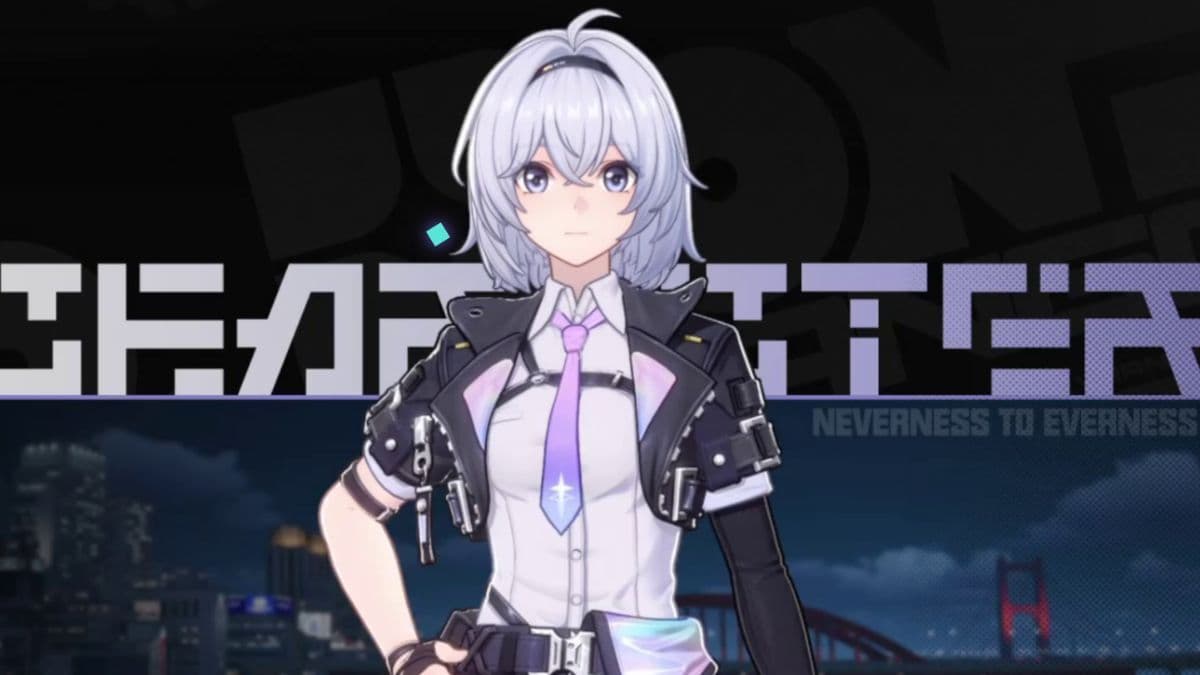

Esper Zero is the protagonist of Neverness to Everness and the only character you're guaranteed to have from the moment you start. As a Cosmos-type DPS, their entire value proposition is built around one thing: the Redirect Skill Appraise and Engrave fills the Esper Cycle gauge to 100 instantly, every single time. That one mechanic makes Zero a reliable trigger for Blossom, Remora, and Charge reactions regardless of what the rest of your team is doing. Getting the build right determines whether Zero stays relevant through mid-game or becomes a permanent bench warmer.
What is Esper Zero's overall tier and role?
Esper Zero sits at A tier. The reason is straightforward: Zero's damage is front-loaded into the Ultimate (Divide by Zero) and the Redirect Skill, which means their ceiling is genuinely high during burst windows, but they lack the sustained output that top-tier Main DPS characters bring to endgame content. Think of Zero as a strong Sub-DPS who can carry you through the story and most standard content, then step aside when you build a more specialized roster.
Zero is also a Cosmos-type character using a Solid-class Arc. Their base stats at level cap are 85 ATK, 75 DEF, and 1250 HP, with a 5% base CRIT Rate and 50% CRIT DMG.
Esper Zero character overview
What are the best Arcs for Esper Zero?
The Rain That Shook the World is the strongest Arc on paper, boosting Cosmos DMG on the two skills Zero actually uses and stacking Cycle Intensity after each Redirect Skill use. The catch: it requires a real-money purchase from the in-game store.
Day Off is the best free option and honestly competitive in most situations. The 30% ATK boost is unconditional, and the Eclipse mechanic accelerates Ultimate regeneration significantly in multi-enemy encounters. According to neverness.gg, you can obtain Day Off for free through a quest, which makes it the default recommendation for most players.
The Forgotten works well precisely because Zero is a burst character who swaps in briefly. Keeping HP above 50% is easy when you're only on the field for a few seconds per rotation, so the 20% ATK bonus is nearly always active.
What is the best Cartridge for Esper Zero?
Lost Radiance is Zero's top Cartridge pick. The 2-piece bonus adds 10% Cosmos DMG, and the 4-piece effect causes Zero's attacks to ignore 25% of enemy DEF for 20 seconds after casting the Ultimate. Since Zero can use the Redirect Skill twice within that 20-second window and potentially fire off another Ultimate, the DEF penetration applies to a meaningful chunk of their damage output.
Shadow Creed is the secondary option: 10% ATK from the 2-piece and 25% ATK for 20 seconds after using a Skill from the 4-piece. The play pattern here is slightly different. You lead with the Redirect Skill to proc the ATK buff, then use the Ultimate inside that buff window.
As an alternative noted by neverness.gg, Speedy Hedgehog provides 12% Charge Efficiency from the 2-piece and 15% ATK for all allies for 20 seconds after Zero casts the Ultimate from the 4-piece, making it a team-oriented option if your squad benefits from that buff.
The recommended main stat for your Modules is CRIT Rate, with sub-stats prioritized as CRIT DMG, CRIT Rate, DMG, ATK%, and Cycle Intensity in that orde.
What is the best Awakening order for Esper Zero?
The Awakening system lets you unlock passive bonuses in a set sequence. Here's the order that maximizes Zero's damage output:
- Anomalies Record (A3) — Increases Divide by Zero's CRIT Chance by 50%. This is the single biggest damage spike available and should be unlocked first.
- Undecided Factors (A4) — Every 1 point of Zero's Base ATK increases Divide by Zero damage by 0.1%, capped at 25%. Directly amplifies the Ultimate.
- Deceptive Liberation (A6) — Raises the Extra DMG Ratio of Appraise and Engrave to 300% of ATK, making the Redirect Skill hit harder.
- Finding the Calling (A2) — Grants 8 Ultimate Energy after each successful Appraise and Engrave cast, helping you use Divide by Zero more frequently.
- Theopneustos (A5) — Increases Zero's ATK by 10% for 20 seconds when the Support Skill triggers. Solid quality-of-life.
- Blooming Gaze (A1) — Deals an additional hit of 200% ATK to lower-level enemies on the first hit, ignoring 75% of their DEF. Useful for content where enemies are below Zero's level, but lower priority overall.
Two Resonance effects unlock at A3 and A6: Discern raises the skill level of Appraisal, Appraise and Engrave, and Divide by Zero by 1, while Zero Display grants the team 12% ATK for 20 seconds whenever Zero triggers an Esper Cycle with any Cosmos character.
What are the best teams for Esper Zero?
Sub-DPS team (recommended)
This setup uses Zero to trigger the Blossom Esper Cycle, which Jiuyuan then empowers for extra damage. Adding Sakiri also enables the Hexed Esper Cycle, opening another damage avenue. Sakiri provides both crowd control and ATK buffs, while Adler is the better pick if you need more survivability.
Main DPS team (if you lack Nanally)
Low-rarity team
If your roster is limited, Zero, Mint, Skia, and Haniel form a functional Esper Cycle Charge team. Haniel applies buffs via the Redirect Skill, then Mint, Skia, and Zero cycle through to trigger Esper Cycles. Aurelia can replace Haniel if you'd rather run an additional attacker.
How do you play Esper Zero effectively?
Zero's rotation is deliberately short. The goal is to swap in, use one or two skills, and swap out to trigger reactions.
- Start combat with a Lakshana or Anima teammate who has full Cycle Energy, then immediately swap to Zero.
- If using Lost Radiance, fire the Ultimate first (when available) to proc the DEF penetration window, then use Appraise and Engrave.
- The Redirect Skill fills Cycle Energy to 100 instantly, allowing you to trigger Remora or Blossom the moment you swap back to a teammate.
- If you have both a Lakshana and an Anima character on the team, try to trigger both Remora and Blossom in sequence to activate the Charge reaction and gain Ultimate Energy.
- Repeat after Appraise and Engrave's 16-second cooldown resets.
One mechanic worth knowing: Appraise and Engrave deals an additional instance of Cosmos DMG to the first enemy whose level is below Zero's. This means keeping Zero leveled to the cap is directly tied to their damage output, not just survivability. Don't neglect level-ups.
Zero's 5-hit basic combo contributes very little. Time spent auto-attacking is time your Main DPS isn't on the field. Get in, use the skill (and Ultimate when ready), get out.
How should you prioritize Zero's skills?
The passive skill Appraiser is worth noting separately: it restores HP equal to 50% of Zero's base ATK whenever the active character gains Ultimate Energy. This passive effectively lets Zero compress the healer slot in some team compositions, which is a significant quality-of-life benefit when building around the Charge Esper Cycle.
How do you get Esper Zero?
Zero is the protagonist and becomes playable the moment you choose your gender at the start of the game. They are not available in any gacha pool. You cannot pull duplicates or miss them. Every player has Zero from day one.
For character artwork and visual references, the Esper Zero gallery on the wiki has the full collection of official art and skin previews.
For more character build breakdowns across the full NTE roster, browse the latest guides on GAMES.GG to find team-building resources and tier lists updated as the meta develops.