
Tomato Jelly Rampage: Live Report! is one of the more entertaining Spinoff quests in Neverness to Everness, sending you on a city-wide chase involving a rogue Anomaly, a series of suspicious vending machines, and three separate boss fights against the same enemy. It starts with a text from Taygedo and ends with you and Lacrimosa settling things on a rooftop. The quest requires Hunter Level 8 to unlock and is located in New Hethereau, Bridge Crossings.
What are the requirements and starting location?
Before you can track this quest, you need to hit Hunter Level 8. Once that threshold is met, the quest becomes available in the Bridge Crossings area of New Hethereau. The starting trigger is a message from Taygedo, which you can read directly from the quest tracker.
Vending machine investigation
Full walkthrough: Part 1 — The Message Says... Good News?
After reading Taygedo's message, head to Eibon in Bridge Crossings and speak with Taygedo at the front counter. From there, the quest sends you on a vending machine trail across the district.
Vending machine investigation steps
- Head to the corner of Davidia Avenue and Torchwood Avenue and examine the first vending machine.
- Move northwest along Davidia Avenue toward Coastal Highway Z42 for the second vending machine. Go down the stairs between the arcade and Witop, then enter the subway access on your left.
- Inside the subway, approach the fallen vending machine on your right. An overheard conversation about an Anomaly sighting triggers here. The dialogue choice you make does not affect quest progression, so pick whichever option you prefer.
- Exit the underground access on the far side and climb the stairs. A cutscene plays at the top.
Full walkthrough: Part 2 — Who's Paying the Bill?
After the cutscene, head north along Davidia Avenue to the ice cream food truck parked on the sidewalk. Speak with Mila and purchase the Ice Cream Family Bucket to progress.
Return southeast down Davidia Avenue to the stairs you used earlier and set up the ambush near the vending machine. This triggers the first Tomato Devil boss fight.
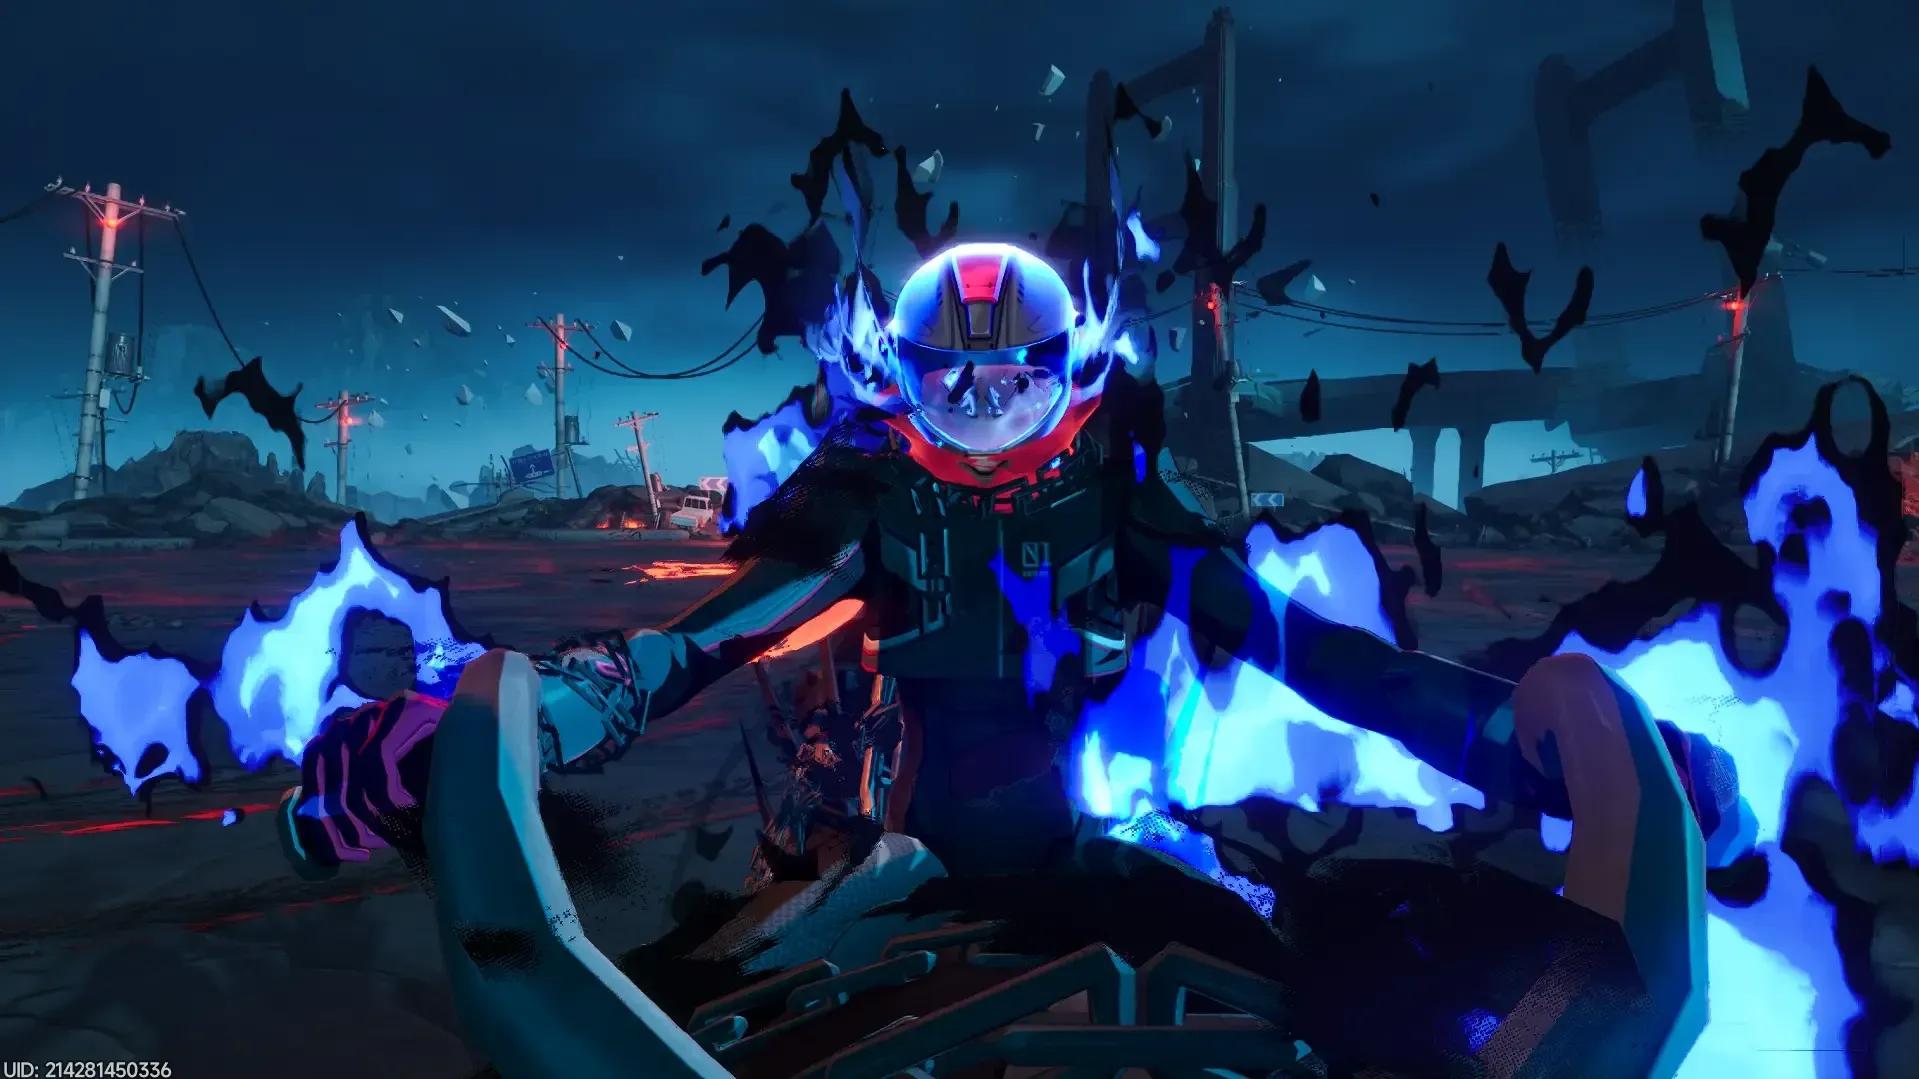
How to beat Tomato Devil (first encounter)?
This first fight uses a pre-set team of Zero, Lacrimosa, and Mint. The Tomato Devil's level scales relative to your Hunter Rank, and the pre-set team scales to match it, so you will not be under-leveled here.
The Tomato Devil's attack patterns in this fight include:
- Standard slash and swing attacks
- Summoning large axes and dropping them on you
- Shooting energy bolts
- In the second half of its HP, firing energy bolts in pairs that you can attack to reflect back at the boss, staggering it
The key to this fight is maintaining a high volume of offense while staying mobile. When the boss fires paired energy bolts in the second phase, hitting them back causes a stagger, which is your window to pile on damage.
After the fight, follow the quest marker west to the corner of White Parrot Street and Coastal Highway Z42. Jump the fence and interact with the vending machine to purchase the Tomato 100 Jelly. Then escort Lacrimosa home via the northwest marker on White Parrot Street.
Once you take Lacrimosa home, you receive the first reward batch. Return to Eibon, speak with Adler at the front desk, then head back to your dorm room. Interact with the Tomato 100 Jelly on your desk, then sleep in your bed.
Full walkthrough: Part 3 — Streamer Time
This section has a time gate. After waking up, go to Lacrimosa's house and wake her up. The next objective only activates between 7PM and 8PM, so you need to manually change the in-game time. While tracking the quest, use the time-change shortcut to jump straight to 7PM.
Head to the phone booth between Davidia Avenue and Torchwood Avenue, then approach the first vending machine location from earlier. The quest triggers when you get close to the Witop building.
How to beat Tomato Devil (second and third encounters)?
The second fight uses your actual roster instead of the pre-set team. The Tomato Devil now has additional moves compared to the first encounter:
- A parry attack added to its needle barrage
- A tornado attack where three small tornadoes converge into one large one before Lacrimosa launches a major counterattack
This fight ends when the Tomato Devil drops to roughly 10% HP. A cutscene interrupts the battle and the boss flees.
You then control Lacrimosa in her bat form for a mid-air chase sequence. You can dodge incoming energy bolts and tornadoes using the dodge input, but the sequence is forgiving enough that taking hits will not prevent you from completing it.
The third and final fight takes place on a rooftop. Note that the Tomato Devil's HP resets for this round. New attacks introduced here include:
- Diving underground and surfacing with ground slam attacks that deal both impact and splash damage
- Summoning a truck and dropping it on you
- An AoE blast that fires energy bolts which explode on landing
What are all the rewards for Tomato Jelly Rampage: Live Report!?
The quest pays out in two separate reward batches. The first arrives after you take Lacrimosa home at the end of Part 2. The second comes upon quest completion.
The mid-quest reward batch also includes Annulith x100, Chaotic Dye x15, and the other listed materials, making this one of the more rewarding Spinoff quests available at launch.
Tips for getting through the quest efficiently
- Unlock both phone booths early: the one near Davidia and Torchwood, and the one on Davidia near Lacrimosa's house.
- The dialogue choices throughout the quest do not affect outcomes, so pick freely.
- For all three Tomato Devil fights, perfect dodges are your best tool. The boss's conjured weapons cannot be deflected, and its ground smash is best avoided with a well-timed dodge rather than blocking.
- In the second phase of the first fight, actively attack the reflected energy bolts to trigger the stagger window.
- The mid-air chase after the second fight is lenient. You can take hits and still complete it, so do not panic if the controls feel awkward.
You can also browse more NTE guides on GAMES.GG to find character builds and team recommendations that will make all three Tomato Devil fights faster.