
Over The Top: WWI — Every Class Broken Down for the Current Meta
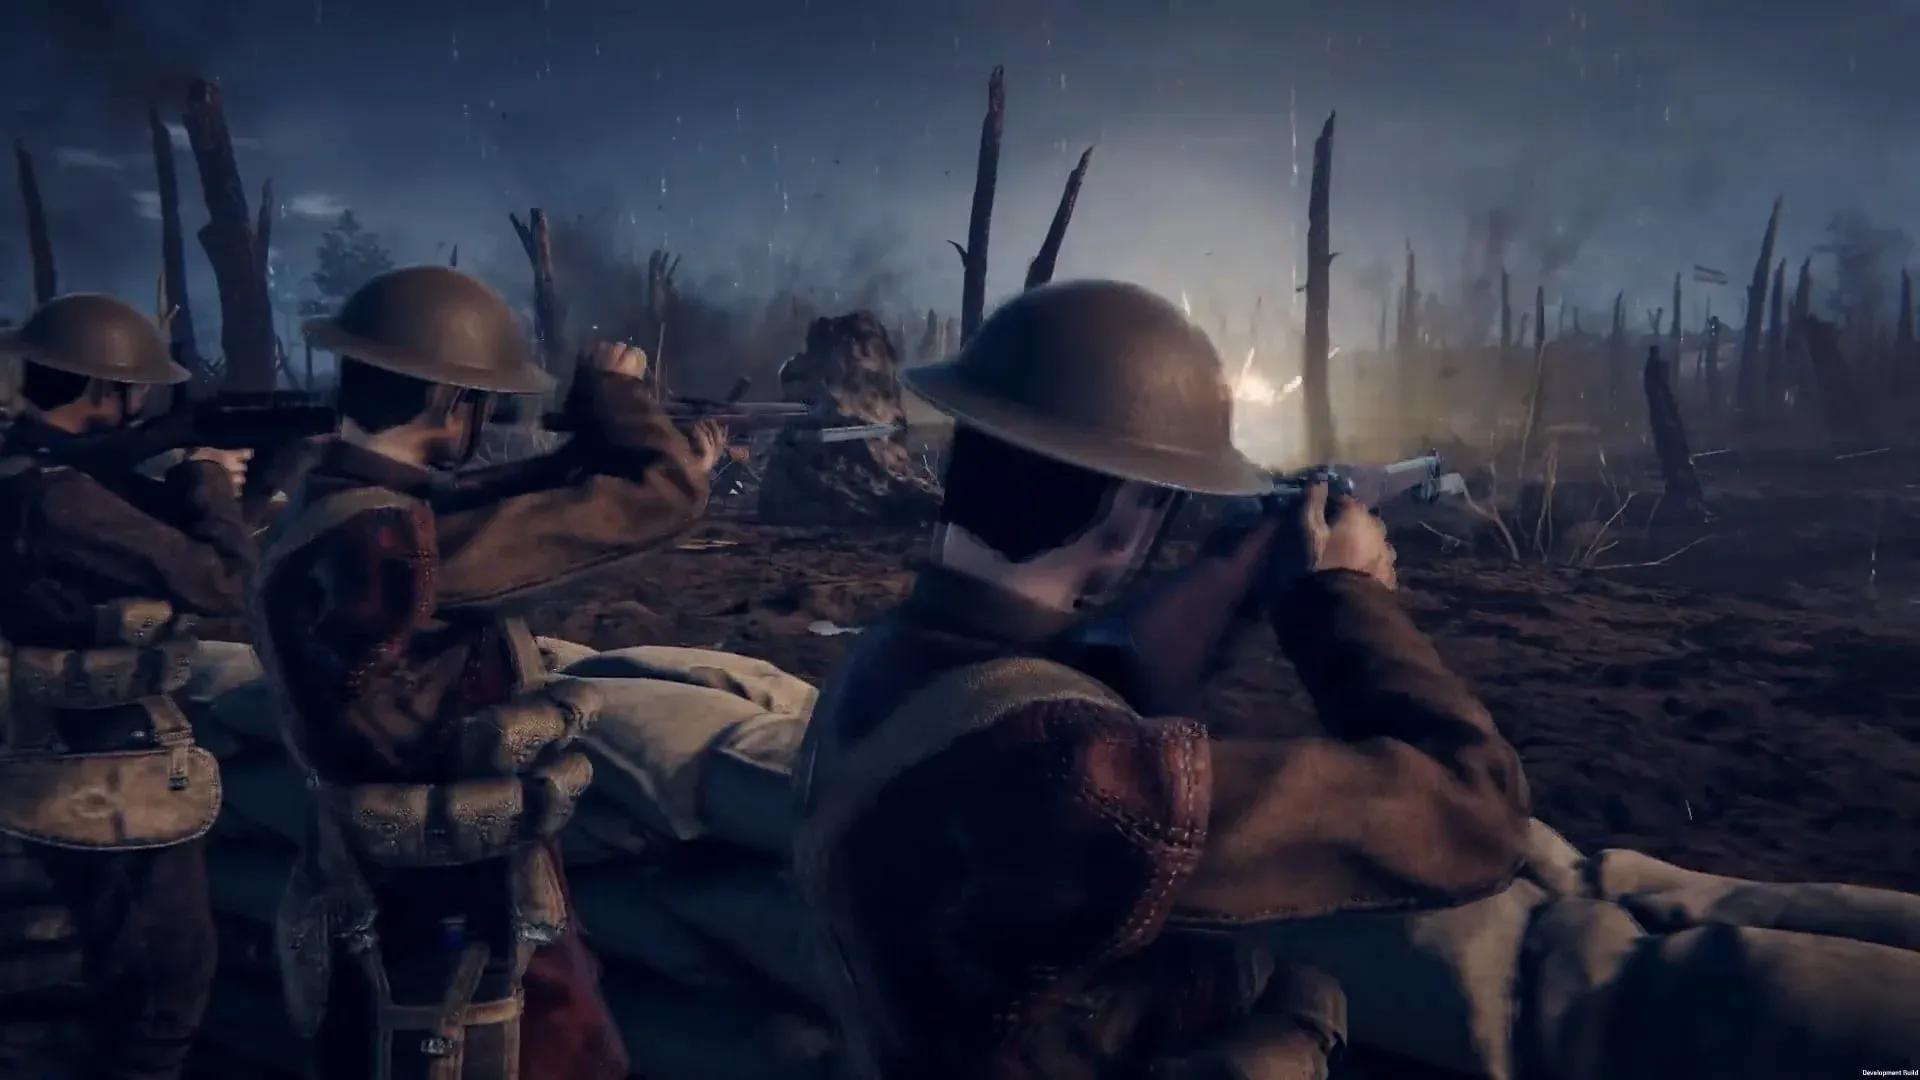
If you've dropped into Over The Top: WWI and immediately felt overwhelmed by the chaos of 200 players, mortars, gas clouds, and machine gun nests, you're not alone. The game throws you into the deep end with 8 distinct classes across 3 playable nations, and picking the wrong role for the situation can turn a coordinated push into a total collapse. Whether you're new to the trenches or looking to sharpen your understanding of each role, this guide covers every class, their weapon kits, and the tactical mindset you need to actually make a difference on the battlefield.
What Classes Are Available in Over The Top: WWI?
Over The Top: WWI features 8 classes split across three categories: 1 Command class, 4 Infantry classes, and 3 Support classes. Every nation (German Empire, Great Britain, and France) fields the same class roster, though specific weapon options differ by faction. The eight roles are:
- Officer (Command)
- Rifleman (Infantry)
- Stormtrooper (Infantry)
- Sniper (Infantry)
- Specialist (Infantry)
- Engineer (Support)
- Heavy Gunner (Support)
- Armoured Cavalry (Support)
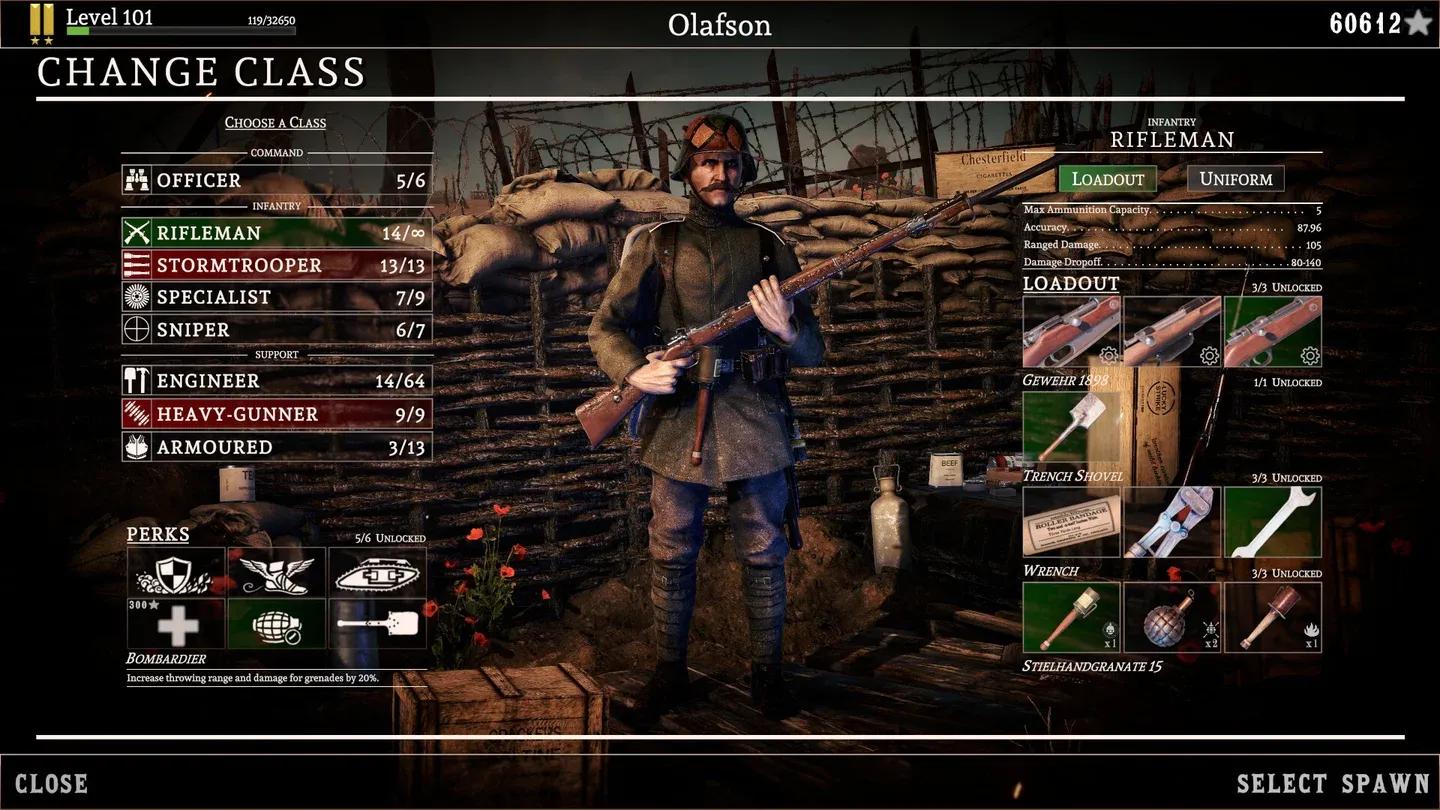
Class selection screen overview
How Do Perks Work in Over The Top: WWI?
Every class across every nation shares the same perk system. You unlock perks by spending experience earned through normal gameplay. Here's the full list:
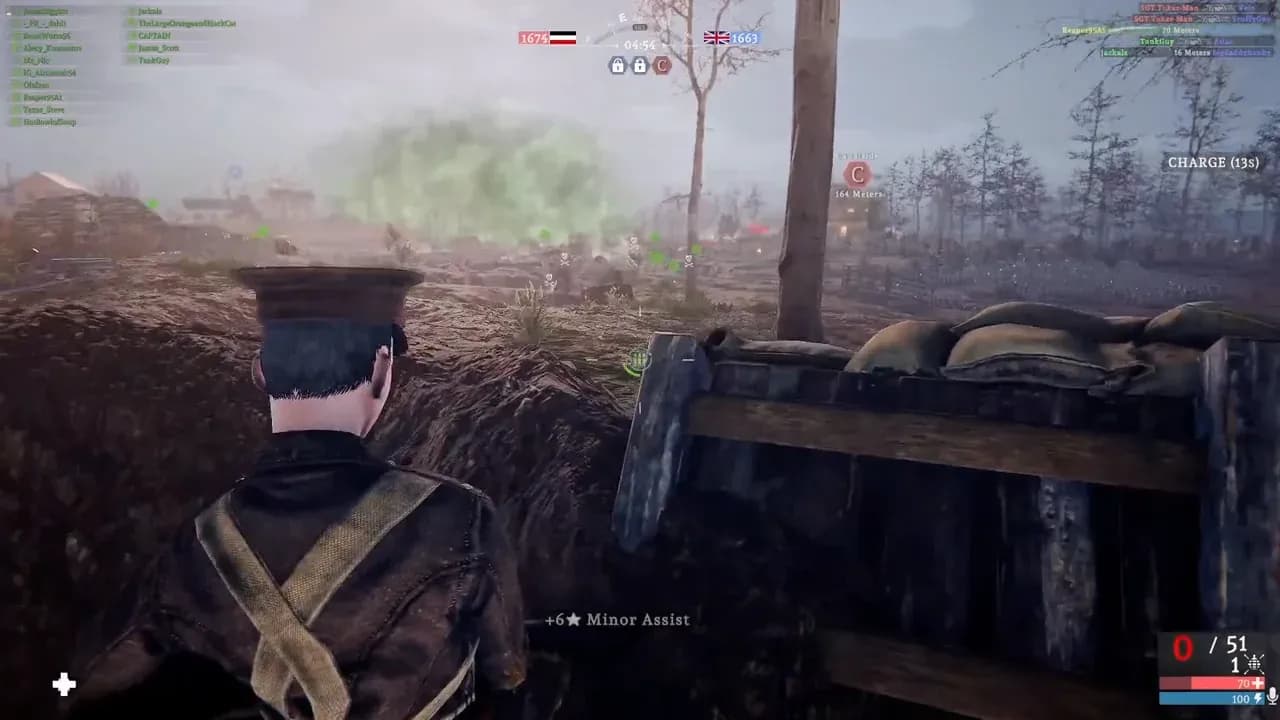
The Officer: Why Staying Alive Is Your Job
The Officer is the most strategically valuable class on the field, not because of raw firepower, but because you are a living, breathing spawn point for your entire team. Your sidearm kit (revolvers and semi-automatics like the Webley Revolver MK V with 110 ranged damage, or the Reichsrevolver at 108 damage) is purely for self-defense.
Your real power comes from the call-in menu:
- Smoke blinds machine gunners and allows your team to cross open ground
- Directional air strikes clear rows of enemies from trenches
- Chlorine gas flushes soldiers out of bunkers
- Creeping barrage can wipe entire flanks when angled correctly
- Spotting flares reveal hidden enemy positions
- Pressing C grants your entire team a speed and melee boost, critical for crossing No Man's Land
Your balloon is also a powerful counter-tool. Deploying it blocks enemy Officers from calling artillery, and on linear maps, counter-ballooning can halt an entire enemy advance by itself. If your position is solid, an Engineer may upgrade it into a permanent forward spawn point, freeing you to rejoin the fight.
The Rifleman: Flexible Backbone of Every Push
The Rifleman is the fundamental infantry class. Bolt-action rifles outrange every weapon category except scoped sniper rifles, giving you reliable engagement distance across most battlefield scenarios.
German Empire Rifleman Weapons
Great Britain Rifleman Weapons
The Rifleman's job isn't to charge blindly. Finding sightlines, neutralizing machine gun nests, and taking out enemy Snipers targeting your Officers is where this class excels. Riflemen can also equip a wrench to repair tanks, which extends their usefulness considerably beyond pure infantry combat. You also have enough range to track and shoot down low-flying planes, though Zeppelins remain the more efficient anti-air tool.
The Stormtrooper: Trench Clearing Specialist
The Stormtrooper is built entirely around close-quarters combat inside trenches. The British faction's access to the Model 97 Trenchgun (shotgun, 22 damage per pellet) makes them particularly devastating in tight corridors, while the German Bergmann MP 18 submachine gun (40 damage, 22-90 dropoff range) offers reliable automatic fire.
What most players get wrong with Stormtroopers is treating them like assault infantry in open terrain. Crossing No Man's Land or engaging Riflemen and Snipers at range with this kit is a losing proposition every time. The correct play is to stick close to your Officer, push through smoke cover as a unit, and clear trenches once the advance reaches close range.
Stormtrooper close-range loadout
The Sniper: Targeting the Head of the Snake
The Sniper class carries some of the highest single-shot damage in the game. Both the German Mauser M. 1871 and the British Fusil Gras 74/14 hit 200 ranged damage with 98.95 accuracy, capable of eliminating targets at 150-310 damage dropoff range.
Sniper Weapon Comparison
The biggest mistake Snipers make is camping a single position. Your primary targets are enemy Officers, because eliminating an Officer removes a spawn point and disrupts the entire enemy push. Keep repositioning constantly, check the map frequently (it highlights troop movements across the battlefield), and use flanking routes to blindside enemy formations.
If you're on a point under heavy pressure with limited defenders, communicate that to your team. The Sniper Decoy utility item is also worth equipping to draw fire and reveal enemy positions.
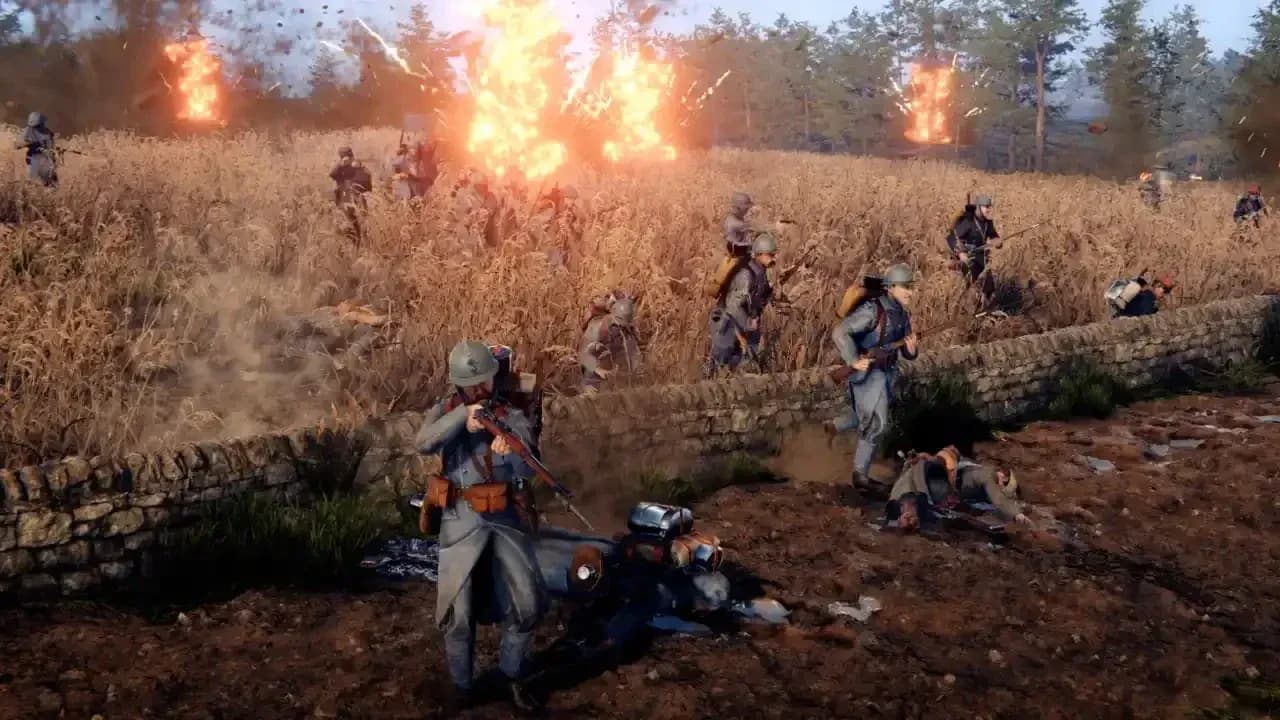
The Specialist: Anti-Tank and Trench Flamethrower
The Specialist shines on maps where enemy tanks are actively threatening your lines. The Tankgewehr 1918 (200 ranged damage, 79.82 accuracy) punches through armor effectively, while the Wechselapparat or Schilt Lance Flammes flamethrowers (25 damage per tick, 99.5 accuracy) are exceptional for flushing soldiers out of fortified trenches.
The tradeoff is a thin health pool. Specialists who draw direct attention from Riflemen or Stormtroopers rarely survive the engagement. Patient, low-profile play is essential: stay behind your advance, clear armor threats and entrenched positions from angles that avoid direct fire, and reposition before enemies can identify your location.
Specialist flamethrower trench clear
The Heavy Gunner: Suppression Machine
The Heavy Gunner operates the most powerful sustained-fire weapons on the battlefield: the German Maschinengewehr 08, the British Vickers M1, mortars, and field cannons. The German faction uses an overheat system rather than a reload mechanic, which means managing heat effectively translates to near-infinite suppression while ammunition holds.
Heavy Gunner nests are frequently the single biggest obstacle teams face on every map. Even when enemies close the gap or attempt to flank, the class carries revolvers (the Reichsrevolver at 108 damage or the Webley Revolver MK V at 110 damage) as backup sidearms.
The Engineer: Advanced Class for Map Control
The Engineer is arguably the highest-skill-ceiling class in the game. Digging trenches, placing sandbags, and establishing spawn points sounds unglamorous until you realize that a well-placed Engineer spawn can win an entire sector, while a poorly placed one creates a death trap for your own team.
Key responsibilities include:
- Digging forward trench networks that give your team covered approach routes
- Building firing positions for Riflemen
- Creating and destroying spawn points to prevent enemy camping
- Using the digging tool to reduce trench wall inclines and free stuck tanks
One critical detail: when the battle lines shift and your side loses ground, your trenches become the enemy's trenches. Plan your construction with that reversal in mind. The Engineer's grenade kit (Fire, Dynamite, Rifle Grenade) also gives them surprising offensive capability for a support role.
The Armoured Cavalry: Breaking Stalemates
The Armoured Cavalry is a commitment class with one primary purpose: absorbing damage and creating openings for your infantry. The armored plating allows you to hold ground longer than any other class, which makes you invaluable during standoffs where neither side can advance.
Both German and British Cavalry have access to high-damage scoped rifles (200 damage, 98.95 accuracy) alongside bolt-action and revolver options, giving them more versatility at range than the class name suggests. The correct play is to charge into contested positions, soak incoming fire, and give your Riflemen and Stormtroopers the window they need to push through.
What's the Best Loadout for the Medic Role?
The 2026 Total War update significantly reshaped how the Medic functions within squads. Respawn penalties became much harsher after the patch, turning the Medic from a convenient option into a squad necessity. A single active Medic can realistically save 40-60 reinforcement tickets per round in close matches, which frequently determines whether a sector is captured or lost.
The current meta favors what experienced players call the "Combat Surgeon" approach: prioritizing mobility and survivability over raw firepower.
Recommended Medic Primary Weapons
For gadgets, Bandage Pouches outperform Medical Crates in the current meta because the battlefield is highly mobile. Throwing healing directly at sprinting teammates during a push keeps squads alive without forcing anyone to stop and gather around a static object.
Smoke grenades are non-negotiable. Running fragmentation grenades as a Medic wastes the one tool that makes revives possible under fire. The established approach among experienced players is clear: smoke first, revive second.
Medic Revive Priority Order
- Other Medics — two active Medics multiply squad survival exponentially
- Officers and Squad Leaders — preserving spawn points is a force multiplier
- Support players (LMG/Heavy Gunners) — suppressive fire keeps enemies pinned
- Infantry and Assault players — revive only when the immediate area is clear
Accepting that some downed players in exposed positions simply cannot be saved is one of the hardest lessons new Medics face. A Medic who dies attempting an impossible revive in an open sniper field helps nobody.
How Does the Smoke Wall Push Tactic Work?
High-level players use a coordinated advance technique known as the Smoke Wall when attacking fortified trench positions. The sequence works as follows:
- Throw smoke approximately 5 meters ahead of the downed squad position
- Slide into the smoke cloud using the updated 2026 movement mechanics
- Revive the highest-priority teammates first (Officers before Infantry)
- Deploy healing immediately to get revived players back to fighting capacity
- Throw a second smoke forward to extend cover into the next push segment
The result is a rolling smoke barrier that allows your team to recover casualties and continue advancing rather than retreating to respawn.
Map-Specific Survival Tips
Verdun Heights
This map's constant artillery and gas effects make survival difficult without deliberate positioning.
- Stay near bunkers whenever possible
- Prioritize healing machine gunners who are anchoring defensive positions
- Equip and use gas masks frequently — gas damage accumulates fast
No Man's Land
Open terrain makes this the most punishing map for support classes.
- Stay low and crawl across exposed ground
- Use shell craters as cover between movements
- Never cross open ground without smoke already deployed
Standing upright in No Man's Land without smoke cover is a reliable way to end your round early regardless of which class you're playing.
Unwritten Rules Every Player Should Know
The Over The Top: WWI community has established informal conduct standards that keep matches functional.
For support players:
- Clear nearby threats before attempting any revive
- Communicate your approach to downed teammates
- Never run into obvious sniper sightlines for a low-priority revive
For all players:
- Don't skip respawn if a Medic is actively moving toward you
- Stay still during revive animations
- Protect your support players whenever possible — a protected Medic or Engineer can sustain an entire trench line