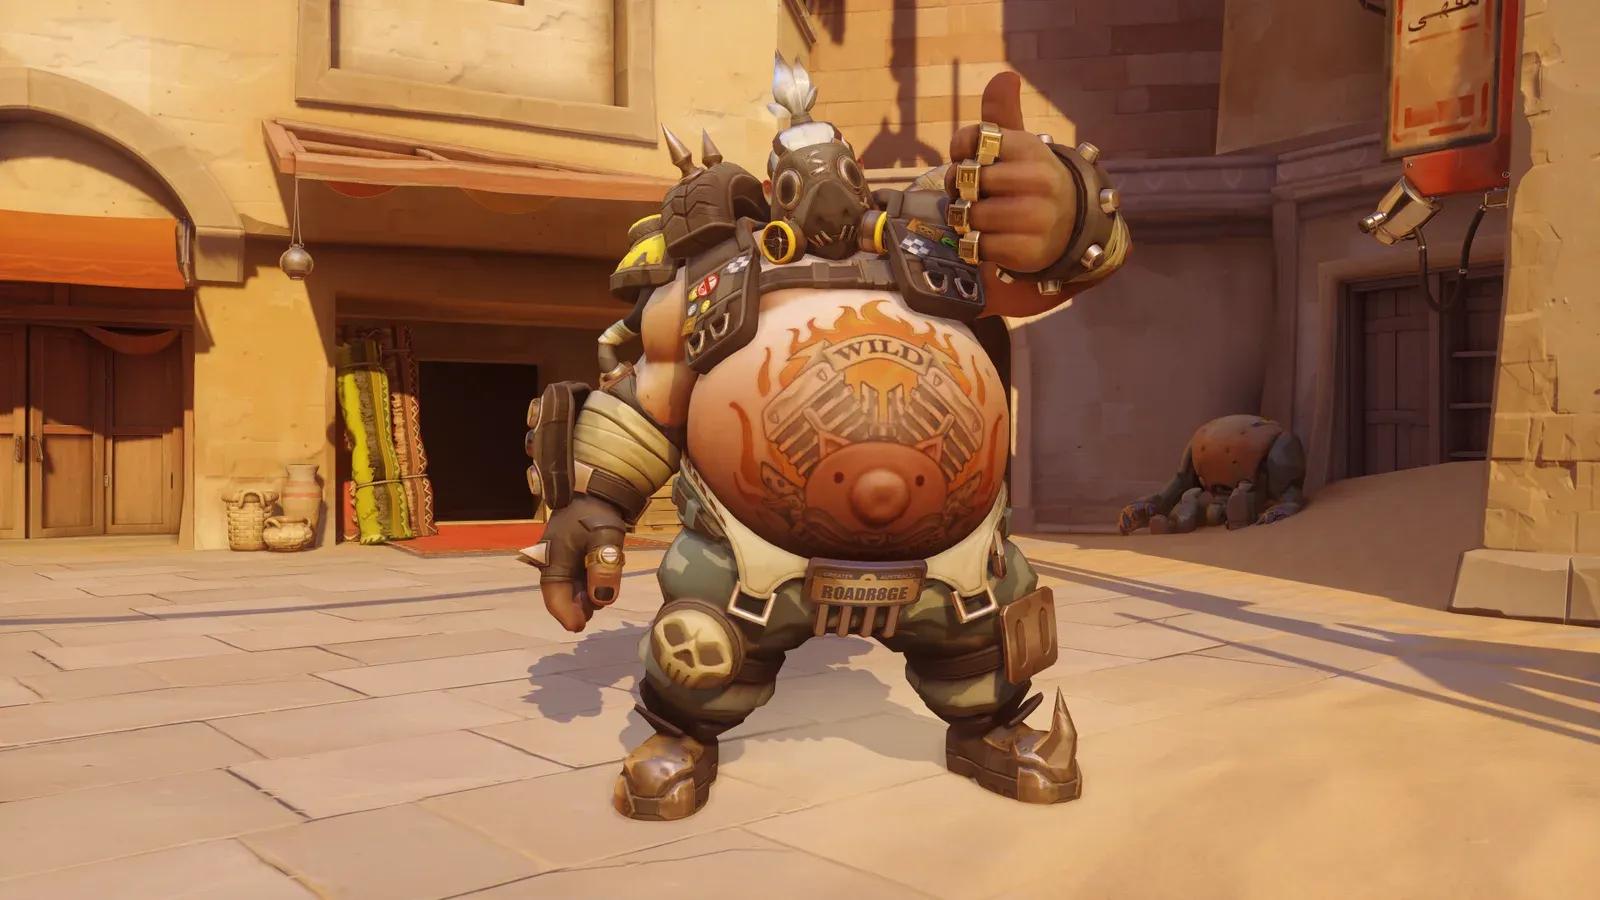

Who Is Roadhog and Why Should You Play Him?
Roadhog plays nothing like a traditional Tank. Forget barriers and team shields, because this Junkertown enforcer wins fights by pulling enemies out of position and deleting them before they can react. His Chain Hook is arguably the most dangerous Tank cooldown in Overwatch, and his Take a Breather makes him one of the most self-sufficient heroes in the entire roster. If you enjoy making solo plays, punishing squishy targets, and operating independently from your supports, Roadhog is your hero.
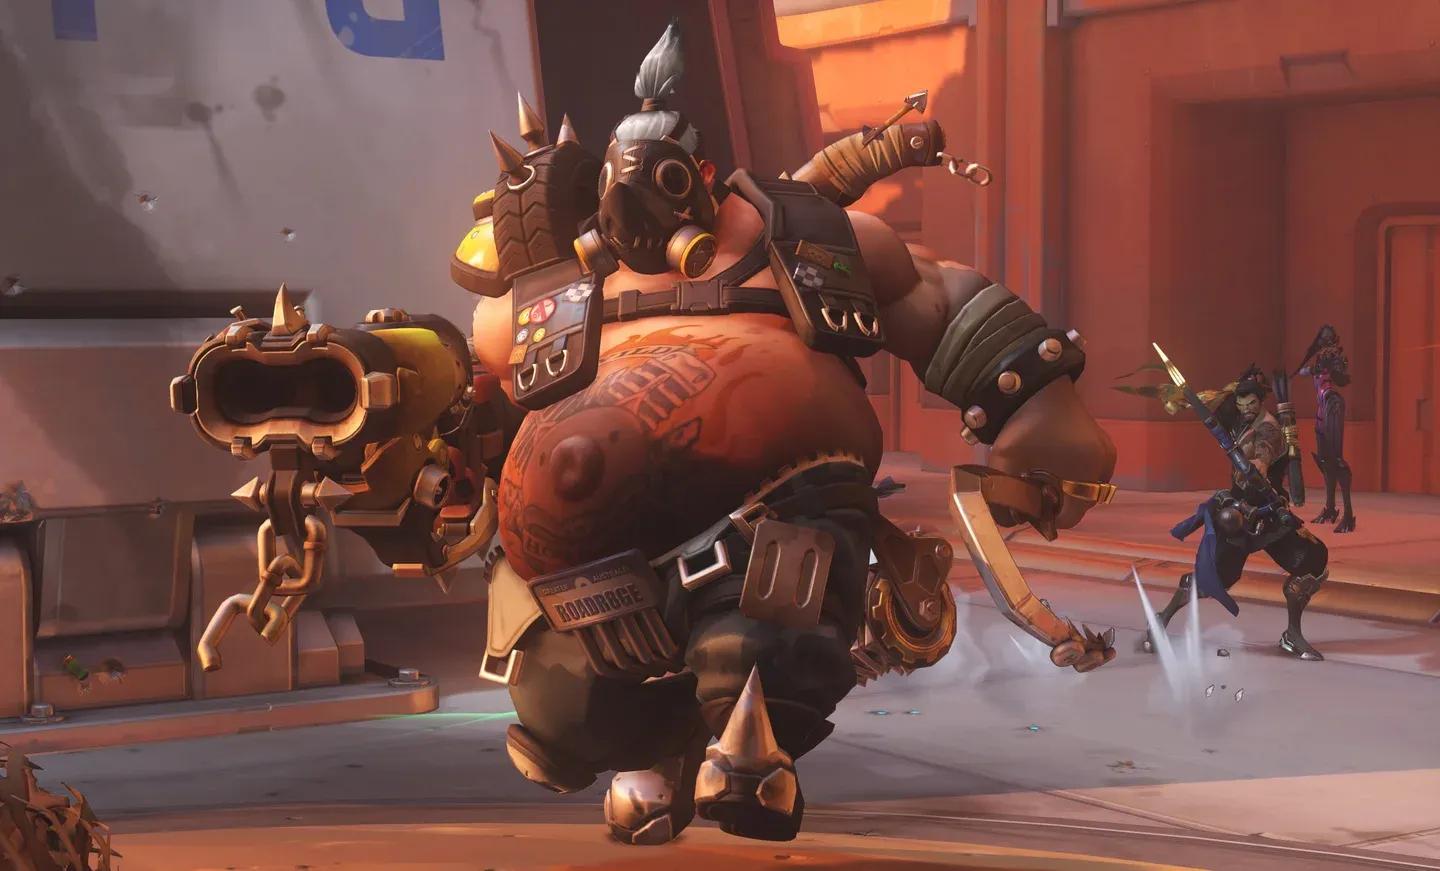
Roadhog Stats and Ability Overview
Roadhog currently sits at 600 base health in 5v5 Role Queue (with an additional 150 HP from the Tank role passive, bringing his effective health to 750). He fires the Scrap Gun, a short-to-medium range shotgun with 6 rounds per magazine and a 1.5-second reload. Each primary fire shot fires 25 pellets dealing 7 damage each (175 maximum per shot at close range, as of the March 2026 patch). His headshot multiplier is 2x.
Chain Hook cooldown management
What Are Roadhog's Core Abilities?
How to Execute the Chain Hook Combo
The Chain Hook combo is the heart of Roadhog's kit. When done correctly, it eliminates most DPS and Support heroes in under a second. Here is the exact sequence:
- Fire Secondary Fire (the shrapnel ball) at the target from 10-14 meters
- Immediately throw Chain Hook to cancel the remaining shot animation
- As the enemy arrives at 3 meters distance, fire Primary Fire aimed at the chest so all pellets connect
- Follow with an instant Melee attack to finish the kill
This sequence, executed rapidly, can delete any hero at or below 250 health. Headshots during the primary fire step make the combo even more lethal and remove the need for the melee follow-up against many targets.
Hook and Turn: The Wall Trick
What most players miss is the directional control Roadhog has during the pull. The enemy lands at 3 meters in the direction you are facing at the end of the pull animation, not where they were standing. Flick your aim toward a nearby wall or corner while the chain retracts, and the enemy gets deposited behind cover, away from their team's line of sight and healing range. This almost always guarantees an elimination.
Target Priority for Chain Hook
Chain Hook reaches 20 meters, which is far enough to snag supports and damage heroes hiding behind their Tank. Prioritize in this order:
- Supports (Zenyatta, Ana, Mercy) - low health, no escape
- Damage heroes (Tracer, Genji, Sojourn) - dies to combo instantly
- Dive Tanks (D.Va) - hook during their mobility ability so they cannot fly away
- Enemy Tank - lowest priority, too much health to guarantee a kill
Secondary fire detonation range
How to Use Take a Breather Effectively
Take a Breather runs on a resource meter rather than a flat cooldown. At full charge, it heals 450 HP over 3 seconds while providing 40% damage reduction during the channel. The meter depletes at 40% per second while active and recharges at 12.5% per second when inactive, taking roughly 8 seconds to refill from empty after the 1.3-second regen delay.
Key situations to use Take a Breather:
- When supports are occupied healing teammates elsewhere
- To absorb a specific high-damage ability like Doomfist's Meteor Strike
- During Whole Hog if you take heavy burst damage mid-ultimate
- Against low-damage heroes like Winston or Lúcio who cannot burst through the reduction
What About Anti-Heal?
Anti-heal effects from Ana's Biotic Grenade or Junker Queen's Rampage block the healing component of Take a Breather, but the 40% damage reduction still applies. This is a critical detail: even when anti-healed, activating Take a Breather still makes you tankier. Pair with a Kiriko whose Protection Suzu cleanses anti-heal effects to restore full functionality.
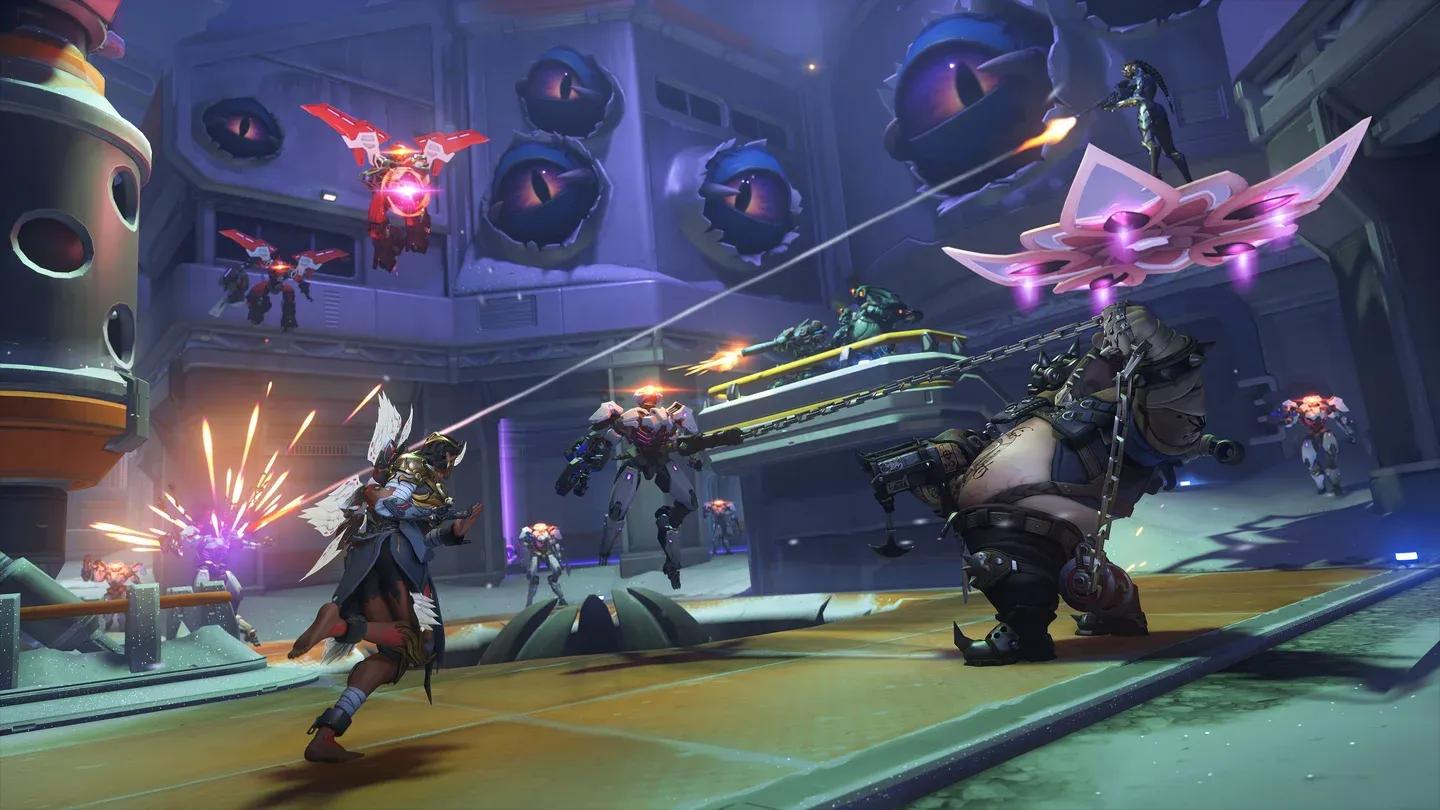
How to Use Whole Hog
Whole Hog transforms Roadhog's Scrap Gun into a 7.5-second hitscan minigun firing 8 shots per second, each volley containing 16 pellets at 7 damage each. The total potential damage is enormous (up to 5,760 damage across the full duration), but the knockback mechanic pushes enemies away, reducing sustained damage in open spaces.
The three situations where Whole Hog truly excels:
- Corner trapping: Pin enemies against a wall so knockback keeps them in range instead of pushing them out
- Environmental kills: Maps with ledges like Ilios: Well let you blast enemies off the edge for instant eliminations
- Objective clearing: The sustained knockback makes it nearly impossible for enemies to hold a point or payload
You can also use Chain Hook during Whole Hog to pull an enemy close before continuing to blast them. Hook before activating for the cleanest setup, or hook mid-ultimate to drag a fleeing target back into range.
Which Perks Should You Choose?
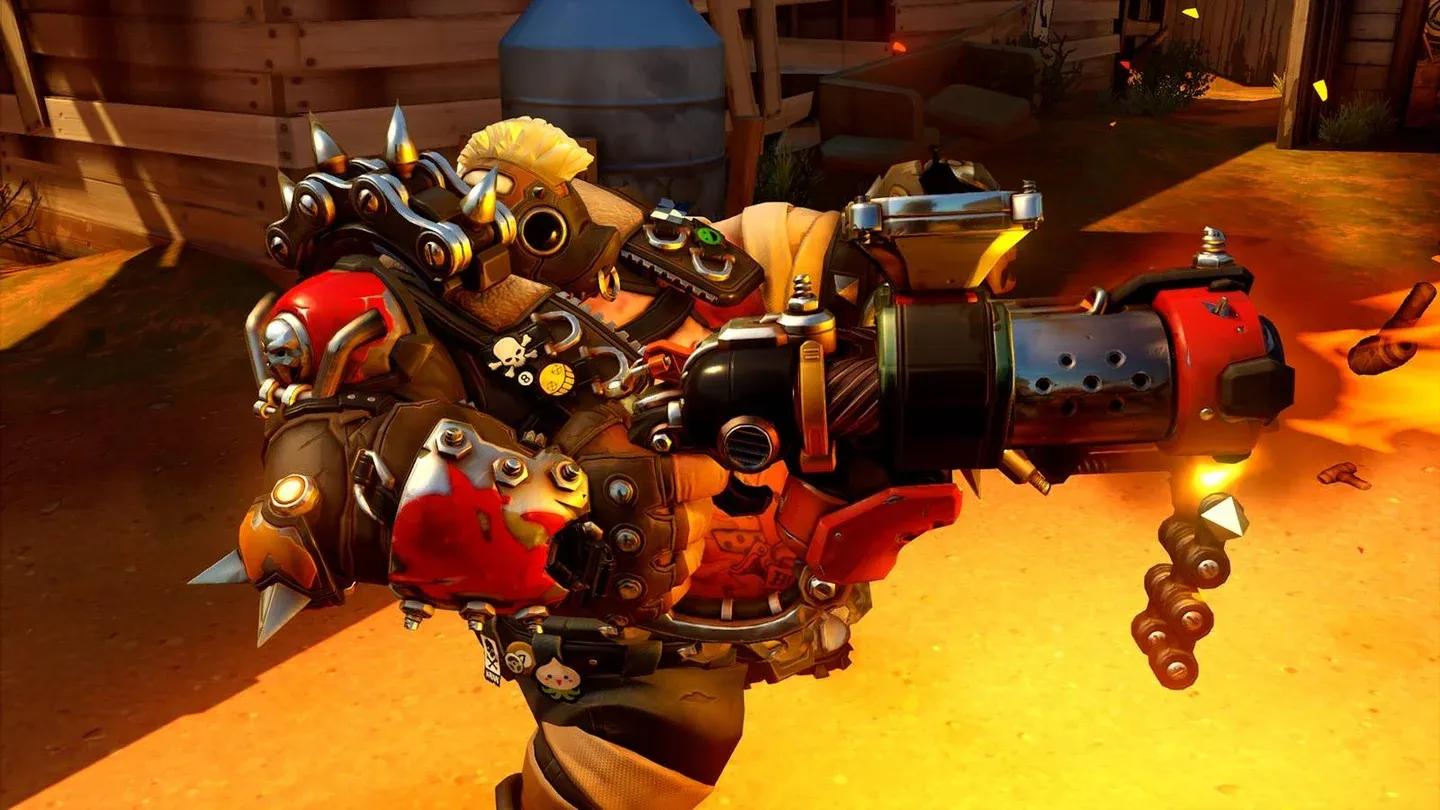
Minor Perks: Scrap Hook vs. Shrapnel Launcher
Scrap Hook reloads 2 ammo on every Chain Hook hit. This effectively reduces time spent reloading by about 30% and eliminates the embarrassing situation of pulling someone in with an empty magazine. It is the safer, more consistent pick for most players.
Shrapnel Launcher extends secondary fire range by 50% and tightens the burst spread by 25% (from 8 to 6 degrees). The extended range pushes the detonation sweet spot to around 15 meters. Note that this actually makes the 10-14 meter range slightly weaker than baseline, so it requires adjusting your positioning habits. Best on maps with longer sightlines like Colosseo.
Major Perks: Invigorate vs. Pulled Pork
Invigorate grants a 30% movement speed boost while using Take a Breather. This is transformative for a hero with zero mobility abilities. It lets Roadhog flank more aggressively, reposition between fights, and disengage from dangerous situations like Ramattra's Annihilation ultimate.
Pulled Pork grants up to 300 overhealth based on how far you pull enemies with Chain Hook (50 base plus up to 250 additional based on pull distance), decaying at 50 HP per second after 2 seconds. This perk rewards long-range hooks and makes Roadhog significantly harder to kill after landing a pull. Choose this when the enemy team is consistently outputting heavy damage onto you.
Map Selection and Positioning
Roadhog thrives on maps that force close-range fights: Control and Flashpoint maps in particular suit his kit. He struggles on maps with extensive high ground and long sightlines, such as Watchpoint: Gibraltar and Circuit Royal, where enemies can poke him from outside Chain Hook range without consequence.
No matter the map, corners are Roadhog's best friend. Every hook should be thrown with a nearby wall in mind. Ilios: Well deserves special mention because simply standing on the point with Chain Hook ready forces the enemy team to avoid the center, giving Roadhog passive objective control without firing a shot.
Team Composition and Support Synergies
Because Roadhog heals himself more efficiently than any other hero in the game, he does not need heavy support investment. What he needs are allies who cover his weaknesses: range and high ground.
Best support pairings:
- Zenyatta: Orb of Discord amplifies every Chain Hook combo, turning borderline kills into guaranteed ones
- Kiriko: Protection Suzu cleanses anti-heal effects that would otherwise shut down Take a Breather entirely
- Ana: Nano Boost on Roadhog during a hook combo creates terrifying burst damage, and her Biotic Grenade can boost Take a Breather healing by 50% when timed correctly
Best damage pairings:
- Hanzo / Widowmaker: Roadhog hooks targets into their line of sight for easy follow-up
- Junkrat: The classic hook-into-trap setup creates devastating area denial
- Zarya: The "Black Hole Scrap" combination (Graviton Surge into Whole Hog) shreds grouped enemies who cannot be knocked away by the knockback
Take a Breather resource bar
How to Counter Roadhog
Roadhog's entire threat comes from Chain Hook landing. Shut that down and he becomes a large, slow target with limited output. Here are the most effective counter strategies:
Barrier Tanks like Reinhardt can reactively block hooks by watching for Roadhog's throw animation. Orisa's Javelin Spin blocks the hook entirely and her Fortify makes her immune to the pull.
Saving hooked allies is possible with Lifeweaver's Life Grip (pulls the ally back before the combo completes), D.Va's Defense Matrix (absorbs the follow-up shotgun blast), and Kiriko's Protection Suzu (cleanses the stun effect).
Anti-heal from Ana's Biotic Grenade or Junker Queen's Rampage is the single most effective counter to Roadhog's survivability. Without Take a Breather healing, he is just a slow, large target that feeds ultimate charge to the enemy team.
Sombra is a hard counter when she lands Hack before Roadhog can act, disabling Chain Hook and Take a Breather simultaneously. However, any damage interrupts her Hack animation, so firing immediately when she appears can prevent the disable.