
Phasmophobia has 27 ghost types, and the journal only tells you half the story. The evidence system gets you started, but on Nightmare or Insanity difficulty, where evidence slots shrink to one or zero, knowing a ghost's secret behaviors is the difference between a clean contract and a body bag. This guide breaks down every hidden ability, behavioral quirk, and field-tested identification method across all 27 ghost types.
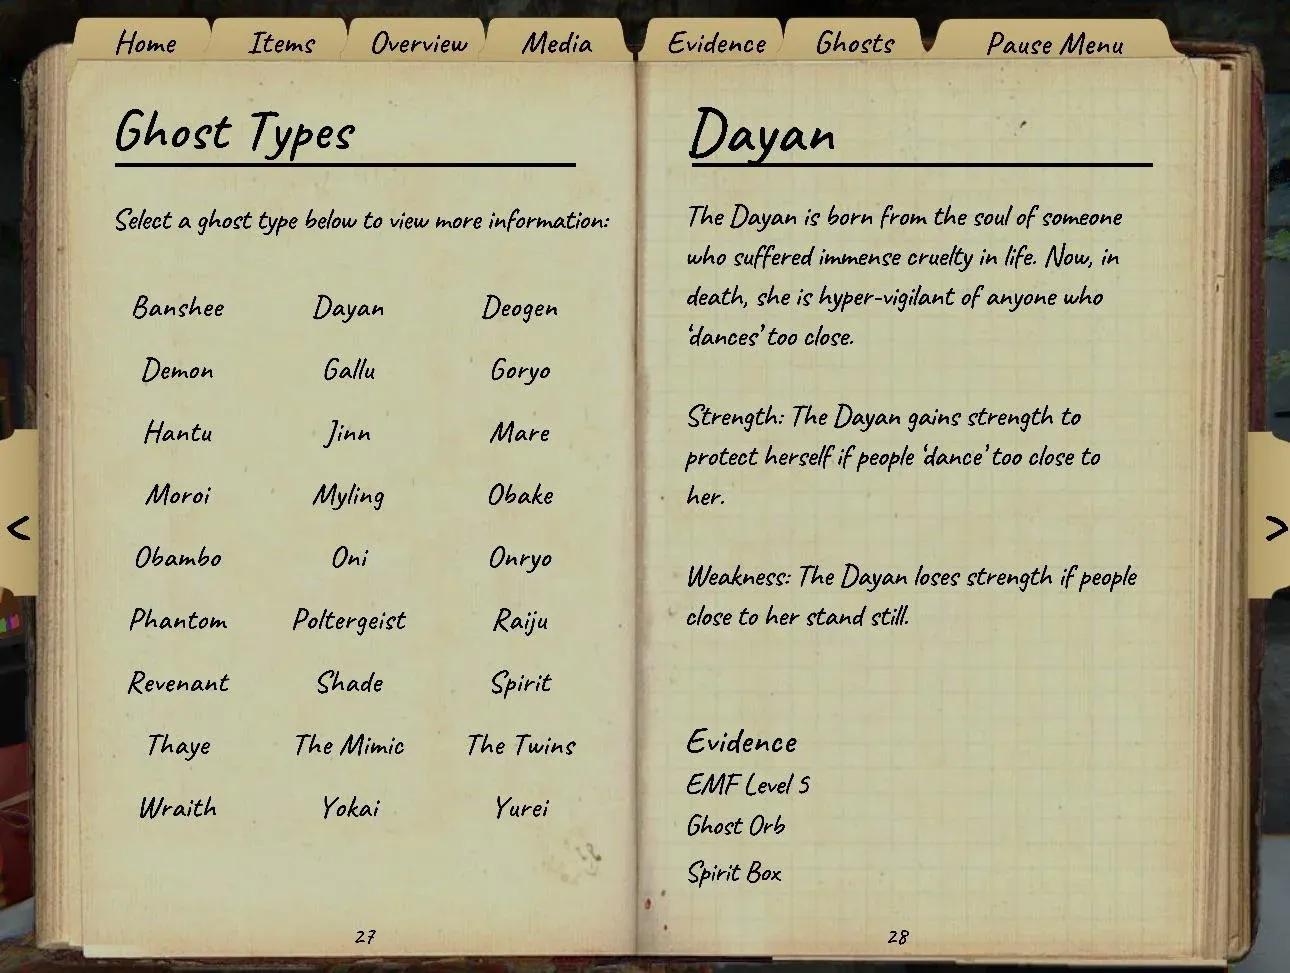
Journal evidence tracking screen
What most players get wrong about ghost identification
Appearance tells you nothing. Any ghost can manifest in full form, shadow form, mist form, or the classic grey-white ghost form. A crawling figure is not a Deogen just because it looks unsettling. The only reliable identifiers are evidence, behavioral patterns, and hunt mechanics.
The bigger mistake is treating evidence as the only tool. On higher difficulties, you might get one piece of evidence, or none at all. That's when behavioral testing becomes your primary weapon.
How do ghost speeds work in Phasmophobia?
Base speed for most ghosts sits at 1.7 m/s during hunts, but several ghosts deviate significantly from that number depending on conditions. Here's a quick comparison of the ghosts that break the speed rules:
The Moroi deserves special attention here. At low sanity with line of sight, it hits 3.7 m/s, making it the fastest ghost in the game. Unlike the Revenant, which is only fast when it can see you, the Moroi scales its speed throughout the entire match as your sanity deteriorates.
All 27 ghost secret abilities and how to test them
Spirit
The Spirit has no hidden offensive abilities, which is itself the clue. Smudging it during a hunt or in its room blocks hunts for 180 seconds instead of the standard 90. If you smudge and the ghost takes over three minutes to hunt again, you almost certainly have a Spirit.
Wraith
Wraiths never disturb salt piles, period. Place salt in a doorway or corridor you know the ghost has crossed, and check it later. Undisturbed salt after confirmed ghost movement is one of the cleanest confirmations in the game. The Wraith can also teleport directly next to a random player, so if interactions suddenly appear far from the ghost room, treat it as a serious Wraith indicator. Keep a crucifix on you if you suspect one.
Phantom
Taking a photo of a Phantom during an event causes it to vanish visually, though the event keeps running (lights still flicker, singing continues). It also stays invisible for much longer during hunts compared to other ghosts, making it hard to spot while looping. Staring at a Phantom during any manifestation drains your sanity faster than normal. The Phantom also roams toward random players, similar to the Wraith and Banshee.
Poltergeist
Poltergeists throw multiple objects simultaneously and drain nearby player sanity when they do. They can apply a force value of 2 to 6 when throwing, versus the standard 1 to 3 for other ghosts. During hunts, they throw objects every 0.5 seconds rather than the standard 50% chance per interaction. Build a "polterbomb" by piling small objects in the ghost room and watch for multi-throws. Spread several small piles around rather than one large stack for better results.
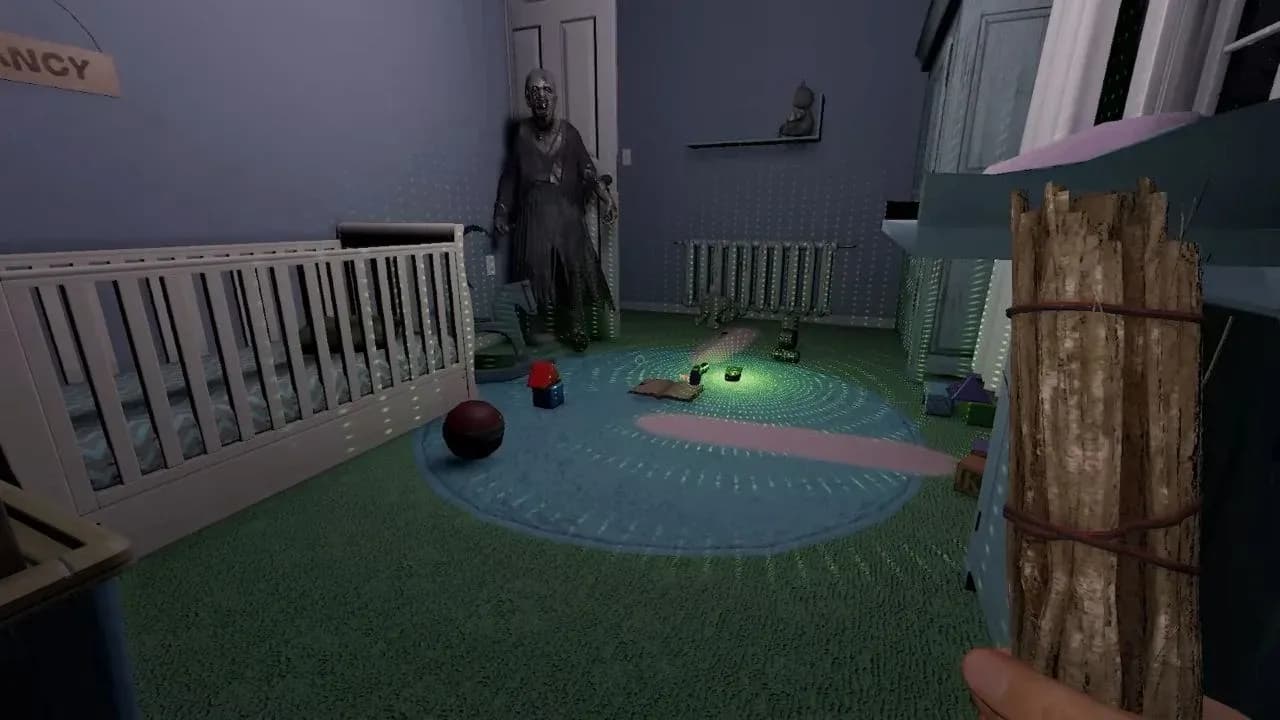
Poltergeist multi-throw ability
Banshee
The Banshee locks onto a single target player and only hunts based on that target's sanity, not the team average. If you're not the target, you can actually walk past the ghost during a hunt without being killed. It also roams toward its target rather than the ghost room, so interactions appearing near a specific player far from the ghost room is a strong indicator. The Parabolic Microphone has a 33% chance to pick up a scream exclusive to Banshees. In multiplayer, test whether the ghost ignores other players during a chase after smudging.
Jinn
The Jinn needs the fuse box on to use its abilities. It will never turn the fuse box off itself, so if power cuts out at the source, rule out the Jinn immediately. With the breaker on and line of sight from at least 3 meters away, it accelerates to 2.5 m/s. Within 3 meters, it drops back to normal speed. It can also zap a player's sanity by 25% when standing near the ghost in its room, and this generates an EMF reading at the fuse box. Leave an EMF reader at the breaker to catch this.
Mare
Mares will never turn on a light and actively prefer dark rooms during roams. Their hunt sanity threshold shifts based on lighting: 60% when lights are off, 40% when lights are on. Firelight and equipment lighting do not affect this threshold, but destroyed light fixtures don't count either. To test, turn on all lights including the ghost room and adjacent rooms, leaving one dark. The Mare should roam toward the unlit room. A Mare can also immediately turn off a light you just switched on if you're within 4 meters of the ghost, with a 10-second cooldown on that ability.
Revenant
The Revenant is one of the simplest ghosts to identify during a hunt. It moves at 3 m/s with line of sight or when it hears you, then drops to 1 m/s the moment you hide. That speed contrast is extreme and unmistakable. Hide in a closet and listen: if the footsteps go from rapid to crawling, you have your answer. There's no running from a Revenant once it sees you, so immediate hiding is always the correct play.
Demon
Demons can hunt at any sanity level and have a standard threshold of 70% (versus the usual 50%), meaning they can and will hunt when your team walks in the door. Their hunt cooldown is 20 seconds instead of 25, and smudging only blocks hunts for 60 seconds instead of 90. The crucifix radius is 50% larger for Demons, which helps. If a hunt triggers above 80% sanity, it is almost certainly a Demon.
Yurei
The Yurei drains 15% sanity from all players within 7.5 meters, but only if there is an open door in its current room. Keep doors open to encourage this ability and watch for rapid sanity drops. Smudging a Yurei traps it in its favorite room for 90 seconds. The Yurei can fully open or close doors, and this action generates two EMF 2 readings on that door. Closed doors with no UV print and rapid sanity loss is a reliable combination to look for.
Oni
Onis are the most physically visible ghosts during hunts, manifesting for longer and more frequently than others. They never appear in mist form. During events, they almost always appear in full body form rather than shadow. Onis are also more active when players are in the same room, the opposite of the Shade. Use this to your advantage by staying near the ghost room to generate EMF readings.
Yokai
Talking near a Yokai raises its hunt threshold to 80%, the highest in the game, making it easy to mistake for a Demon. Without voice chat nearby, its threshold is the standard 50%. During hunts, it can only hear players within 2.5 meters, compared to the standard 9 meters for most ghosts. To test: hide somewhere without line of sight and use global chat (B key) once the hunt starts. If the ghost passes within a few meters and ignores you, it's almost certainly a Yokai.
Hantu
The Hantu moves faster in cold rooms and slower in warm ones. With the breaker off, it always moves at full speed and emits visible frost breath from its mouth during hunts. With the breaker on, watch for it moving quickly near its room and slowing down in warmer areas. The Hantu is also more likely to switch off the fuse box than most other ghosts, so frequent breaker trips are a soft indicator. On evidence-limited runs, freezing temperatures is always one of its guaranteed evidence types.
Goryo
The Goryo only appears through a video camera when interacting with a D.O.T.S. Projector. If you can see the D.O.T.S. silhouette on camera but not with your own eyes from outside the room, that's a Goryo. It also rarely roams far from its favorite room, so a ghost that stays put even on high roaming settings leans toward Goryo. On limited evidence runs, D.O.T.S. Projector is always one of its guaranteed evidence types.
Myling
Mylings are quieter during hunts, with footsteps only audible within 12 meters rather than the standard 20 meters. Electronics flicker at 10 meters. This means the flashlight flicker and the footsteps arrive almost simultaneously, which is the core of the lantern test. They also produce paranormal sounds on the Parabolic Microphone more frequently than any other ghost, roughly every 40 to 60 seconds versus 80 or more for others. Don't confuse this with the Banshee's unique scream.
Onryo
Lit candles act as a crucifix substitute for the Onryo when placed at least 4 meters away from it. After blowing out three candles in a row, the Onryo attempts to hunt. If a fourth candle (including your lighter) is lit when the third is blown out, the fourth acts as the crucifix and blocks the hunt. The Onryo is afraid of fire, so a firelight nearby reduces its aggression, but it will still blow out any flame it encounters.
The Twins
The Twins interact with objects in two different locations nearly simultaneously: one within a standard 3-meter radius and one within an extended 16-meter radius. There are not actually two separate ghosts, so you won't get false evidence like freezing temperatures in the wrong room. During hunts, one twin moves 10% faster than normal (the decoy, spawning in a random room) and one moves 10% slower (the main twin, spawning in the favorite room). The subtle speed variation between hunts is the best behavioral tell.
Raiju
The Raiju accelerates to 2.5 m/s when near active electronic equipment. The interference radius scales with map size: 6 meters on small maps, 8 meters on medium, and 10 meters on large. Its hunt threshold rises to 65% when active electronics are nearby, versus the standard 50%. To counter it, turn off all non-essential electronics during a hunt. Test it by running a hunt with electronics on, then another with everything off, and compare the speed difference.
Obake
Obakes have a 75% chance of leaving UV evidence instead of the standard 100%, so don't rule one out after a single failed fingerprint check. The signature tell is a six-fingered handprint, which only an Obake can leave. On light switches, it may leave two fingerprints instead of one. On keyboards and prison doors, it leaves five fingerprints instead of four. During hunts, the Obake shapeshifts between ghost models at specific flicker intervals: the 12th, 27th, 39th, 54th, 62nd, 80th, 105th, 120th, and 132nd flickers. Loop the ghost and watch for model changes.
The Mimic
The Mimic copies another ghost's abilities, hunt thresholds, speeds, and event preferences, changing its imitated ghost every 30 seconds to 2 minutes (never during a hunt). It cannot copy evidence types, so if behaviors suggest one ghost but the evidence points elsewhere, consider the Mimic. The definitive tell: The Mimic always produces Ghost Orbs, even though Ghost Orbs are not listed as its own evidence. Ghost Orbs alongside Spirit Box and Freezing Temperatures is the Mimic's actual evidence set.
Moroi
The Moroi curses players who receive a Spirit Box response or hear it through a Parabolic Microphone, doubling their sanity drain rate. Sanity pills remove the curse; entering a lit room does not. Speed scales with average sanity: at 0% sanity with line of sight, the Moroi reaches 3.7 m/s, the highest in the game. To test, compare its hunt speed at 50% sanity versus near 0%. The difference should be noticeable. The Moroi is also weakened by incense for longer periods than standard.
Deogen
The Deogen always knows where you are. It cannot be fooled by hiding spots. It rushes at 3 m/s from a distance but slows to 0.4 m/s within 2.5 meters, the slowest any ghost moves in the game. The practical counter is to loop it around an object or walk slowly down a long hallway once it gets close. The Spirit Box has a chance to produce a distinctive heavy breathing sound when you are within 1 meter of a Deogen, which is exclusive to this ghost type. Spirit Box is always one of its guaranteed evidence types on limited evidence runs.
Thaye
The Thaye ages over time, becoming slower and less aggressive as the investigation progresses. It starts at 2.75 m/s with a 75% hunt threshold, dropping in speed and threshold with each age increment. Aging happens every 1 to 2 minutes when a player is in the same room, or after an extra 30-second delay if the room is empty. A Ouija Board can reveal its current age, with each age increment adding 1 to 4 to the displayed "human age." Early aggression followed by steadily decreasing activity over a single contract is the clearest behavioral tell.
What's the best way to identify ghosts without evidence?
Behavioral testing is the answer, and the most reliable tests vary by ghost. Here's a practical priority order for evidence-light runs:
- Salt test (Wraith): Place salt in a confirmed patrol path. Untouched salt after the ghost passes = Wraith.
- Speed test (Revenant, Deogen, Moroi): Observe whether speed changes dramatically with or without line of sight, at range, or as sanity drops.
- Light interaction (Mare, Jinn): Does the ghost turn off lights immediately after you switch them on? Does it never touch the fuse box?
- Sanity hunt threshold (Demon, Yokai, Shade): Hunt above 70% sanity = Demon suspect. Hunt while talking at 75%+ = Yokai suspect. No hunt above 35% = Shade suspect.
- Roaming test (Banshee, Wraith, Phantom): Interactions appearing near a specific player far from the ghost room suggests one of these three.
For a printable reference covering all 27 ghosts with evidence and behaviors, the Unofficial Phasmophobia Cheat Sheet is a solid tool to keep open in a second monitor. The Ultimate Phasmophobia Cheat Sheet on Steam (last updated March 2026, covering all 27 ghosts) is another resource worth bookmarking.
How does the Shade differ from other passive ghosts?
The Shade is the most passive ghost in the game. It will not interact with the environment while a player is in the same room, and it cannot initiate a hunt above 35% average sanity. To get any evidence from it, you need to leave the room and monitor remotely via camera. Ghost Writing is the most accessible evidence since you can set the book and step out. The Shade also has a 0% chance of triggering a ghost event at 100% sanity, with that chance increasing by 2% per percentage point of sanity lost.
The Shade has a higher chance of appearing as a shadow during ghost events and may manifest as a black shadow when summoned via a Summoning Circle, Music Box, or Monkey Paw.
Survival priorities by ghost type
Knowing the ghost is only useful if you survive long enough to report it. Here's what actually matters for the most dangerous ghost types:
- Revenant: Never run. Hide immediately. The speed difference between line-of-sight and hidden is 3 m/s to 1 m/s.
- Moroi: Take sanity pills to remove the curse and slow its acceleration. Don't let sanity hit zero.
- Deogen: Don't hide. Loop it slowly once it's within 2.5 meters.
- Demon: Crucifix from the start, every time. Its 20-second hunt cooldown means you have very little downtime.
- Yokai: Stay silent during hunts. Its 2.5-meter hearing range means quiet players are nearly invisible to it.
- Banshee: If you're the target, keep a crucifix on your person, not on the floor.
For more ghost hunting strategies and horror game coverage, browse more guides on GAMES.GG.