

Looking to stockpile Mega Shards for those game-changing Mega Stones from Quasartico Inc? You're in the right place. While many trainers struggle to gather enough shards for even one evolution, smart farmers can pull in thousands per hour using optimized routes and the right techniques. Let's transform you from shard-starved to crystal-rich with proven strategies that actually work.
Why Mega Shard Farming Matters
Mega Shards serve as the primary currency for purchasing Mega Stones from Quasartico Inc, making them essential for accessing powerful transformations. Unlike other resources that trickle in naturally, shards require dedicated farming to build meaningful stockpiles.
The math is simple: each Mega Stone costs significant shards, and with 69 different stones available, you'll need thousands of crystals to unlock your full potential. Random collection won't cut it—you need systematic farming.
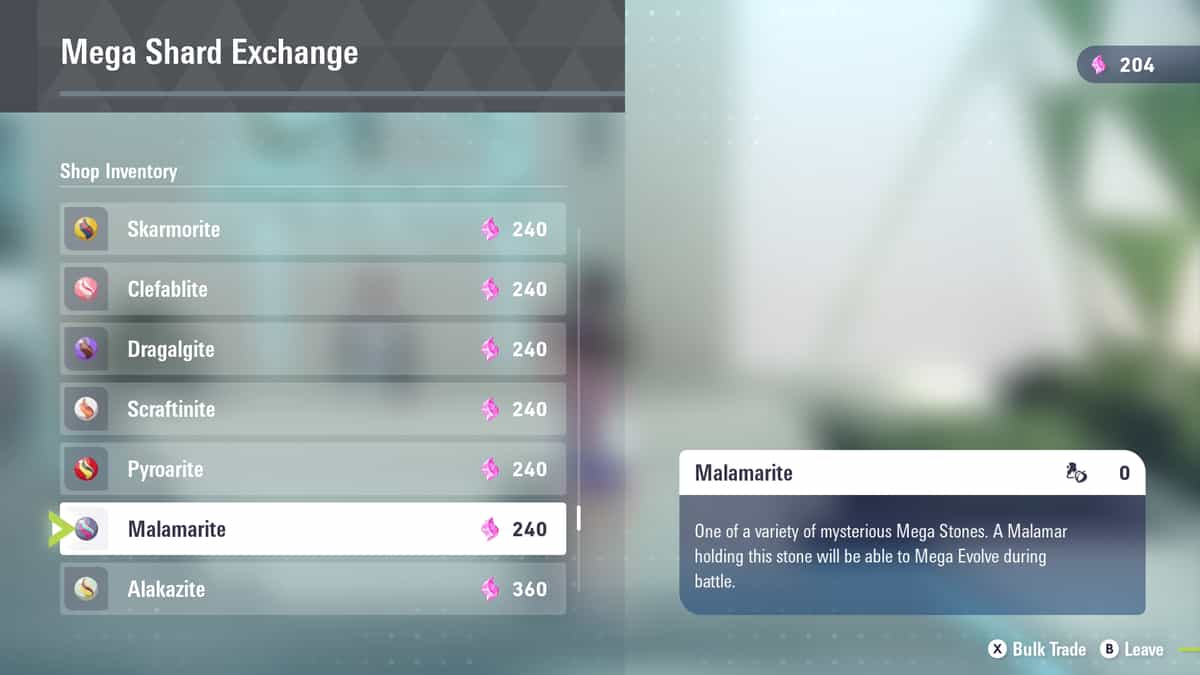
Malamarite in Pokemon Legends Z-A ...
Essential Pokémon for Maximum Efficiency
Your choice of farming partner dramatically impacts collection speed. Fast, wide-hitting moves crush multiple crystal clusters simultaneously, while mobility skills help you navigate between spawn points efficiently.
Top Tier Farmers
Speed-Focused Options
Quick, spammable moves often outperform flashy AoE attacks for pure efficiency:
- Quick Attack: Lightning-fast animation, perfect for dense cluster areas
- Bullet Punch: Rapid-fire destruction with minimal recovery time
- Surf: Excellent for waterfront crystal formations
Best Farming Route
The most efficient farming circuit combines high-density spawn areas with optimal travel paths. This route maximizes crystal encounters while minimizing downtime between respawns.
Primary Circuit: Wild Zone 9
Start at Wild Zone 9, which features two complete rooftops packed with crystal clusters. The concentrated spawns here provide massive shard yields with minimal travel time.
Route Steps:
- Clear the first rooftop completely using wide AoE moves
- Drop to the second rooftop level
- Systematically destroy all visible clusters
- Move to connecting areas while crystals respawn
Secondary Locations
When your primary route is on cooldown, hit these backup spots:
- Area 18 Rooftops: More spread out but substantial cluster count
- Prism Tower Surroundings: Small individual shards that add up over time
- Waterfront Formations: Perfect for Surf users
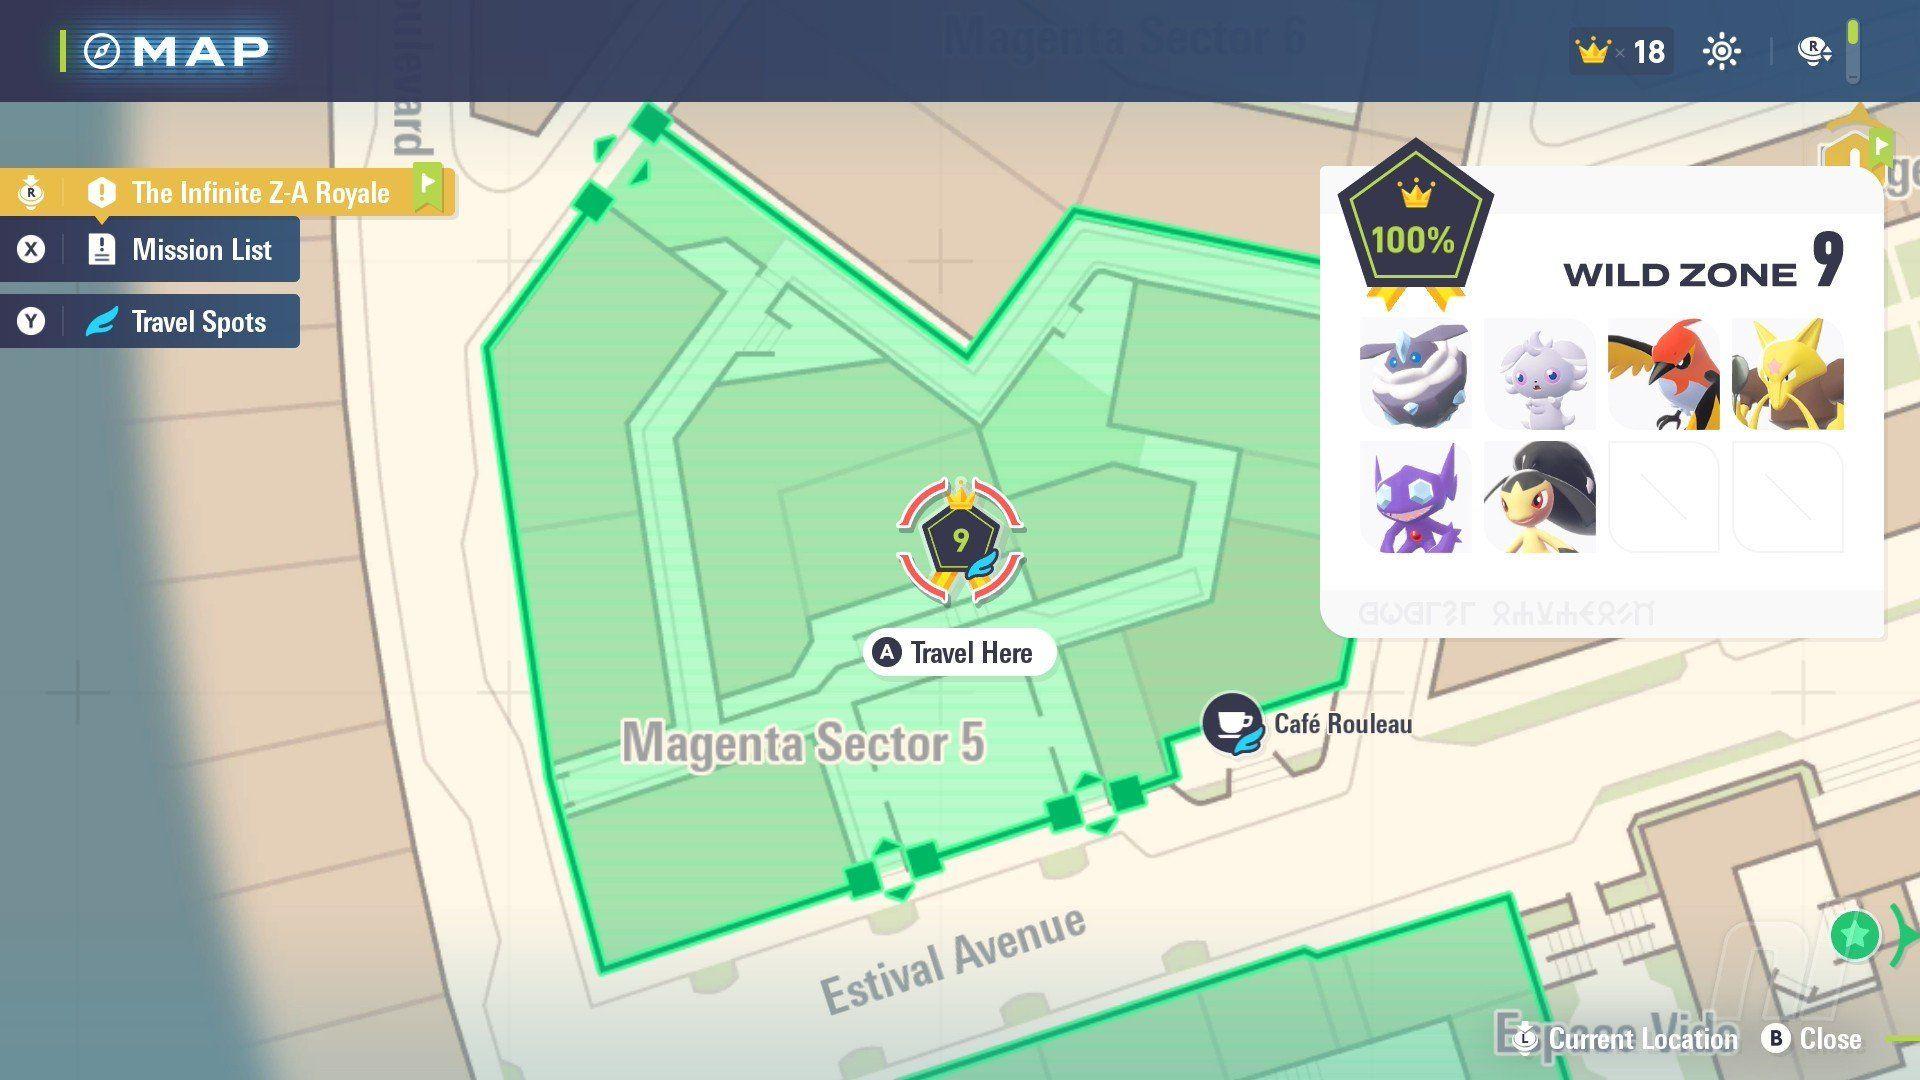
Pokémon Legends: Z-A: Wild Zone 9 Guide ...
Advanced Farming Techniques
Respawn Timing Optimization
Crystal clusters respawn every 30 seconds, creating natural farming cycles. Experienced farmers complete their full route in 25-30 seconds, arriving back at starting positions just as new crystals appear.
If you finish your route early:
- Visit secondary spawn points
- Collect scattered individual shards
- Organize inventory and plan next cycle
Movement Efficiency
Smooth navigation between cluster groups saves precious seconds per cycle:
- Use flying mounts for rapid rooftop transitions
- Plan your path to minimize backtracking
- Learn cluster spawn patterns to optimize collection order
Maximizing Your Hourly Yields
Top farmers consistently pull 6,000+ shards per hour using these advanced strategies:
Cluster Prioritization
Not all crystal formations provide equal value. Focus on:
- Dense cluster groups (5+ crystals together)
- Easily accessible rooftop formations
- Respawn-reliable locations that consistently regenerate
Inventory Management
Keep your bag organized for maximum efficiency:
- Regularly deposit collected shards
- Maintain space for continuous collection
- Track your hourly progress to identify improvement areas
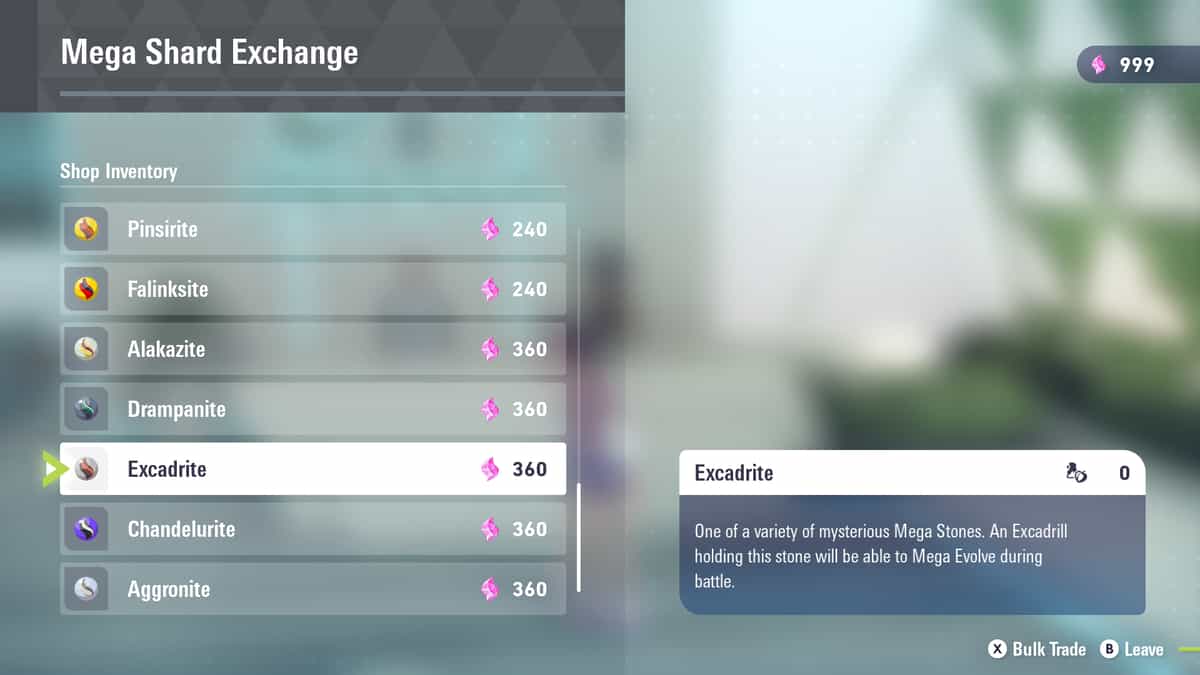
Excadrite in Pokemon Legends ...
Beyond Basic Farming
Integration with Other Activities
Smart farmers combine shard collection with:
- Shiny hunting in crystal-rich areas
- EV training while moving between spawn points
- Item collection from nearby gathering spots
Long-term Planning
Calculate your Mega Stone priorities and set shard targets accordingly. Knowing exactly how many crystals you need helps maintain motivation during extended farming sessions.
The difference between casual collectors and shard millionaires comes down to systematic approach and consistent execution. Master these routes, optimize your techniques, and watch your Mega Shard stockpile grow exponentially. Your future Mega Evolutions depend on the work you put in today!