

Pragmata hides its 40 mods well. Most sit behind optional paths, locked Red Zones, and puzzle rooms that a first playthrough will breeze past without a second glance. Miss enough of them and Hugh's build starts to feel underpowered by the time the Lunum Mines throw their nastiest enemies at you. This guide covers every mod in the game, where to find it, what it does, and how the whole system works so you can stop guessing and start building.
How do mods work in Pragmata?
Mods break into four categories, each one targeting a specific slice of Hugh's toolkit:
- Attack mods raise combat effectiveness through damage boosts, positional advantages, and aerial multipliers.
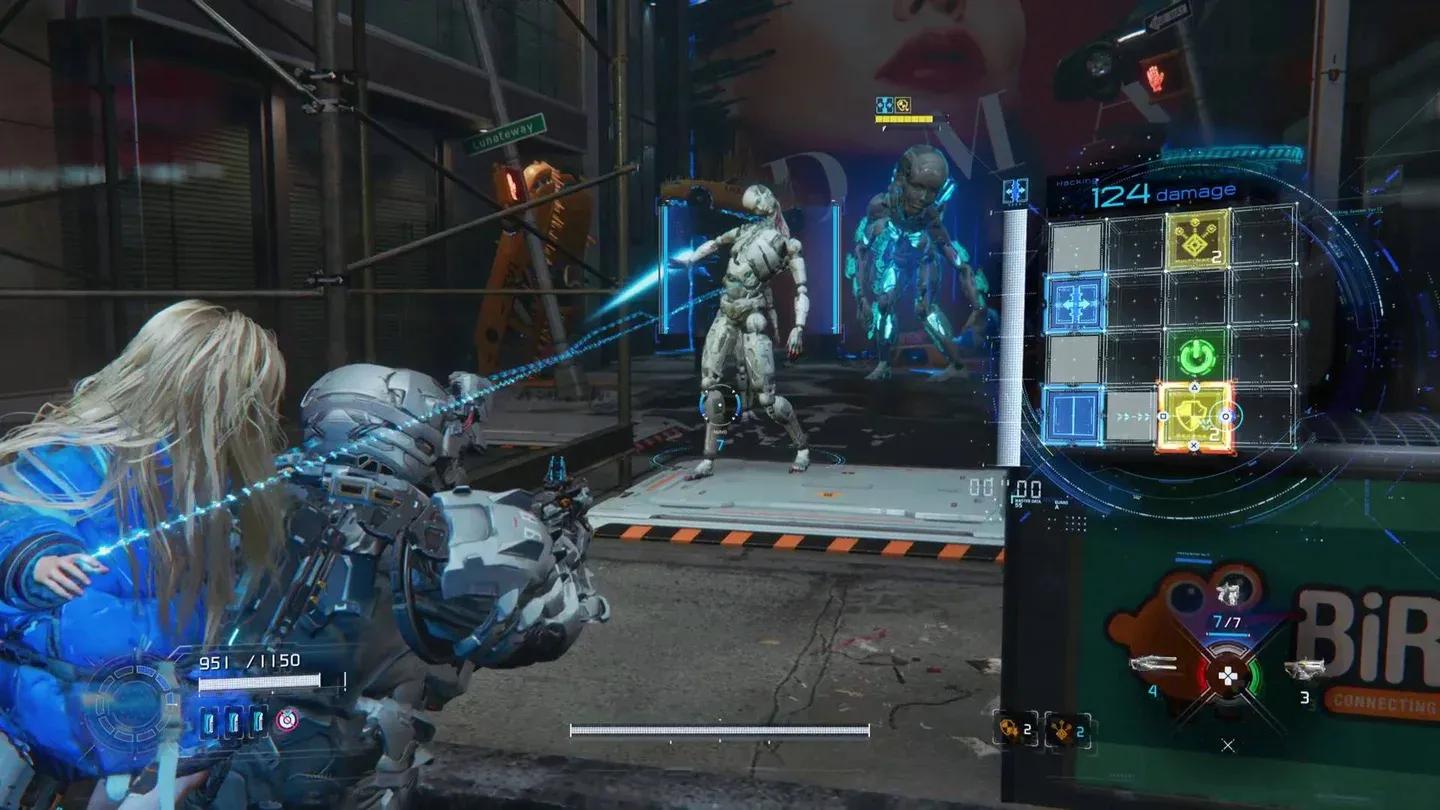
- Hacking mods enhance Diana's capabilities, expanding her range or lengthening the exposure window on hacked enemies.
- Defense mods cut incoming damage under certain conditions or restore health through specific actions.
- Support mods cover quality-of-life improvements, mainly increasing resource yields like Lunafilament.
You start with limited mod slots. Upgrading the Unit Printer expands your capacity to 6 active mods. Building synergy between equipped mods matters more than raw stat stacking, so consider whether you favor close-range aggression, long-range precision, or Diana-focused hacking strategies.
Hugh's mod equip screen
Where do you find mods in Pragmata?
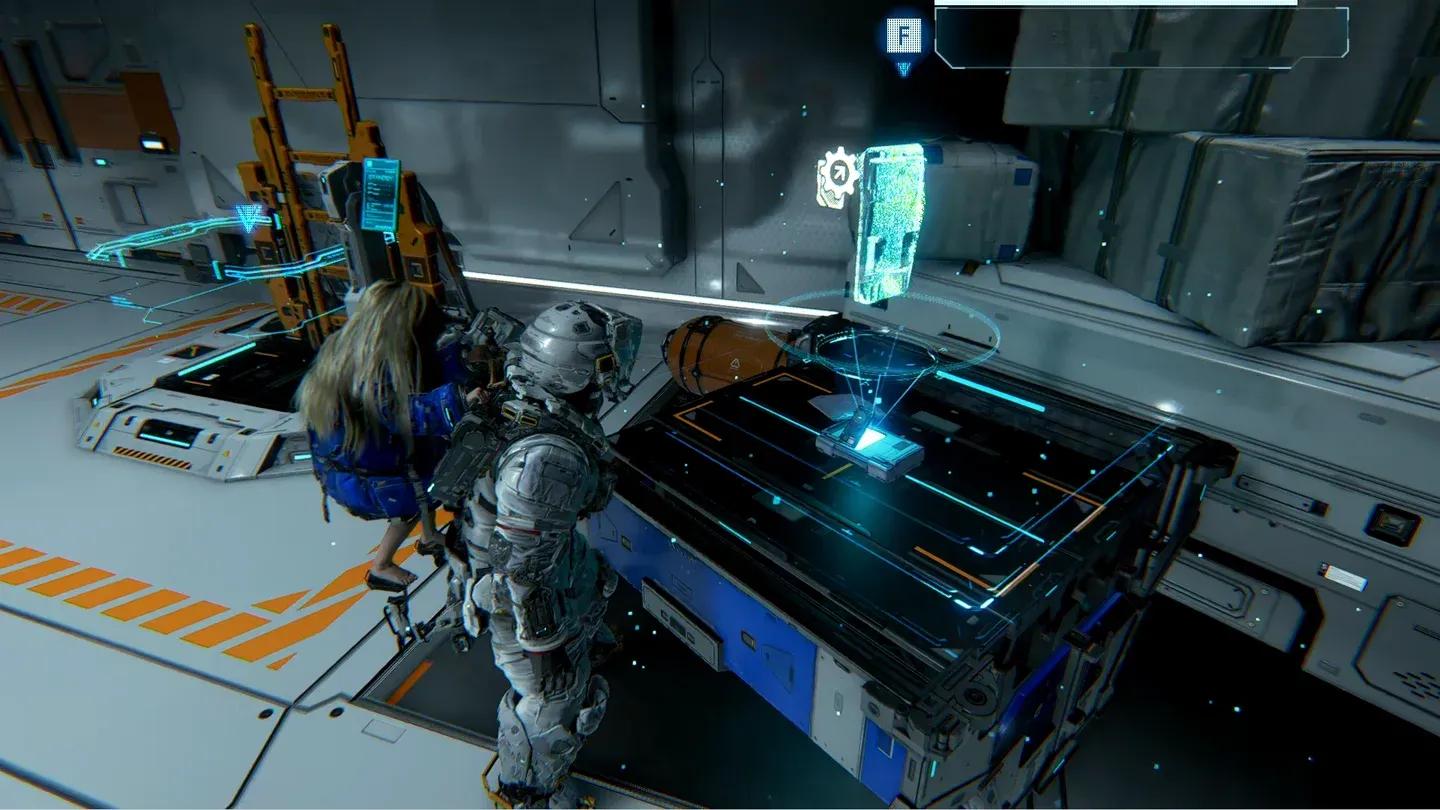
Most mods hide inside blue chests scattered throughout each sector. These chests rarely sit on the main path, instead tucking into side rooms, elevated platforms, or behind environmental puzzles involving moveable crates. A second source is Cabin's Stamp Club, which distributes mods as rewards when you spend Cabin Coins across its five tiers: Trainee, Associate, Specialist, Director, and Executive. The third source is the Hidden Chamber, accessible only through postgame Unknown Signal challenges.
All mods by sector and location
Sector 1: Solar Power Plant
Hardened Suit (Defense) Block 03, The Concourse Effect: Increases max HP by 10%
The game's first mod sits beside the Concourse Shelter shortcut in a blue chest. Check the area surrounding the shortcut before pushing forward.
Hardened Suit chest location
Sector 2: Mass Production Array
Extended Breach: From the Red Key pickup, climb until you reach the laser corridor. Turn left where the Walker spawned, ride the blue zipline to the elevated platform, then drop into the small chamber at the corridor's end.
Close Quarters: After hacking the second beacon, the chest waits in the corner of the room leading to the next safe zone.
Relay Amplifier: At Side Alley's entrance, scale the blue ledges, eliminate the flying enemy, then jump right to the chest.
Long-range Targeting: Moving toward the third beacon, descend to ground level, clear the hostiles, and open the chest beneath the tower.
Pocket Refinery: Requires a Red Key for Business District Red Zone entry. Defeat the enemy wave to unlock the chests. A Pure Lunum chest sits beside the Pocket Refinery chest.
Sector 3: Terra Dome
Cheap Shot: After clearing the Plant Factory's final challenge, check the isolated chamber. The chest sits inside with the Terra Dome Training Data collectible.
Recursive Learning: Pass under the bridge leading to the next chamber, through the rocky passage, up the stone steps, and into the facility. Activate the hologram wall, defeat the Crusher it spawns, then climb the platforms to reach the chest.
Aggressive Defense: Once the Meteorology Sim Lab Shelter Shortcut activates, walk to the opposite side of the nearby staircase. The blue chest is right there.
Precision Shot: Only reachable after activating the central lift to the Upper Floor. Ride the elevator and check the platform to the right of the newly unlocked Shelter Shortcut.
Collateral Damage: Inside the Eco Modeling Lab Red Zone. You need a Red Key to enter.
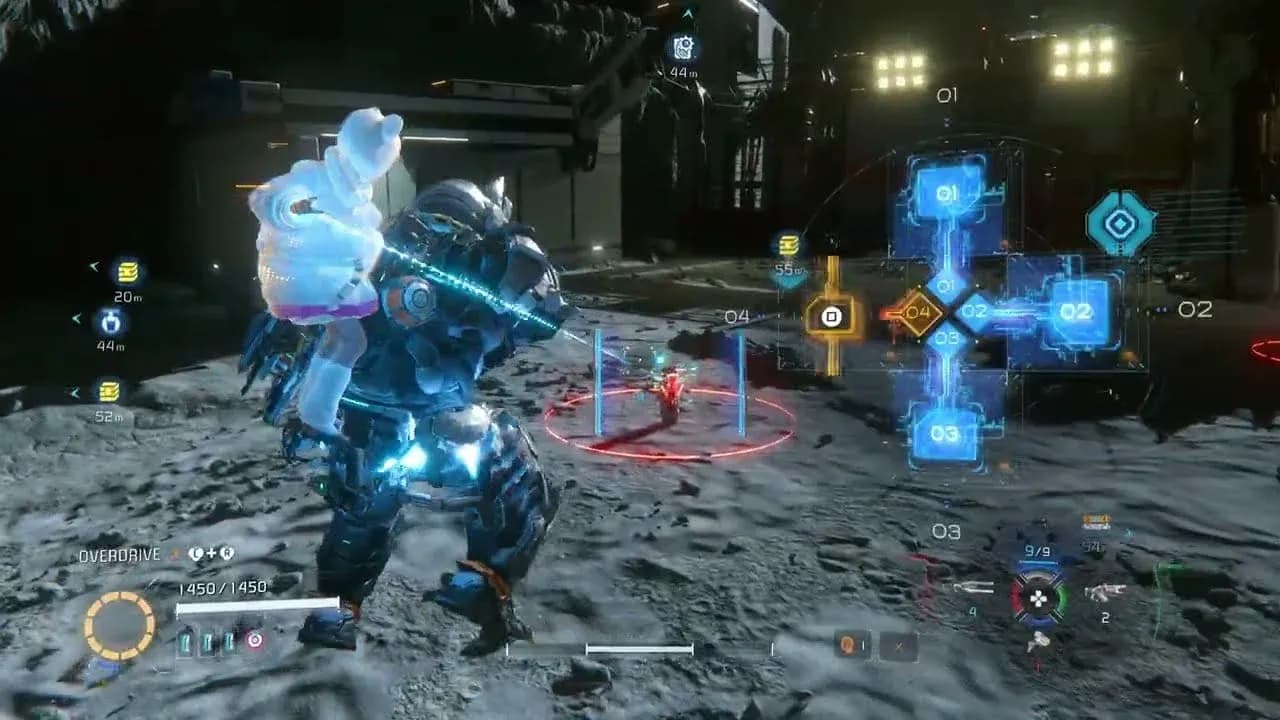
Sector 4: Lunum Mines
Equilibrium: Right at Sector 4's entrance. Descend into the mines, jump onto the central platform, turn right toward the manmade tunnel, erase the blue lim inside, then open the chest.
Analog Aggression: In the Crane Operation Yard, a blue chest sits on a platform facing a yellow crane. Ride the crane lift up. A LunaDigger patrols nearby.
Digital Dominance: Opposite corner of the Crane Operation Yard. Flying bots guard the higher platform. Jump the two lower crates to reach the upper ledge, clear the drone, and cross the narrow ledge to the chest.
Nice Nodes: Second floor of the Warehouse. The chest sits behind glass. Reach the platform with red crates beside it and reposition them to clear the path. Before moving the crates, jump to the ledge beside them to find a Safe Box containing a Cabin Coin.
Eagle Eye: Step outside into the Main Excavation Site and spot the two chests through the window. You can't hack the door from there, so climb the nearby crates to the roof. Push the first crate through the fence outside, then head inside and push the second crate. Drop through the hole to access the Safe Box (containing Lim) and the Eagle Eye chest.
Synaptic Response: At the moveable crates platform in the Main Excavation Site. Push the two outer crates first, then the inner one to reach the first level. Push the furthest crate to the outside to create a path upward. At the top, cross the dirt platform carefully since a turret targets the other side.
Economize: The Red Zone entrance is in the Main Excavation Site yard. Clear the enemies to unlock the chest. A Pure Lunum chest sits beside it.
Crane yard chest platform
Central Port mods
Three mods appear in the Central Port sector:
- Heat Transfer (Attack): Enemy heat gauges fill 10% faster. Found near the Lunafilament Lab after disabling the corridor lasers.
- Cursed (Attack): +20% weapon and hacking damage, but HP drops by 50%. Located past the Dead Filament Mass in a room with multiple enemies, just before the Regolith Lab.
- Adrenaline Flood (Attack): When HP falls below 25%, attack power rises by 20%. Found atop the area accessible after completing the Security Zone.
One additional mod appears in the Port Entrance:
- Untapped Potential (Hacking): For 15 seconds, hacking node usage increases attack power by 10% and reduces damage taken by 10%. Inside a small room behind the staircase in the Port Entrance.
Cabin's Stamp Club mods
Twelve mods come exclusively from Cabin's Stamp Club boards. You spend Cabin Coins to unlock stamp board rewards at each tier:
Hidden Chamber mods (postgame)
Five mods are locked behind the Unknown Signal challenges in the postgame. Each one drops from a specific challenge's reward room:
- Sympathetic Hacking (Hacking): Successful hacking instantly reloads your primary unit. Reward from the "Armor Break" challenge.
- Grace (Hacking): Hacking gauge gradually regenerates over time. Reward from "Just Go For It!"
- Slowdown (Hacking): Slows time while hacking a locked-on target, consuming hacking gauge. Reward from "Round-Up."
- Better Lucky (Defense): Chance to nullify damage, with success rate dropping on consecutive uses but resetting when hit. Reward from "Jump, Jump, Jump."
- Cyber Thief (Support): Defeating enemies via hacking doubles dropped Lunafilament. Reward from "The Final Test."
One final mod unlocks after clearing all Unknown Signal challenges:
- Black Box (Support): A prototype memory mod described as potentially suppressing dead filament spread in organic life. Reward for completing all Unknown Signal challenges.
Which mods are worth prioritizing?
Aggressive Defense (-20% damage while aiming) is one of the strongest early pickups since you'll be aiming constantly. Pair it with Recursive Learning (+15% hacking gauge buildup per hack) and Diana stays effective without constant micromanagement.
For aggressive players, Cheap Shot (+15% from behind) and Eagle Eye (+15% airborne) stack well with a mobile playstyle. Cursed from Central Port is the high-risk option, doubling your damage output in exchange for half your HP, which only works if you're confident in dodging.
The Analog Aggression and Digital Dominance mods are direct opposites. Equipping both cancels out, so pick the one that matches your preferred damage source and leave the other behind.
For more gaming guides and the latest coverage, browse the guides section at GAMES.GG.