

Terra Dome is Pragmata's 3rd sector, and it's the biggest collectible haul you'll face this early in the game. Forty-seven items are spread across five distinct sub-areas, covering everything from Safe Boxes and Mods to Pure Lunum, REMs, Mini Cabins, and Escape Hatches. The good news: nothing here is permanently missable. If you lack a story-required skill on your first pass, every collectible in Terra Dome can be grabbed later in Unknown Signal Mode (the game's post-story cleanup mode).
danger
Two Safe Boxes (Safe Box 8 and Safe Box 9) and one Pure Lunum require the Cleansing ability, which unlocks automatically during the Central Port 01 story mission. If you hit a locked pathway, come back after that point.What collectibles are in Terra Dome?
Before diving into locations, here's the full breakdown of what you're hunting across all five sub-areas, according to the PowerPyx collectible guide published April 16, 2026:
Safe Box behind Holo-Wall
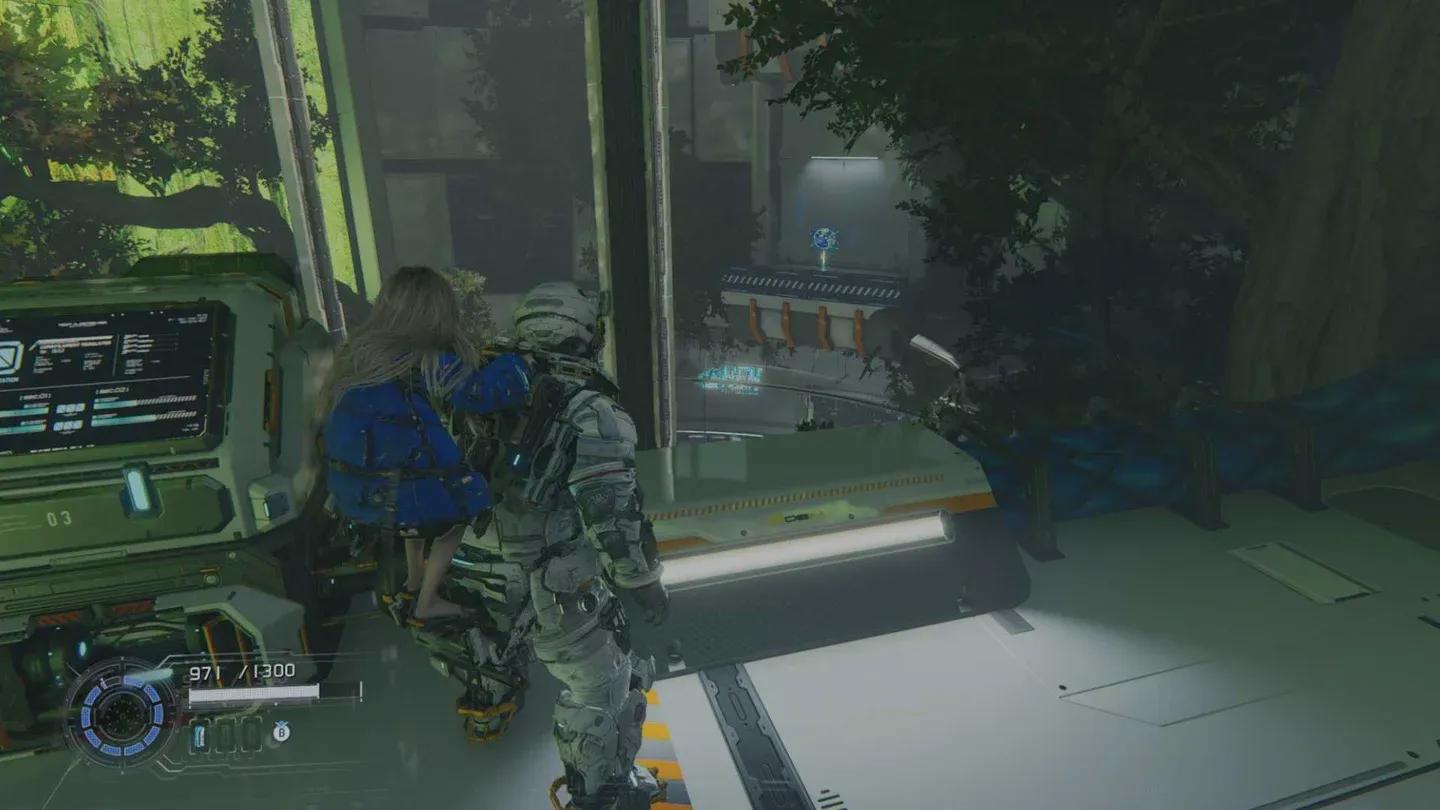
Terra Dome 01: Terra Dome Entrance
This opening sub-area holds more items than it first appears. Several require you to loop back via the elevator, so pay attention to the order.
Safe Boxes 1-5, Mod 1 (Cheap Shot), Mod 2 (Precision Shot), REM 1 (Flowers), and Training Data 1
Safe Box 1 sits outside the main building. Jump to the hanging crate near the entrance to reach a grassy ledge where it waits.
Once inside, take the left route from the main elevator. The path splits into two branches (A and B) twice. Each branch terminus holds a Safe Box, so you need to run both paths to collect Safe Box 2 and Safe Box 3. Safe Box 4 sits between the two exits and is yours regardless of which branch you finish on.
After exiting those branching paths, one of the next route choices leads into a Red Zone. Clearing it rewards Pure Lunum 1.
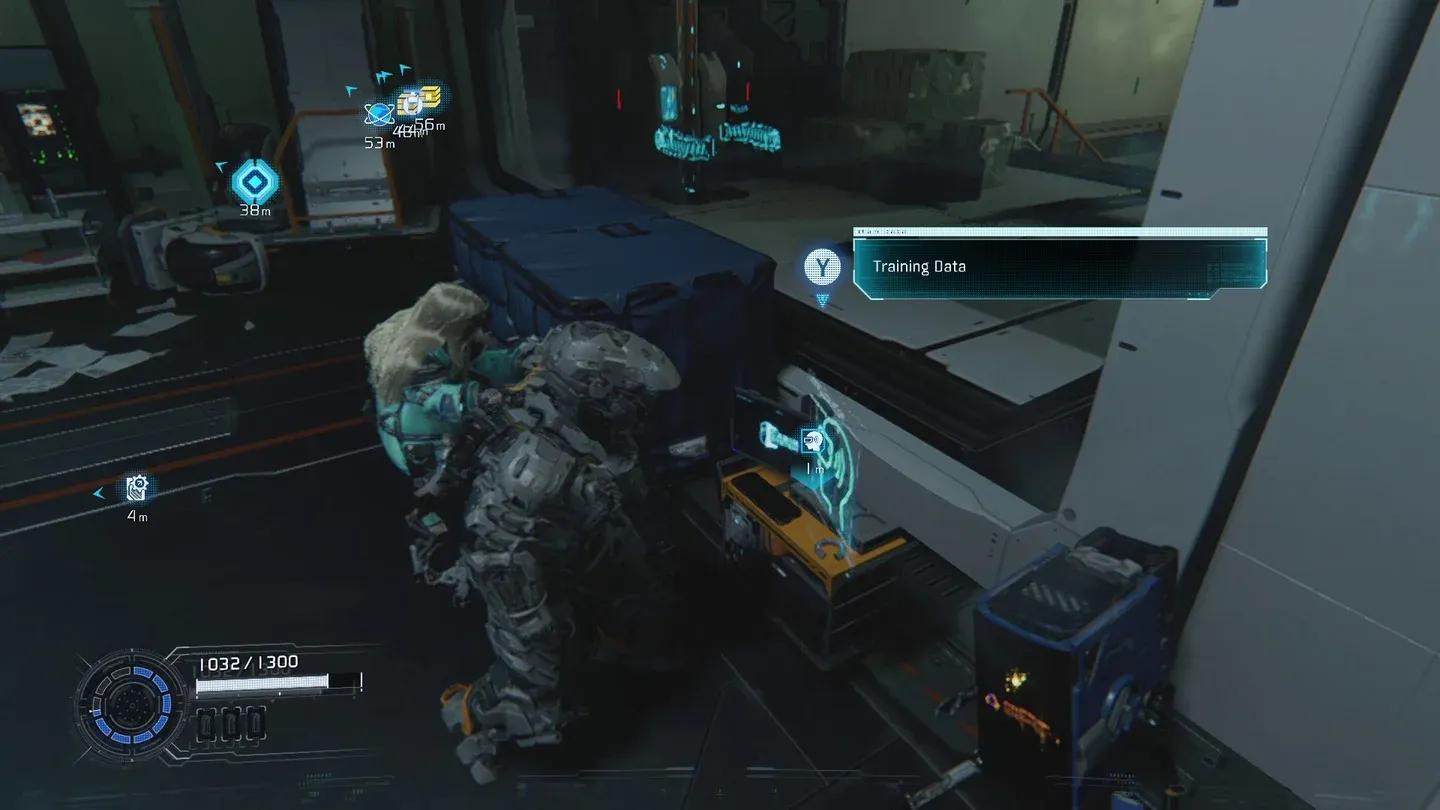
Shortly after, look for a small room on the left containing a broken Cabin. Inside is a chest holding Mod 1 (Cheap Shot) and an item that unlocks additional Training Data 1 missions.
Taking the elevator up reveals Mod 2 (Precision Shot) on a ledge. From the top floor, drop back down to find REM 1 (Flowers) directly beneath the Mod. Drop further left of the Soil Research entrance to grab Safe Box 5.
info
You'll move into Area 2 before using the elevator that leads to Mod 2, REM 1, and Safe Box 5. Don't panic about the order. All three are accessible by riding up and dropping back down.
Terra Dome 02: Eco Modeling Lab
The Eco Modeling Lab is the densest sub-area in Terra Dome, with 10 Safe Boxes and several Mods packed into its forest-heavy layout.
How do you find all Mods in the Eco Modeling Lab?
Mini Cabin 1 is on a tree branch above the terminal that grows a tree platform, on the right side of the room.
Safe Box 6 rewards players who resist going left through the door after creating the tree platform. Go right instead and look for a Holo-Wall concealing the box.
Escape Hatch 2 is in the room where you grow multiple branches to cross. The Red Zone entrance is right next to it. Completing that Red Zone nets Mod 3 (Collateral Damage) and Pure Lunum 2.
REM 2 (Ballons) (the in-game name uses that spelling) is found by heading downstairs from the Escape Hatch into the forest area, on the right side in the corner.
Mod 4 (Recursive Learning) is in a small tunnel that splits into two directions on the right side of the area. Take the right tunnel, find the ledge leading to stairs, and look for a Holo-Wall at the bottom. An enemy guards it alongside the Mod.
From that same ledge, climbing right leads to a white bridge with some Lims to erase, and Safe Box 7 waiting beyond them.
Safe Box 8 and Safe Box 9 both require the Cleansing ability. After defeating an orange bot, drop over the left railing toward a greenish area. Safe Box 8 is in a container there. Safe Box 9 is in the adjacent pathway, which needs cleansing to open. In that same room, lower a platform to reach a ladder leading up to Pure Lunum 3.
On your way back from those boxes, jump from the container toward the cave beside it. Clear the enemy inside and follow the cave path to find REM 3 (RC Car).
The Red Zone Key is found by continuing forward from the orange bot fight location into the next building, on a desk to your right.
Escape Hatch 3 is in the next room, where Diana and Hugh have a weather conversation. Mod 5 (Aggressive Defense) is in a crate in that same room.
Pure Lunum 4 is in a crate right after the next mini boss. Head right from that crate and open the Holo-Wall at the hallway's end for Safe Box 10.
info
There's also a computer terminal near Safe Box 10 that upgrades your inventory to carry 2 red and 2 green weapons simultaneously. It's not a collectible, but it's worth interacting with before moving on.
Terra Dome 03: Center Hall Upper Floor
This is the shortest stop in Terra Dome with just one collectible.
Escape Hatch 4 is found after taking the elevator up, positioned in front of the locked door.
Terra Dome 04: Soil Research
Soil Research is the second-largest sub-area, with 10 Safe Boxes, 2 Pure Lunum, 2 REMs, and both remaining Mini Cabins.
Where are all Safe Boxes in Soil Research?
Safe Box 11 is at the end of the right path when the route splits at the Soil Research entrance.
Training Data 2 is found on the beach. Turn right after the cutscene, use the eraser, and drop down the hatch. A broken Cabin inside holds the training data.
Mini Cabin 2 appears after the invisible enemy fight. Take the elevator up, run along the balcony, and aim at the trees to your left.
Safe Box 12 is in the next room to the right, guarded by another invisible enemy.
Safe Box 13 requires dropping down from the high-view platform toward the door you just opened. The box is on a ledge partway down.
Escape Hatch 5 is behind the four-lock door you opened.
Safe Box 14 is behind a Holo-Wall after the next elevator descent.
Safe Box 15 becomes available after deactivating the jammer. It's at the end of that room.
Safe Box 16 is directly on the main path and very hard to miss.
Safe Box 17 is inside the bunk bedroom.
REM 4 (Swing) and Mini Cabin 3 share a locked room. Enter the door next to the weapon rack, go around the left corner, and use the eraser. Climb up to access the locked room you spotted earlier. The REM is inside, and Mini Cabin 3 is in a container in the same room.
Safe Box 18 is to the right immediately after passing through the yellow holo gate.
Safe Box 19 is on a ledge in the room after the next enemy encounter. Raise a platform to get up there.
Pure Lunum 5 is in a crate directly ahead in the next dark room.
Safe Box 20 is in the same dark room. Climb the container on the left to reach a ledge into the neighboring room. You'll need the eraser to reach it.
Terra Dome 05: Terrarium
The final sub-area wraps up with two collectibles and one Red Zone reward bundle.
Escape Hatch 6 is in front of the WARNING door after taking the elevator down.
The Red Zone is to the left of that same WARNING door. Completing it rewards Pure Lunum 6 and the Storage Expander 1, the only Storage Expander in the entire Terra Dome sector.
warning
Don't skip the Terrarium Red Zone. The Storage Expander it drops is unique to this area and directly increases your carrying capacity for the rest of the game.
Storage Expander from Terrarium Red Zone
Tips for efficient Terra Dome collection
A few patterns make Terra Dome much faster to clear on a second pass:
- Red Zones always reward Pure Lunum and sometimes a Mod or Storage Expander. Prioritize them on your first run.
- Holo-Walls hide a significant number of Safe Boxes. If a room feels too empty, scan the walls.
- Backtracking requirements are limited to two Safe Boxes and one Pure Lunum, all gated behind Cleansing. Everything else is accessible on your first visit if you have the right skills.
- The eraser is required for several collectibles across Soil Research and Eco Modeling Lab. Make sure you have it equipped before exploring off-path areas.
- Unknown Signal Mode lets you return to any area post-story with all abilities unlocked, making it the safest way to mop up anything you missed.
For more Pragmata walkthroughs and guides across every sector, browse more guides at GAMES.GG.