
The Shelter in Capcom's Pragmata is far more than a place to catch your breath between fights. Every weapon upgrade limit, hacking node, training simulation, and advanced ability runs through this hub. Ignore it and you will hit a difficulty wall fast. Invest in it consistently and the game opens up in ways that make even the toughest sectors feel manageable. Here is exactly how the system works, what you get at each level, and how to push through all five tiers.
What does the Shelter actually do in Pragmata?
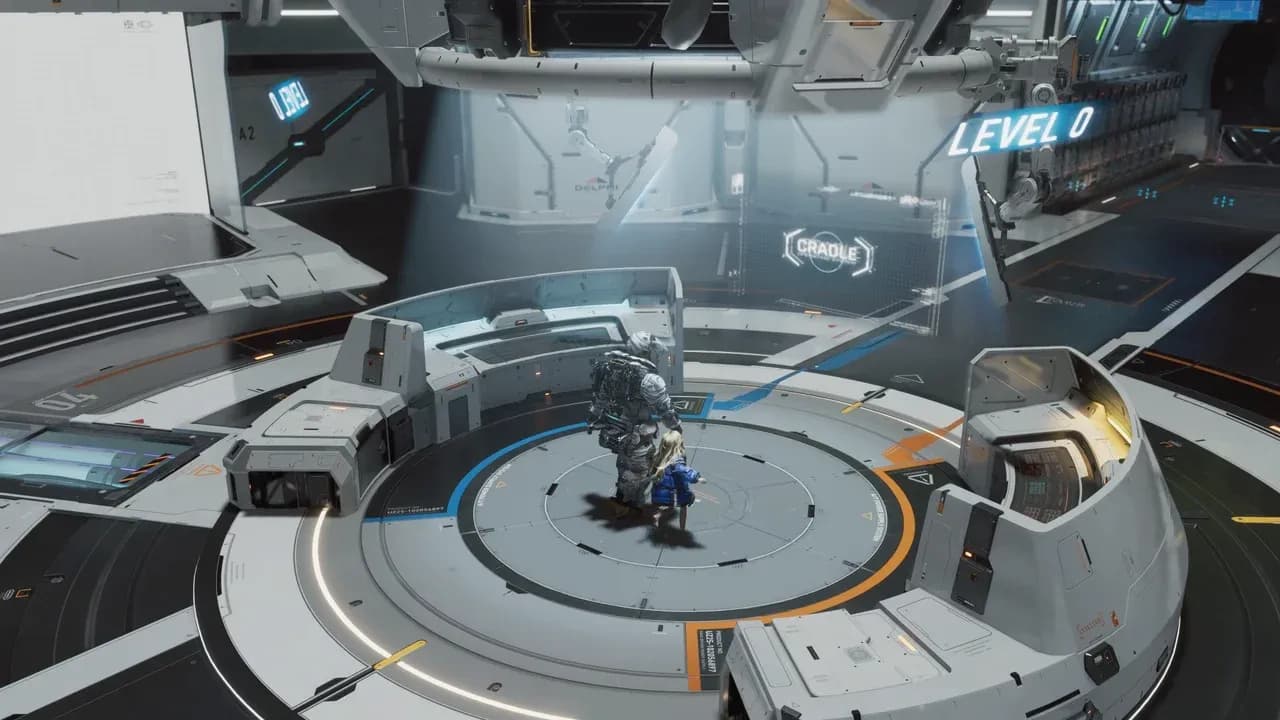
The Shelter functions as your central progression hub across the entire campaign. From here you recover health after missions, swap weapons and mods, launch expeditions to new sectors, interact with Diana, and access a growing list of stations as your level climbs. When you start the game, the Shelter sits at level zero—essentially a quiet refuge with locked-off systems everywhere you look.
Upgrades matter because they remove hard caps on your gear. Your weapons hit firmware limits that stop you from boosting their stats even when you have the materials to do so. Advanced blueprints like Homing Missiles and the Decoy Generator require data processing capacity that only higher Shelter levels provide. Hacking becomes progressively harder as you move into later sectors, and the nodes needed to keep up are locked behind upgrades. The Shelter is not cosmetic progression. It is the engine the rest of the game runs on.
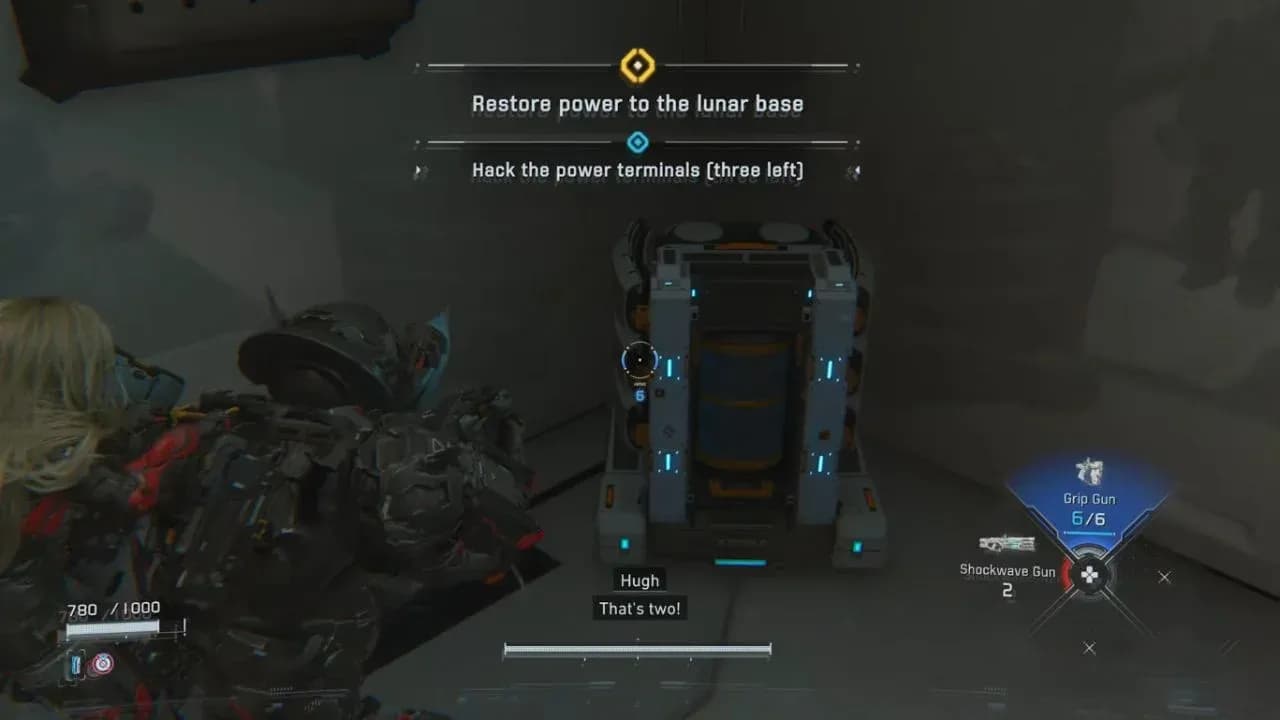
Shelter terminal overview
How do you get Shelter License Keys?
Shelter License Keys are the specific items required to trigger each level upgrade. You cannot miss them during a normal playthrough. Every primary key drops from the mandatory main boss at the end of each sector. Four keys are tied to the main campaign and one more is locked in post-game content.
The basic flow every time:
- Clear the sector and defeat the boss
- Collect the Shelter License Key from the drop
- Return to the Shelter hub
- Activate the key to unlock the next level and all associated upgrades
Do not sit on keys. Some players clear a boss, get distracted by side exploration, and forget to apply the key before the next mission. That delays every firmware upgrade, blueprint, and hacking node tied to that level.
All five Shelter levels: what you unlock at each tier
Here is a full breakdown of every upgrade level, the boss that drops the key, and what you gain.
Level 1: foundations of combat
Defeating the SectorGuard at the end of the Solar Power Plant sector hands you the first key. The headline unlocks here are Fast Moves (increased dash speed and distance) and Critical Shot (boosted damage on weak points). Fast Moves is arguably the single most valuable Level 1 unlock because the extra dash distance is what keeps you alive against the area-of-effect attacks of later bosses. The REM Replicator Beta also activates here, giving you the crafting foundation you will rely on for the rest of the campaign. Outfit Storage and the Cabin's Stamp Club open up as well.
Level 2: scanning and automation
The Gigantic Bot at the end of the Mass Production Array drops the Level 2 key. The transformative addition at this tier is Auto-Hacking, which lets you manage weaker bots passively while concentrating on priority targets. Bot Scan and Object Scan unlock here too, which are practically required for finding hidden collectibles and reading enemy weaknesses through cover. The Data Library opens for lore and enemy intel, and the first batch of Training Simulations (1 through 10) becomes available.
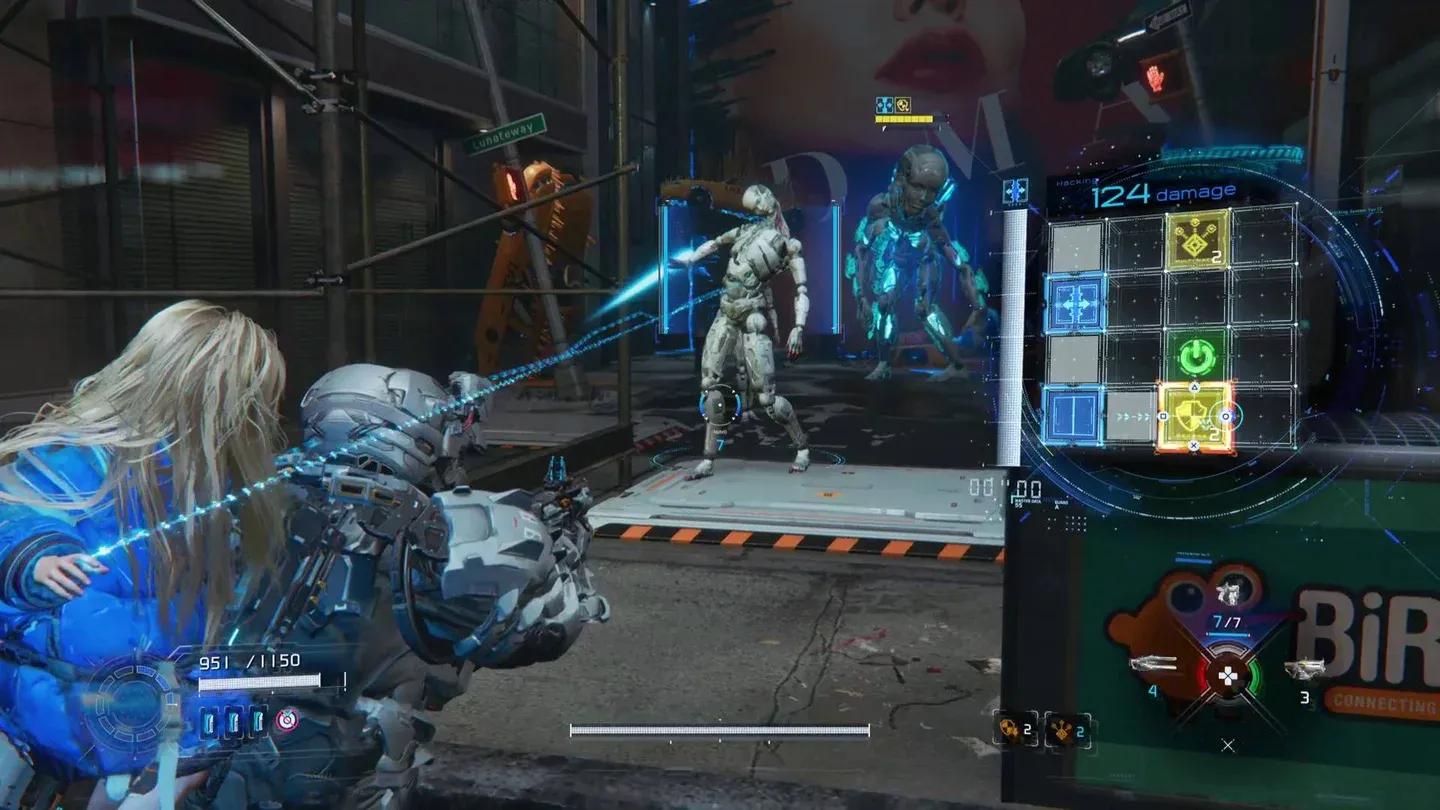
Auto-Hacking node unlocked
Level 3: elemental hacking and heavy weapons
The Large Bot in the Terra Dome sector provides the Level 3 key. Homing Missiles and the Impact Barrier enter your blueprint list. The Heat Hacking Node is the standout here as it deals damage over time directly to bot cores, which changes how you approach tanky enemies entirely. The REM Replicator Sigma unlocks alongside Training Simulations 11 through 20 and access to the 03 Specialist Board.
Level 4: peak campaign power
The LunaDigger in the Lunum Mines is the final main campaign boss and the most formidable fight before the credits. Clearing it grants Level 4, which pushes firmware and weapon upgrade limits close to their maximum. Hybrid Mode and Boost Mode Chips open up for more flexible combat approaches. The last Training Simulation batch arrives, along with the 04 Director Stamp Board, which houses some of the hardest challenges in the game.
Level 5: post-game mastery
Level 5 sits outside the main campaign. After finishing the final boss, return to the Shelter and check the Data Library for a new set of coordinates. These lead to Hidden Chamber Mission 1, the post-game content that drops the fifth and final key. Completing it unlocks the Executive Stamp Board and removes all weapon upgrade limits, turning already strong weapons into something genuinely ridiculous.
How do you avoid getting stuck in later sectors?
The difficulty spikes in Pragmata are almost always tied to falling behind on Shelter upgrades rather than raw skill. A few habits prevent that:
- Apply keys immediately. Every time you return to the Shelter after a boss, check for new firmware limits and spend your REM (Rare Earth Memories) before heading back out.
- Check the Node menu after every level-up. New hacking nodes like Confuse or Heat are easy to miss. Opening the node menu and slotting whatever is new takes 30 seconds and changes how fights play out.
- Revisit old sectors with new scan abilities. Once Bot Scan and Object Scan unlock at Level 2, older areas contain REM sets you walked past the first time. Those materials are what actually pay for the upgrades the keys make available.
- Use Training Simulations for currency. If you are short on upgrade points, replaying simulations is the most reliable farming method without risking mission progress.
- Complete Stamp Boards. The Associate, Specialist, and Director boards provide unique mods that cannot be crafted at the standard terminal. They are worth pursuing alongside the main story.
What carries over into New Game Plus?
Most versions of Pragmata allow you to carry your Shelter level and unlocked weapon blueprints into a New Game Plus run. Specific story-related fast travel points may need to be re-unlocked as you progress through the campaign again, but your core hub progression transfers.
For more Pragmata tips and guides for every game you are playing right now, browse the latest guides at GAMES.GG.