

Sector 2 of Pragmata drops you into one of the strangest settings in any recent action game: a Lunafilament-printed replica of New York City, built on the moon by engineers who clearly had a thing for Times Square but drew the line at recreating the subway. The Mass Production Array is bigger and meaner than Sector 1, with six beacons to hack, a handful of new weapons to find, and a boss fight that ends with you getting grabbed by a machine the size of a building. Here's everything you need to get through it cleanly.
What is Cabin's Stamp Club and how does it work?
Before heading out, spend a few minutes back in the Shelter. You now have a Shelter License Key from your SectorGuard victory, which upgrades the base and unlocks new printable weapons and expanded Firmware upgrade capacity. You'll also meet Cabin, a cheerful bot who runs what the game calls Cabin's Stamp Club — basically a giant Bingo board.
Squares on the board are unlocked using Cabin Coins, which are hidden in chests throughout each Sector or awarded after certain fights. Lining up horizontal, vertical, or diagonal rows earns you rewards, and Triple Bingos unlock even better ones. Prizes range from new outfits for Hugh and Diana to Bot Data codex entries on the enemies you've been fighting. Some squares on the board are locked behind red panels — those require clearing Red Zones first, which we'll get to shortly.
Cabin also runs a Jukebox if you want some background music while you prep. This is also a good moment to gift Diana the Globe REM if you picked it up earlier, which the Shelter's REM Replicator can duplicate for the base.
Cabin's Stamp Club reward board
Times Square: getting your bearings in the Mass Production Array
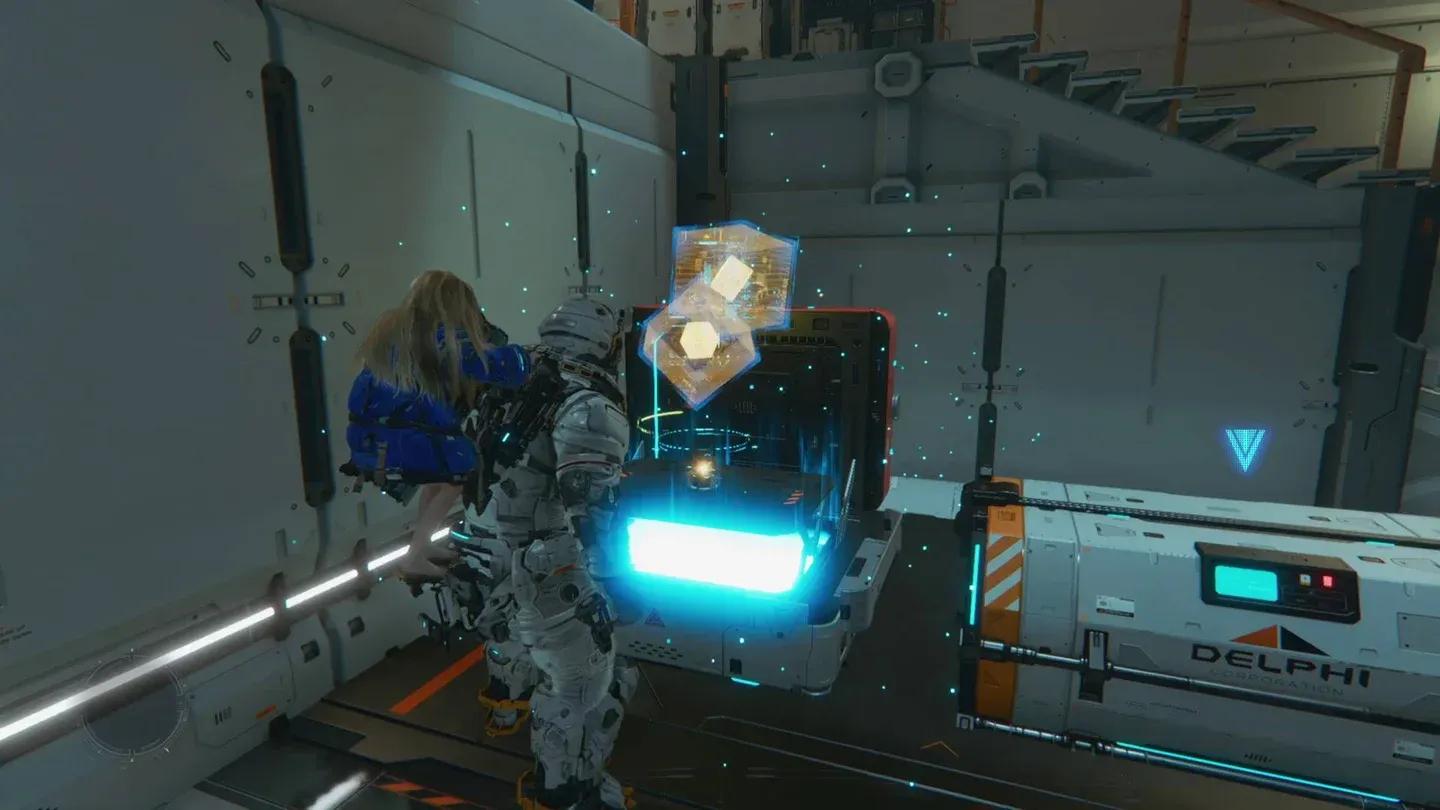
Once you enter the sector proper, Diana immediately tries to follow a holographic cat into danger — she's still a kid, even with all that hacking power. After the corridor section (check the side passages for items before moving on), you'll emerge into the main area: a Lunafilament recreation of Times Square, complete with yellow taxicabs, Broadway posters that don't exist, and a Ghouls 'n Ghosts Easter egg if you look at the billboards.
IDUS locks down the square almost immediately by deploying six large beacons. All six need to be hacked before the gate blocking deeper progress will open. The first beacon is right in front of you, which is a nice warm-up. After hacking it, Diana's Scan ability points you toward a nearby hackable door. Go through and you'll be chased by an Executor — a bot with a face that splits open like a mechanical Demogorgon — until you reach the Shopping District Entrance Station Escape Hatch.
How to find every collectible in the Shopping District
The Shopping District is the first major sub-area and contains ten collectibles total. The key items to prioritize on your first pass:
- Riot Blaster (new weapon): Found through the open door under the Orbit Orbit sign. Fires concussive rounds in an arc, great for AoE knockback.
- Red Gate Key: In the room with the "Resident Devil III" poster on the wall. You need this to enter Red Zones.
- Multihack Hacking Node: Same room as the Red Gate Key. Links damage between multiple enemies simultaneously.
- Extended Breach Mod: Behind a glass window with lasers. Ride the hand lift from the Walker spawn point to drop into the chest room. Keeps OPEN enemies exposed for 15% longer.
- Close Quarters Mod: In the room just before the hand lift leading to the rooftop. Increases attack by 10% when within 10 metres of an enemy.
- Basketball REM: Past the Extended Breach chest, head down the red-lit mannequin hallway, climb the bin to the upper platform, hack the wall terminal to drop the laser grid, then double back to grab it.
- Pure Lunum #1: Reward for clearing the Red Zone in this area.
- Pure Lunum #2: In the container beside Safe Box #2, near the first Shopping District data point.
Walkers hide among the mannequins in the sightseeing bus room. Don't walk through assuming it's clear — their laser targeting systems are especially annoying when you're mid-loot.
After the Shopping District rooftop section, you'll hack the second beacon. The room near it contains an email entry called "New York, Back Then" and two chests with more Pure Lunum and Upgrade Components.
What does Pure Lunum do?
Pure Lunum is a crafting material that lets you upgrade equipment to higher levels than standard Lunafilament upgrades allow. Every piece you find is worth grabbing. Red Zones are the most reliable source, so if you have a Red Gate Key and feel confident, clear them before moving on.
How to get through the Side Alley and find the third and fourth beacons
After hacking a control panel to create moving platforms in the Shopping District and crossing the bridge to the Interconnecting Passage Station Escape Hatch, you'll find the Charge Piercer just past the hatch. This weapon charges up and punches through armoured enemies, and it pairs well with the Shockwave Gun for the rest of the game. The main limitation is that you need distance and time to charge it.
The Side Alley section introduces a full Executor fight rather than just a chase. Target its chest and the rods on its back with the Charge Piercer. Once the Executor takes enough damage, it deploys red shields over its hacking matrix — you need to manually shoot out at least one shield before Diana can hack it again.
Side Alley collectibles (four total):
After clearing the Executor, hack the control panel to raise platforms, open the blue chest for the Relay Amplifier Mod (increases Diana's hacking range by 30%), and work your way up to the third beacon. The Watchers guarding it fire missiles — you can hack those missiles mid-flight to redirect them, which is both useful and satisfying.
The fourth beacon is close to the third, but the enemy gauntlet defending it is the hardest you've faced so far: waves of Watchers, Walkers, and an Executor all at once. Use everything you've learned about avoiding laser targeting lines, mid-air missile hacking, and shield removal. After clearing it, explore the office north of the beacon to find the Office Space Station Escape Hatch, a chest with Pure Lunum, and a hologram conversation about the Delphi Corporation.
How to use the Lim Recycler and find the fifth and sixth beacons
The Business District introduces the Lim Recycler, an environmental hazard you can turn against enemies. A laptop near the fifth beacon explains it: the Recycler can neutralise multiple enemies at once, like a trash compactor for bots. Hack the panel above the laptop to test it on a Walker beside a taxicab.
Just past the fifth beacon, you'll find the Decoy Generator, one of the better defensive tools in the game. It projects a hologram of Hugh that distracts enemies. The hologram doesn't attack, but it buys you time in chaotic fights. The Lim Recycler room right after this is the best demonstration of how powerful it is: bots drop into a room marked with yellow floor squares indicating Recycler strike zones. Lure enemies into the yellow areas with the Decoy Generator, then hack the wall panel to crush them all at once and collect the Lunafilament reward.
Business District collectibles include 10 items total, with notable finds:
After the Decoy Generator room, watch for spinning lasers on the floor. Follow the Lunafilament trail to drop safely between them. An Executor waits at the bottom. Once it's down, turn right immediately after jumping through the door to find the third and final Mini Cabin Figure of this Sector.
The Lim Recycling Facility is where Diana learns the Lim Eraser. She acquires it by nibbling on what looks like a hard drive as if it were a cookie, which is exactly as charming as it sounds. The Lim Eraser lets you destroy the large Lunafilament blockages that have been cutting off optional paths throughout the sector. Use it immediately in the lab room to open the path forward, which leads to a large Lim Recycler room packed with Walkers, Crushers, and an Executor. Clear them via the Recycler and hack the sixth and final beacon.
Once you have the Lim Eraser, consider returning to Sector 1 after finishing Sector 2. Several collectibles blocked by Lunafilament obstacles in the first sector are now reachable.
How to beat the Creator boss fight
The Creator is listed on screen as the "Gigantic Bot" but its actual name, unlocked via its Bot Data entry in the Shelter, is the Creator. It's enormous, slow, and follows the same logic as every other enemy in the game — which means weak spots and hackable matrices.
Phase 1 strategy:
- Target the cooling rods on the Creator's head with the Charge Piercer for consistent damage.
- The Creator attacks with neck lasers and hand swipes. It's slow enough that these are easy to dodge.
- After taking enough damage, the Creator deploys red shields over its hacking matrix. Shoot out at least one shield to re-enable Diana's hacking, which stuns the boss.
Phase 2 strategy:
- The Creator backs up and fires lasers in sweeping patterns. Run to maximum distance when this starts.
- It also erupts a wave of Lunafilament across the arena floor. Get as far away as possible.
- Blue circles appear on the battlefield. Don't stand in them — towers spawn in their place. Each tower has a hand lift you can ride up for a better vantage point and safer shooting position.
Phase 3:
- The Creator occasionally throws a taxicab at you. Keep moving.
- At low health, the Creator grabs both Hugh and Diana. Diana needs to complete a hacking matrix quickly to finish the fight. Stay focused — this isn't a cutscene you can relax through.
Beating the Creator ends Sector 2 and rewards you with the Shelter License Key #2, which further upgrades your base.
For more Pragmata strategies and guides across every sector, browse more guides at GAMES.GG.