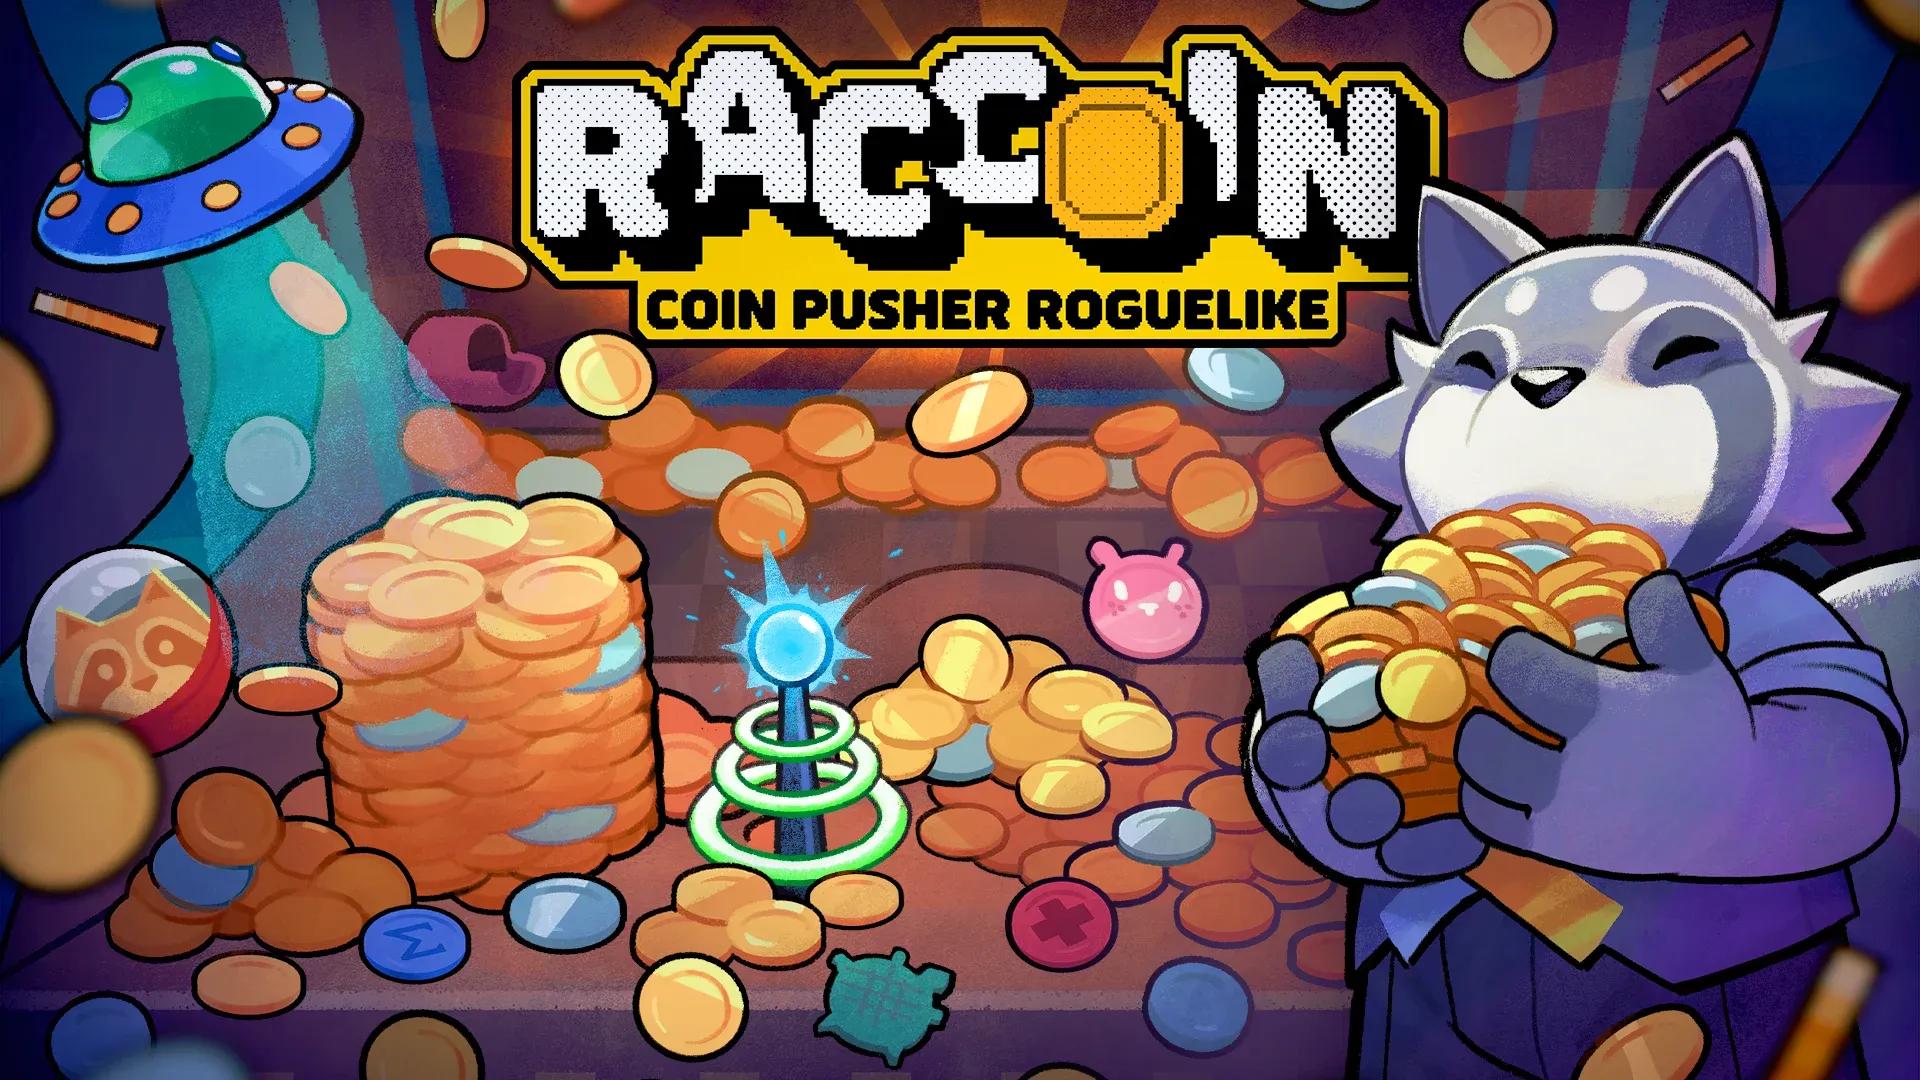

RACCOIN: Coin Pusher Roguelike looks deceptively simple from the outside. Coins fall, scores climb, raccoon mascot looks cute. Then you hit round three with no idea why your points are flat, a Credit Coin draining your wallet, and an Origin modifier that appears to do absolutely nothing. The game's tooltip descriptions read like tax documents, and the tutorial skips over the mechanics that actually matter. Here's what you actually need to know before your first real run.
How does scoring actually work in RACCOIN?
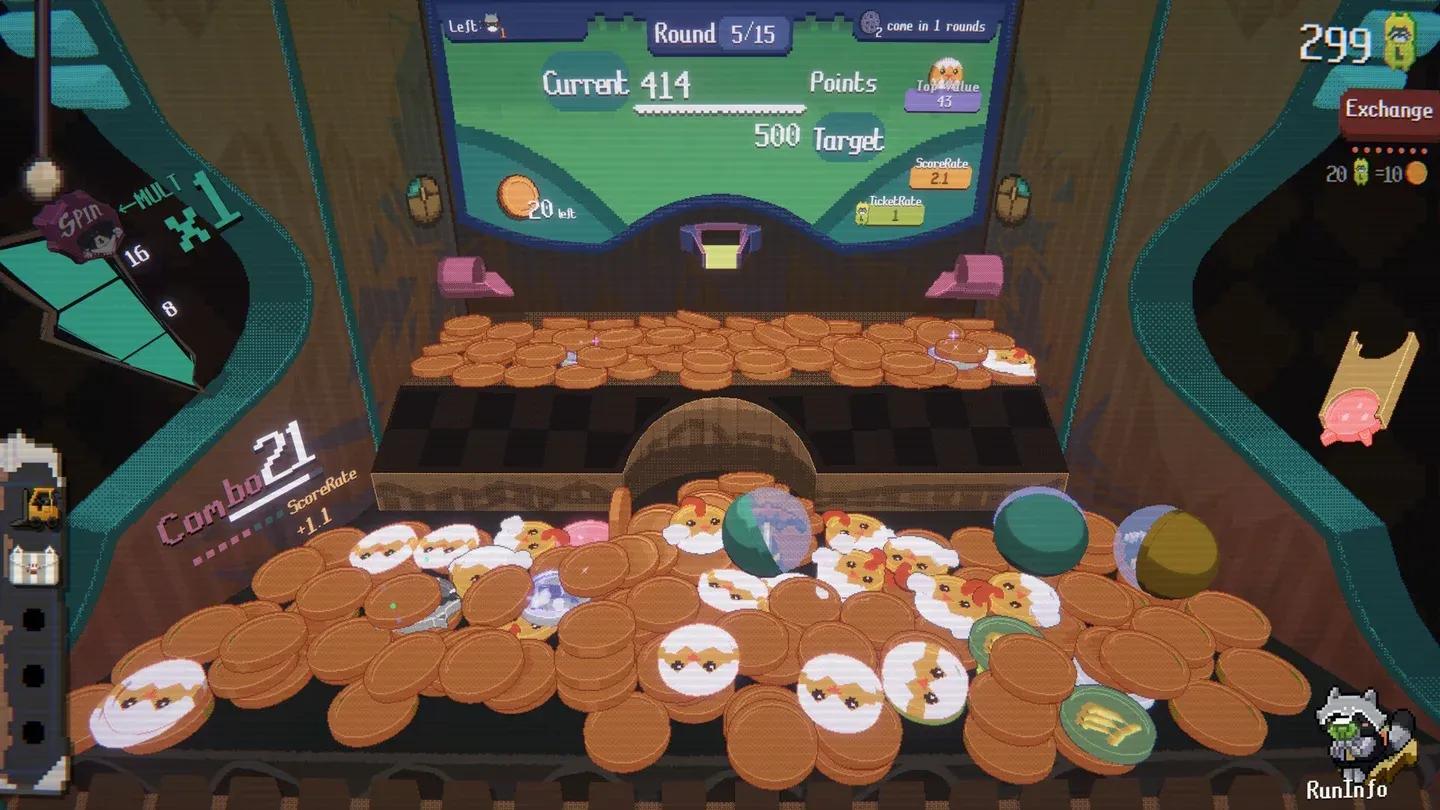
The core formula is Coin Value × Scoring Rate. Both halves matter equally, but most new players fixate on coin value and ignore the multiplier side entirely. That's a mistake.
Your Scoring Rate acts as a multiplier on every point you earn. A coin worth 10 points with a 5x scoring rate is worth 50 points. A coin worth 100 points with a 1x rate is still just 100. The multiplier scales through combos: the more coins you score in rapid succession, the higher your rate climbs. This is why burst scoring windows matter so much.
Coin Value, on the other hand, comes from upgrades, special coins, and stacking effects. Chummy Coins are a standout example here, scaling in value based on how many you have on the board simultaneously. Build enough of them and the value spikes become enormous.
The practical takeaway: prioritize scoring rate early in a run. Raw coin value without a multiplier behind it plateaus fast.
Scoring rate multiplier display
What is the difference between Scoring Rate and Conversion Rate?
This is the single most common confusion point for new players, and the game does almost nothing to clarify it.
Conversion Rate governs currency tier upgrades at the moment coins drop from your clip into the machine. The scaling works in two distinct bands:
- 0% to 100%: Scales your probability of dropping a Silver coin instead of Copper. At exactly 100%, every drop becomes Silver.
- 101% to 200%: Introduces Gold coin drops, but the Gold chance scales from 0% up to a hard cap of 50%.
That hard cap is the part the game hides from you. You cannot stack Conversion Rate to 200% and expect all-Gold drops. The maximum Gold spawn probability is 50%, meaning Silver coins will always make up a significant portion of your drops no matter how aggressively you invest in the stat.
Conversion Rate is powerful, but it's a late-game stat. If you're spending early upgrades on it instead of scoring rate, you're slowing yourself down.
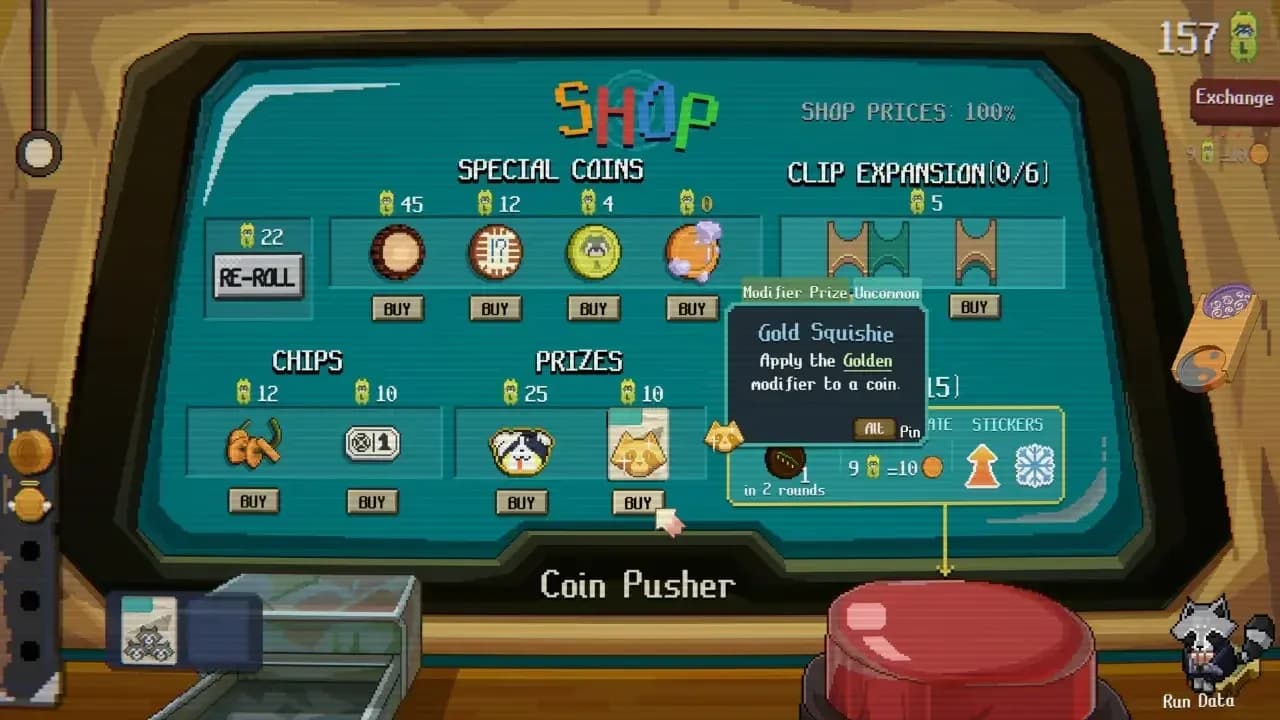
Cloveroin conversion rate in shop
How do combos and the spin wheel connect?
Combos serve two purposes simultaneously. They raise your scoring rate multiplier, and they charge the bonus spin wheel. When your combo chain ends, the wheel triggers and delivers rewards: extra coins, prize balls, or additional spins depending on how large the chain was.
There are two viable approaches to managing this system, and the right choice depends on where you are in a round:
- Big combo strategy: Build a long chain to maximize your multiplier and trigger a single powerful spin with high-value rewards.
- Loop strategy: Trigger smaller, repeated spins to accumulate value gradually. More consistent, lower variance.
If you're close to finishing a round and your board setup is already solid, the loop strategy tends to be safer. The big combo approach pays off more when you have a well-developed build and can sustain the chain reliably.
Why you should stop playing when you hit your target score
This one runs counter to every instinct you'll have. Hitting your score target and continuing to play feels like free value. It usually isn't.
Overscoring can waste setups you've built for the next round, trigger rewards at the wrong moment, and burn through positioning you spent time establishing. The cabinet carries over between rounds, so what you leave on the board matters. Before wrapping a round, take time to:
- Position high-value coins deliberately
- Set up prize balls for the next round
- Use any consumables that won't carry forward
Some coins and effects grow stronger the longer they sit on the board. Rushing past your target score can disrupt those accumulating effects before they pay off.
How does the Credit Coin's debt system actually work?
The Credit Coin is one of the most confusing items in the game because it inverts the standard economy. Most coins have a positive sale value. The Credit Coin has a negative one.
When you first acquire it from the shop, it gives you an influx of tickets. Think of it as a loan. The debt activates when you try to remove it: selling the Credit Coin manually drains tickets from your wallet to cover the negative balance.
The trap goes deeper during actual play. The Credit Coin automatically sells itself the moment it scores and falls off the board. You don't avoid the debt by playing it. It leeches tickets on every successful score.
Here's where it gets interesting: applying the Golden modifier to a Credit Coin inverts the math entirely. The negative sale value flips, turning what should be a drain into a ticket-generating engine. It's a volatile strategy that requires a character capable of handling unstable economies, but it's a legitimate high-ceiling play.
What does the Origin modifier actually do?
The Origin modifier is responsible for more forum confusion than almost anything else in RACCOIN. Players buy it expecting immediate results on the board and see nothing happen. The game is not bugged.
Origin spawns a duplicate of the modified coin into your clip at the start of the next round. That's it. Nothing happens during the current round at all. Three conditions must all be true for the duplication to trigger:
- Your clip must have an empty slot available when the new round begins.
- The original modified coin must be sitting in your clip when the round starts, not on the board.
- The duplicate you receive will be the base version of the coin, stripped of any modifiers.
Condition two creates the strategic cost. To use Origin effectively, you have to hold the coin in your clip for an entire round without firing it, which reduces your available ammo and can hurt your combo potential.
The workaround: use your mouse scroll wheel to cycle through coins loaded in your clip. If your Origin coin is at the top of the stack, scroll past it to select a different coin and continue scoring without accidentally deploying it. It's a clunky solution, but it works.
How to build a focused strategy instead of grabbing random upgrades
The biggest mistake new players make isn't misunderstanding a single mechanic. It's picking upgrades without any direction and ending up with a board that doesn't do anything particularly well.
Three archetypes worth building toward:
- Ticket-based builds: Stack tickets and cash them in for concentrated value bursts.
- High combo builds: Focus on scoring rate and chain reactions. Pairs well with the big combo spin wheel strategy.
- Scaling coin builds: Use coins like Chummy Coins that grow stronger over time. Requires patience but has a high ceiling.
Pick one direction in the first shop visit and reinforce it. A focused build with three synergistic upgrades outperforms a scattered build with six mismatched ones every time.
Shop upgrade selection screen
Knowing when to play fast and when to slow down
Pace is a genuine decision in RACCOIN, not just a style preference. Fast play builds combos and charges the spin wheel quickly. Slow play gives you time to position coins, manage your clip, and set up the board for the next round.
The right pace shifts depending on what you need. If your scoring rate multiplier is high and your board is loaded, play fast and cash in the combo. If you're between rounds and your cabinet is a mess, slow down and organize before committing to the next chain.
For more builds, strategies, and game guides across every genre, browse the latest guides on GAMES.GG.