
What is Faction Wars and why should you care?
Raid: Shadow Legends has a lot of content to chase, but Faction Wars sits in a special spot: it's one of the few game modes that forces you to build depth across your entire roster rather than leaning on five all-star champions. Each of the 14 factions has its own Crypt with 21 stages and a boss at floors 7, 14, and 21. Clear them all on Normal Mode and you unlock Hard Mode, an entirely different beast designed for late-game players. Skip Faction Wars and you're leaving Glyphs, Forge materials, and some of the best long-term progression rewards on the table every single day.
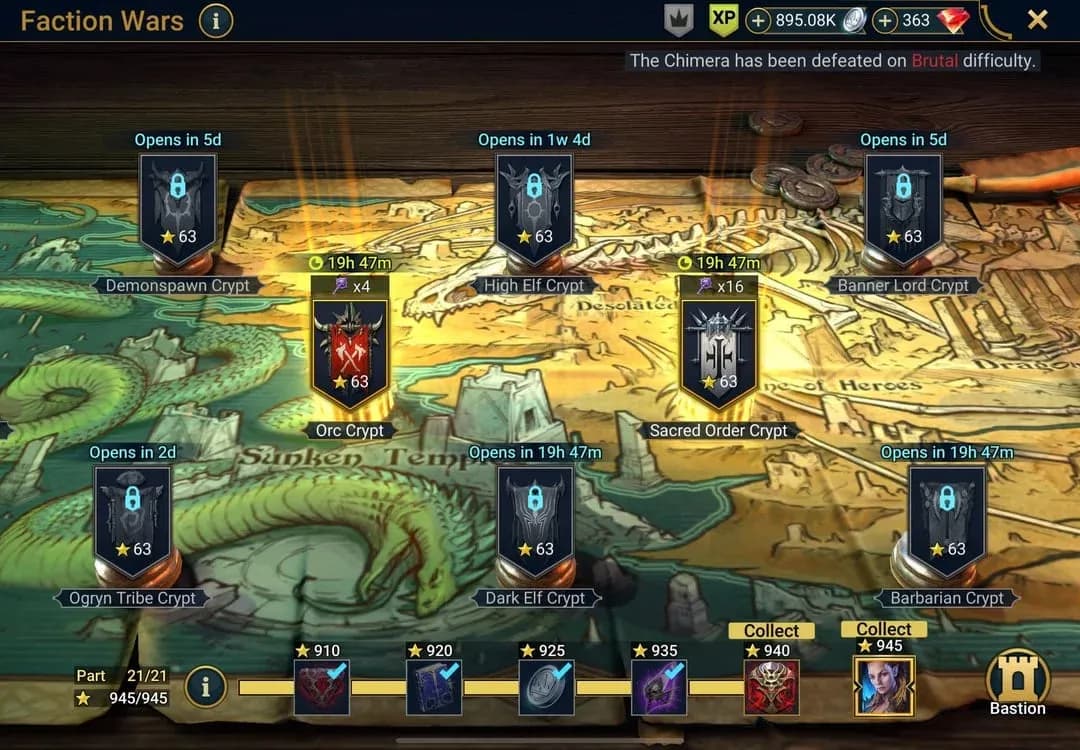
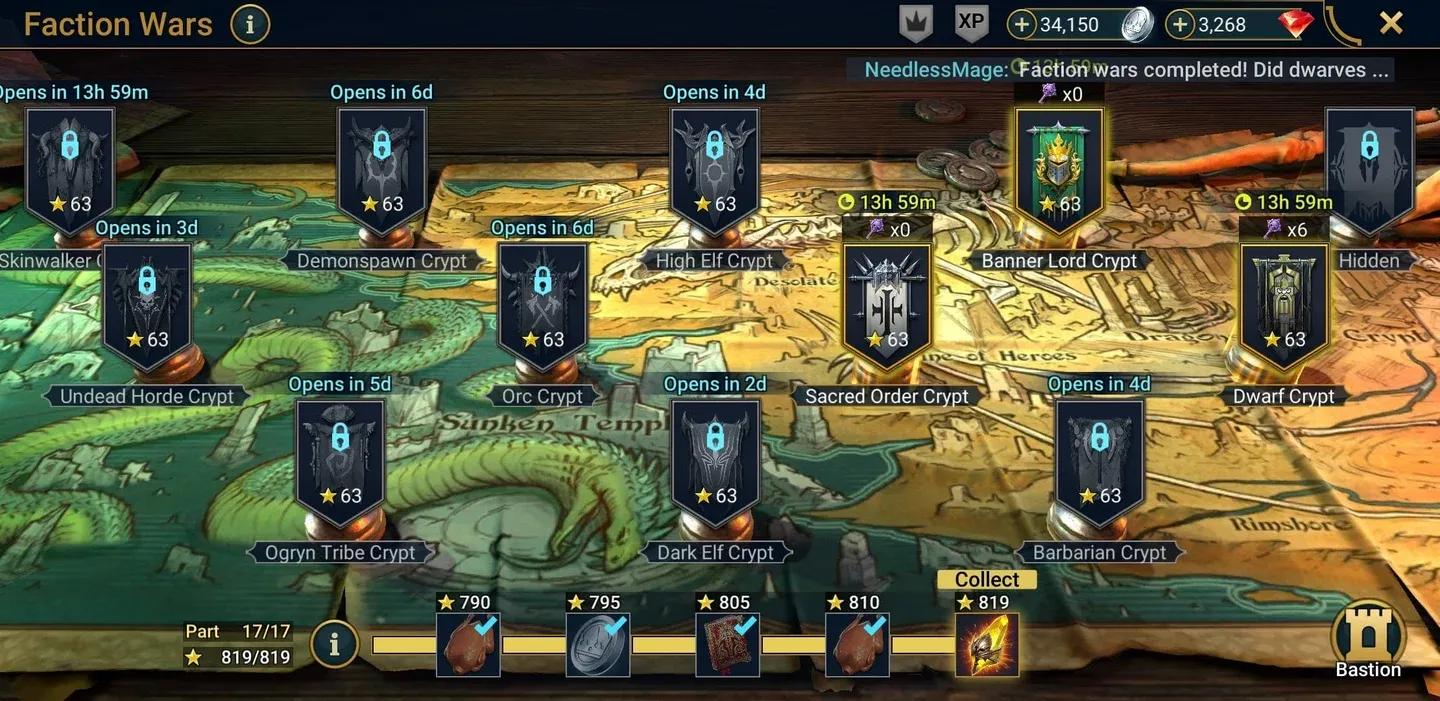
Faction Wars stage select screen


What rewards does Faction Wars actually give you?
Raiding each Faction Crypt earns Glyphs (HP, ATK, DEF, SPD, RESIST, ACC variants) and materials for crafting artifacts at the Forge. The craftable sets from these materials include Perception (ACC +40, SPD +5), Resilience (HP +10%, DEF +10%), Deflection, and Swift Parry. Glyphs slot into artifact substats, pushing them well beyond their base caps, which means a well-glyphed champion can hit stat thresholds that simply aren't reachable otherwise.
There's also a one-time star threshold reward track: the more stars you earn across all crypts, the more bonus rewards unlock. Fully 3-starring every Normal Mode stage across all 14 factions rewards Lydia the Deathsiren, one of the most powerful Legendary supports in the game.
How do the star challenges work?
Every stage has three possible stars based on challenge conditions:
- 1 star: Clear the stage.
- 2 stars: Clear the stage with at least 3 champions alive.
- 3 stars: Clear the stage with all 5 champions alive and no losses.
Hard Mode introduces a third tier of challenge conditions on top of this structure. Some stages require specific champion classes, minimum rarity counts, or particular debuffs applied to enemies. Planning a specialized team for each stage becomes routine once you hit Hard Mode.
What are the 5 Faction War bosses and how do you beat them?
All five bosses share one passive: Almighty Immunity, which makes them immune to Stun, Freeze, Sleep, Provoke, Block Active Skills, Fear, True Fear, HP exchange, and cooldown increase effects. However, they can still be controlled via Decrease Speed and Decrease Turn Meter, which makes those debuffs some of the most valuable tools you can bring.
Boss immunity and skill breakdown
The Dueler (Red Boss): floors 21 for Dwarves, Lizardmen, Undead Hordes, Shadowkin
The Dueler is the most deceptive boss in the roster. His Staggering Recovery skill stuns your entire team except one random target, and critically, those debuffs cannot be resisted. His Unremitting passive fills his Turn Meter by 2% for every 1% of HP he loses when hit, meaning heavy nuking actually accelerates his turns. His Ephemeral Impalement ignores DEF and scales off both ATK and the target's MAX HP.
The counter: aim for 50,000 to 60,000 HP on your champions so they survive at least two boss hits. Apply Ally Protection to reduce single-target damage. Use Poison debuffs to deal damage without triggering his Turn Meter passive. Champions with Block Debuffs or Remove Debuff are mandatory since the Stun and True Fear from Staggering Recovery cannot be resisted but can be blocked or cleansed.
The Mirrorer (Purple Boss): floors 21 for Skinwalkers, Knight Revenants, Orcs
The Mirrorer is one of the most dangerous encounters in all of Faction Wars. His Mirror Universe skill (3-turn cooldown) steals all buffs from your team and transfers his own debuffs to a random enemy, then spreads those debuffs to everyone. His Meddle with Fate (12-turn cooldown) swaps HP percentages with your highest-HP champion. His minions apply Provoke and Leech, making it nearly impossible to race him down while they're alive.
The approach: kill both minions first, then track the 12-turn HP swap cooldown carefully. Build around high Resist (+300 for Stage 21) to avoid debuff transfers. Single-target nukers that can delete the boss before the HP swap resets are a legitimate win condition.
The Protector (Blue Boss): floors 21 for Banner Lords, Sacred Order
The Protector supports his minions rather than attacking independently. His minions deal damage based on the target's HP, so they always hit hard regardless of DEF. His Reconstruct revives all dead allies with full HP, and his Legion Lord coordinates a joint attack with minions. If both minions are dead, he places Block Damage on himself.
The trick: control the minions with Stun, Sleep, or Freeze rather than killing them, otherwise the Protector shields himself. Provoke does not work on the minions since they can still multi-target your team. Keep them locked down and the Protector becomes straightforward.
The Incinerator (Green Boss): floors 21 for Ogryn Tribe, Dark Elves, Sylvan Watchers
The Incinerator layers Poison with both his A1 and A2 skills while simultaneously decreasing Turn Meters by 35% (single target) and 50% (AoE). His Acidic Blood passive places HP Burn on any champion that hits him. His minions apply Block Damage and Block Debuffs to the boss, making him temporarily untouchable.
Priority: eliminate minions first. Bring Block Debuffs or Remove Debuff champions, a strong healer, and consider Shield buffs to absorb both Poison and HP Burn damage simultaneously. High Resist (+300 for Stage 21) helps resist the Decrease Turn Meter, Fear, and Poison debuffs.
The Disruptor (Yellow Boss): floors 21 for High Elves, Barbarians, Demonspawn
The Disruptor applies Provoke via Consuming Furor, True Fear via Fearsome Lash, and has a 20% chance to Freeze any champion that hits him via Cloak Stasis. The Freeze from Cloak Stasis cannot be resisted. His minions heal the boss for 80% HP and 30% HP respectively while applying Increase DEF and Increase SPD buffs.
Kill the minions first to cut off their healing. Bring champions with Block Debuffs for the whole team or reliable Remove Debuff to handle the Freeze. High Resist helps against Fear and Provoke. If budget is tight, prioritize getting your primary support champion to high Resist so they can keep functioning through the debuff pressure.
| Boss | Color | Factions | Key Threat | Core Counter |
|---|---|---|---|---|
| The Dueler | Red | Dwarves, Lizardmen, Undead, Shadowkin | Unresistable Stun + DEF-ignore nuke | Block/Remove Debuffs, Poison, high HP |
| The Mirrorer | Purple | Skinwalkers, Knight Revenants, Orcs | Buff steal + HP swap | High Resist, kill minions first |
| The Protector | Blue | Banner Lords, Sacred Order | Minion revive + joint attacks | Control minions, don't kill them |
| The Incinerator | Green | Ogryn Tribe, Dark Elves, Sylvan Watchers | Poison + Turn Meter drain | Block/Remove Debuffs, Shield buff |
| The Disruptor | Yellow | High Elves, Barbarians, Demonspawn | Unresistable Freeze passive | Block/Remove Debuffs, kill minions |
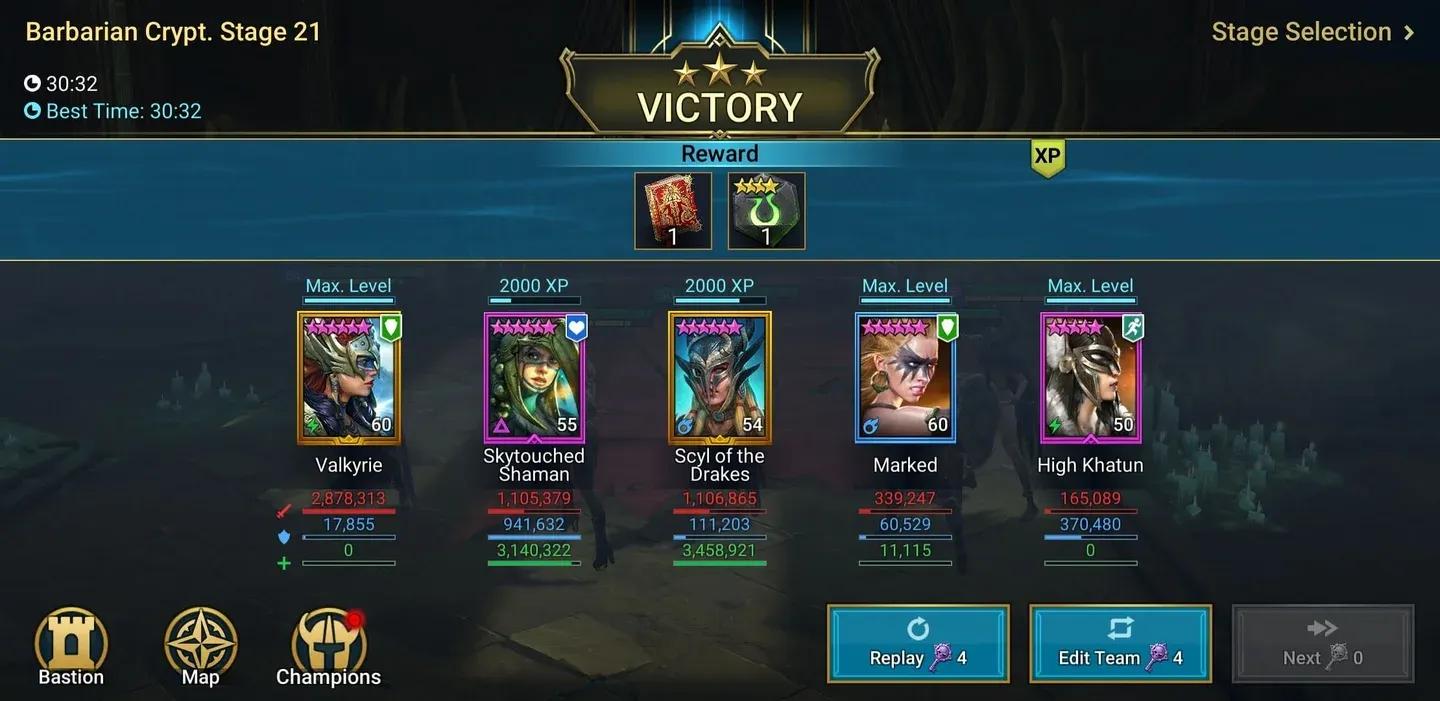
Boss encounter team planning
What are the biggest mistakes players make in Faction Wars?
Three common errors cost players progress:
Skipping daily runs. Faction Wars keys reset daily. Missing a day means missing Glyphs and Forge materials that compound over weeks. Even running a lower-difficulty stage quickly beats skipping entirely.
Bad team balance. Stacking five damage dealers fails at higher stages because enemies have massive HP and DEF. A functional team needs at least one AoE or high single-target damage dealer, one support champion, and a debuffer for crowd control. The remaining two slots flex based on the enemy composition in each stage.
Ignoring Advanced Quests. Advanced Quests grant additional Faction War keys when you participate in 5 Tag Team Arena 3v3 battles, regardless of win or loss. Skipping these because you can't win the Arena matches means losing free keys every day.
How does Hard Mode differ from Normal?
Hard Mode becomes available after fully completing Normal Mode. The structure stays the same (21 stages, bosses at floors 7, 14, and 21), but everything else escalates. Enemy health pools are larger, damage is more serious, and AI behaviors are tuned to punish straightforward nuke strategies. Bosses may gain new passive effects, conditional damage immunity phases, periodic self-cleanses, or resistance spikes not present in Normal Mode.
The star challenge system also changes. The third star in Hard Mode requires fulfilling a stage-specific condition that can include using only champions of a certain rarity, applying specific debuffs, or winning without a particular skill type. This shifts Hard Mode from a gear check to a planning exercise.
The reward upgrade is substantial: Hard Mode drops higher-tier Glyphs (including Rank-6 Legendary, Epic, and Rare variants), relic crafting materials, and increased silver and crafting components. Fully 3-starring every Hard Mode stage across all factions unlocks the Mythical champion Polara Fireheart.
How should you prepare for Hard Mode?
The core preparation steps:
- Get principal team members to level 60 with full masteries. Small percentage gains from masteries compound over longer Hard Mode fights.
- Target +300 Resist on your Stage 21 teams to handle the debuff pressure from bosses.
- Ensure debuff-applying champions meet Accuracy targets through artifact and main-stat planning.
- Invest in HP% and DEF% for champions intended to absorb damage or revive.
- Identify the key healers, revivers, cleansers, and crowd control units within each faction before committing resources.
- Log which teams clear which stages. Recording successful configurations saves time on repeated attempts.
Factions with stronger utility champion pools (High Elves, Undead Hordes, Lizardmen, Sacred Order) are generally recommended as starting points for Hard Mode because they offer more flexible answers to stage conditions.
What team compositions work best?
A reliable Hard Mode team structure includes:
- A cleanser or debuff-block champion
- A healer or reviver
- A consistent Decrease DEF source
- A turn-meter controller or speed buffer
- Either a sustain tank or a high-throughput nuker depending on stage objectives
For Normal Mode, it is recommended to have at minimum: 1 attack champion (AoE or high single-target), 1 support champion, 1 debuffer for crowd control, and 2 flexible slots based on the specific stage.
Community databases track more than 324 team compositions across game modes, including dedicated Faction Wars teams. Faction-specific examples such as Dark Elves FW Alt and Telerians FW21 appear in community-tested rosters, though your available champions will determine which templates are actually usable.
For more team-building resources and faction-specific breakdowns, the full Raid: Shadow Legends guides collection covers individual factions in greater depth.
Building your Faction Wars roster long-term
Faction Wars is one of the few modes in RPG games that genuinely rewards roster breadth over depth. Most content in Raid rewards investing everything into five champions. Faction Wars punishes that approach because you need functional teams across all 14 factions to maximize rewards.
The practical implication: don't feed every resource into your main team. Identify two or three secondary factions with strong champion pools you already own, and build them in parallel. The Glyph rewards from even partial clears will improve your main team's stats faster than most other farming routes.
The 14 factions span four alliance groups: Telerians (Banner Lords, High Elves, Sacred Order, Barbarians), Gaellen Pact (Ogryn Tribes, Lizardmen, Skinwalkers, Orcs), The Corrupted (Demonspawn, Undead Hordes, Dark Elves, Knights Revenant), and Nyresan Union (Dwarves, Shadowkin, Sylvan Watchers, Argonites). Faction champion pools range from 17 champions (Argonites) to 92 (Sacred Order), so some factions give you far more flexibility when building teams than others.