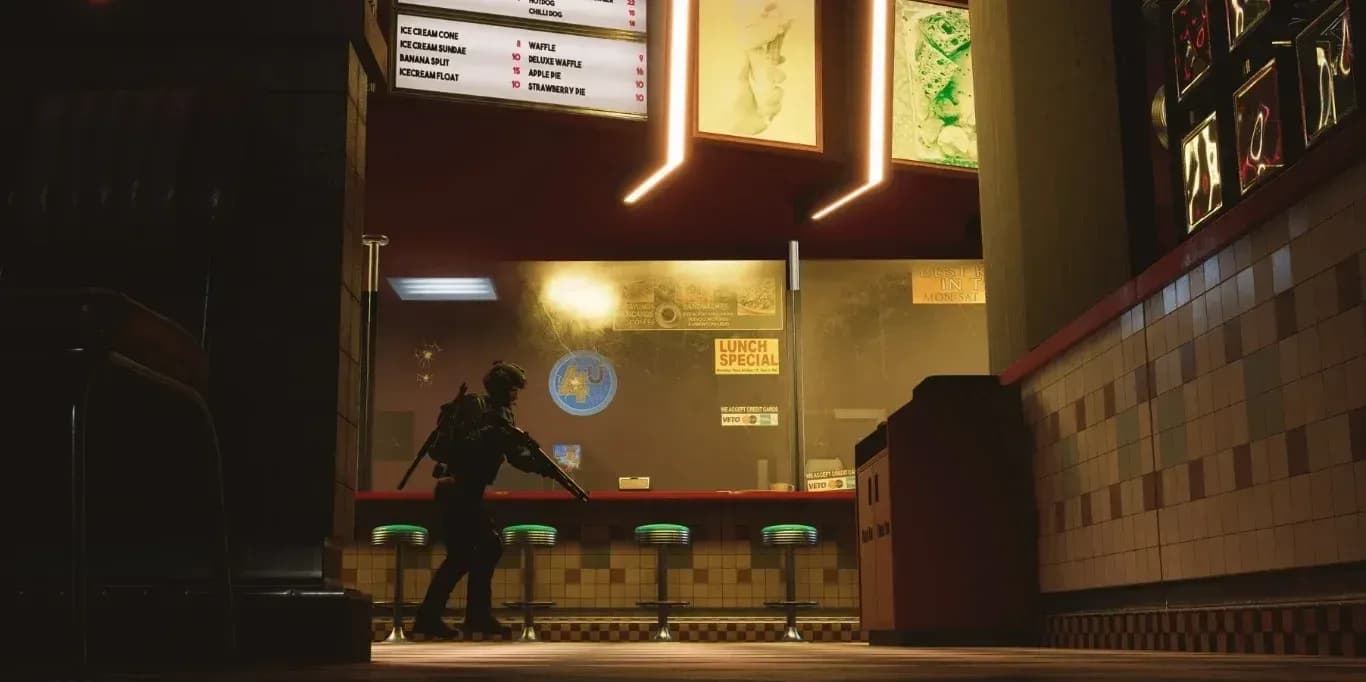

The All Gods Burn mission in Ready or Not: Boiling Point drops your SWAT team into the middle of a full-scale bank siege at the UnityTrustBanc of Los Suenos. Armed robbers from Black Sentinel have taken hostages, planted explosives throughout the building, and locked down the vault. Your job is to neutralize the threat, rescue civilians, and secure every piece of evidence without letting the mission slip away before you crack open that basement safe.
UnityTrustBanc siege exterior
What Is All Gods Burn?
All Gods Burn is one of three missions included in the Boiling Point DLC alongside No Good Deed and A New America. The setting is a three-story bank building that includes a main lobby, upper office floors, and a basement vault area. The Black Sentinel faction used the chaos of citywide riots as cover to seize the building, plant explosives, and attempt a robbery.
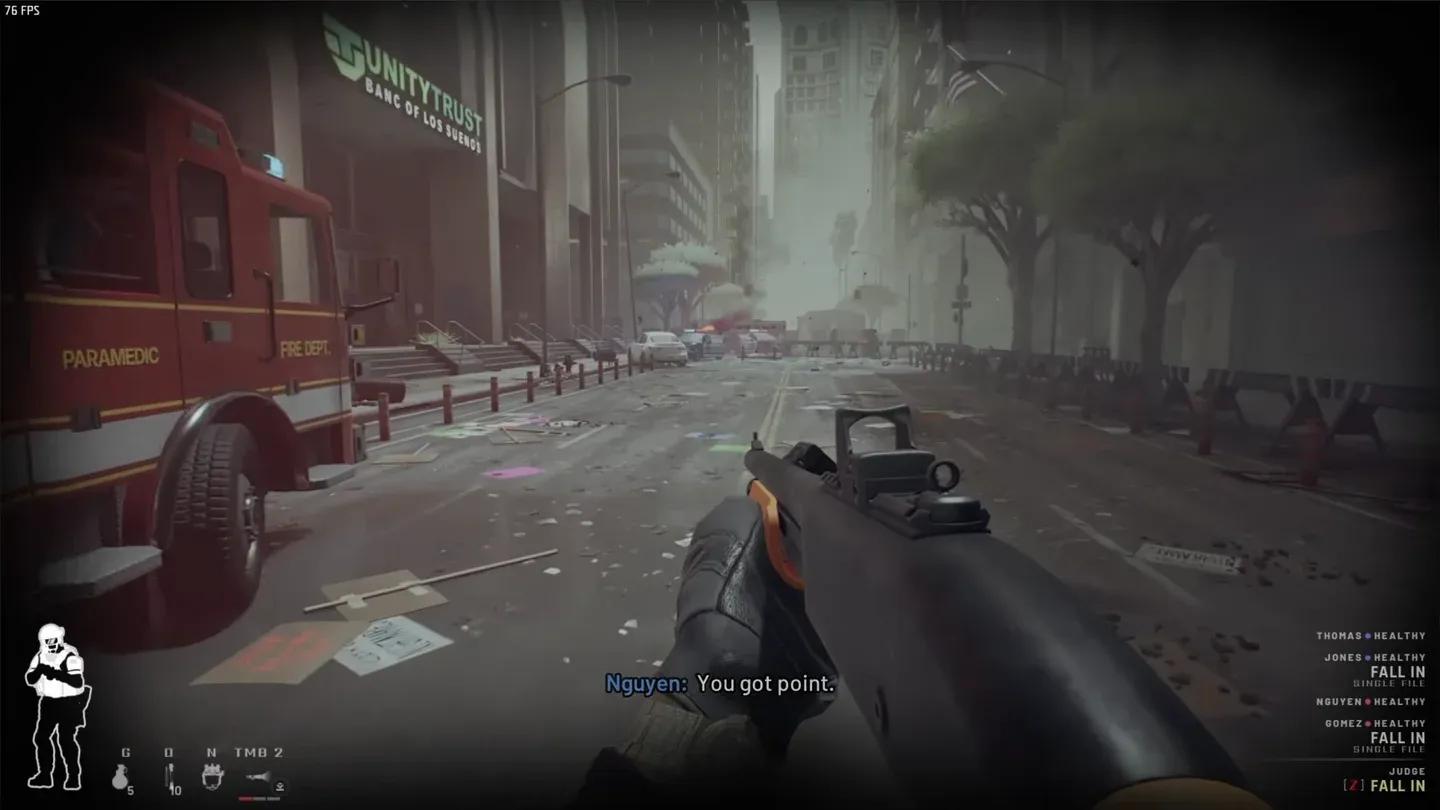
You can begin the mission from two spawn points: Main Street or the Parking Lot. This walkthrough follows the Main Street entry, which gives you direct access to the front lobby.
Primary and Soft Objectives
How Do You Enter and Clear the Bank?
From the Main Street spawn, move toward the front entrance of the UnityTrustBanc. Use your Lockpick (press F) to open the front door. Inside the main lobby, expect roughly 10 Black Sentinel suspects spread across the room. A single shot anywhere on a suspect's body will drop them to their knees, at which point you can approach and apply handcuffs. One suspect wearing a black vest carries collectible evidence, so check bodies carefully before moving on.
Past the lobby, walk through the security metal detector to enter the safekeeping area. More suspects are positioned here, so maintain situational awareness. Continue through the door ahead and take the stairs up to the first floor.
Where Is the Suspicious Laptop?
The Suspicious Laptop is a soft objective and also a critical step in unlocking the vault. After reaching the first floor, use your lockpick on the door to your right to free the civilians inside. Exit that room, head through the next door on the right, and move to the far end of the room. Capture the suspect inside, then look for the laptop sitting on a table. Interact with it to secure the soft objective.
Afterward, cross the balcony toward the other side of the floor. A suspect will fire at you through the glass. Approach from the side to neutralize without hitting the hostage, then free the civilian.
Where Are All Four Bombs?
The Black Sentinel has planted four explosive devices throughout the building. Their positions can shift slightly between runs, but they consistently appear near the following locations. Follow the red wires on the floor if you lose track since the wires physically connect the bomb clusters and lead you directly to each device.
Bomb Location 1: First Floor Office
After entering the bank, head toward the wall spray-painted with "Trust Is Dead." Behind and to the left of that wall is an office door. Inside, a pillar in the center of the room has explosives attached to it.
Bomb Location 2: Second Floor Office
Exit the first floor office through the opposite side. You will find a staircase positioned between a wrecked elevator and a janitor's closet. Head upstairs to the second floor. The second bomb cluster is attached to a pillar on the right side of that floor.
Bomb Location 3: Basement Staircase
Return to the ground floor and enter the door next to the "F**k Cops" graffiti. Descend the stairs. At the next right-angled staircase leading toward the vault, the third bomb cluster is mounted on the right wall above the stairs.
Bomb Location 4: Basement Elevator Shaft
Continue down toward the vault level and turn left just before the "Your Money Is Gone" floor graffiti. An open elevator shaft sits at the end of the corridor with a large bomb device inside. This is the one you want to leave unreported until after the vault is open.
How Do You Open the Vault? (All Secrets Safe Achievement)
This is where All Gods Burn becomes a multi-step puzzle on top of a tactical shooter. The vault requires a specific sequence of items and interactions, and every single spawn location is randomized each run. Work through the steps below in order.
Step 1: Find the Safe Keycard
The Safe Keycard is a physical card found on deceased bank staff. Do not confuse it with the Vault Keycard, which is a separate item entirely. Check these locations in order:
- On the dead guard near the lobby metal detectors
- On the dead guard inside the employee break room utility closet
Step 2: Find the Admin Password
Head to the second floor and look for a whiteboard inside the first office on the right. The password is written on it. If the whiteboard is not there, check the Records and Server room also on the second floor.
Step 3: Input the Password at the Correct PC
With the password in hand, locate the interactable PC and enter the code. The PC can spawn in three places:
- The smoky room on the second floor
- The first floor admin office
- A ground floor center room near the staff locker room (note: this spawn has a known bug where the PC may be completely non-interactable, requiring a full mission restart)
Step 4: Find the Wall Safe and Retrieve the Laptop Code
The wall safe is usually in the Archive room at the back of the first floor. If it is not there, check the wall next to the second floor office where the whiteboard was located. Use your Safe Keycard to open it and collect the laptop unlock code inside.
Step 5: Use the Laptop Code on the Suspicious Laptop
Take the code back to the Suspicious Laptop in the second floor boardroom and complete the hack. This interaction also registers the soft objective for your mission grade.
Step 6: Find the Vault Keycard
The Vault Keycard spawns inside a briefcase rather than on a body. Check these locations:
- The Janitor's closet near the first floor staircase, behind the half-open door
- Behind the curved wall structure in the main lobby
- On a table in the employee locker room near the green wall logo
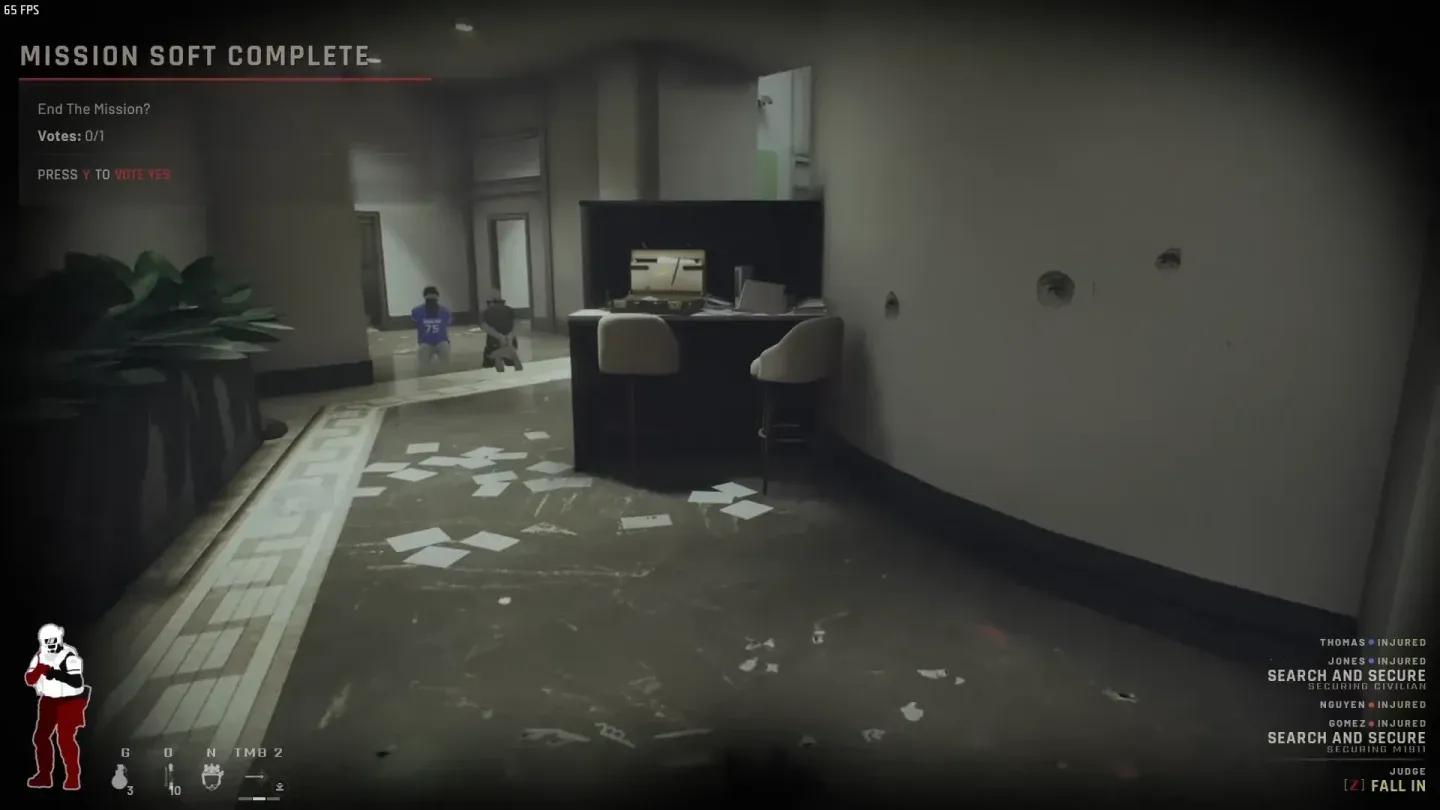
Step 7: Open the Vault
Head to the basement with the Vault Keycard in your inventory. Find the panel to the left of the massive vault door and interact with it. The door opens, granting you the All Secrets Safe achievement. Inside, you will find the bank manager tied to a chair with a phone in his mouth. Press F to answer the call. After this, head back upstairs and report the final bomb to end the mission.
Vault keycard panel interaction
Vault Puzzle Item Spawn Reference
Use this table to track down randomized items across your runs.
How Do You Complete the Soft Mission: Order a Suspect?
While facing the vault entrance in the basement, enter the room to your right. A suspect is inside. Shoot to disarm, then approach and press F to issue the order. Once the suspect complies, this soft objective is marked complete. The evidence you collect throughout the mission further supports the arrest and contributes to your final score.