

The RTWC-6.5 is one of the most satisfying weapons to run in Ready or Not, rewarding patient, methodical players with exceptional damage and strong long-range accuracy. Added in a major content update, this Battle Rifle punches through walls and armored targets with authority. But to get the most out of it, you need the right attachment setup. Here's everything you need to build the RTWC-6.5 for peak performance.
What Makes the RTWC-6.5 Worth Using?
The RTWC-6.5 fires in single-shot action only, which means no full-auto spray. That limitation is actually a feature for the right player. The rifle ships with a 20-round default magazine and delivers outstanding damage per shot, making it ideal for controlled engagements in long hallways or wide-open rooms where you have time to line up your shots.
What most players miss is that the RTWC-6.5 shines specifically in scenarios where accuracy matters more than fire rate. Think hostage situations where a suspect is using a civilian as a shield. One well-placed shot to the head, and the situation is resolved without a tragedy.
Best RTWC-6.5 Attachment Build in Ready or Not
Here's the recommended attachment loadout to minimize recoil and maximize precision:
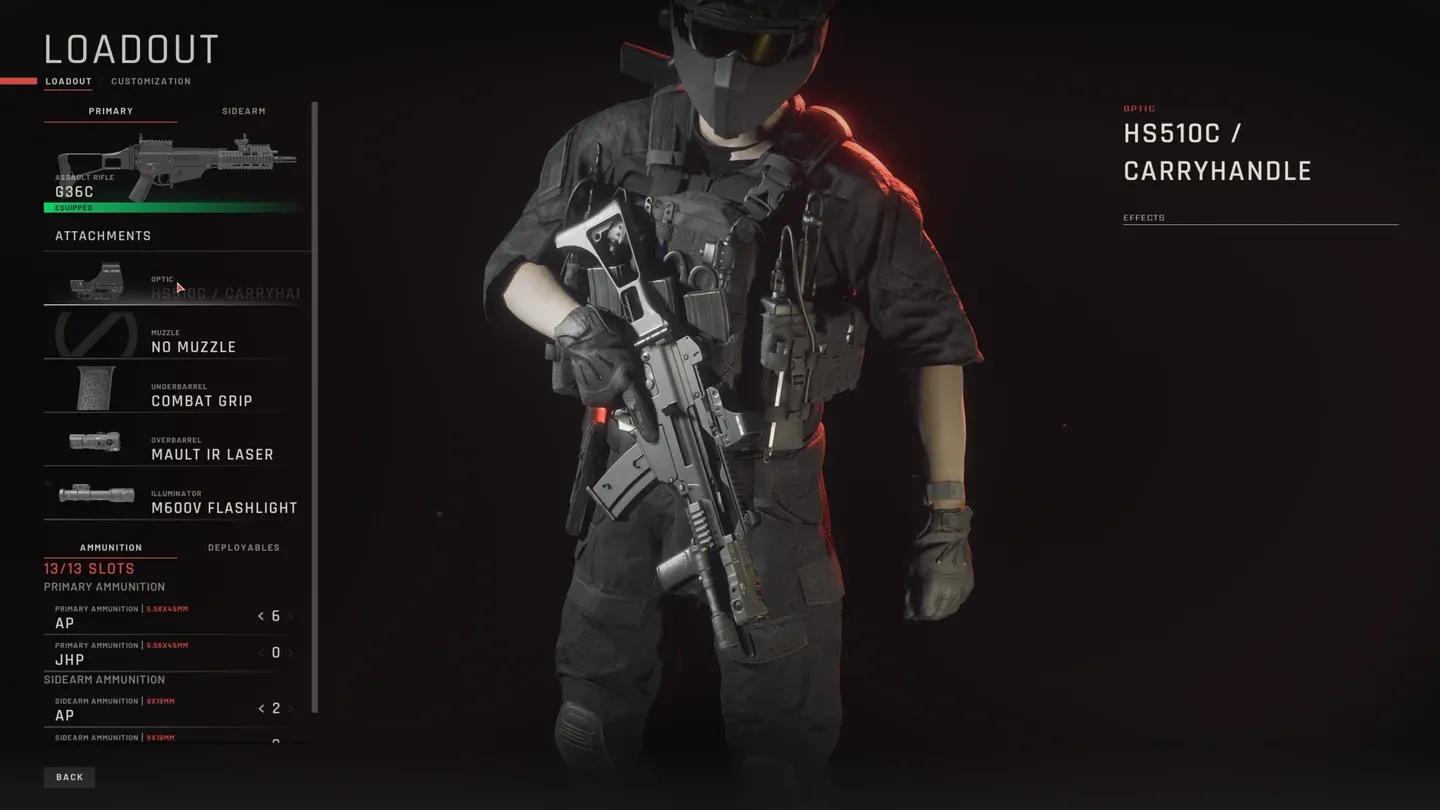
RTWC-6.5 full loadout setup
Optic: ATAK-R 1-12X
The ATAK-R 1-12X scope gives you incredible flexibility. At lower magnification it handles mid-range hallway engagements without issue, and cranking it up lets you pick targets across large rooms with precision. It's the natural pairing for a single-shot rifle where every trigger pull needs to count.
Muzzle: SOCOM Suppressor or SFMB Brake
This slot comes down to mission priorities. The SOCOM Suppressor keeps your shots quieter, which matters when you're trying to avoid alerting suspects in adjacent rooms. The SFMB Brake trades that acoustic advantage for harder recoil reduction, making follow-up shots land faster and more accurately. Both are strong choices depending on your playstyle.
Underbarrel: Vertical Grip
The Vertical Grip is a straightforward but essential pick. It directly reduces muzzle climb between shots, which is critical for a semi-auto rifle where you're relying on accurate follow-up shots rather than volume of fire.
Overbarrel: MAULT Laser
The MAULT Laser improves your target acquisition speed, particularly when moving between positions. Pairing a laser with a high-magnification optic gives you both precision at range and faster snap-shooting at closer distances.
Illuminator: M600V Flashlight
The M600V Flashlight is a must-have for any Ready or Not loadout. Indoor environments can be extremely dark, and you need reliable illumination to identify suspects without accidentally firing on civilians.
What Ammo Should You Use With the RTWC-6.5?
The 6.5 JHP (Jacketed Hollow Point) is the standout ammo choice for the RTWC-6.5 in Standard difficulty. It carries enough stopping power to neutralize armored enemies in a single hit, which is exactly what you want from a precision-focused Battle Rifle.
When Should You Use the RTWC-6.5?
The RTWC-6.5 performs best in specific mission types. Here's a quick breakdown:
Best scenarios:
- Long hallways and large indoor spaces
- Missions requiring precise shots near hostages
- Situations with armored, high-threat suspects
- Maps with predictable enemy movement patterns
Avoid using it when:
- The map is tight and close-quarters
- You expect rapid, unpredictable enemy movement
- ADS speed is critical for survival
- You need sustained suppressive fire
The rifle's slower ADS speed is the main trade-off. In confined rooms, suspects can close distance and fire before you've fully acquired your target. In those situations, a faster-handling weapon is the smarter pick.
How Do You Unlock the RTWC-6.5 in Ready or Not?
The RTWC-6.5 is available for free after updating Ready or Not to version 1.4.1 or higher. No additional purchase or unlock condition is required. Simply update the game and the rifle becomes part of your standard arsenal.
RTWC-6.5 in weapon select
RTWC-6.5 Playstyle Tips
The single most important thing to understand about the RTWC-6.5 is that it rewards patience over aggression. Here's how to get the most out of it on any mission:
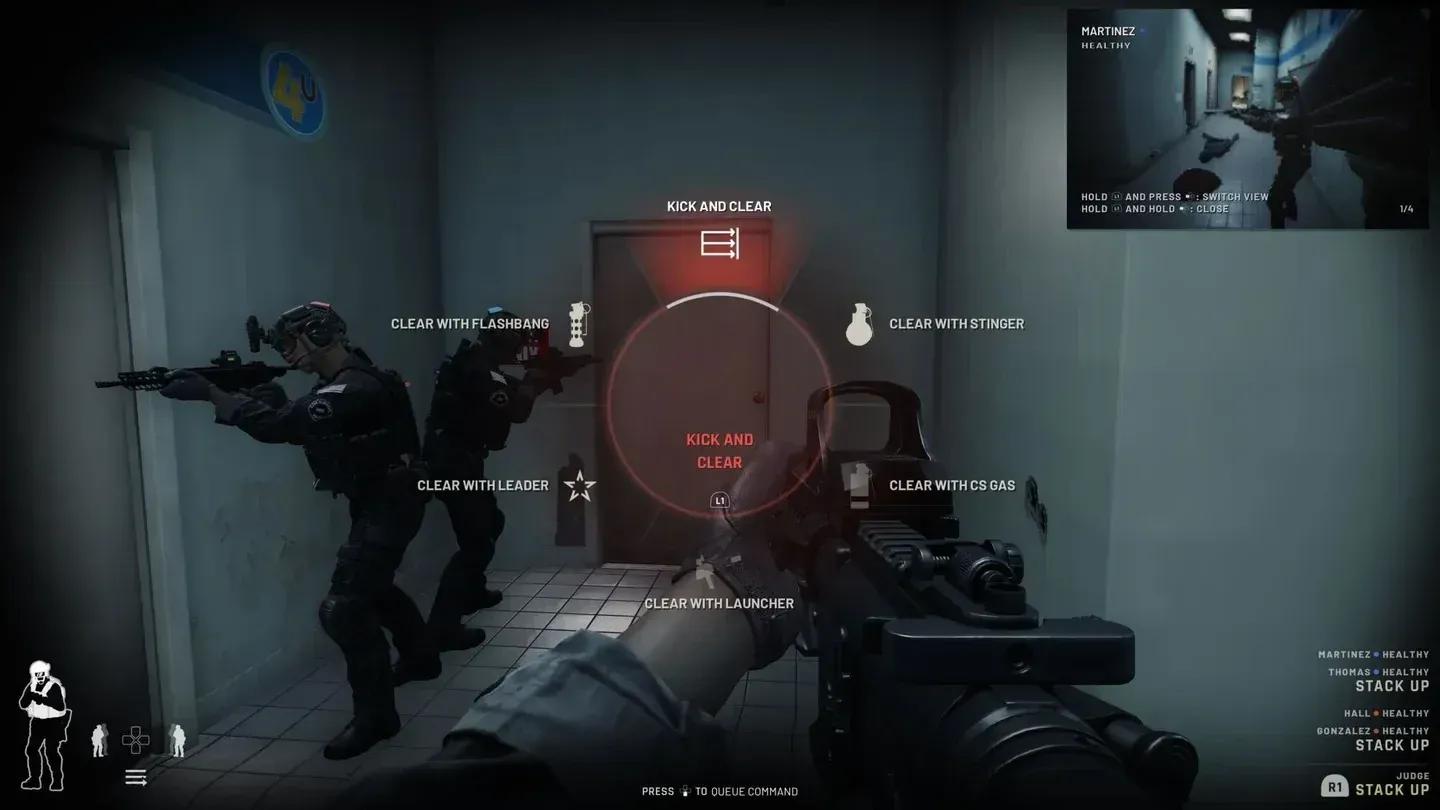
- Pre-plan your angles before breaching a room. Know where suspects are likely to be standing.
- Use the ATAK-R scope's variable zoom to assess threats before committing to a shot.
- Stack shots deliberately. If your first shot misses or doesn't neutralize the target, the low-recoil build lets you follow up quickly without losing your sight picture.
- Position yourself at distance whenever possible. The RTWC-6.5 punishes players who try to use it like an assault rifle.
- Communicate with your team about wall penetration risk. The rifle's power means bullets can pass through thin cover and hit unintended targets.
The RTWC-6.5 is a specialist's tool in Ready or Not. Bring it to the right mission with the right attachments, and it's one of the most effective Battle Rifles in the game.