
The Termite Lair in Chapter 3 of Replaced hits you with one of the game's trickier puzzles right when you're least expecting it. You stumble across a locked-up slave who needs your help, and freeing them isn't just the moral play — you genuinely need their assistance to push deeper into the lair. The puzzle itself isn't immediately obvious, but once you understand the logic, it clicks fast.
What happens after you speak with the Slave Leader?
The moment you finish talking to the Slave Leader through their cell, the game throws Termite Kate at you. This enemy is noticeably more agile than the standard fighters you've dealt with up to this point in Chapter 3. The trick is not to trade hits directly. Counter their attacks a few times to open them up, then strike. They go down without much fuss once you've got the rhythm.
With Kate handled, climb up to the right, then leap left. From there, keep climbing toward the area above. The path reads naturally as you go, but make sure you're using the pickaxe to grip the cracked sections of rock — those spots won't hold without it.
You'll eventually hit a locked door blocking your way. The yellow planks sitting next to it are your solution: use them to boost yourself up and over. Crawl through the vent on the other side and drop down into the area below.
Where do you place the green-light cart?
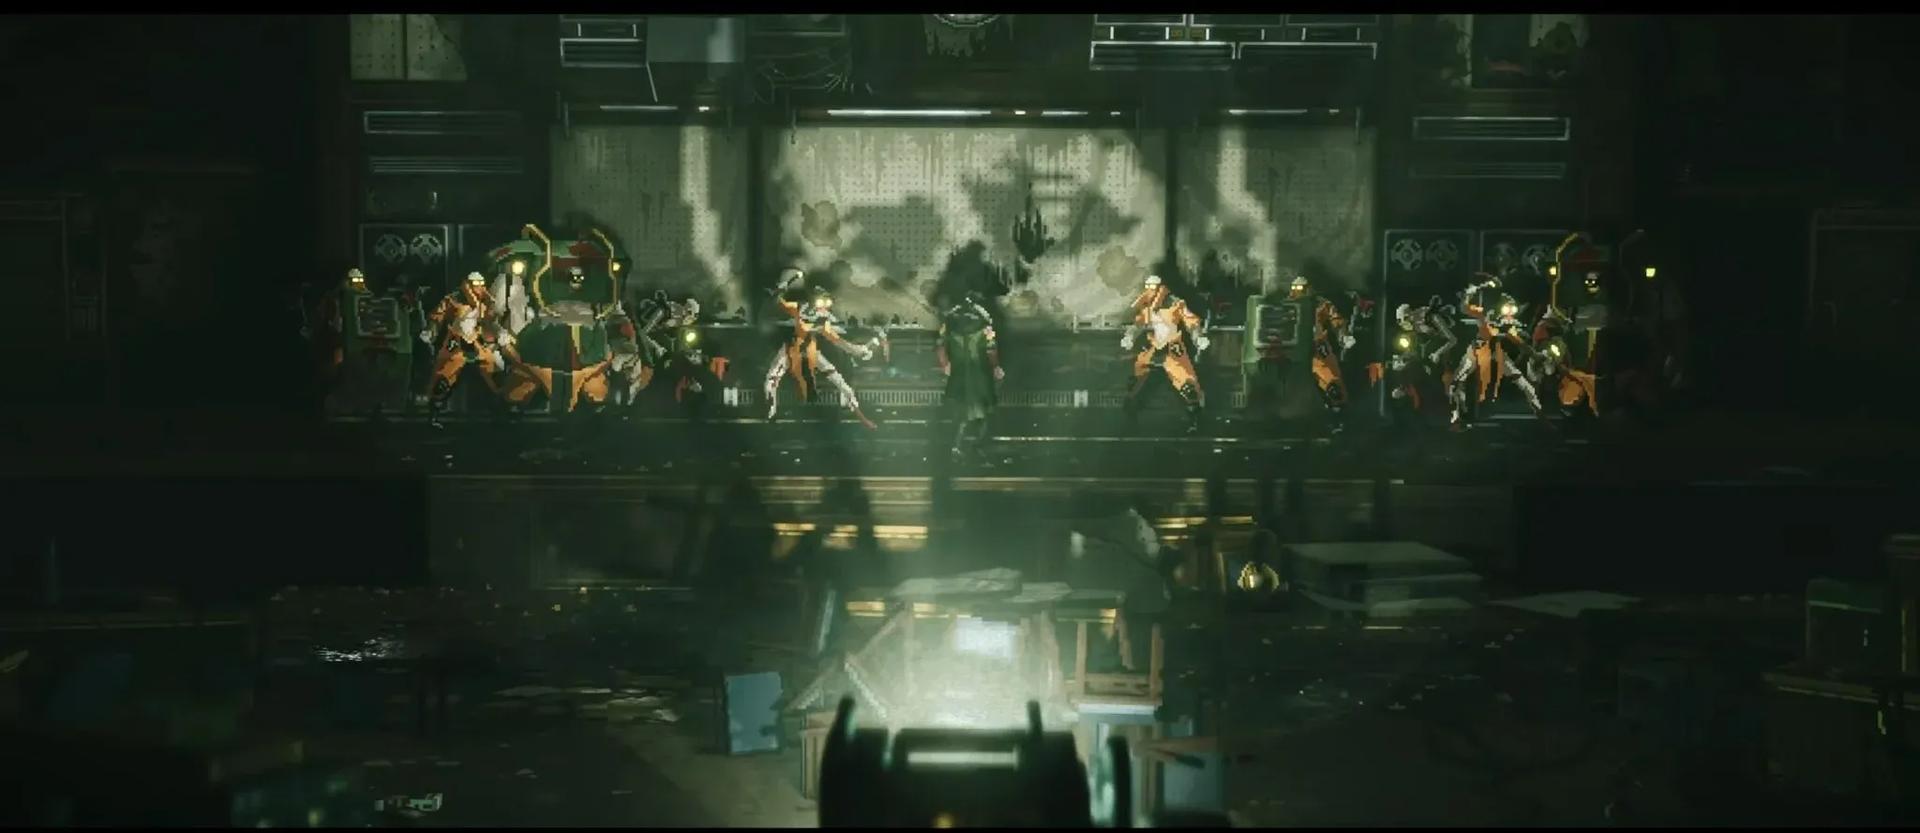
After dropping through the vent, you'll need to clear another wave of enemies before the puzzle opens up. Once they're gone, head left to find the cart covered in green lights. This cart is the power source you need for the console sitting inside the elevated container on the right side of the room.
The key detail is in the row of devices to the left of that container. Half of them glow green, the other half red. Place the cart directly between the two halves and it acts as a conduit, converting the red lights to green and activating the console. Position matters here — too far in either direction and nothing happens.
Match symbols to the pillar
How do you open the slave cages?
With the console powered up, you can now interact with it to release the cages. The catch: it requires a specific 4-symbol sequence. Get it wrong and nothing opens.
The four symbols in play are Cross, Eye, Knife, and Chains. Their order comes from two clues in the room: the symbols marked on the pillar next to the console, and the text on the wall reading "CADB" alongside the message “Hope you morons remember the alphabet.”
Here's how the decoding works. Each letter in "CADB" maps to a position in the alphabet, and that position corresponds to a symbol's spot on the pillar. C is the 3rd letter, so it points to the 3rd symbol on the pillar (Chains). A is the 1st, pointing to the 1st symbol (Knife). D is the 4th, pointing to the 4th symbol (Eye). B is the 2nd, pointing to the 2nd symbol (Cross).
The correct cage sequence
Enter Chains, Knife, Eye, Cross in that order and the cages open. Once they do, the door on the left side of the area unlocks, giving you a direct path back through the section.
Freeing the slaves isn't just a feel-good moment in the story. It's what lets you keep moving forward in the Termite Lair, so getting through this puzzle efficiently matters. If you're working through other tricky sections in Replaced or want walkthroughs for similar games, browse more guides on GAMES.GG to keep your playthrough moving.