
Road to Vostok drops you into a hostile stretch of Finland with one small cabin and nowhere near enough storage. The starter cabin fills up fast, and the game never tells you there are five more shelters waiting across the map. Each one requires a different unlock method, and one wrong move in the wrong zone means losing your entire save file. Here is every shelter, where to find it, and exactly how to get inside.
Where are all the shelters in Road to Vostok?
According to both tposegaming.com and Destructoid, the game currently has 6 shelters spread across three distinct map zones. The original demo shipped with just one. The full release expanded that to cover the Village in Area 05, the Border Zone Outpost, and the high-risk Vostok region.
Every shelter functions as a checkpoint where you can save progress, sleep to skip time, and store loot. The catch: stashes are completely independent. A weapon left in the Village cabin stays there. You cannot pull it from the Outpost tent. Plan your supply routes accordingly.
How to unlock every shelter in Road to Vostok
Cabin (Village, Area 05)
This is your starting point and it costs nothing. The cabin comes unlocked from the first moment you load in, complete with a bed, medicine cabinet, fridge, and basic storage. Expect to spend most of your early hours here while you learn the map layout before pushing into harder zones.
Attic (Village, Area 05)
The Attic sits directly above the Generalist Trader, whose building is to the right of your starting cabin. Two paths lead here. The official route means completing the Generalist's full questline. If his inventory bugs during item turn-ins, select your items manually and press "Complete" after starting the delivery rather than waiting for the UI to auto-confirm.
The faster route skips his quests entirely. The Attic key spawns as random ground loot inside the school's sports hall. Checking that area before grinding through trader quests is worth the trip.
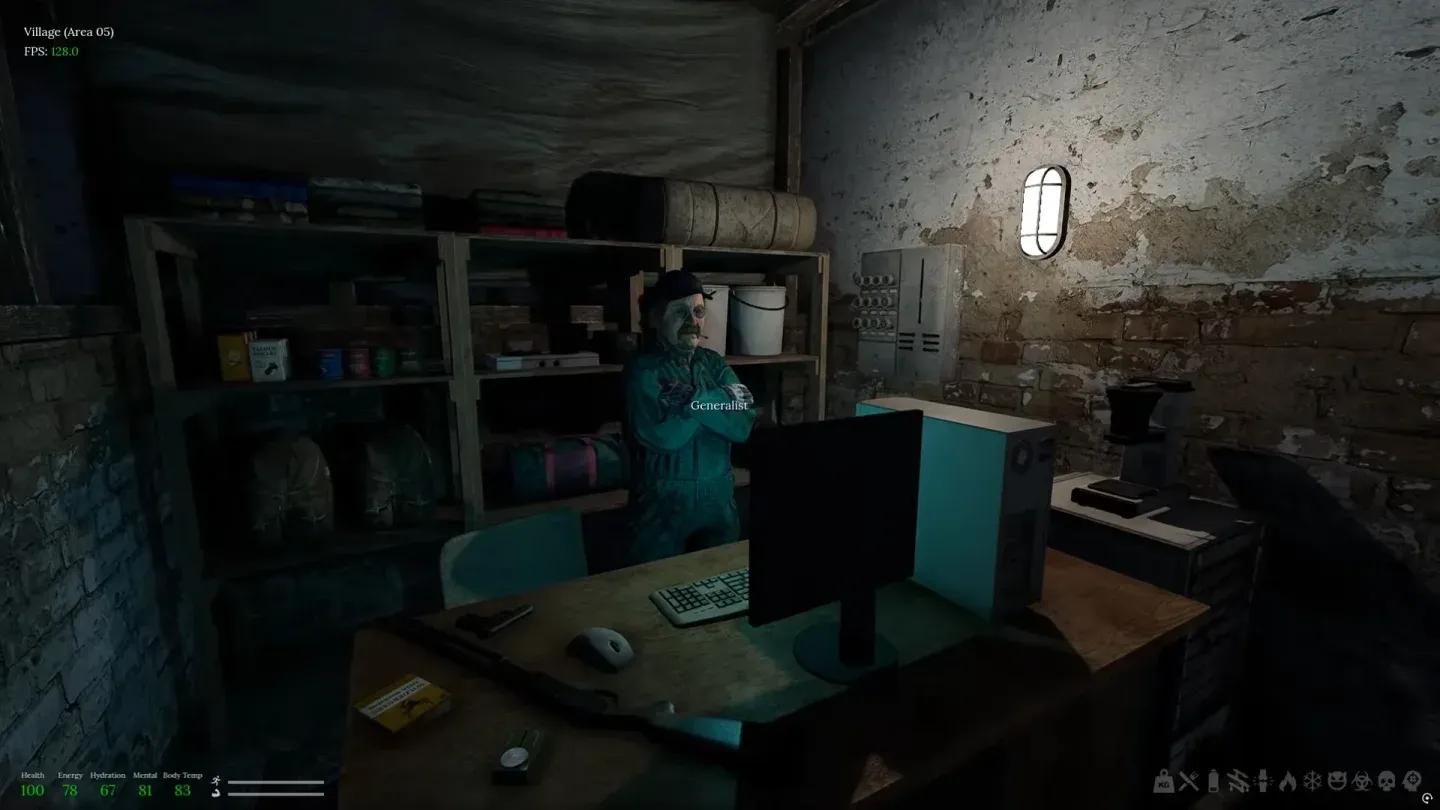
Attic sits above the Generalist
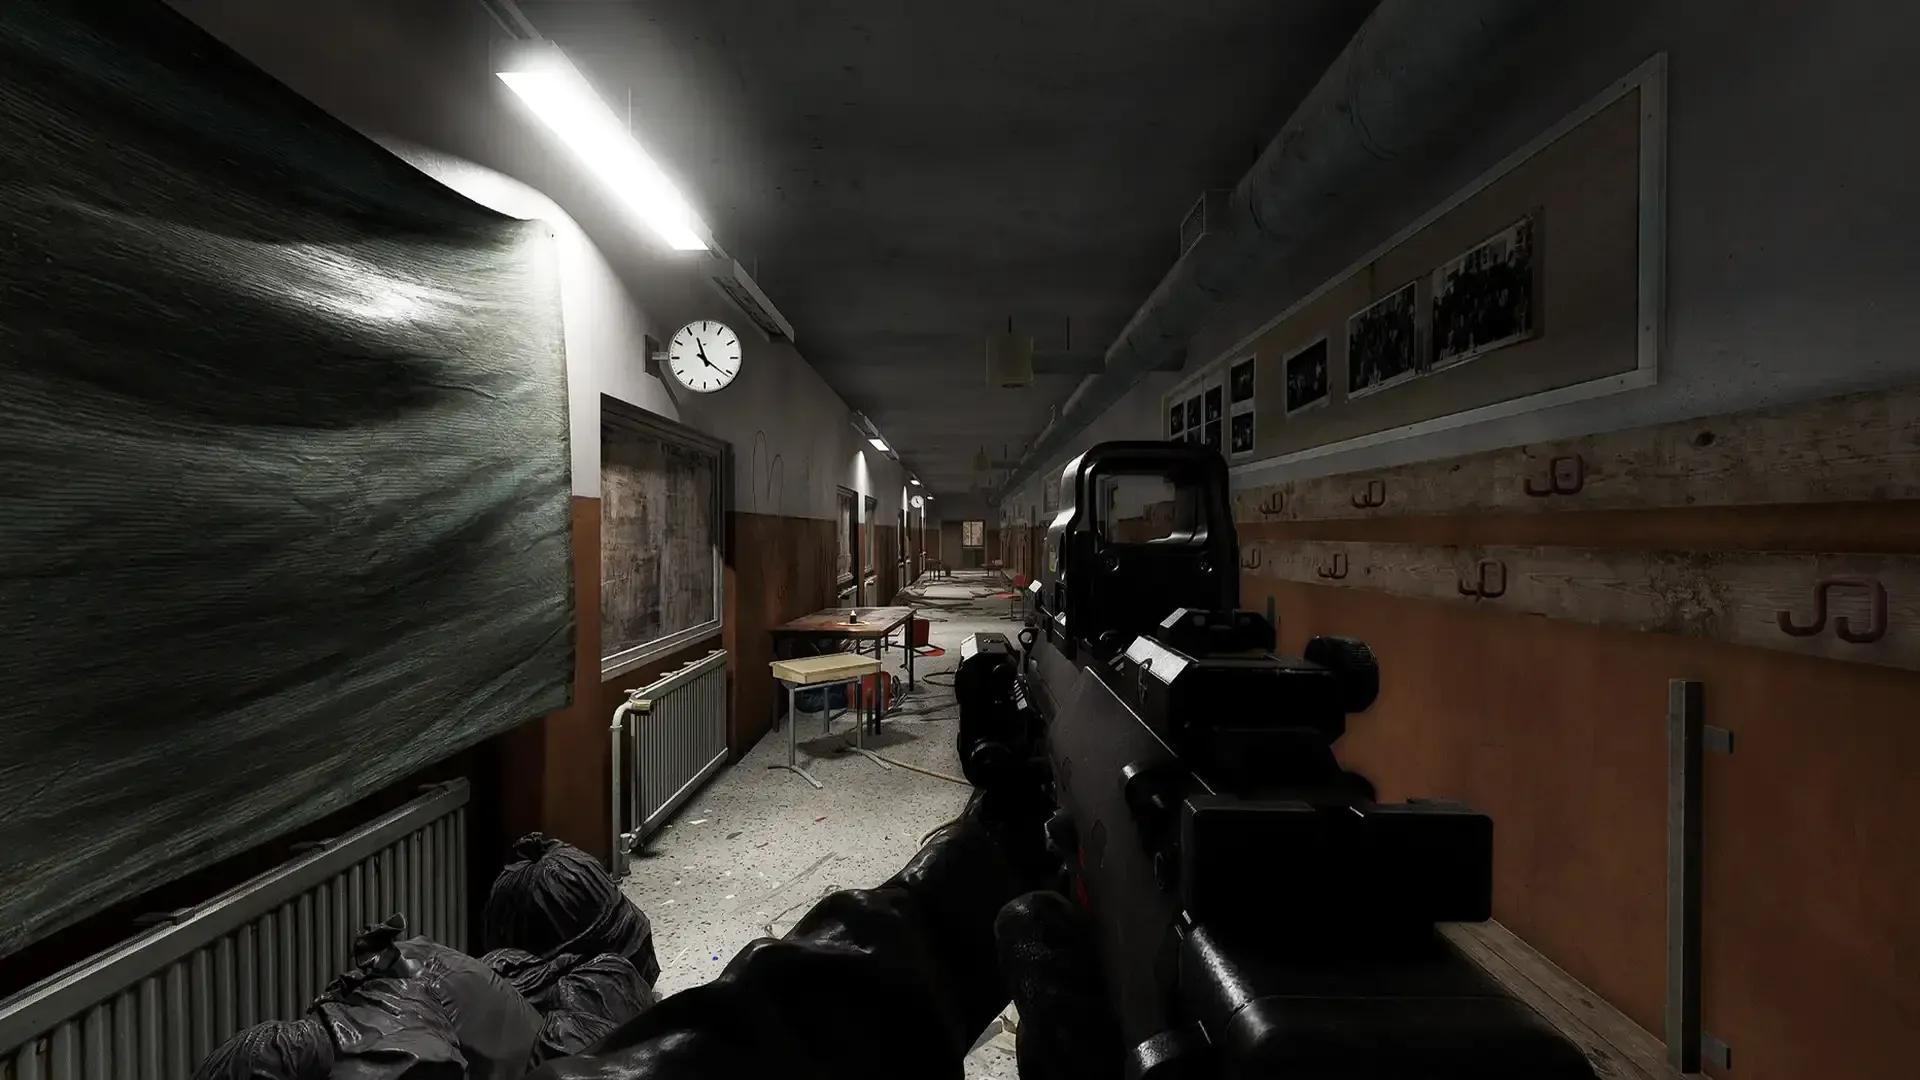
Classroom (School, Area 05)
The official unlock for this shelter demands three oil samples collected from a permadeath zone, requiring you to cross active minefields multiple times while facing military guards. Based on community experience documented by Destructoid, getting all three samples in a single run is nearly impossible given the enemy density.
Skip the official mission unless you are fully geared and comfortable with the risk. The Classroom key also drops as random loot in the local gym area within the school map. That is the smarter play for most survivors.
Attempting the oil sample mission while under-geared is one of the fastest ways to lose progress. The minefields and military enemies in that permadeath zone will punish mistakes with no recovery.
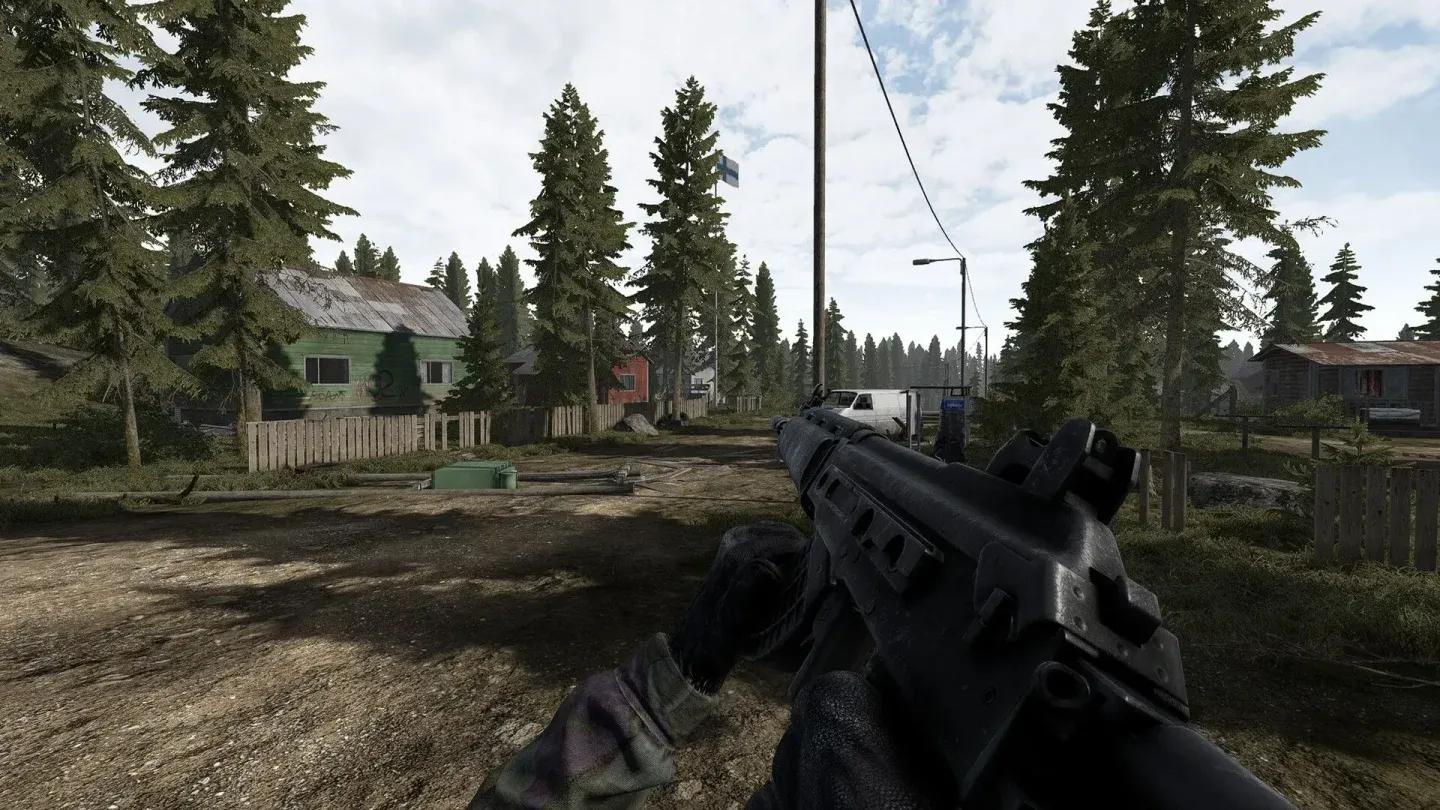
Tent (Outpost, Border Zone)
No key required here. Push past the school zone into the Outpost and check your immediate left. The yurt-style tent is free to use. The downside is limited floor space, which makes it nearly useless for serious storage without upgrades. According to tposegaming.com, you need to visit the doctor's shop and purchase storage shelves before this location becomes a functional forward base.
Bunker (Outpost, Border Zone)
This is the best storage upgrade in the game. The gun trader operates on the left side of the Outpost valley, and he holds the key. His requirement: eliminate an enemy called the Punisher and bring back the Punisher's signature hat as proof of the kill. Hand the hat to the trader and he grants access to the underground bunker. The extra space makes this worth prioritizing as soon as you reach the Border Zone.
The Bunker is your best mid-game storage solution. Prioritize reaching the Outpost and completing the Punisher task before worrying about the Classroom unlock.
Room (Apartment, Vostok)
This endgame shelter sits deep inside the Vostok zone, past the border checkpoint. The Room key drops randomly from high-security military areas. Reaching it is genuinely dangerous because the entire Vostok region operates under permadeath rules. Die here and the game deletes your save file completely, wiping every shelter stash you have built across the whole map.
Do not cross into Vostok without understanding the permadeath system. Losing your save means losing all six shelters and every item stored in them simultaneously.
Vostok Room past border checkpoint
What are the hidden shelter rules most players miss?
Shelters have mechanics the game never explains directly. Three of them catch survivors off guard regularly.
Stashes do not link between locations. Each shelter holds its own independent inventory. There is no shared storage system. If you need a specific weapon at the Outpost, you must physically carry it there from the Village cabin on a previous run.
Survival stats keep draining inside shelters. The shelter is not a pause state. Hunger and thirst drop at their normal rate while you stand inside organizing your gear. Spending an hour rearranging your stash without food and water on hand can kill you just as effectively as any enemy.
Vostok permadeath is total. Most deaths in the game send you back to your last shelter. Vostok deaths are different. The entire save file gets wiped, and every shelter stash across all zones disappears with it.
How do you customize your shelter?
Press F1 while inside any shelter to open Decor Mode. This lets you place furniture and props purchased from traders, and rotate items to arrange your space. It is a small quality-of-life feature that becomes genuinely useful once you have the Bunker unlocked and enough storage to sort your gear properly.
For more survival tips and guides across the best games right now, browse more guides on GAMES.GG to keep your runs going further.