
Road to Vostok will humble you fast
Developed solo by Antti Tiihonen, Road to Vostok is a hardcore single-player survival FPS set on the Finland-Russia border. It launched on Steam Early Access on April 7, 2026, priced at $14.99 with a 25% launch discount for the first two weeks. The core premise is simple: scavenge, survive, and eventually cross into Vostok. The execution is anything but simple. Permadeath, realistic ballistics, a complex medical system, and AI that reacts to sound and movement all conspire to end your run before you even see the border. This guide covers everything you need to stop losing characters and start making progress.
Understanding the three zones
The world splits into three distinct areas, and each one changes the rules significantly. Knowing what you are walking into before you cross a boundary is the difference between extracting with military gear and losing everything.
Area 05 is the starting zone, set in an evacuated region of southeastern Finland. Shelters, traders, and starter loot are all here. Enemies are mostly bandits, manageable if you play carefully. Think of this zone as the place where you learn every system the game throws at you before the stakes get real.
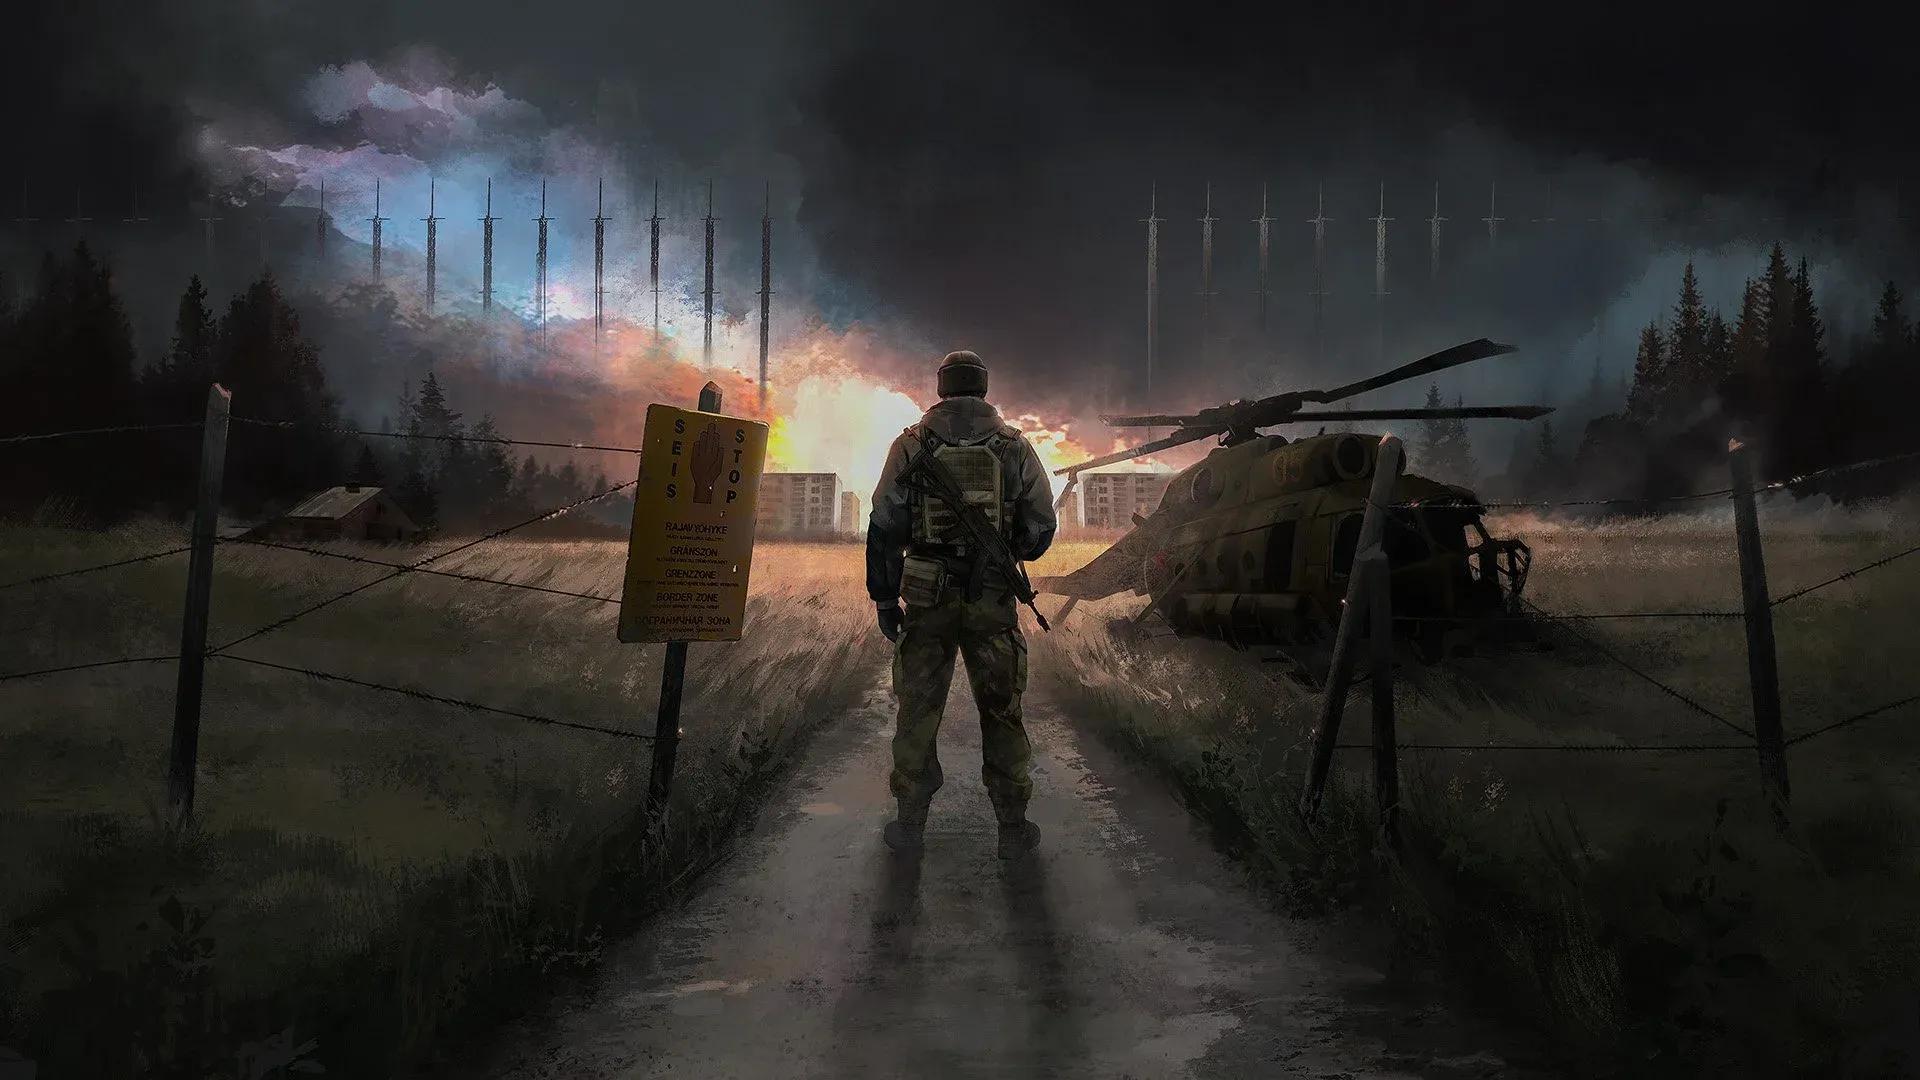
The Border Zone sits between Finland and Russia. Each crossing point has different hazards. Some routes run through minefields. Others have armed border guards with air support, including helicopter patrols that will end a careless approach instantly.
Vostok is the endgame zone and the only place in the game where dying means losing your entire save. Every item, every stash, every piece of progress, gone. The loot quality here is military-grade and worth the risk once you are ready. But rushing Vostok before you have a solid gear base and combat experience is the fastest way to quit the game entirely.
What should you do first in Area 05?
The moment you spawn, resist every instinct to sprint toward gunfire. Your first objective is finding a shelter, because Road to Vostok only saves your progress during loading screens. Entering or exiting a shelter, or transitioning between zones, triggers a save. Go 45 minutes without hitting one of those loading screens and a single unlucky bandit encounter deletes all of it.
Here is the priority order for your first hour:
- Complete the tutorial. The developer built it specifically to explain the game's unusual systems, and nothing else explains weapon loading and medical triage as clearly.
- Locate your first shelter and stash anything you do not immediately need.
- Speak to the Generalist and Doctor traders. Both have active tasks that reward shelter keys and supplies.
- Stockpile water, bandages, and 9mm ammunition. These three items keep you alive longer than any exotic weapon find.
Some shelters require keys earned through trader tasks, so working that task chain early unlocks more save points across the map.
Survival mechanics that will kill you
Road to Vostok tracks several survival stats simultaneously. Neglecting any one of them ends runs.
Hunger and hydration
The obvious pair. You need food and clean water on a regular basis. The smart play is eating food directly from containers and stashes when you find it rather than hauling it back to base. Inventory space is too valuable for snack hoarding.
Mental state
This is the one new players consistently ignore until it costs them a firefight. Mental health degrades after combat, when hungry, or when exhausted. Low mental state tanks your accuracy and general performance. Cigarettes, cigars, and beer restore mental state faster than food does. A pack of cigarettes in your vest pocket functions as an emergency performance recovery item.
Body temperature
Hypothermia is a genuine threat, especially with dynamic seasons enabled. For new players, choosing Standard difficulty with Summer set to 365 days is recommended. This removes seasonal temperature swings entirely and lets you focus on learning combat and inventory management without cold weather layering on top.
Fatigue
Staying active degrades your fatigue over time. Running around exhausted tanks stamina recovery and makes every firefight harder. Sleep in your shelter when fatigue gets bad.
How does the medical system work?
The medical system is one of Road to Vostok's most distinctive features. Painkillers temporarily restore vision and movement speed after taking a hit, but they do not address the underlying wound. Bandages and splints handle the actual damage. Leaving wounds untreated causes long-term degradation of combat effectiveness.
Bleeding is the most immediate threat. A single arterial bleed will kill your character in under a minute without treatment. Always carry at least two tourniquets and a stack of bandages. High-damage encounters, particularly in the Minefield border crossing, can cause rupture damage that basic bandages cannot stabilize. Those wounds require high-tier medical kits.
Fractures are another hazard worth planning for. Broken bones cause movement penalties and passive damage that stack quickly if left untreated. Splints or advanced kits handle fractures before the penalties compound.
What are the best weapons for early-game survival?
The current weapon roster in Road to Vostok ranges from civilian hunting rifles to military-grade assault rifles, all with meticulously modeled ballistics. Players who prioritize weapon maintenance over raw firepower have significantly higher survival rates. A jammed weapon mid-firefight is a death sentence.
For early-game, 9x19mm submachine guns and 12-gauge shotguns are the most reliable choices. Ammunition for both calibers is plentiful in civilian looting areas, and their recoil is manageable without expensive attachments. As you push into higher-threat zones, transitioning to 5.45x39mm or 5.56x45mm assault rifles becomes necessary to penetrate the body armor worn by military AI factions.
The ballistics system punishes sustained automatic fire. Short, controlled bursts are mandatory for maintaining accuracy at range. Firing in full-auto until the magazine runs dry is a waste of ammunition and a fast way to miss every shot.
Combat: how to not get shot
The shooting mechanics simulate recoil, arm stamina, breath control, and multiple aiming positions. The arm stamina indicator in the bottom-left corner of the screen near the body temperature display is the one to watch. When it turns red, lower your weapon and let it recover before taking your next shot. Shooting with depleted arm stamina makes you wildly inaccurate.
Drop your backpack before fights. Heavy packs destroy stamina regeneration and movement speed. When you spot enemies, find cover, drop the pack, engage, then retrieve it afterward. This single habit has saved runs that should have ended.
The AI in Road to Vostok reacts dynamically to sound, movement speed, and lighting conditions. Firing an unsuppressed weapon draws patrols from surrounding sectors. Moving at a crouched pace through tree lines reduces enemy detection ranges by roughly 40%. Use the leaning mechanics to peek corners without exposing your full hitbox. Engage from 50 meters or more whenever terrain allows it. The AI is most dangerous in close quarters.
How do you survive the Minefield border crossing?
The Minefield is the Border Zone's most punishing crossing point and the gateway to Vostok. The map combines proximity explosives, asymmetrical AI behavior, and deliberate audio masking into one of the hardest encounters in the game.
Identifying and clearing mines
Mines are not fully buried. Scan the snowy, debris-covered terrain for small dark cylinders with flat flanges protruding from the ground. Stepping too close triggers a blast that causes rupture damage, which basic bandages cannot treat.
The only reliable clearance method is ballistic detonation: aim down sights and fire a round directly into the exposed flange of a mine. This detonates it safely from a distance. The resulting explosion is also powerful enough to destroy chain-link fences blocking transition zones, physically opening paths into the treeline beyond. Shooting mines is not just a safety measure, it is the primary pathfinding tool on this map.
The asymmetrical AI problem
Enemy AI bots do not trigger the proximity mines. They walk through the minefield entirely unaffected while you must carefully shoot each one clear. The AI uses this immunity to set up crossfires: they spot you from the treeline and advance while you are forced to stand still and detonate mines, making you a stationary target. The choice between slow, careful mine clearance and sprinting for cover is the core tension of this map.
Guard Towers on the Minefield hold valuable loot but trap you in narrow stairwells. AI pushes aggressively up these chokepoints, turning loot runs into desperate close-quarters fights.
Audio masking
An ambient helicopter circles the Minefield constantly. It poses no direct threat but masks the sound of approaching AI footsteps and incoming fire. Combined with dense pine trees and chain-link fences limiting sightlines, the map forces constant 360-degree visual scanning. Do not rely on audio cues here the way you would in Area 05.
Inventory management: the real challenge
The grid-based inventory system runs out of space fast. A useful rule: if you are picking something up to sell rather than use, it should be worth at least $100. Anything below that threshold is not worth the slot. Weapons and attachments have the highest value per grid slot. A stack of 30 rounds of decent ammunition runs around $200.
Use Shift+Q to drop items and Ctrl+Click to quick-transfer between containers. When looting under pressure, these shortcuts are essential. Right-click items and select Place to store them properly in your shelter's attic. Items placed this way save reliably and will not clip through geometry.
Over-encumbrance is a death spiral. Every item adds weight, which reduces stamina regeneration and movement speed. Players who hoard every piece of scrap end up too heavy to sprint to cover when an ambush triggers. Know when to drop low-value items in favor of staying mobile.
Difficulty settings: which one should you choose?
Road to Vostok offers multiple difficulty tiers. Standard with Summer set to 365 days is the right starting point. You will still encounter all the core lethality of the game without weather systems compounding the difficulty while you are still learning.
Darkness and Ironman modes both spawn you in a random location with no items, at a random time of day, with randomized vitals. Ironman extends Vostok's permadeath rules to all three zones, meaning death anywhere means total loss. These modes are for players who have already internalized every system the game offers.
You are never forced to enter Vostok at all. Spending dozens of hours in Area 05 and the Border Zone building gear and learning combat before risking a Vostok run is not just acceptable, it is the smart approach.
Recovering from a permadeath wipe
When you lose a character in Vostok, recovery starts in Area 05. Your global stash remains intact after a Vostok wipe. Any weapons or medical supplies stored before the crossing are still available. Keeping at least three budget loadouts in your stash at all times is recommended: a basic rifle, minimal armor, and essential medical supplies. This ensures you can return to resource gathering immediately without rebuilding from nothing.
The Road to Vostok official site has additional context on the game's design philosophy and current Early Access roadmap if you want to understand what is coming in future builds.
Common mistakes that end runs early
- Rushing Vostok before you are ready. The loot is exceptional. The death penalty is total. Build a stash buffer first.
- Using rare item codes immediately. High-tier gear in the first two hours breaks the pacing and skips the survival loop entirely.
- Ignoring arm stamina. A red arm icon means stop shooting and recover. Firing through it wastes ammunition and misses shots.
- Not triggering saves. If you have been looting for 45 minutes without entering a shelter or changing zones, one bad encounter deletes all of it. Plan routes around save triggers.
- Forgetting mental state. Low mental stat degrades accuracy and performance across the board. Cigarettes and beer are emergency tools, not flavor items.
For a deeper look at the Road to Vostok walkthrough and survival mechanics, community-tested strategies cover the medical system and weapon handling in additional detail.
What is coming in future updates?
Road to Vostok's Early Access period is estimated at 2 to 4 years, with free quarterly updates for all buyers. The full version roadmap includes expanded map zones, new AI factions, deeper weapon customization, bullet penetration mechanics, expanded trader services, and eventually fishing and naval content. Developer Antti Tiihonen publishes regular video devlogs detailing upcoming features. The core gameplay loop is already compelling at the current Early Access price, and the roadmap suggests the content volume will roughly double by full release.
For more survival game guides and tactical breakdowns, browse the latest guides on GAMES.GG to find coverage across the genre.